Well, let no one ever say that I am not a glutton for punishment. I have finally completed a dual project of two Monogram B-29 bombers that I began on 2 September 2019.
Way back in 1977, I found this box under my Christmas tree.
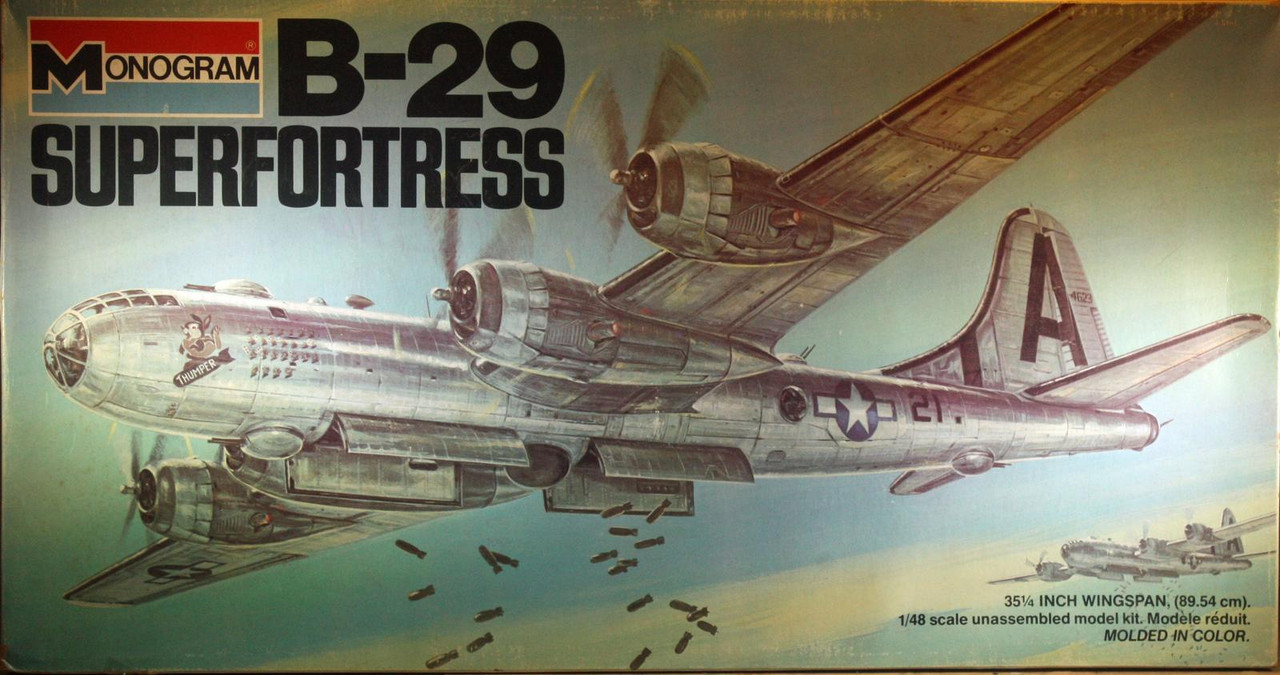


I was 10 that year. Back then, I don't believe that I had yet discovered paint for model airplanes, and I immediately set to putting that beast together. I only have vague memories of what happened to that build, but what I do remember is that sometime in 1979, my dad remarried, and they lived in a condo in SW Houston, where I remember that B-29 model at one point leaning against a wall atop a high shelf in a bedroom, and then later having been relocated to above the open-air rafters in the garage. My dad divorced that lady in 1980, and I never saw that model again.
Once I resumed modeling back in 1995, I always knew I'd want to tackle this monster of a kit again someday. Some time along about 2005, I picked up a re-release of this kit (I'll have a separate thread for that build), but then for reasons that I cannot explain, I picked up an original 1977 release of this kit via eBay. So there I was, for those many years, with not one, but two of these beasts in my stash. Midway through last year I decided that I was going to build one of them - and then I got to thinking that once I finished what I knew was going to be a daunting build, was I really going to want to tackle that second one down the line? So both ended up on my bench at the same time last September.
Initially I was going to do both atomic bombers, but once I really got a look at all that was going to be involved in producing a "Silverplate" Superfortress out of the vast amounts of plastic that Monogram crammed into that huge box, I opted for a different approach - I'd build one Silverplate as the Enola Gay, and the other as a conventional B-29 Superfortress.
The Silverplate program existed solely for the atomic bombers. There are notable differences between a Silverplate B-29 and a conventional B-29, most obviously the 4 turrets removed from the Silverplate bomber. There also are covers over most of the windows of the aircraft (not the cockpit, obviously), and these covers are flush with the surrounding fuselage. The removed turrets are replaced with a cover that is also flush with the fuselage. Monogram did not mold their kit in such a way that a Silverplate bomber is an easy task. The turret fairings are part of the two-part fuselage halves and must be carved away if one is going to produce an accurate reproduction of the Silverplate B-29. The parts that Monogram included to make such a bomber are in no way, shape, or form accurate, as they result in obvious bulges outsie the fuselage.
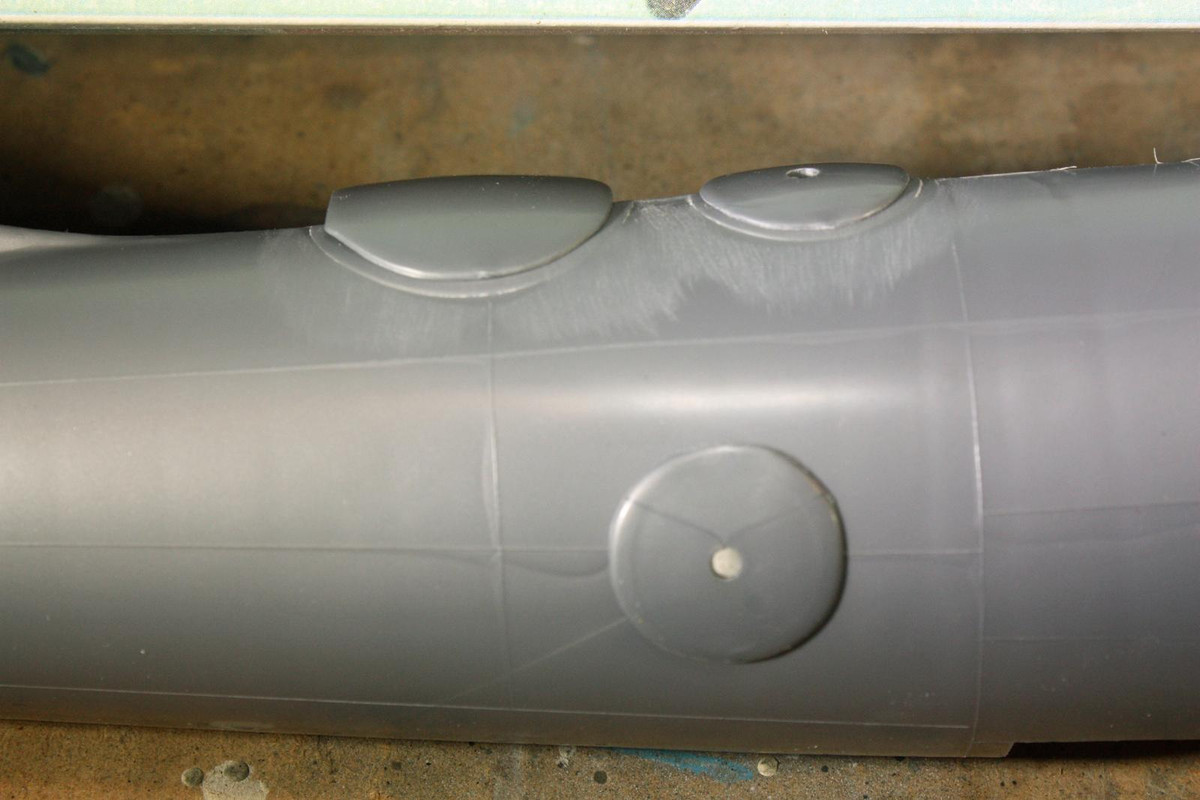
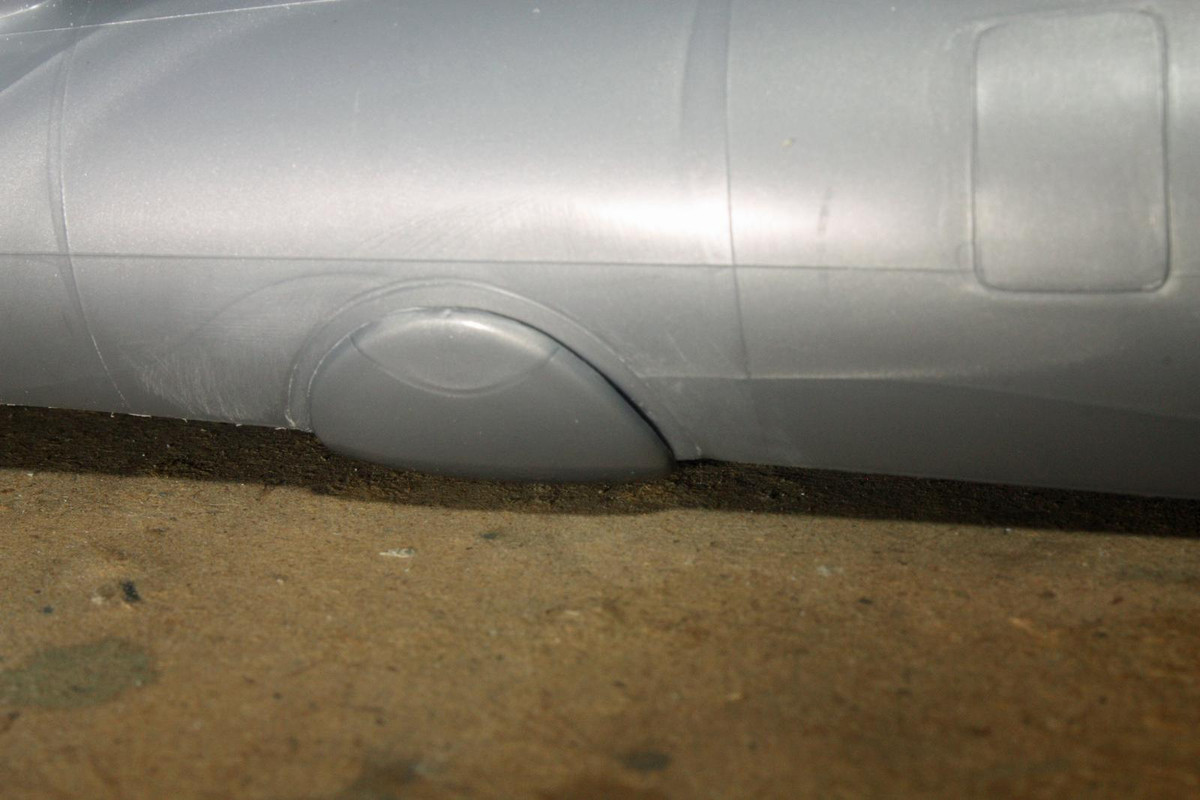
Here is a shot of what Monogram produced on the left, and what must be done to do a Silverplate B-29 on the right:
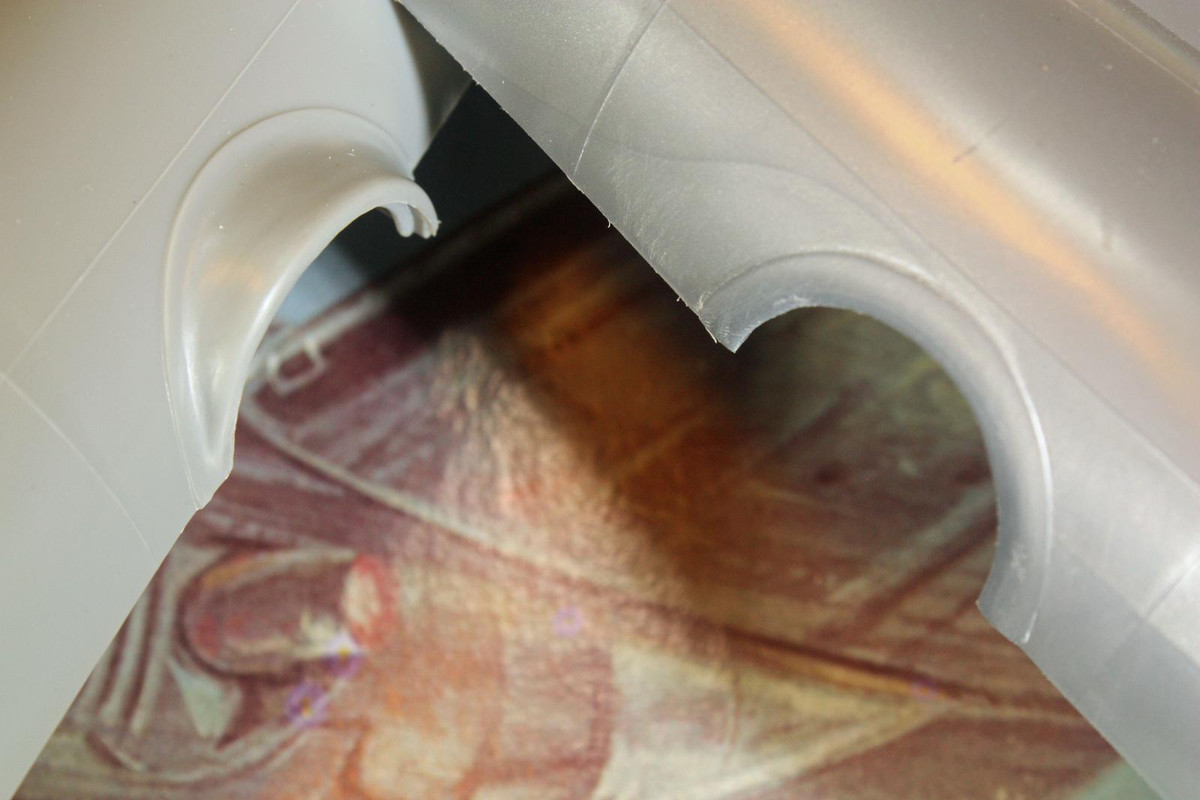
With all that plastic carved away, you are left with a gaping hole in 4 spots along the assembled fuselage. I thought long and hard on how I was going to fill those holes. I ended up using the parts that Monogram provides as the covers, but I used CA to affix them to inside the fuselage. Of course, there remained a big problem, in that while there were no longer any holes, there was also areas not flush with the surrounding fuselage surfaces. In stepped a box of Milliput epoxy putty, a product that I'd never before used. I was faced with a bit of a learning curve, and actually messed everything up right before my Disney vacation over Thanksgiving week.
Once I returned, I scraped my initial effort away and did it again, with results that appeared more satisfactory to my eyes.
But no, I was no where near done, as I was faced with a month of vigorous sanding to smooth everything out. I lost some of the raised panel lines in that effort despite my best efforts to protect them through covering most of them in the sanding areas with painter's tape. I was able to make the seams disappear for the most part, but once I started painting, I could see that I really should have continued sanding for another month. In the right light, one can see undulations across the Milliput covers for the gun turrets, but at a glance, everything looks smooth. I opted to call it a day (I now need a whole new set of sanding sticks and pads as a result of this build).
I painted the Enola Gay in varying shades of AK Extreme Metallics - duraluminum, white aluminum, dark aluminum, and stainless steel. That paint was applied over a coat of black Stynylrez primer. I never experienced any lifting with all the masking I was doing to paint those differing shades of metal.
I used the kit decals, which were 42 years old. For the most part, they performed as one would expect, albeit a bit thick, and I did trim away as much carrier film as I could. But the manufacturer logo and text on the props looked awful. There appeared to be a white film around them. I opted to forgo any decals on the props.
Weathering is at a minium, with a bit of flory wash in the flap and aileron panel lines, and heavily thinned black paint applied at low PSI for the exhaust stains. I used a bit of Tamiya weathering compounds on the exhaust pipes. Speaking of, I had to be creative in the use of my work space given these kits' size, and whilst moving the Enola Gay so I could work on the other, I heard something hit the floor. I've not been able to find the exhaust pipe that I inadvertently knocked off that day - it's as if it just disappeared.


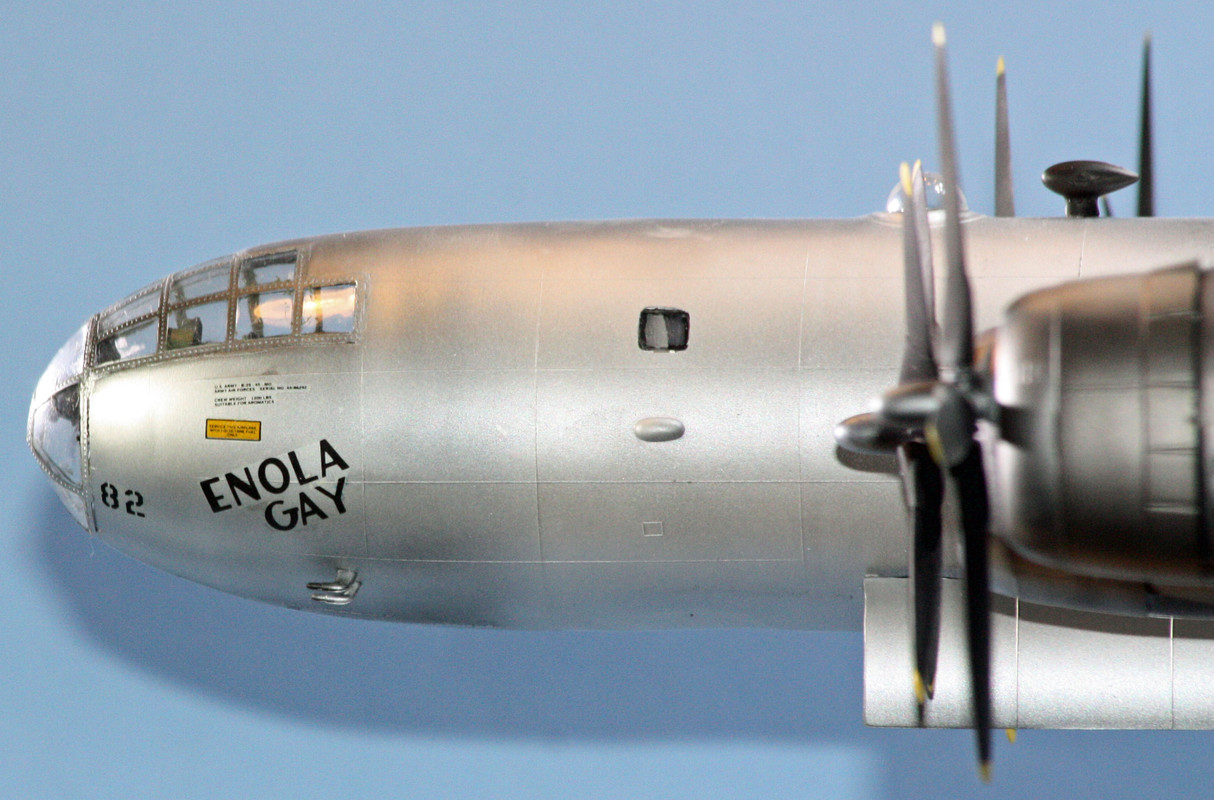
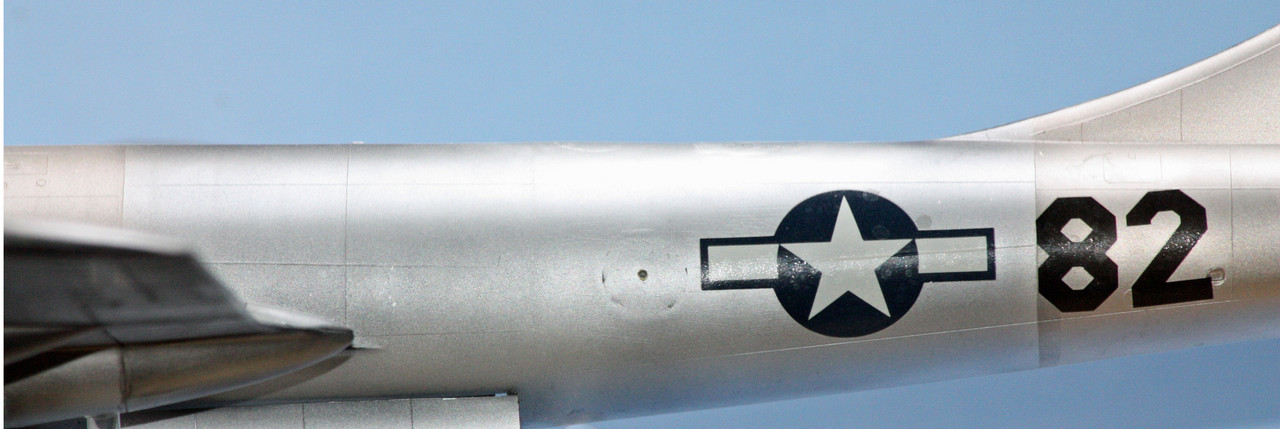
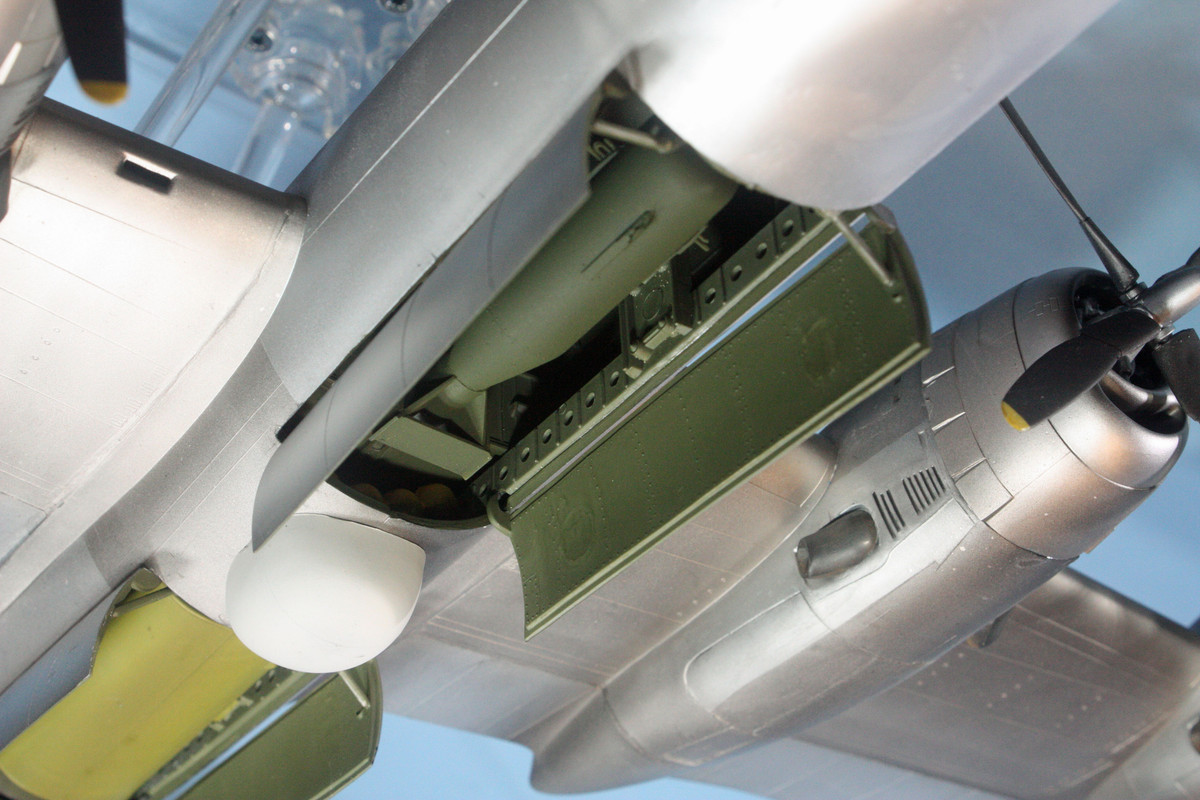
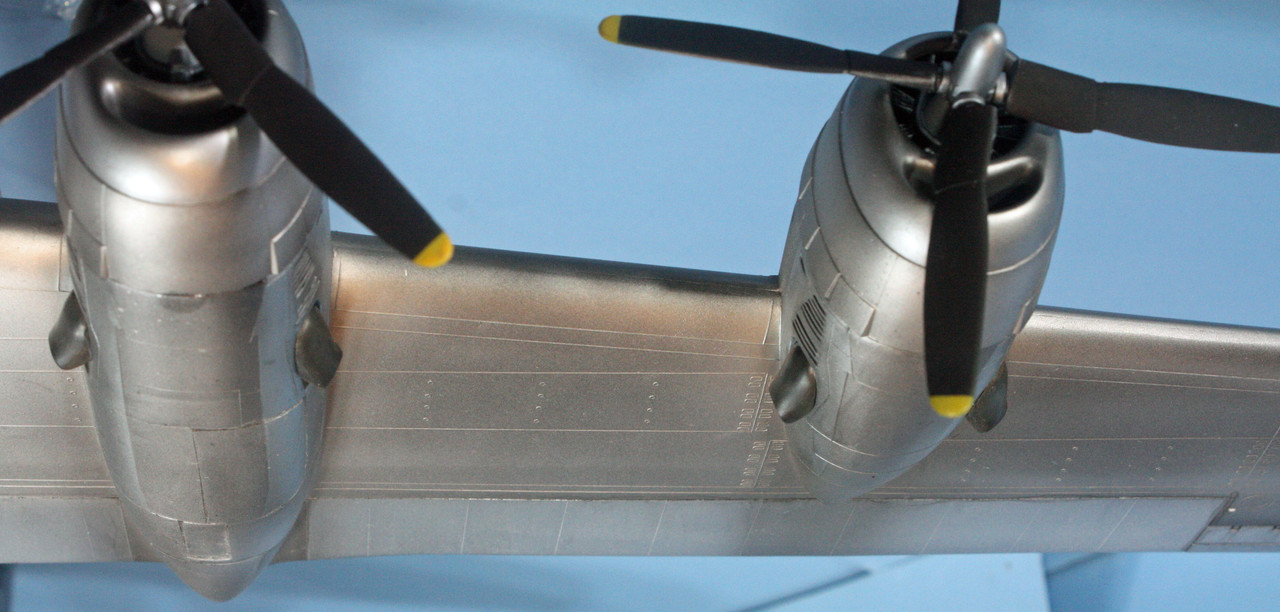
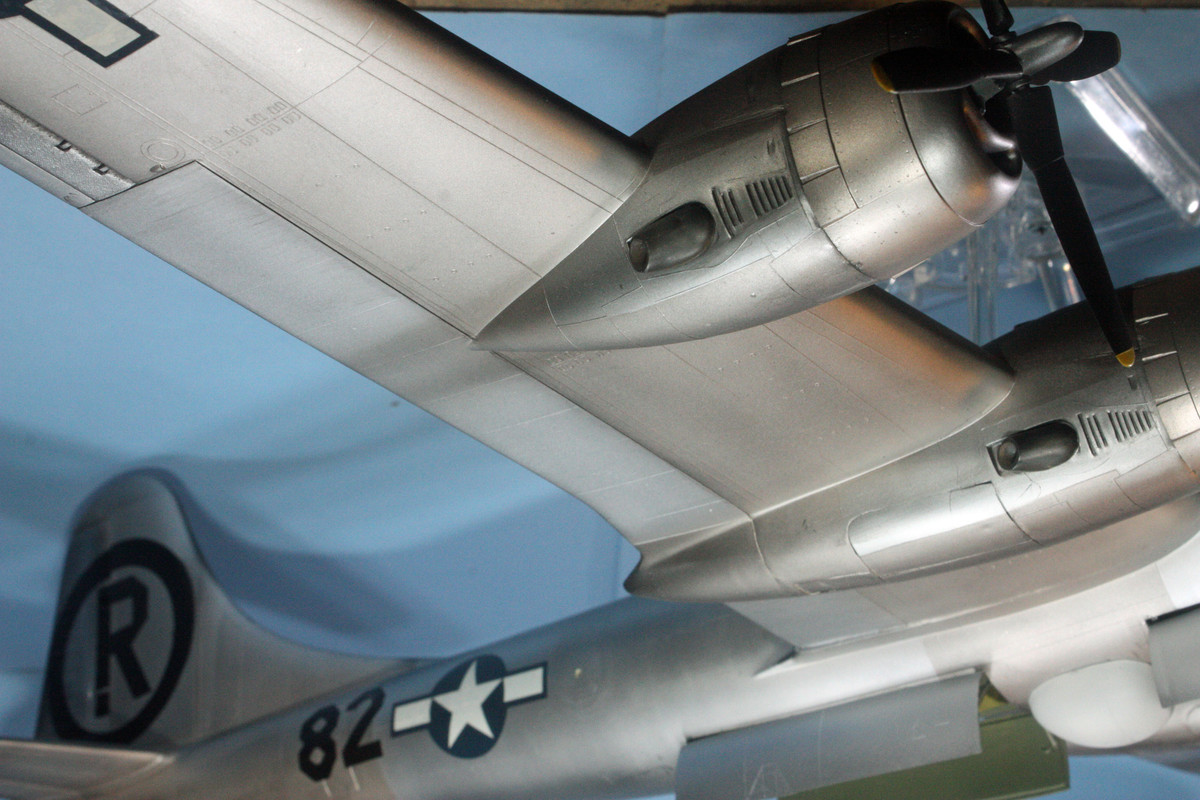
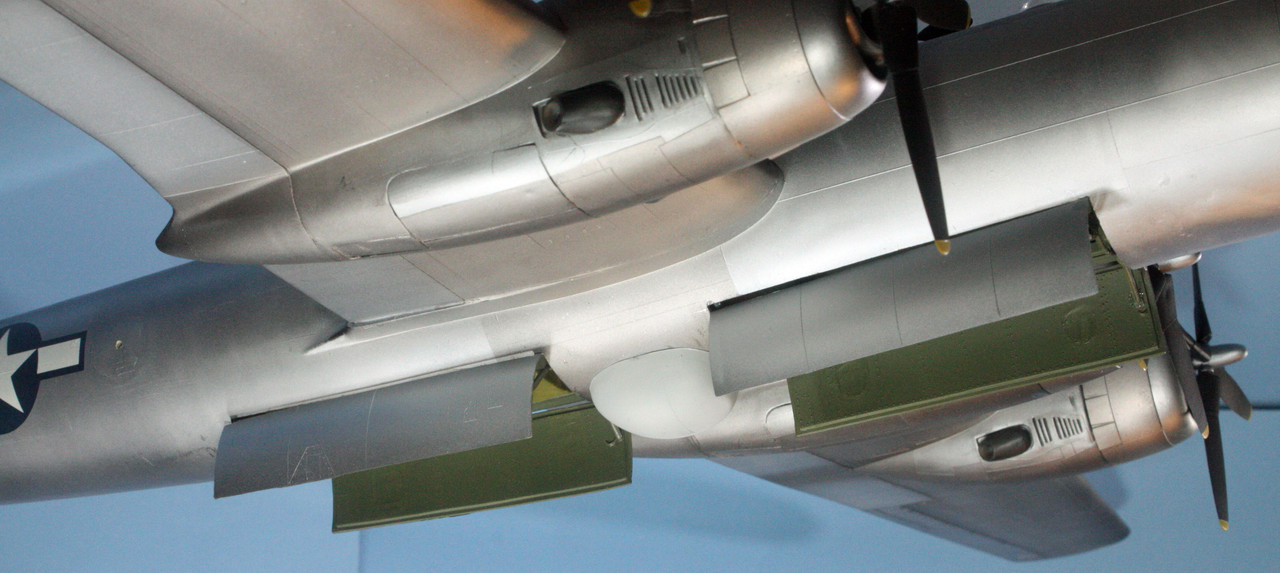
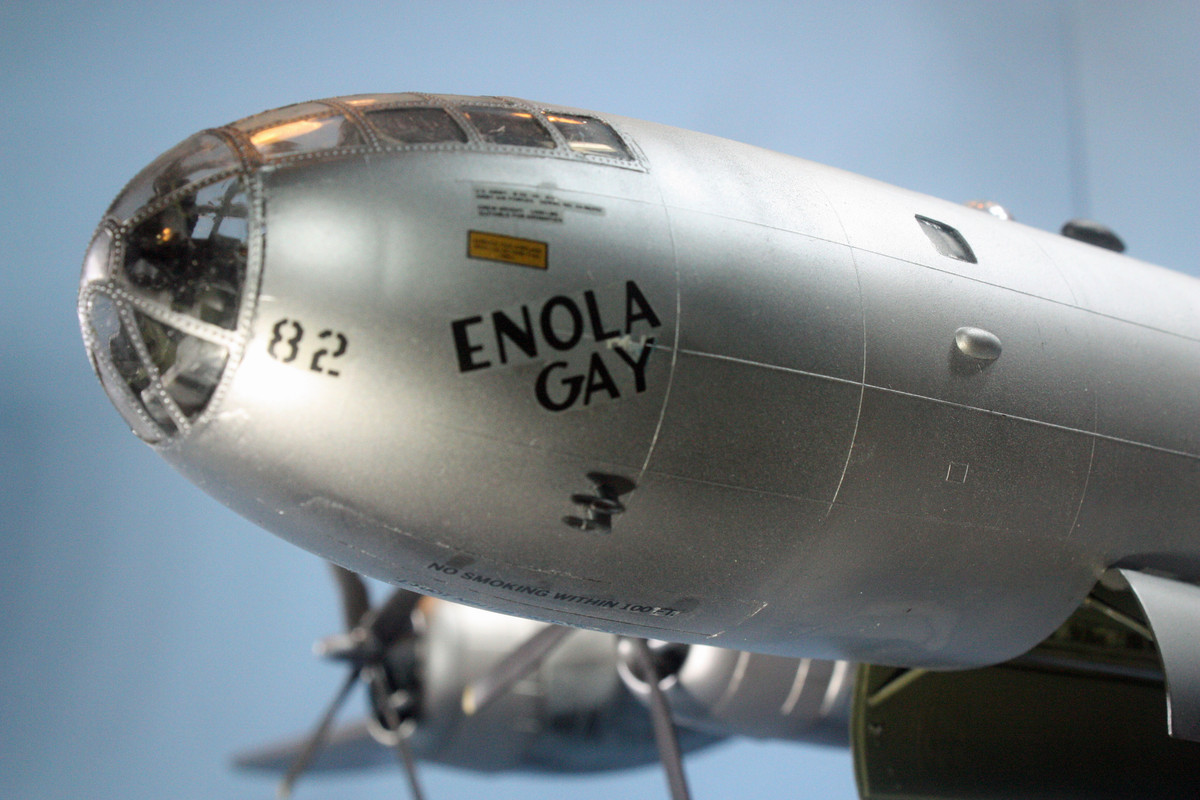
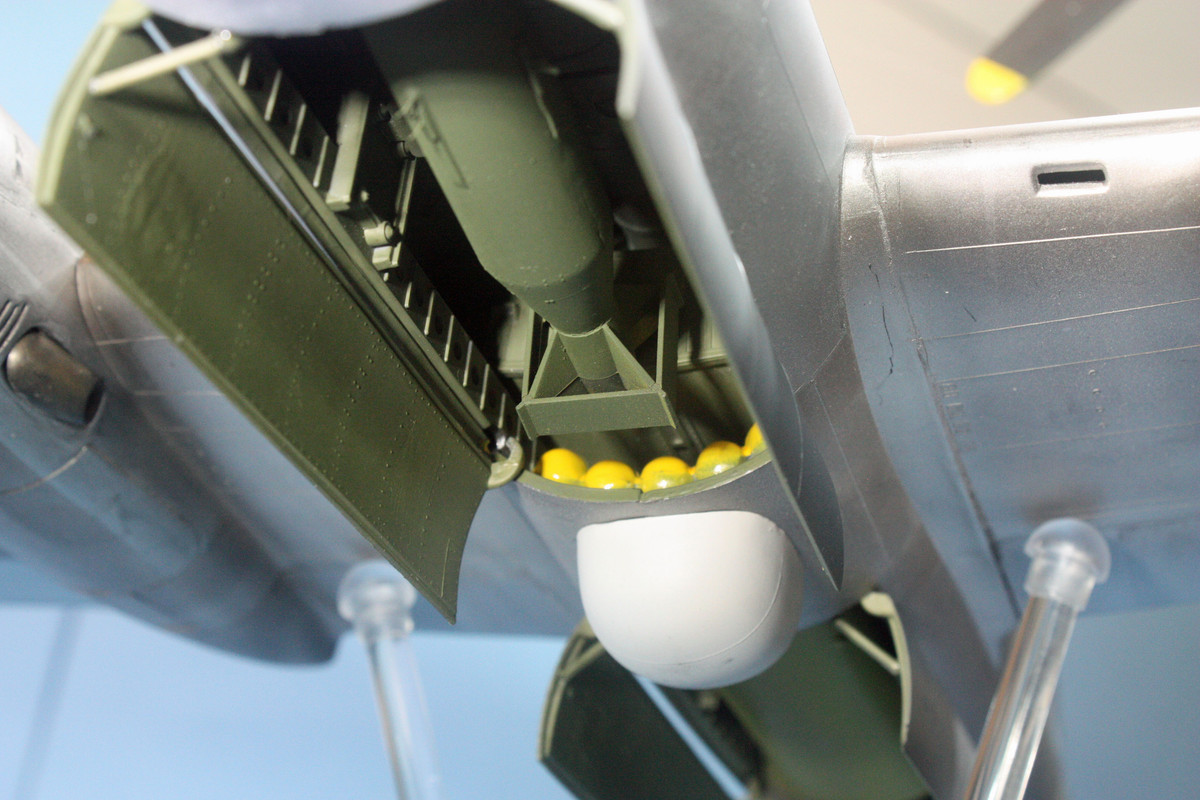
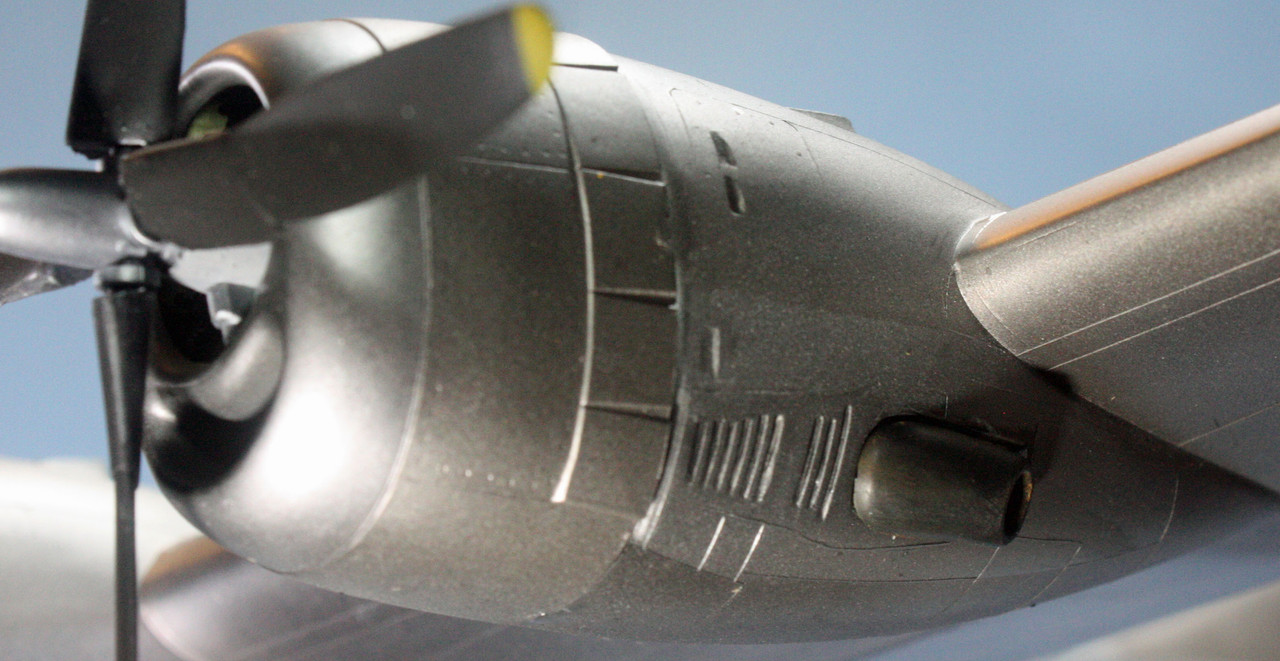
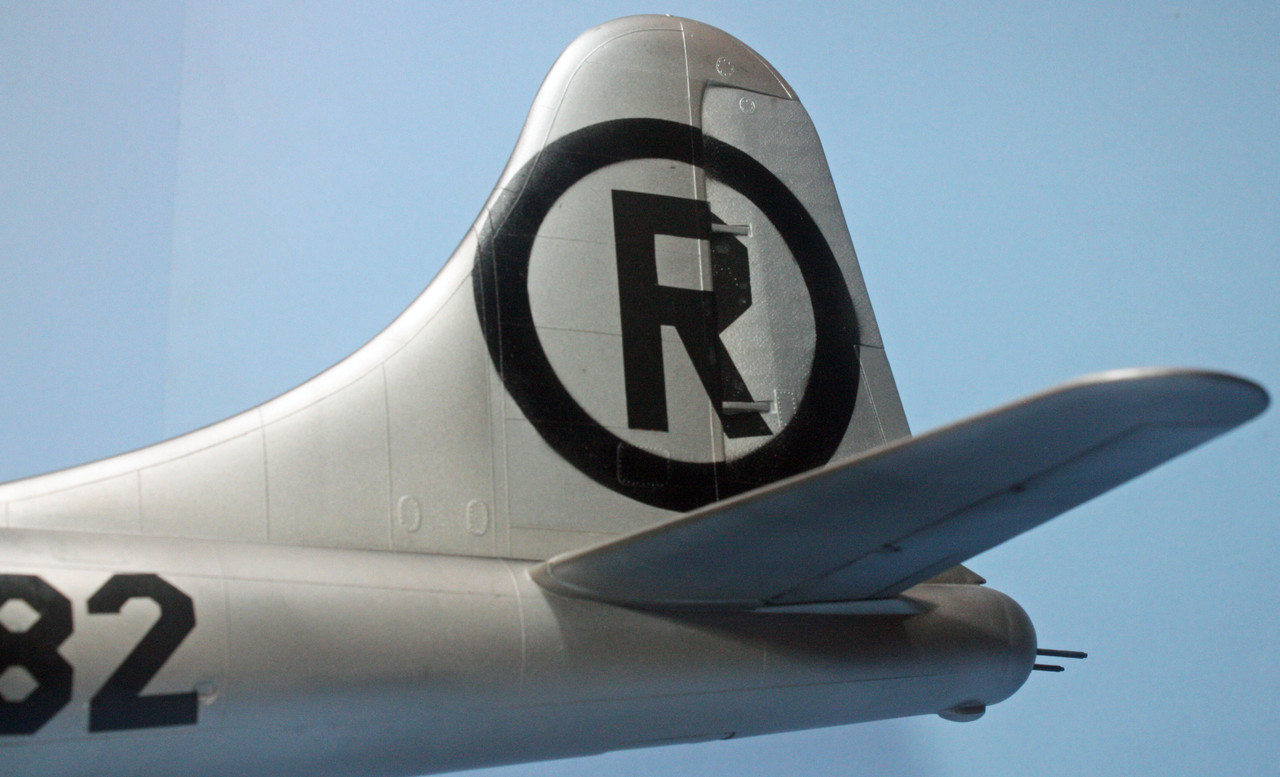
Well that's it for me for big bombers for a while. I don't feel like I did quite as good a job on Enola Gay as I did on Humpin' Honey, but I think I'll cut myself a little bit of a break, as there is an insane amount of work to do to even be able to get into the right ballpark for a Silverplate bomber. Maybe some day, I may be persuaded to tackle this one again, do perhaps the Great Artiste ... but right now, it's on to a smaller subject next, a Midway-era SBD-3 Dauntless in 1/32 scale.