The SBD Dauntless has always been a favorite of mine, going way back to when I was a kid and first built Monogram's more-toy-than-model Dauntless kit. I probably built that one half a dozen times growing up, with one in the stash now as well. I remember with a good fit of fondness one summer when my brother and I built a replica of Sharpstown Mall (big mall in Southwest Houston mentioned briefly in the movie The Right Stuff) out of playing cards - and then set to dive bombing it to smithereens with our Monogram Dauntless dive bombers.
But what really elevates the Dauntless is its role in the Battle of Midway. The story of Midway is among my very favorites to read about. The 1976 movie was a good telling of the basic story, albeit with a bunch of irrelevant subplots, non-existent characters, and bad use of archival footage. The new movie that came out last November was 100 times better in terms of overall accuracy, even with leaving out significant portions of the Midway story. But it was while watching that movie that I was reminded of my love of the Dauntless. Sitting in that darkened theater while in the midst of (a) a software engineering bootcamp and (b) two massive B-29 builds, all I could think of was how awesome the depiction of the aircraft was, and how long before I could get a Dauntless to my bench?
That time is now. I have three Dauntless kits in my stash, the aforementioned Monogram release, an old baby blue boxing from the '60s, an Accurate Miniatures SBD-2 in 1/48, and a Trumpeter SBD-3 in 1/32. I considered building all three at once, but unlike the B-29, I figure I can easily return to a Dauntless build in the future. I opted to tackle the big scale SBD.
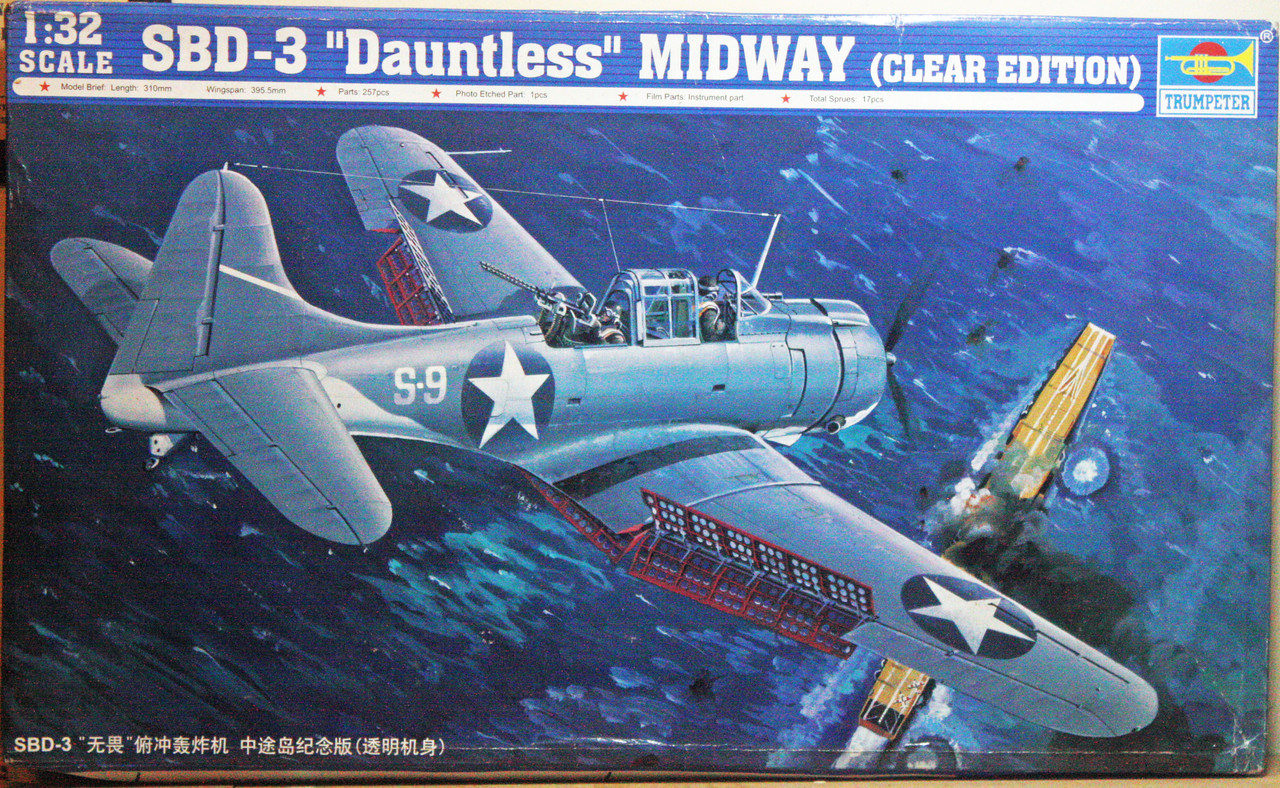
This is a pretty nice kit with a real good level of detail right out of the box. I've read that the decals tend to be garbage, but that will be for me to verify later. Hopefully I won't need to track down an after-market decal sheet to complete this Dauntless.
I am doing the ride of Lt. Harold S. Bottomley, Jr, B-10, flying off the U.S.S. Yorktown in Bombing Squadrong 3 (VB-3). Bottomley would be awarded the Navy Cross for his bravery in flying against the Japanese targets at Midway 4-6 June 1942. He was twice awarded the Distinguished Flying Cross for extraordinary achievement in the Solomon Islands Campaign in August 1942; and is entitled to the Ribbon for, and a facsimile of the Presidential Unit Citation awarded the USS Enterprise for heroic service in action in the Pacific Area.
He would go on to command various air groups, bouncing between deployments and a desk Stateside, and eventually would move on to command the USS Bon Homme Richard (CVA-31) before finishing his distinguished Naval career in Washington, D.C. in the Joint Staff Office in the Joint Chiefs of Staff.
Trumpeter can be hit-and-miss with regard to their instructions. This one is no different. Paint callouts are often flat-out wrong based on other sources that I have found on the Dauntless. I've opted to follow these other sources (Detail & Scale book, Walk Around book) rather than the instructions when I've found discrepancies.
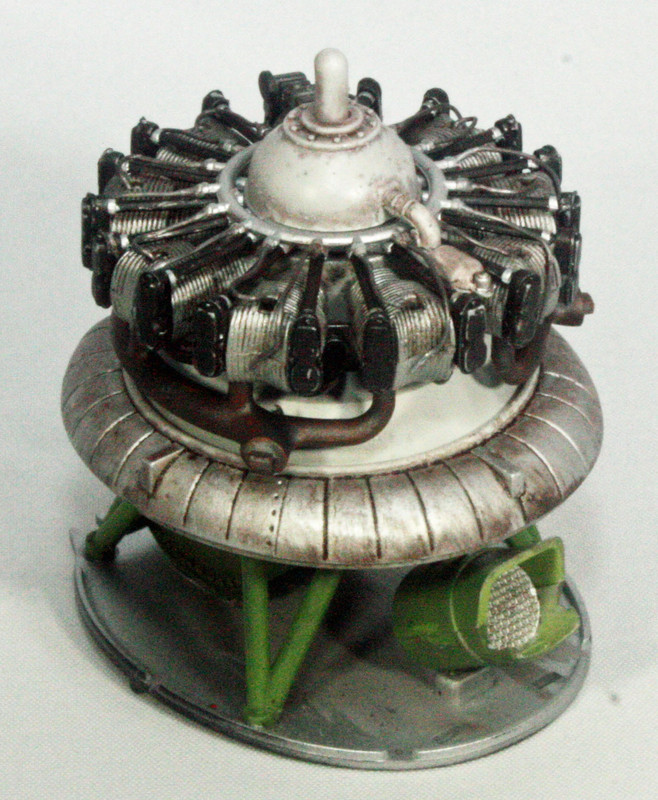
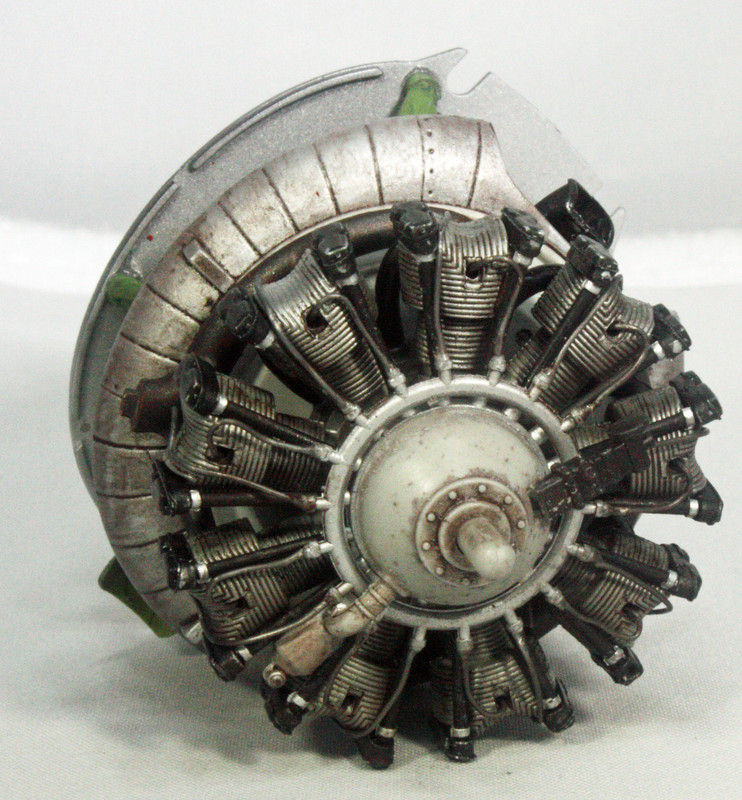
I started construction with the engine. I added .4mm lead wire for the ignition wires. I could not find anything definitive as to where the second wire in each tandem actually connected, so I wrapped it around to the backside. Midway Dauntless dive bombers tended to be the new SBD-3 models (the Navy began phasing out the SBD-2 following the Battle of the Coral Sea), so I figure the weathering should not be too obvious, but for the engine, I applied a bit of AK Interactive Streaking Grime followed by feathering with white spirit.
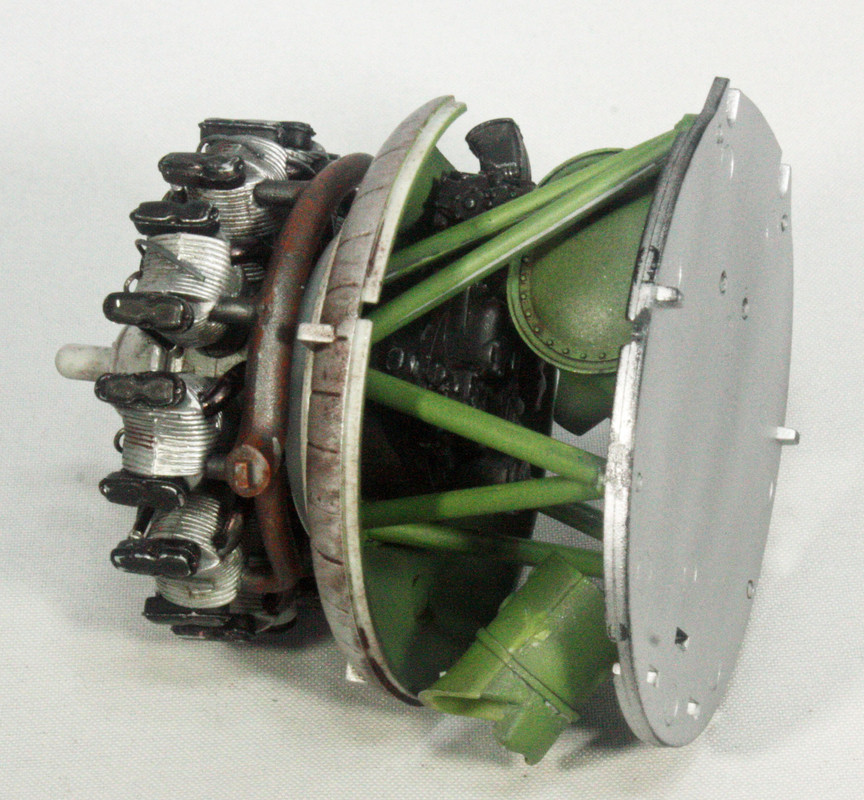
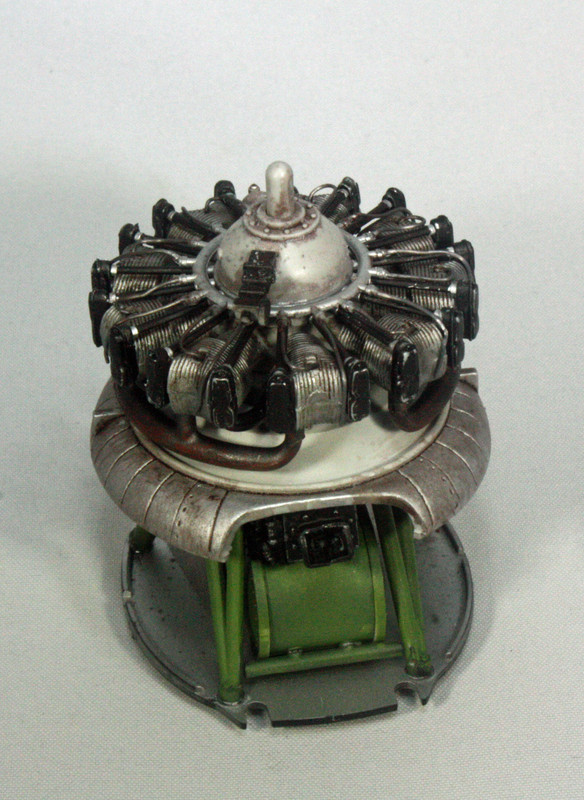
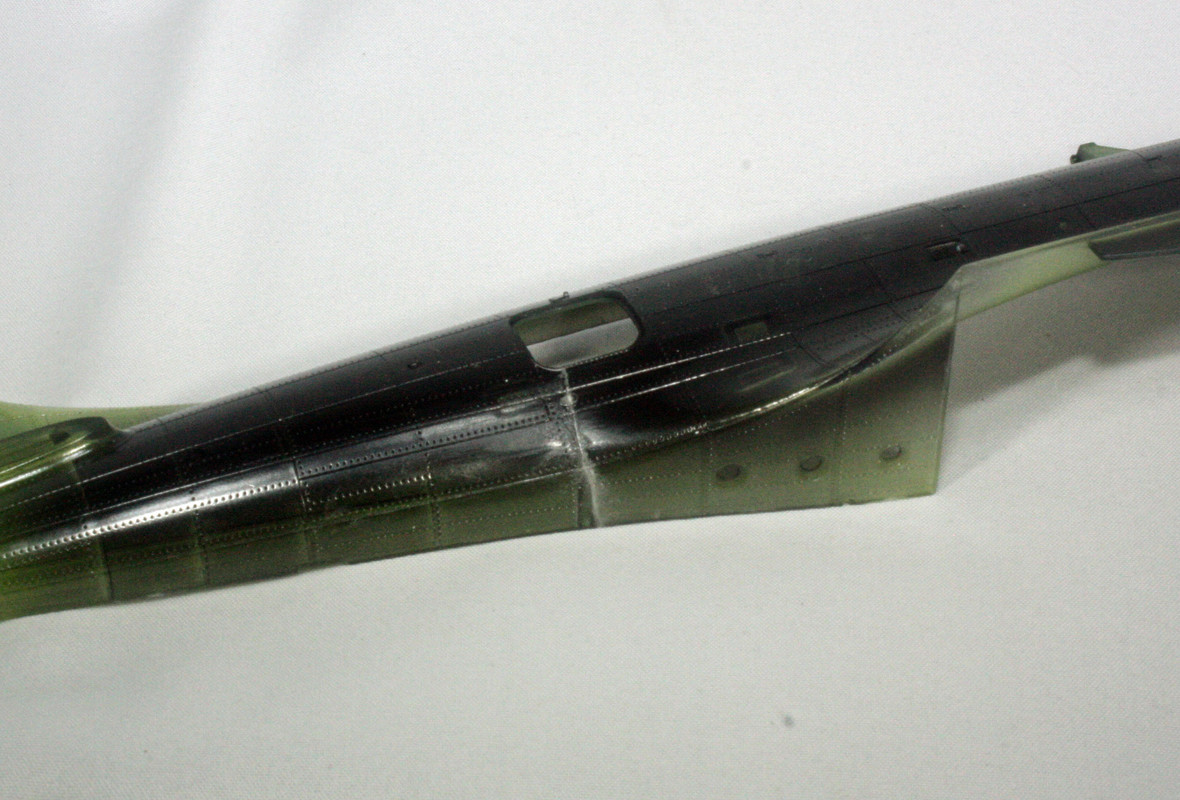
This is the clear edition, but I was never going to build it as such. I also wanted to try a different approach with painting the interior, so I first put down a coat of black Stynylrez primer on the interior surfaces of the fuselage and all the interior parts. Then painted with Mission Models Green Zinc Chromate. I think the primer base has allowed for the GZC to be a bit darker than it is coming out of the bottle.
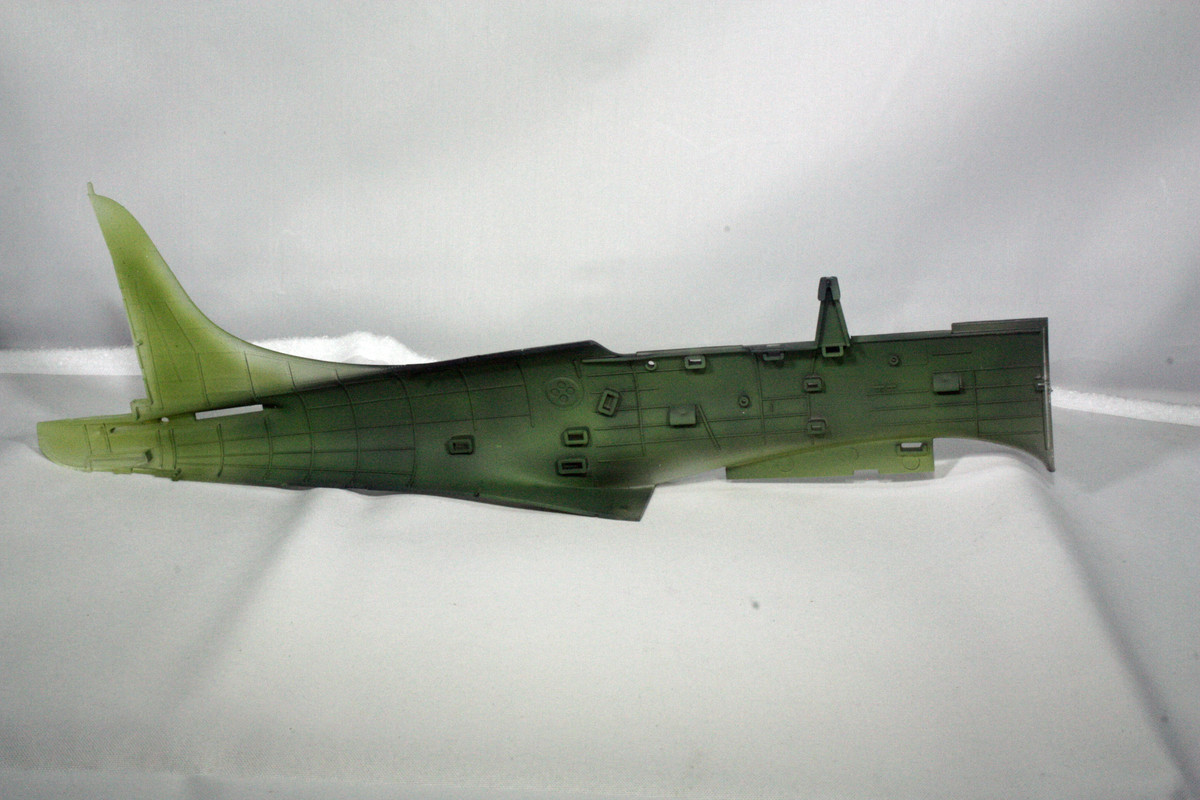
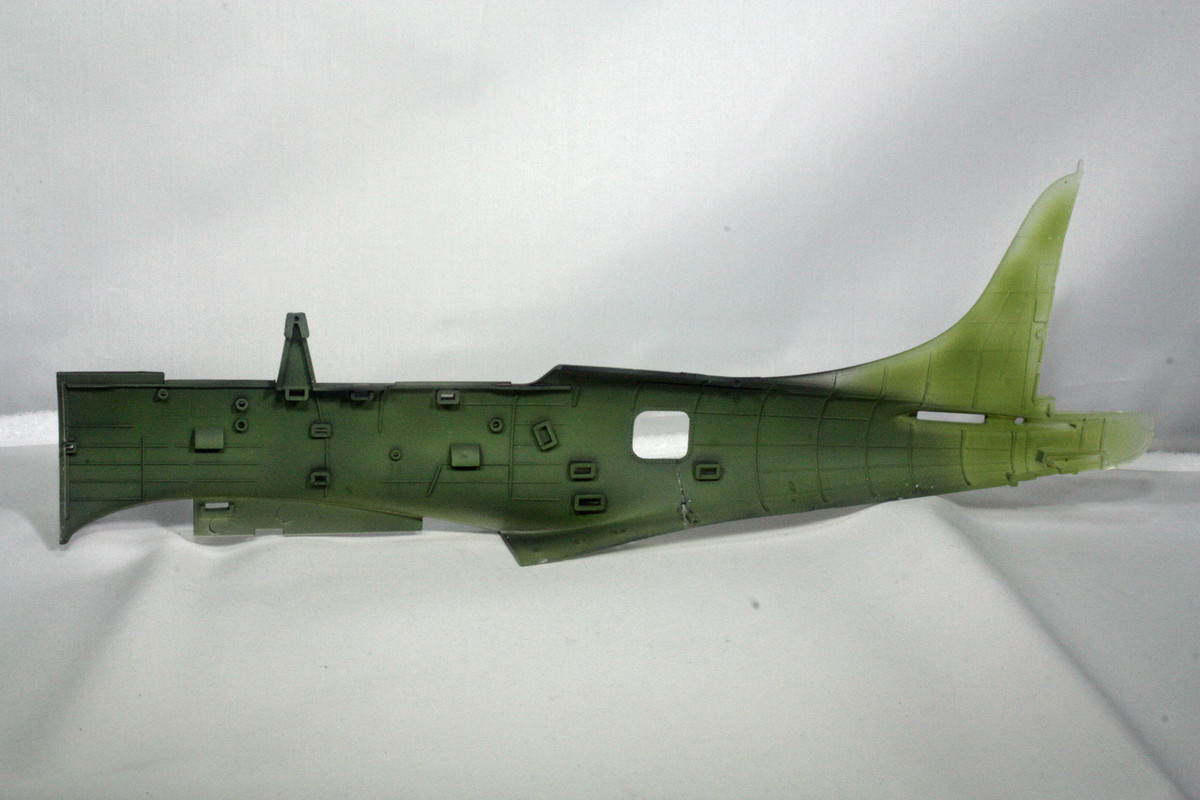
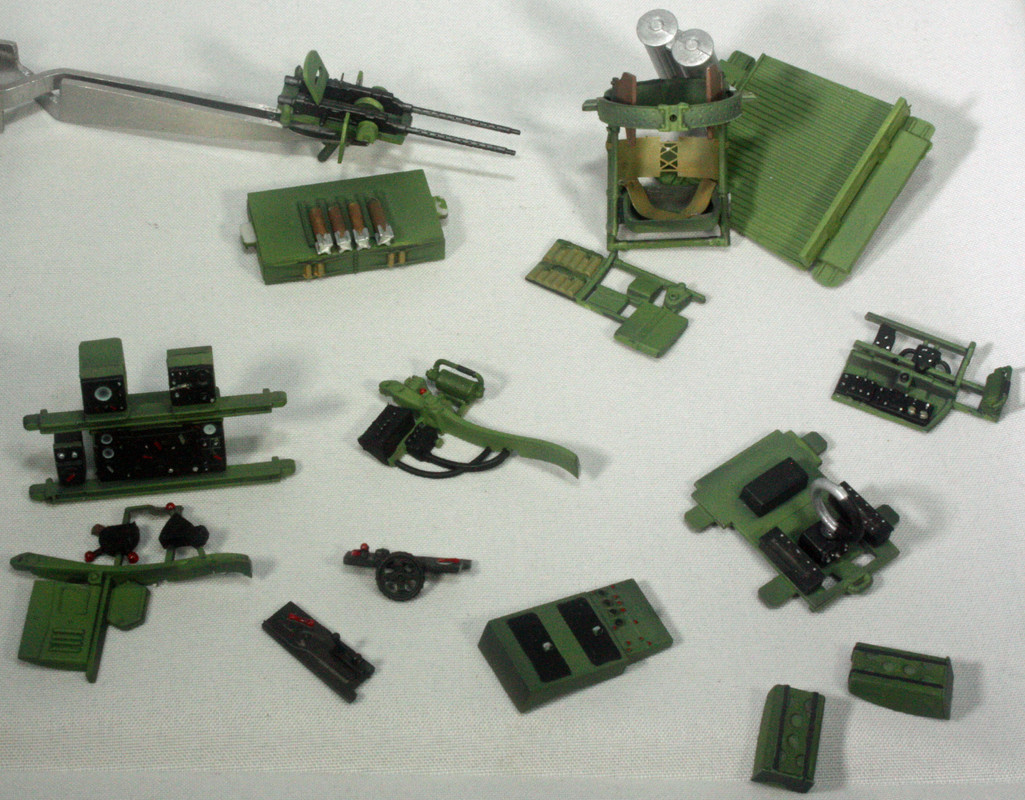
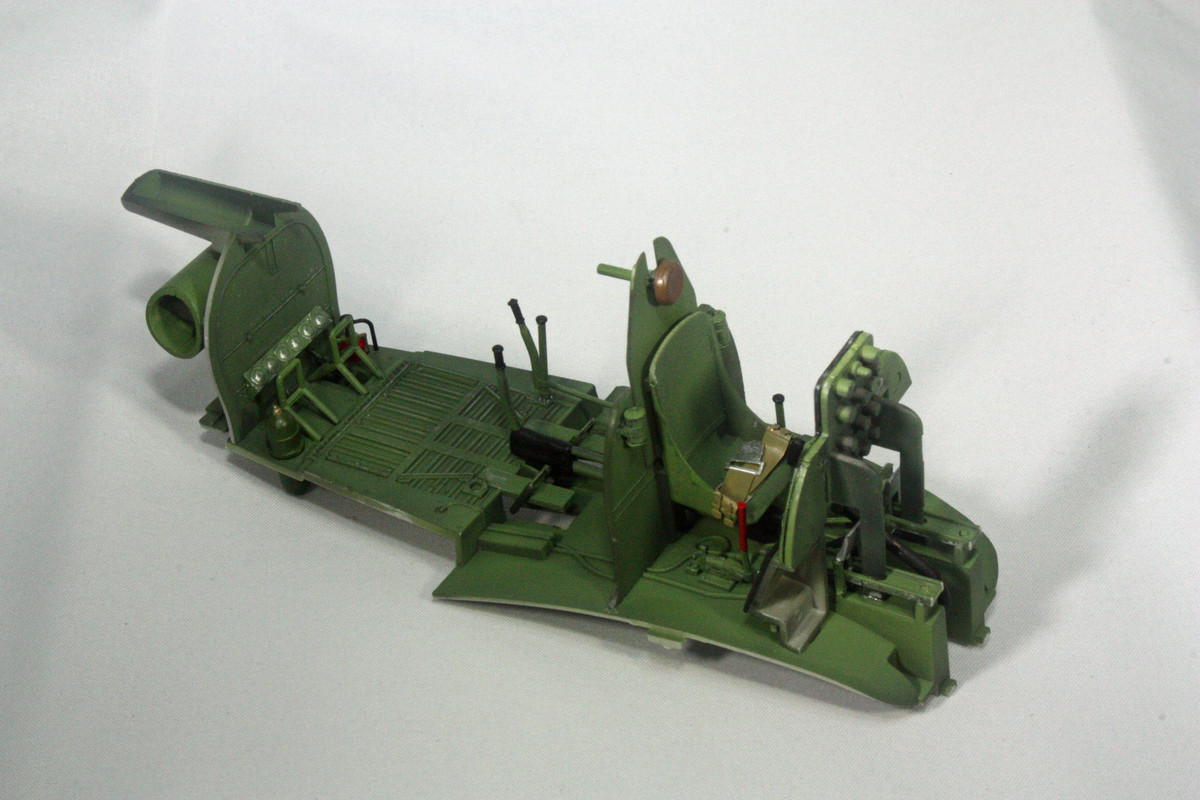
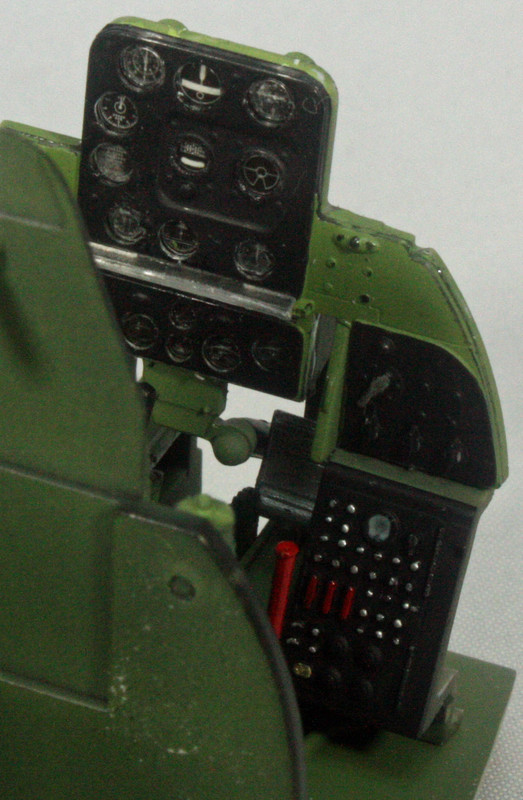
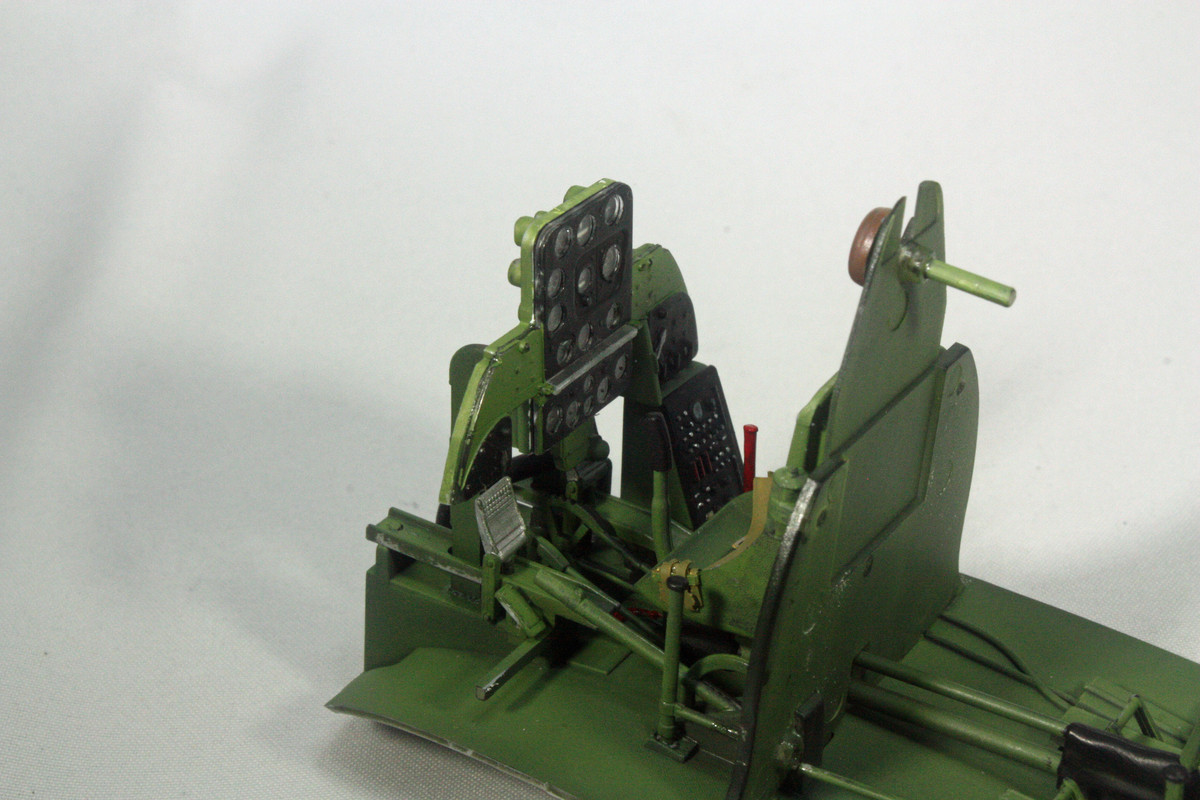
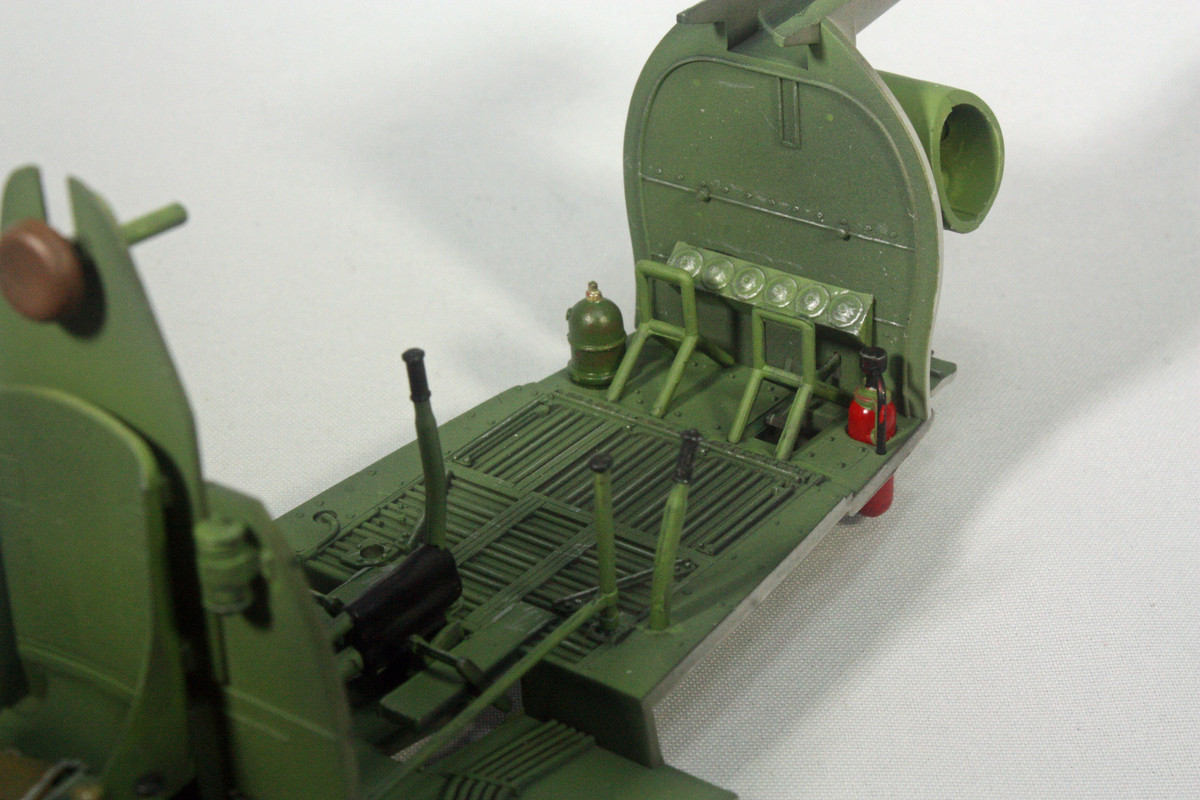
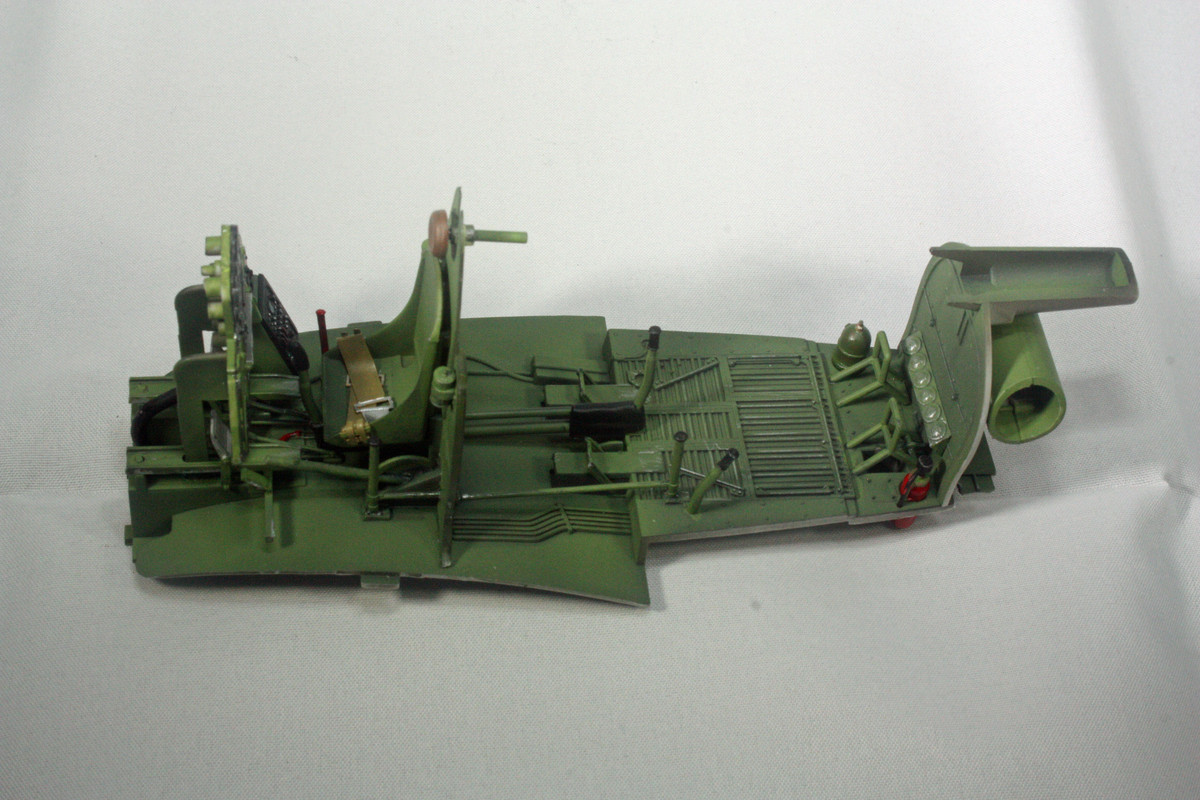
When I install all the cockpit parts into the fuselage, I plan to add some thick lead wire (not sure what size just yet) to replicate the tubes coming out of the O2 tanks, and run some electrical wiring throughout the cockpit. Very little of that detailing will actually be visible once I close up the fuselage, but it's always fun to build to this leve of (insanity) detailing.
Finally, clear plastic is a bit more brittle than gray plastic. I noted before I started painting that the fuselage part was split from the bottom of the access hatch located behind the tail gunner on the starboard side. I glued the plastic together, but I may have to do some sanding to eliminate the evidence of the split.
