I have hd this Itleri 1/48 IL 2 kit for some time and with the lockdown moe joe going well for once decided to build it.
I was quite heppy looking at the kit, knowing that it is a rebox of the Acurte Minitures mold expected great things from it.
The detail on this kit is really very good, fine scribed and some raised detail.
The cockpit is nicely detiled, quite "busy" for WW2 aircrft, the instructions call for RLM 02 as a base color. I did some pre shading to try give the look of "depth" to the floor and side walls. The seatbelts are masking tape with wire buckles.
 IMG_20200427_064653 by Theunis van Vuuren, on Flickr
Then one needs to carefully guise this onto the joined fuselge halves.
 IMG_20200427_083502 by Theunis van Vuuren, on Flickr
The IP is very cool as it is a clear piece with decals as the back nd then the front is painted. I used PVA glue as a mask for the dail faces.
 IMG_20200427_083654 by Theunis van Vuuren, on Flickr
This is the part where the eagerness to build this kit started to bleed off. One needs to glue the wing top and bottom sections together and then onto the fuselage. I dry fit tested this onlt to see that this would lead to an ugly wingroot fit that would be hrd to fill and rescribe. I glued the wing top sections to the fuselge pulling them up to meet the wingseat.
 IMG_20200427_084549 by Theunis van Vuuren, on Flickr
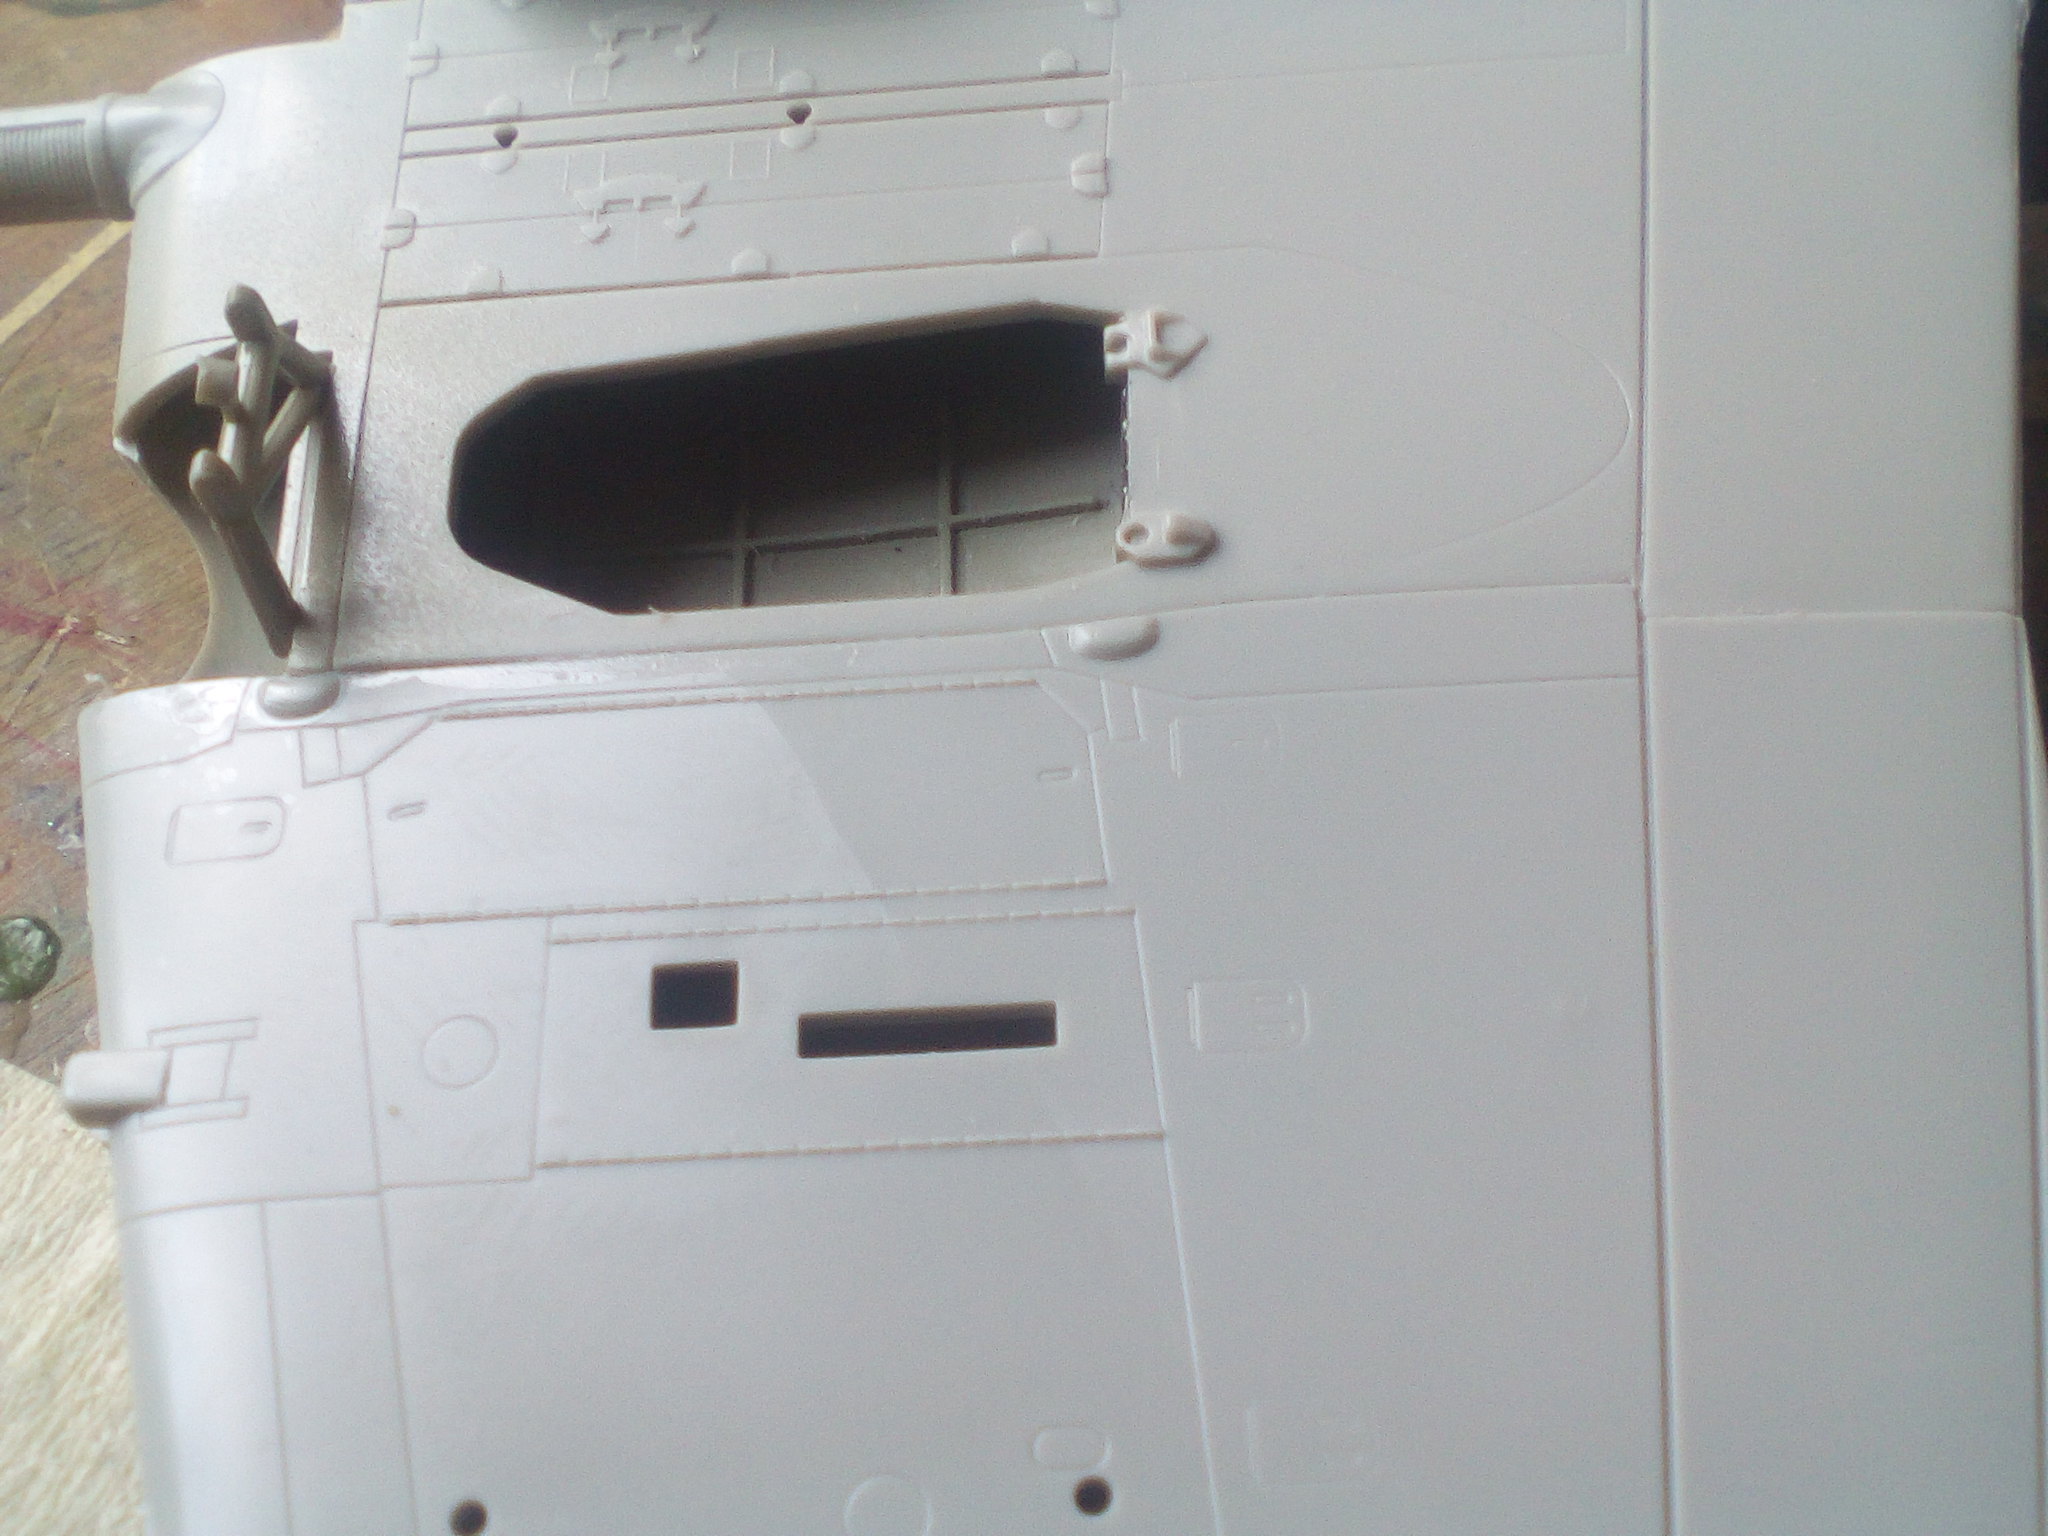
Then the bottom section of the wings go on nd I found that they dont line up either, There is a nasty step between the inner and outer wing sections. This sits right on the joint where the wheel well fairing needs to go and I think it would be difficult to fill and sand.
 IMG_20200427_085608 by Theunis van Vuuren, on Flickr
So I installed a spreader onto the bottom "flat" wing section to raise it to the level of the inner wing pannel.
IMG_20200427_085608 by Theunis van Vuuren, on Flickr
 IMG_20200427_091450 by Theunis van Vuuren, on Flickr
 Untitled by Theunis van Vuuren, on Flickr
Knowing that I would have to sand this seam and scribe it again, and that it was basically under stress from being pushed into place I went with stretched spure and cement to fill the seam to be structural.
 Itleri 1/48 IL 2 by Theunis van Vuuren, on Flickr
Strangely the orhte side din not have this problem
 Itleri 1/48 IL 2 by Theunis van Vuuren, on Flickr
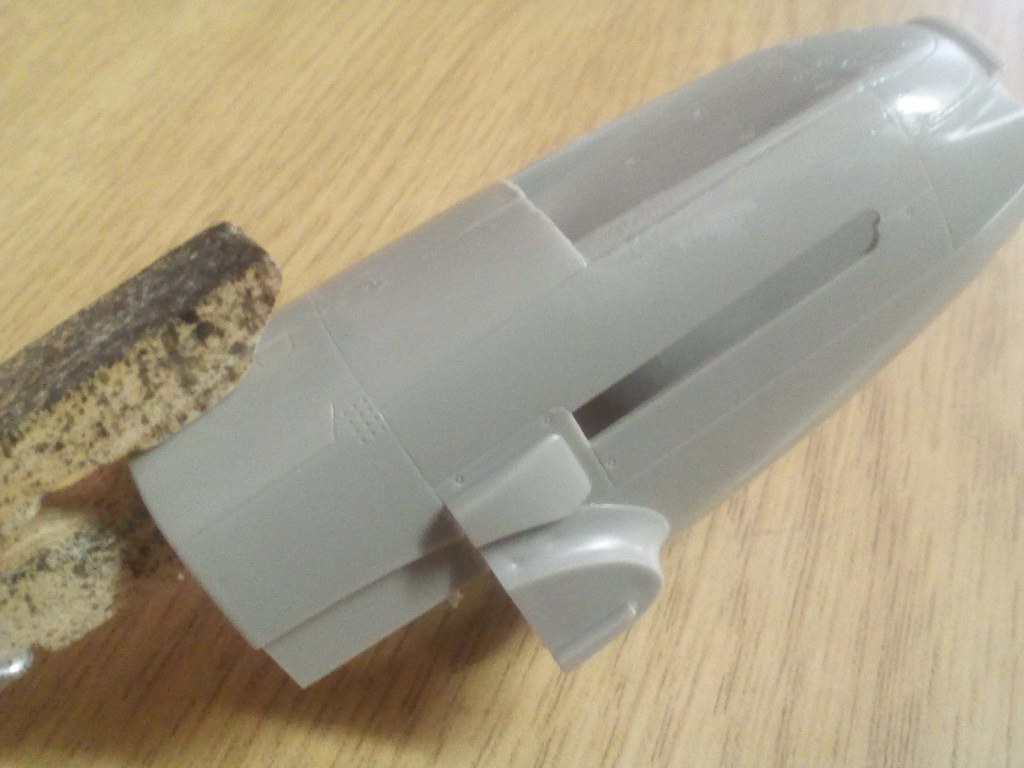
Now the cowling is where the fun really started, this is built and then glued to the fuselage/wing front.
It had to be wrangled into place and glued in small sections to even remotely line up.
 IMG_20200427_083531 by Theunis van Vuuren, on Flickr
In my view this cowl is overly complex
 IMG_20200427_083549 by Theunis van Vuuren, on Flickr
There is also a marked step between the wing and fuselage joints at the rear that will need adressing.
 IMG_20200427_155014 by Theunis van Vuuren, on Flickr
Theuns