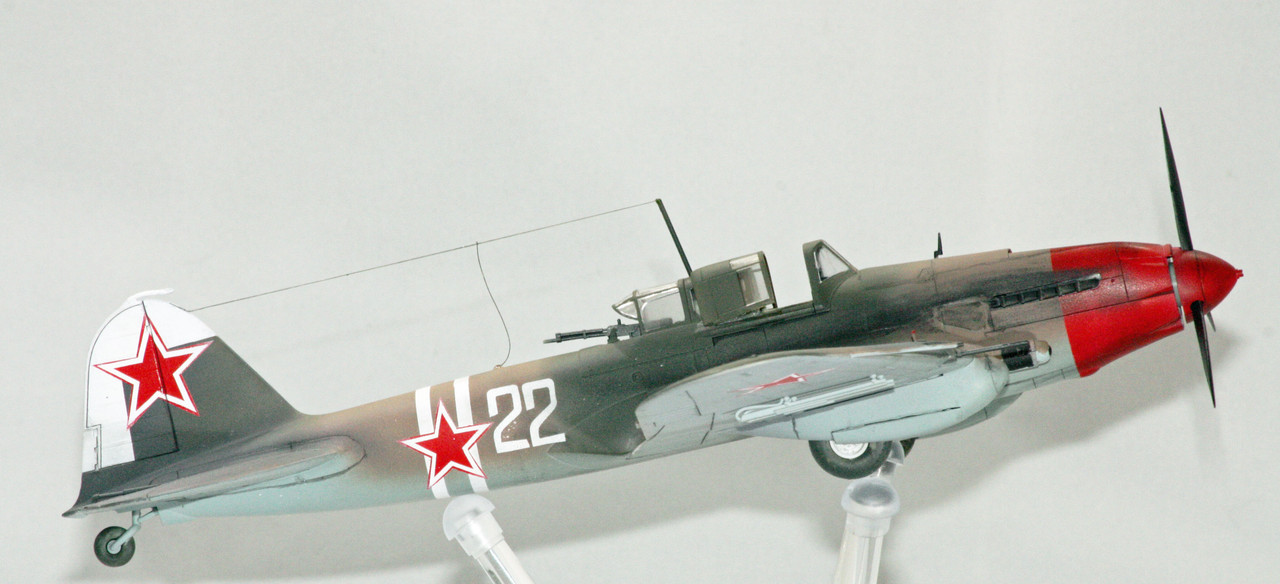
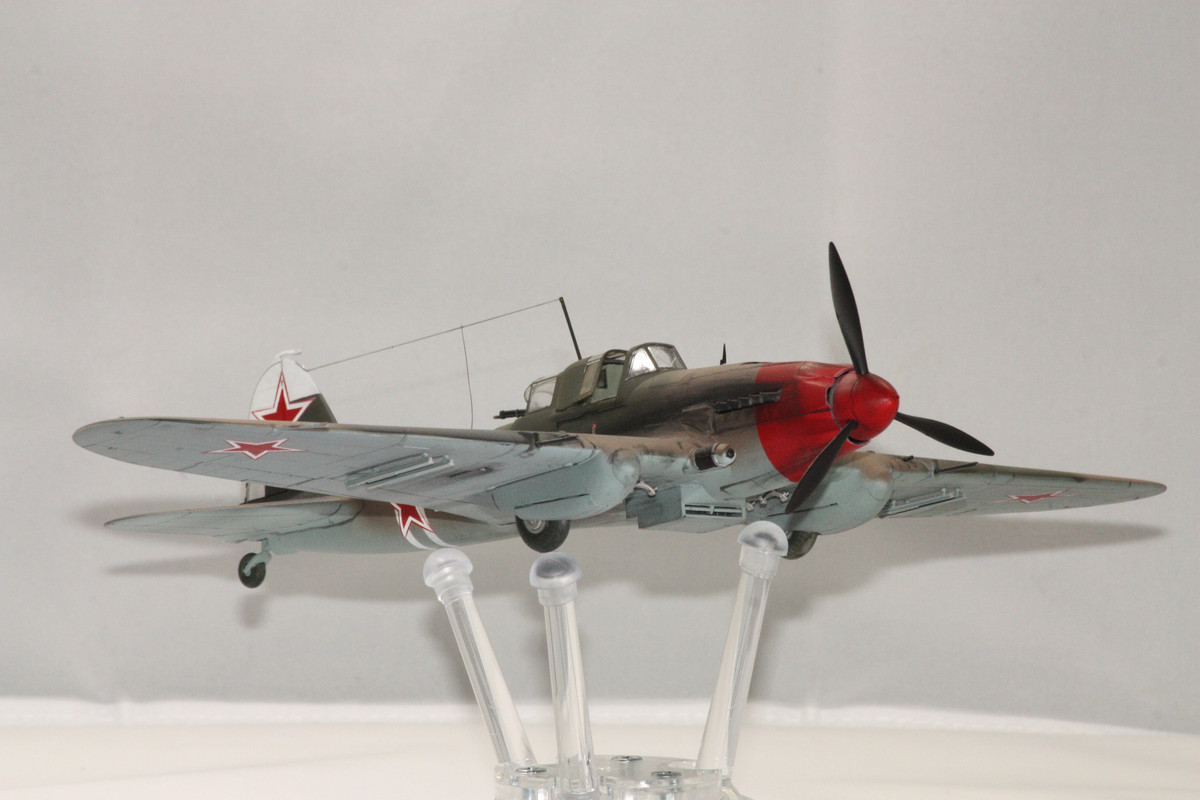
Here is the second of my Accurate Miniatures Soviet VVS builds, the Il-2m3 Sturmovik.


I built this kit once before, back in 1998 shortly after it was first released. I enjoyed building it back then, in the first of the box art pictures I posted above. That build was one of those that I lost in a shelving disaster in 2006, so I picked up another copy of the kit via eBay. From the get-go, I planned something different for this newer build: wheels up, and a more interesting paint scheme. I might have gone with the box art from the second picture above, but I acquired the Montex Mask set for the kit, which included the red-nosed 22 that I ended up building.
As with the Yak-1 that I did alongside this one, I opted against purchasing paint formulated for Russian colors to use paint I already had on hand. The paint call-outs were for a grayish-brown, dark green, dark gray, and light grayish blue. I mixed Tamiya Brown and Tamiya Medium Gray for the grayish-brown, using Polly Scale Italian dark olive green, Vallejo RLM 66 Schwarzgrau, and RLM 76 light blue for the other colors.
Construction was not without challenges. The wheel fairings come with the gear doors molded into the open position. I had to cut the doors free and align the doors on their individual fairing parts prior to constructing and assigning the fairings. The fairings are thin parts, so I was constantly concerned about the amount of pressure I could apply while sanding in the area of those doors. The wheels were, like a B-17, partially visible when retracted. There was no room to install the retracted struts, and since they would never have been visible, I didn't bother to attempt to put them in place. But that led to a related issue as to what was I going to use to keep the wheels in place? The wells were too deep to simply use the roof of the wheel well as the surface that would keep the wheels in place. I ended up using CA along the edge of the doors and sliding the wheels into place, holding them until the CA cured enough the keep the wheels where I had them.
Weathering was black and gray pastels, and Flory wash. I also did something new here. Often I see articles from armor builders using a dot filter technique to effect weathering. The technique typically uses oil paints, but I didn't have such paints in the colors that I thought would be appropriate. I did, however, have some pastels in "earthy" tones. So I dabbed a bunch of random oranges, browns, tans, etc across the wings and stabilizers and then rubbed it into the finish. I'm not sure that the effect comes across in the photos, however, but it does look good to the naked eye.


Next up is Zvezda's Petlyakov Pe-2. The kit looks to be far more challenging than either of these Accurate Miniatures kits, with more detail including a complete engine ... and I need a break from the bench for a few days, so I anticipate roughly 3 weeks before I can complete that one if everything else in my life remains the same.