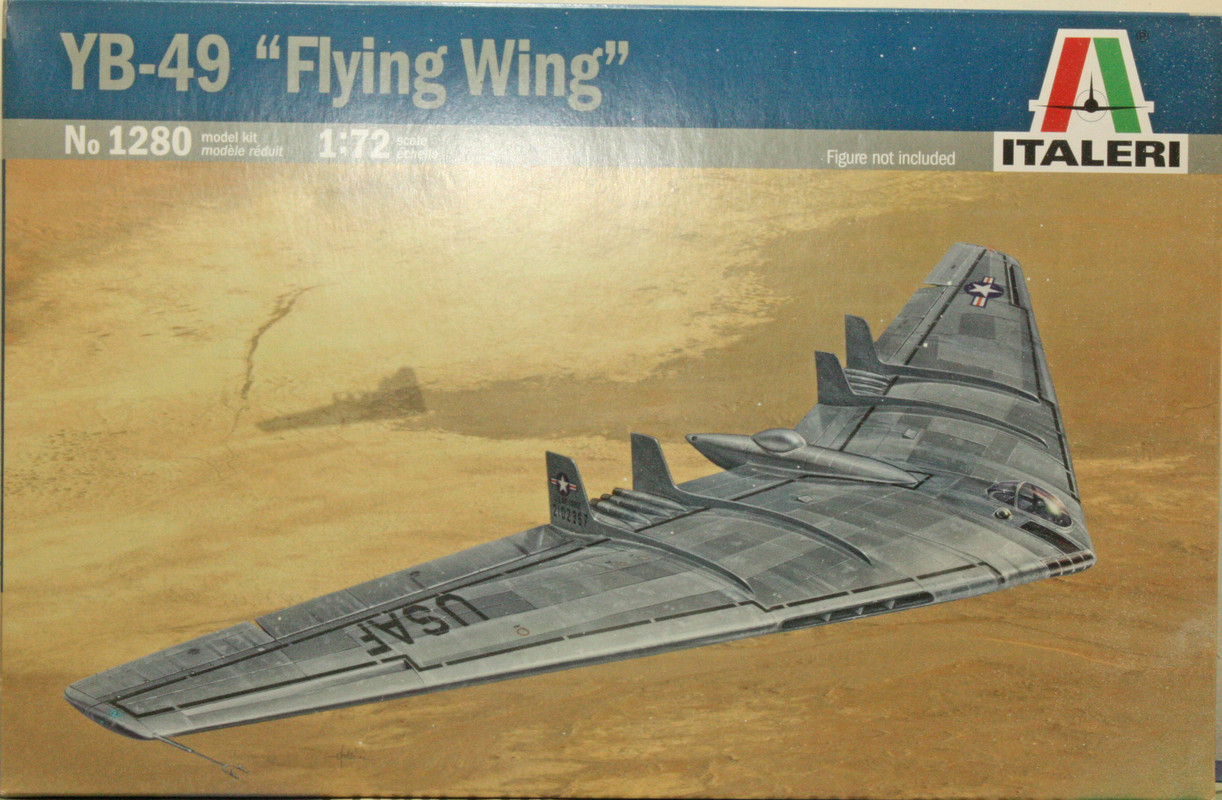
My latest build began life as an AMT/Ertl mold. I remember looking at it and seeing one built up in a long-since closed hobby shop back in the mid-1990s and having little interest in building it myself. Flash forward about 20 years, I found myself in a Hobby Lobby in College Station, Texas, where I happened to meander down the clearance aisle, and lo and behold, here was Italeri's repop of that Flying Wing, for $25. In those days I was in a grab-it-if-I-see-it mode, so home it came with me. Where it sat in the stash for another 10 years.

The kit is a simple one. I mean, how complicated can it be? It's just a freaking wing! But it's a BIG wing even in 72nd scale. It comes comprised of a middle portion, to which you attach the outer sections sandwiched around a large block of plastic for support. There is a cockpit with a slight amount of detail inside, but forget about it once you close up the middle section of the wing, because you will see only a seat. It includes landing gear, but this one is too big for any shelf I possess, so onto the ceiling it goes with retracted landing gear.
Fit is hot garbage. No, wait, I mean, fit is steaming, smelly hot garbage. Portions of the wings simply do not line up (there is a forward edge piece that includes the air intakes that finishes out the leading edge of the Flying Wing). I could not get it to align properly. I also could not get rid of the seam after copious time spent sanding and scraping, sanding and scraping. I used a fair amount of Perfect Plastic Putty on this one, and rescribed several panel lines, but still never got rid of that seam. And of course, it shows like a sore thumb under all this natural metal paint.
I almost shelved the whole thing a couple of times. But it was a short sequence in a childhood favorite movie, The War of the Worlds, that kept me going. The part where the Army generals says the Air Force will have to deal with the Martian invaders, saying the USAF will be dropping an A-Bomb on the Martian war machines, and that the Flying Wing was going to carry it. Wait, did I say childhood favorite? Nah, that movies remains among my favorites.
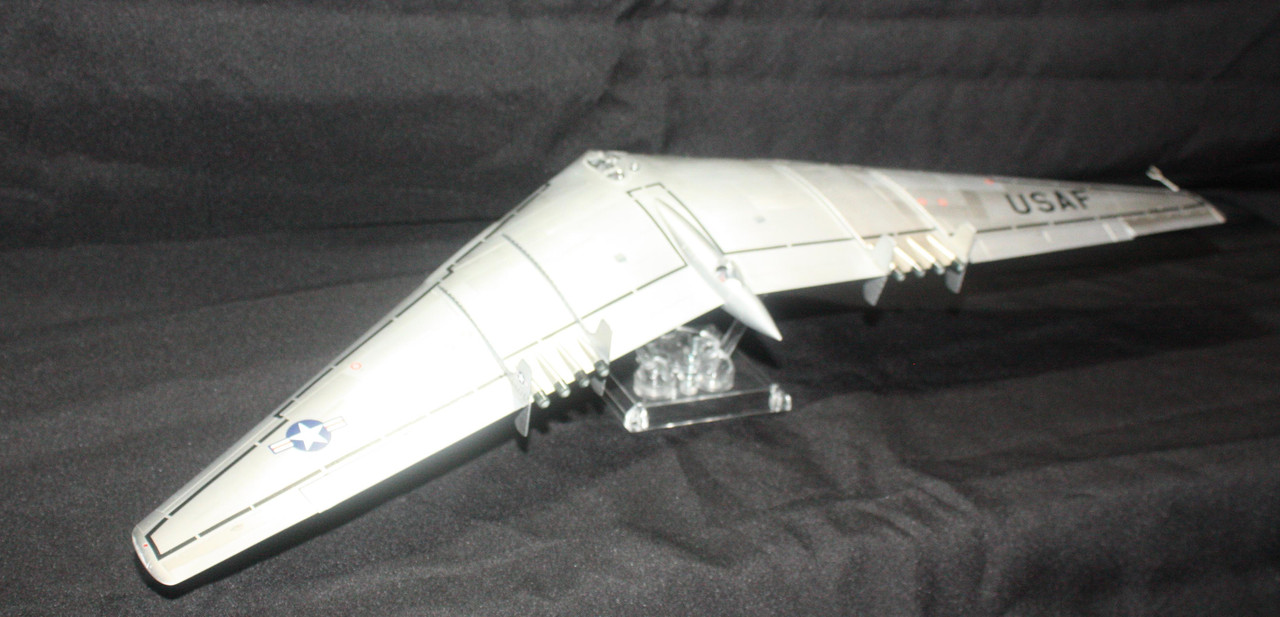
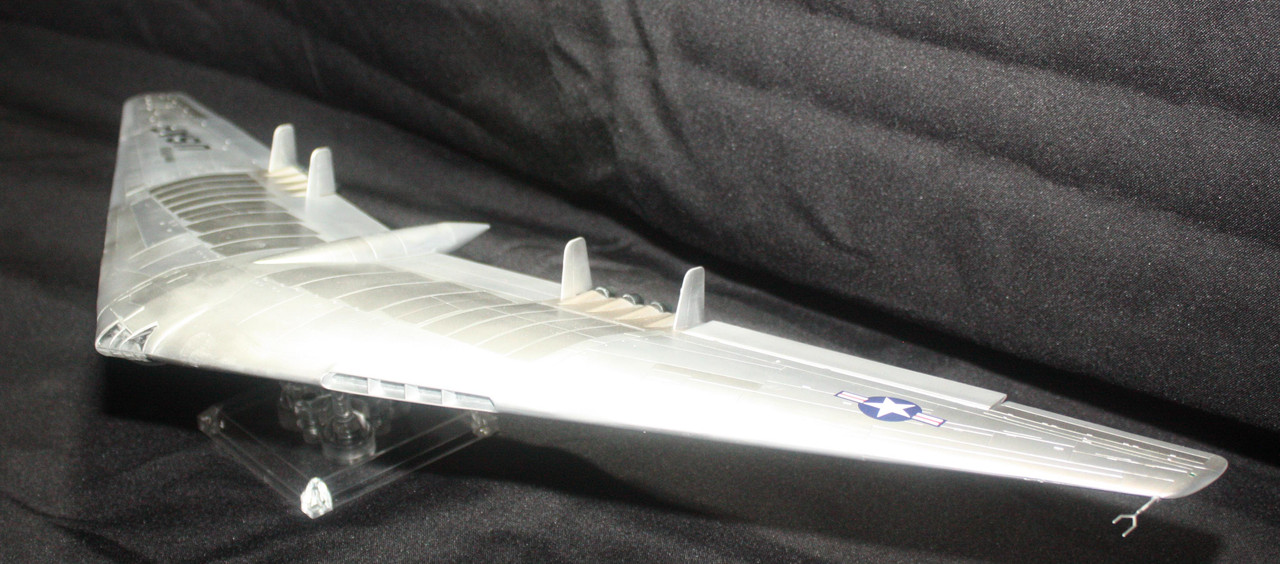
Paints are all Ak Interactive XTreme Metals. I started with a base coat of aluminum, then painted the control surfaces white aluminum. The paneling around the engines got a coat of pale burnt metal, with the exhaust nozzles getting jet exhaust. I picked out random panels in dark aluminum and matte aluminum to finish out the painting.
Of course, I was still grumpy about the seams. But with The War of the Worlds prodding me on, I got to putting on the decals. There aren't many of them - just the US insignia and USAF lettering, and a bunch of wing walk markers. And lo and behold, it was those wing walk markers that served a great purpose in covering the seams. Now, they are still visible when you look at it just right, but they aren't glaringly obvious.
I typically photograph my builds repeatedly, but today, I didn't get many good shots. I'm not sure if the background I chose caused the focus problem, but most of the shots I took were blurred. Perhaps I was not stationary with the camera, but in the end, I did get 3 decent shots. It is not a very photogenic airframe, and the model's size makes it difficult to position (especially when the better half has loaned out all the tables I use when I set up my photo studio).


I'm taking a break from the bench for a while. This is the wife and my 20th anniversary, and we're taking an anniversary trip to one of this nation's nicest beaches in Gulf Shores, Alabama. On top of all of that, I'm participating in a project at work which I have to do outside of work hours, that is going to start taking a good bit of my free time.
But next up will be Revell's PT-17 Stearman in Army colors.