SEARCH FINESCALE.COM

Enter keywords or a search phrase below:

Italeri YB-49 Flying Wing Complete

3557 views
16 replies
1 rating 2 rating 3 rating 4 rating 5 rating
  • Member since
    October 2019
  • From: New Braunfels, Texas
Posted by Tanker-Builder on Sunday, June 5, 2022 11:45 AM

Oh Boy!

        That is very Nice Looking. I did something with mine that I don't think many tried. I used "Rub-N-Buff" paste polish on mine. Silly wasn't it? It is somewhere in my Built stash, Carefully packed against Damage. Believe it or not, Last time I checked it, it still had it's shine. What color did I use? Why Bright Silver! It was a paste but went on well, and the more you rub it the brighter and shinier it got.

      Oh, for everyone's info, None has ever rubbed off either. It seems the longer it stays on the harder it gets. You do know it is what they used on those very ornate now considered antiques, picture frames that looked like they are Gold, Copper, Silver and of course Many wood shades, They had Bronze too! Surprisingly the decals went down fine too! 

  • Member since
    November 2005
  • From: Formerly Bryan, now Arlington, Texas
Posted by CapnMac82 on Sunday, June 5, 2022 11:04 AM

Aggieman
Hobby Lobby in College Station, Texas,

That very building separated me from my money on a regular basis.

  • Member since
    March 2022
  • From: Twin cities, MN
Posted by missileman2000 on Saturday, June 4, 2022 8:43 AM

Beautiful!  Great bare metal finish.


  • Member since
    January 2015
  • From: Katy, TX
Posted by Aggieman on Friday, June 3, 2022 7:29 PM

I was finally able to spend some time at the bench this past week and wrap up another build.  While photographing that build, I pulled down the YB-49 and took another pic of it with an old 1/72 Monogram F8F Bearcat.

  • Member since
    May 2011
  • From: Honolulu, Hawaii
Posted by Real G on Sunday, April 24, 2022 1:10 PM

Nice one Aggieman!  Yeah the XB-35/YB-49 kits were done by AMT's "C" team.  Those intakes are actually really deep, but the kits have shallow screen textured blanks.  But as you have shown, once built they are quite striking!

“Ya ya ya, unicorn papoi!”

  • Member since
    July 2015
Posted by MR TOM SCHRY on Sunday, April 24, 2022 10:50 AM

Boy, I remember those kits when they first came out from AMT!  You could've picked them up at a local Kay - Bee Toys a few years later for just a few bucks.  I buddy of mine just completed one last year and they look great when the builder takes their time and puts a little TLC into them.  It's a shame that you don't see many of them on the contest tables.

tjs

TJS

  • Member since
    July 2016
  • From: Malvern, PA
Posted by WillysMB on Sunday, April 24, 2022 10:43 AM

The XB-49, YB-35, and the B-2 all share the same sweep back angle on the wings. I can't find it now, but there's a neat photograph of three models arrayed in a circle up against each other. I have all three kits and one of my dreams is to have a display of them all. I have lots of those it seems...

  • Member since
    January 2015
  • From: Katy, TX
Posted by Aggieman on Sunday, April 24, 2022 10:36 AM

Thanks everyone for the uplifting comments!

I plan to set up my photo studio again for this one, and will put in a 72nd scale F-84 to give a better idea of this bird's size.

  • Member since
    July 2003
  • From: On my kitchen counter top somewhere in North Carolina.
Posted by disastermaster on Sunday, April 24, 2022 2:55 AM

https://hvac-talk.com/vbb/images/smilies/putergreet013.gifNice looking wingding 'ya got there! https://montecarloforum.com/forum/images/smilies/congrats.gif

Sherman-Jumbo-1945

"I was so much older then, I'm younger than that now"


  • Member since
    July 2004
  • From: Sonora Desert
Posted by stikpusher on Sunday, April 24, 2022 12:05 AM

For reference Wink


F is for FIRE, That burns down the whole town!

U is for URANIUM... BOMBS!

N is for NO SURVIVORS...

       - Plankton

LSM


  • Member since
    January 2021
Posted by PFJN2 on Saturday, April 23, 2022 8:52 PM

Wow, that looks really nice Smile

  • Member since
    March 2022
  • From: Twin cities, MN
Posted by missileman2000 on Saturday, April 23, 2022 8:44 AM

Yes

  • Member since
    February 2022
Posted by SplatterMan on Saturday, April 23, 2022 5:46 AM

Very nice. The subtle panel shading really works.

fox
  • Member since
    January 2007
  • From: Narvon, Pa.
Posted by fox on Friday, April 22, 2022 11:38 PM

Nice work! Yes

Jim Captain

Stay Safe.

 Main WIP: 

   On the Bench: Artesania Latina  (aka) Artists in the Latrine 1/75 Bluenose II

I keep hitting "escape", but I'm still here.

  • Member since
    July 2004
  • From: Sonora Desert
Posted by stikpusher on Friday, April 22, 2022 11:27 PM

Aggie, that was an excellent clearance score and it sure turned out looking very nice! I'm with you on loving the 50's War of the Worlds movie appearance by this aircraft. Beautiful work! 


F is for FIRE, That burns down the whole town!

U is for URANIUM... BOMBS!

N is for NO SURVIVORS...

       - Plankton

LSM


  • Member since
    April 2003
  • From: USA
Posted by keavdog on Friday, April 22, 2022 7:59 PM

Turned out nice Stephen.  Does seem like a tough bird to get a shot of.  Maybe against a blue sky or background.  Looks like you wrestled through the issues.  If you do more pics, can you give us a size reference like a 1/72 mustang or something.  Congratulations on the anniversary and have fun!

Thanks,

John

  • Member since
    January 2015
  • From: Katy, TX
Italeri YB-49 Flying Wing Complete
Posted by Aggieman on Friday, April 22, 2022 7:34 PM

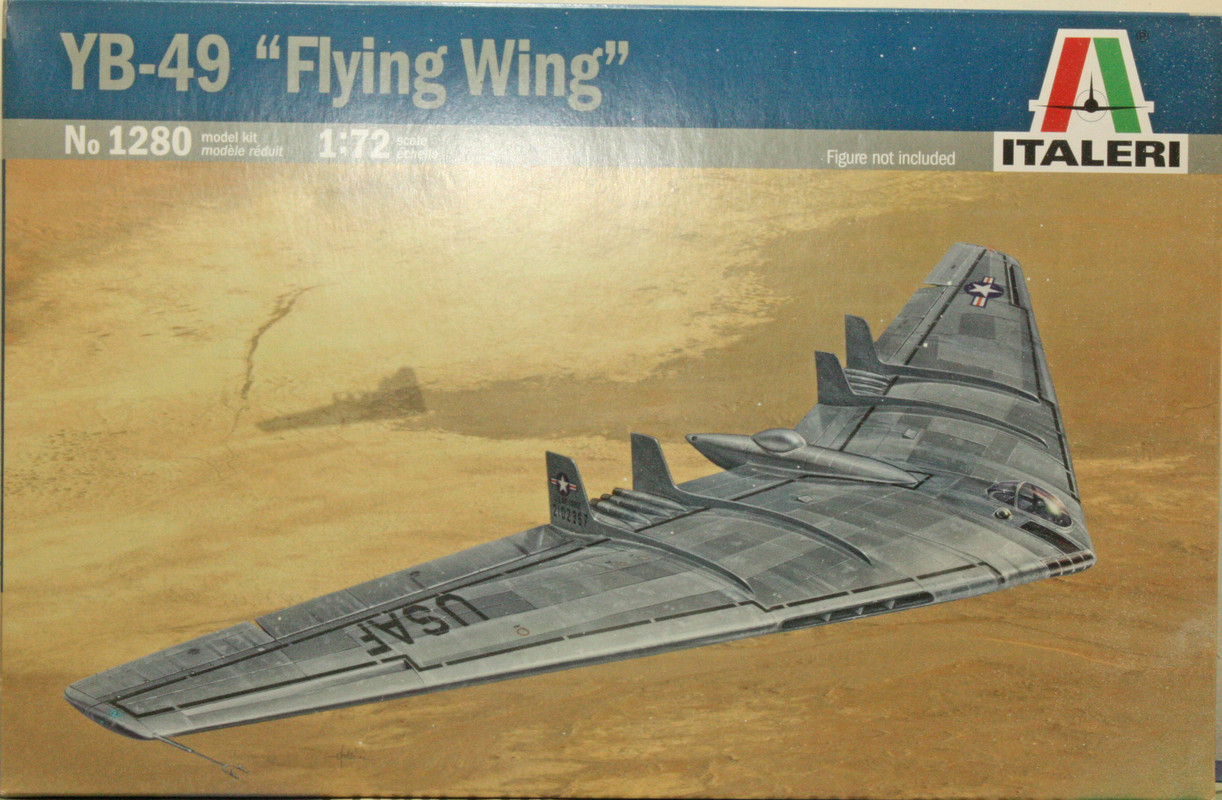
My latest build began life as an AMT/Ertl mold.  I remember looking at it and seeing one built up in a long-since closed hobby shop back in the mid-1990s and having little interest in building it myself.  Flash forward about 20 years, I found myself in a Hobby Lobby in College Station, Texas, where I happened to meander down the clearance aisle, and lo and behold, here was Italeri's repop of that Flying Wing, for $25.  In those days I was in a grab-it-if-I-see-it mode, so home it came with me.  Where it sat in the stash for another 10 years.

The kit is a simple one.  I mean, how complicated can it be?  It's just a freaking wing! But it's a BIG wing even in 72nd scale.  It comes comprised of a middle portion, to which you attach the outer sections sandwiched around a large block of plastic for support.  There is a cockpit with a slight amount of detail inside, but forget about it once you close up the middle section of the wing, because you will see only a seat.  It includes landing gear, but this one is too big for any shelf I possess, so onto the ceiling it goes with retracted landing gear.

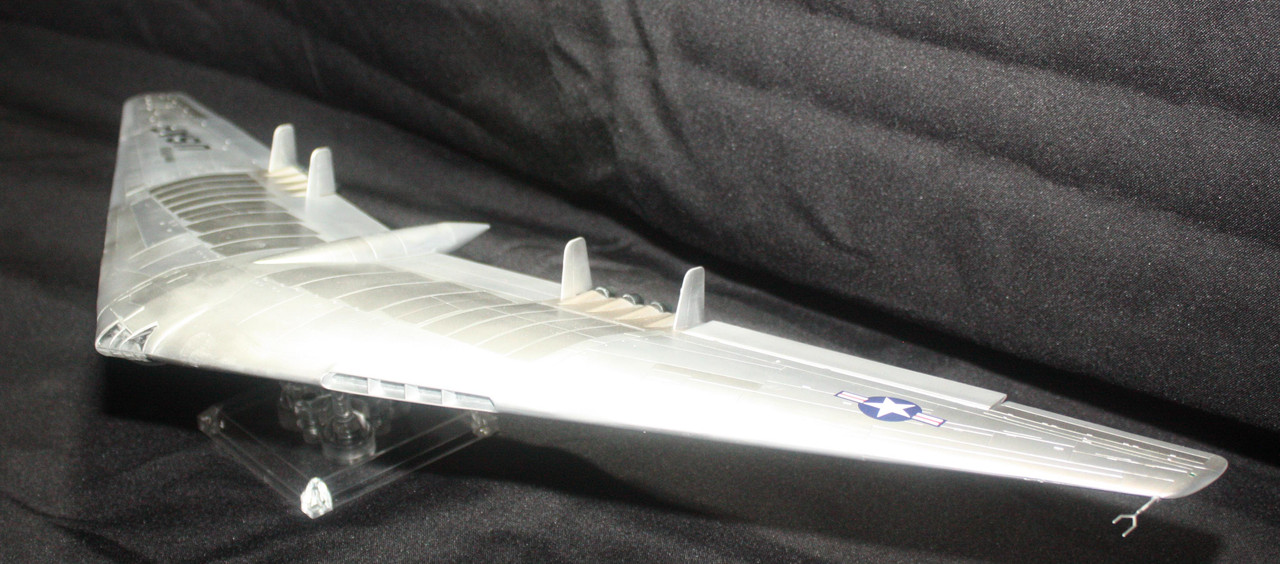
Fit is hot garbage.  No, wait, I mean, fit is steaming, smelly hot garbage.  Portions of the wings simply do not line up (there is a forward edge piece that includes the air intakes that finishes out the leading edge of the Flying Wing).  I could not get it to align properly.  I also could not get rid of the seam after copious time spent sanding and scraping, sanding and scraping.  I used a fair amount of Perfect Plastic Putty on this one, and rescribed several panel lines, but still never got rid of that seam.  And of course, it shows like a sore thumb under all this natural metal paint.

I almost shelved the whole thing a couple of times.  But it was a short sequence in a childhood favorite movie, The War of the Worlds, that kept me going.  The part where the Army generals says the Air Force will have to deal with the Martian invaders, saying the USAF will be dropping an A-Bomb on the Martian war machines, and that the Flying Wing was going to carry it.  Wait, did I say childhood favorite?  Nah, that movies remains among my favorites.

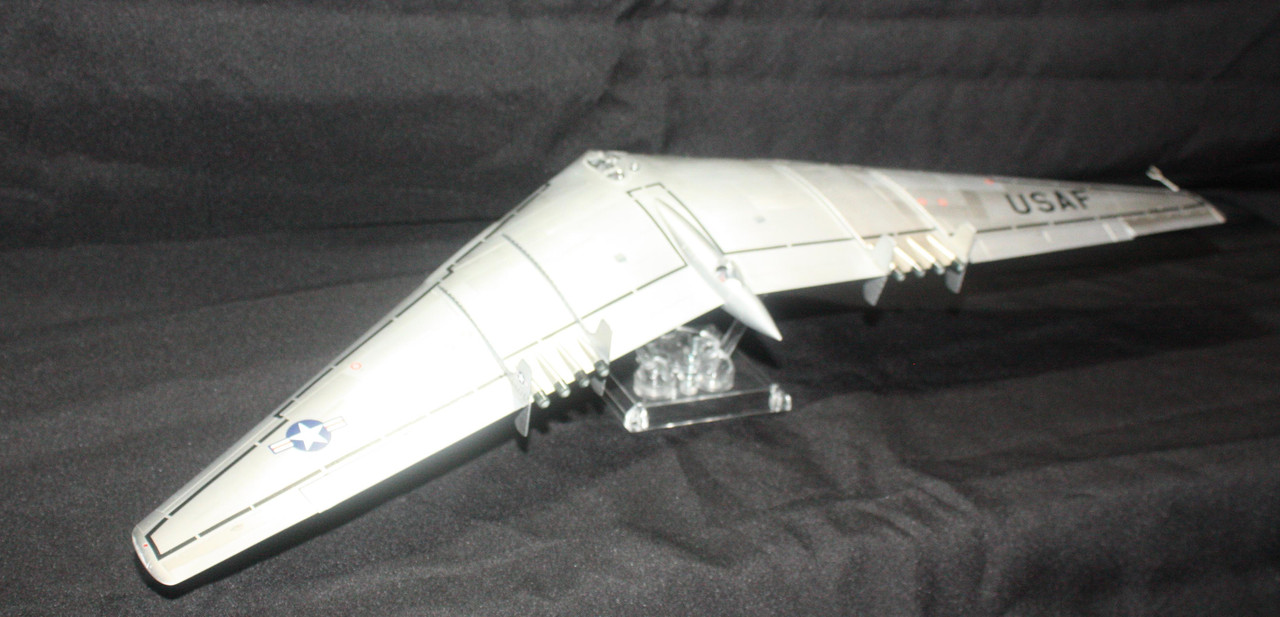
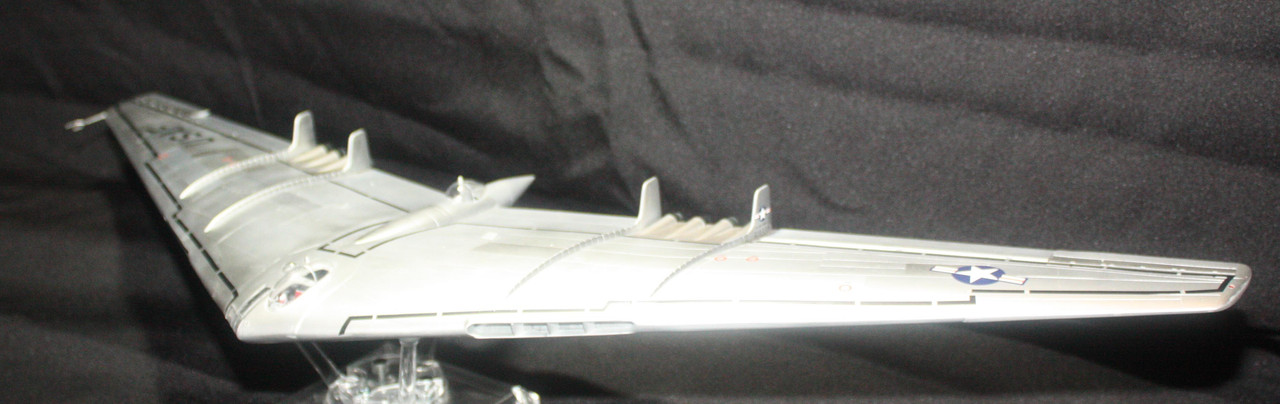
Paints are all Ak Interactive XTreme Metals.  I started with a base coat of aluminum, then painted the control surfaces white aluminum.  The paneling around the engines got a coat of pale burnt metal, with the exhaust nozzles getting jet exhaust.  I picked out random panels in dark aluminum and matte aluminum to finish out the painting.

Of course, I was still grumpy about the seams.  But with The War of the Worlds prodding me on, I got to putting on the decals.  There aren't many of them - just the US insignia and USAF lettering, and a bunch of wing walk markers.  And lo and behold, it was those wing walk markers that served a great purpose in covering the seams.  Now, they are still visible when you look at it just right, but they aren't glaringly obvious.

I typically photograph my builds repeatedly, but today, I didn't get many good shots.  I'm not sure if the background I chose caused the focus problem, but most of the shots I took were blurred.  Perhaps I was not stationary with the camera, but in the end, I did get 3 decent shots.  It is not a very photogenic airframe, and the model's size makes it difficult to position (especially when the better half has loaned out all the tables I use when I set up my photo studio).

I'm taking a break from the bench for a while.  This is the wife and my 20th anniversary, and we're taking an anniversary trip to one of this nation's nicest beaches in Gulf Shores, Alabama.  On top of all of that, I'm participating in a project at work which I have to do outside of work hours, that is going to start taking a good bit of my free time.

But next up will be Revell's PT-17 Stearman in Army colors.

JOIN OUR COMMUNITY!

Our community is FREE to join. To participate you must either login or register for an account.

SEARCH FORUMS
FREE NEWSLETTER
By signing up you may also receive reader surveys and occasional special offers. We do not sell, rent or trade our email lists. View our Privacy Policy.