So I'm about 7 months into this build. Work committments and fluctuating enthusiasm for this kit account for the slow pace of progress. This is my first HK models kit. While there's a lot to like about it, there's an equal amount of aspects to dislike.
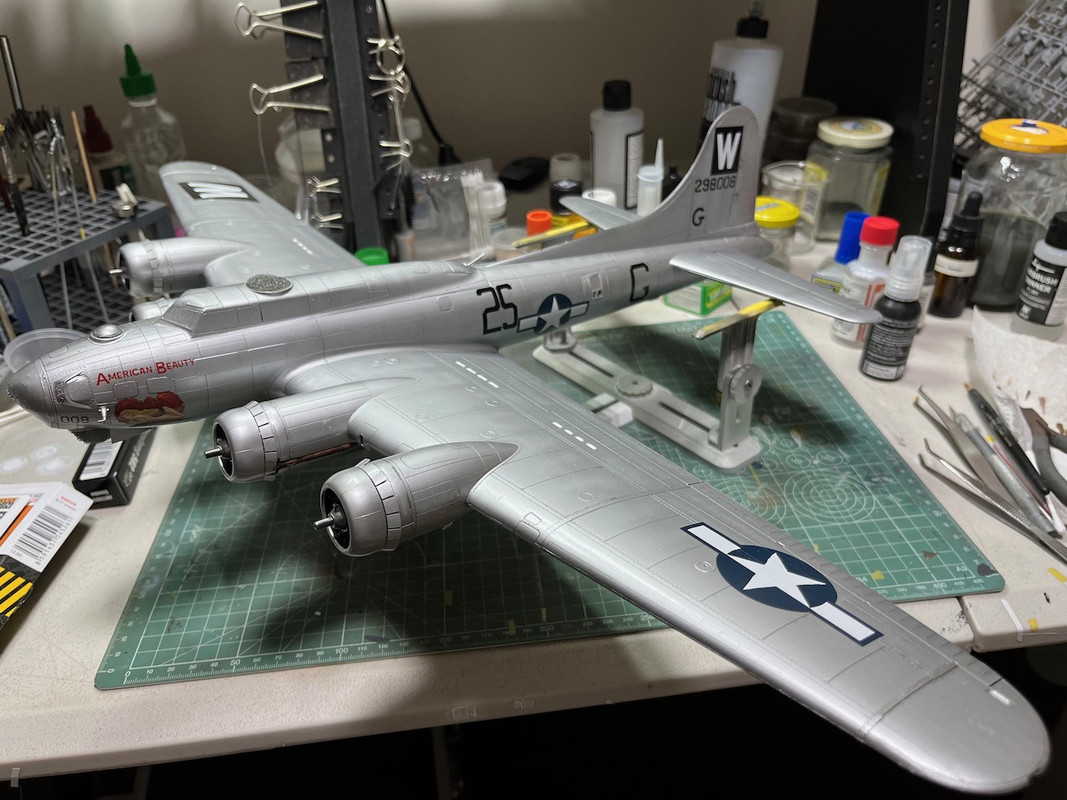
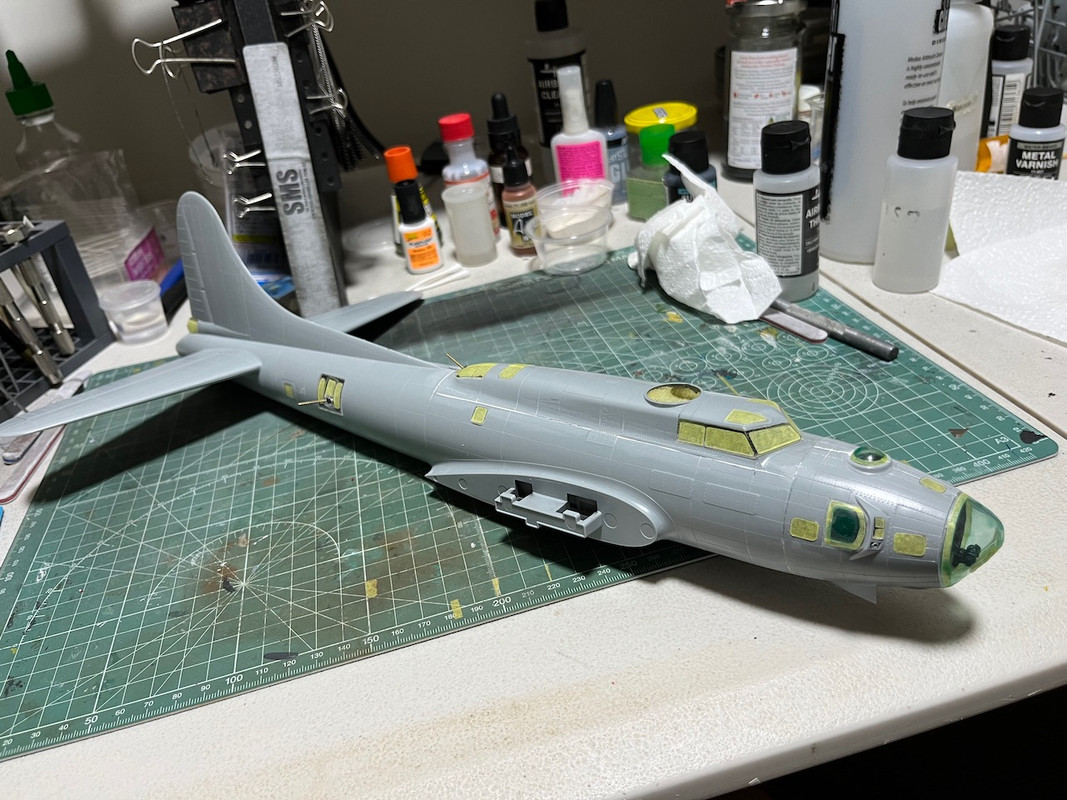
First here's a picture of where I'm at today. Overall it's looking good. I still have to paint the olive drab in front of the cockpit and engines - not sure I can be bothered, but I will probably do it. I think the tonal variations in the aluminium finish look okay. After trying various shades of aluminium from Vallejo on a mule, I decided their plain aluminium looked the best.
Going back to the start now.
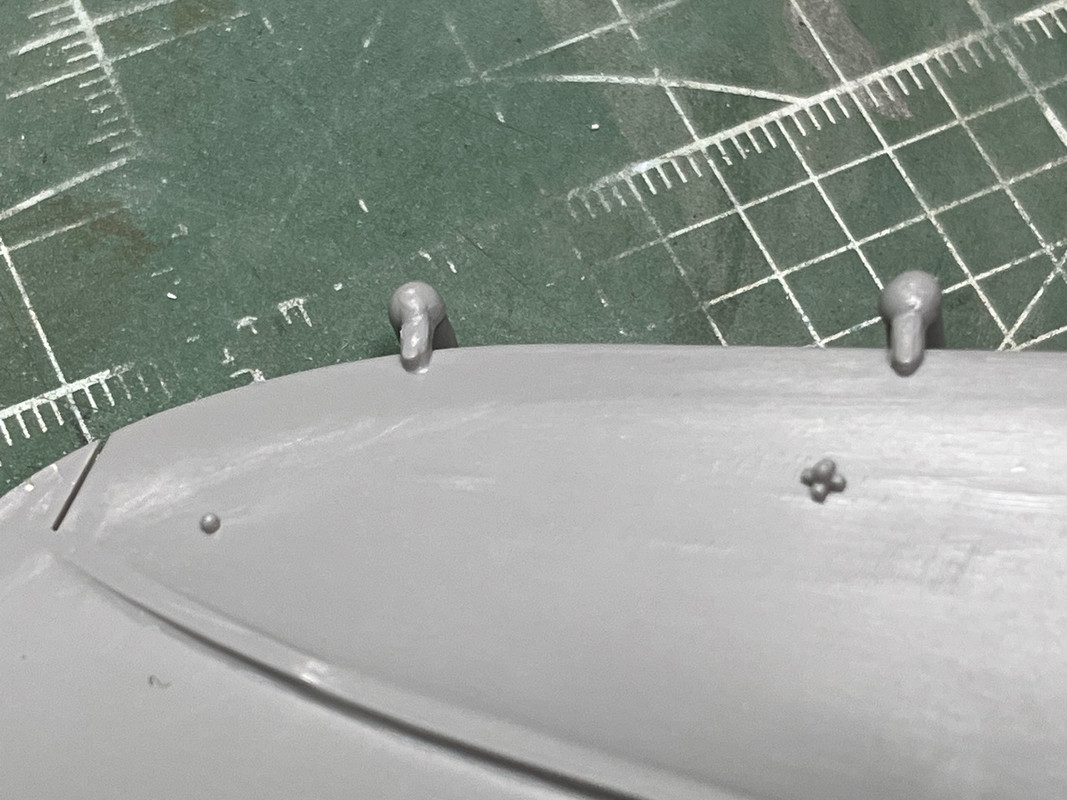
I was surprised by the hardness of the HK plastic. When removing pieces from the sprue and cleaning up with my Tamiya clippers, despite being careful and gentle, some excess plastic was torn away, creating one of many putty jobs necessary on this kit.

You can see the style of plastic I was removing here:
They are chunky indeed.
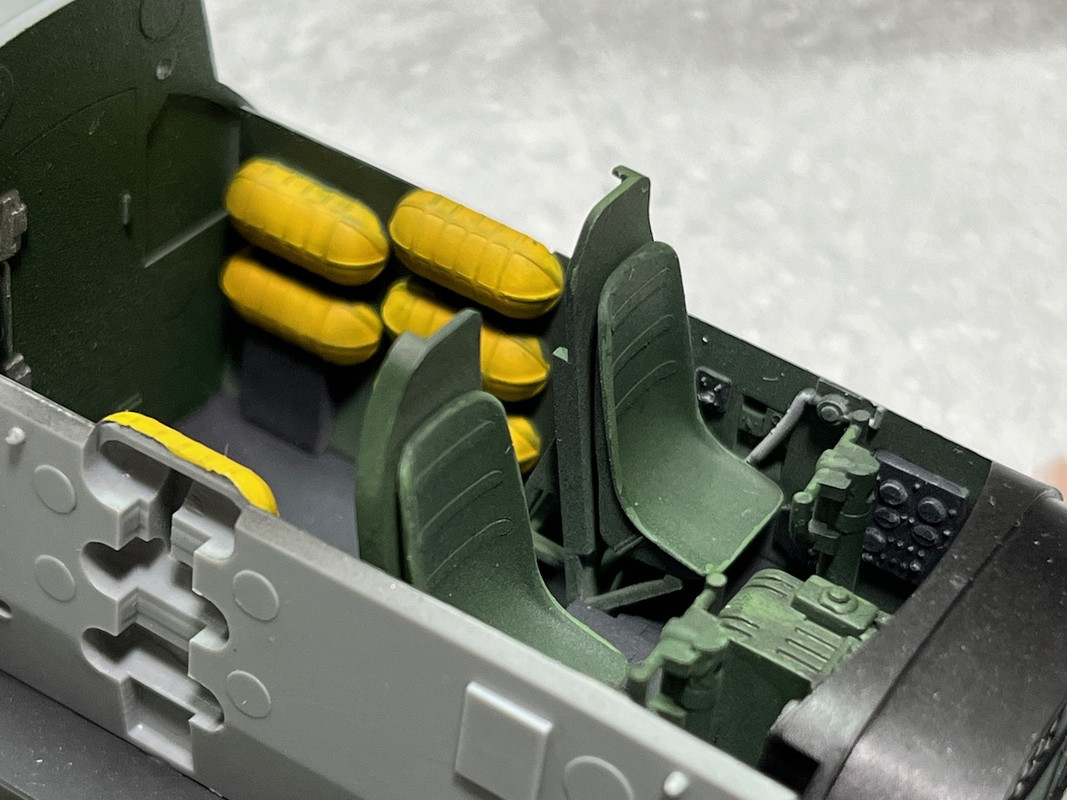
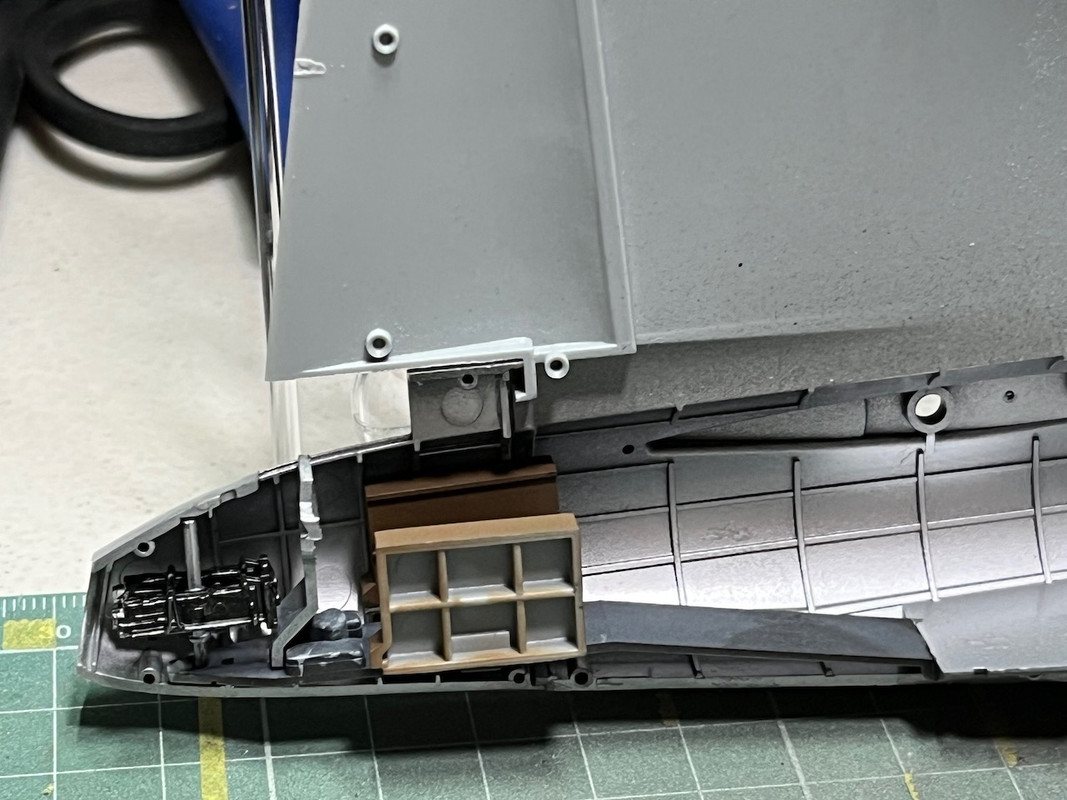
Here's a few interior shots. I didn't bother with too much authenticity here, as it's all hidden once the fuselage is zipped up. I did try a few new things to extend my skills, like the wooden desk surfaces. I know many of the people reading this can do way better.
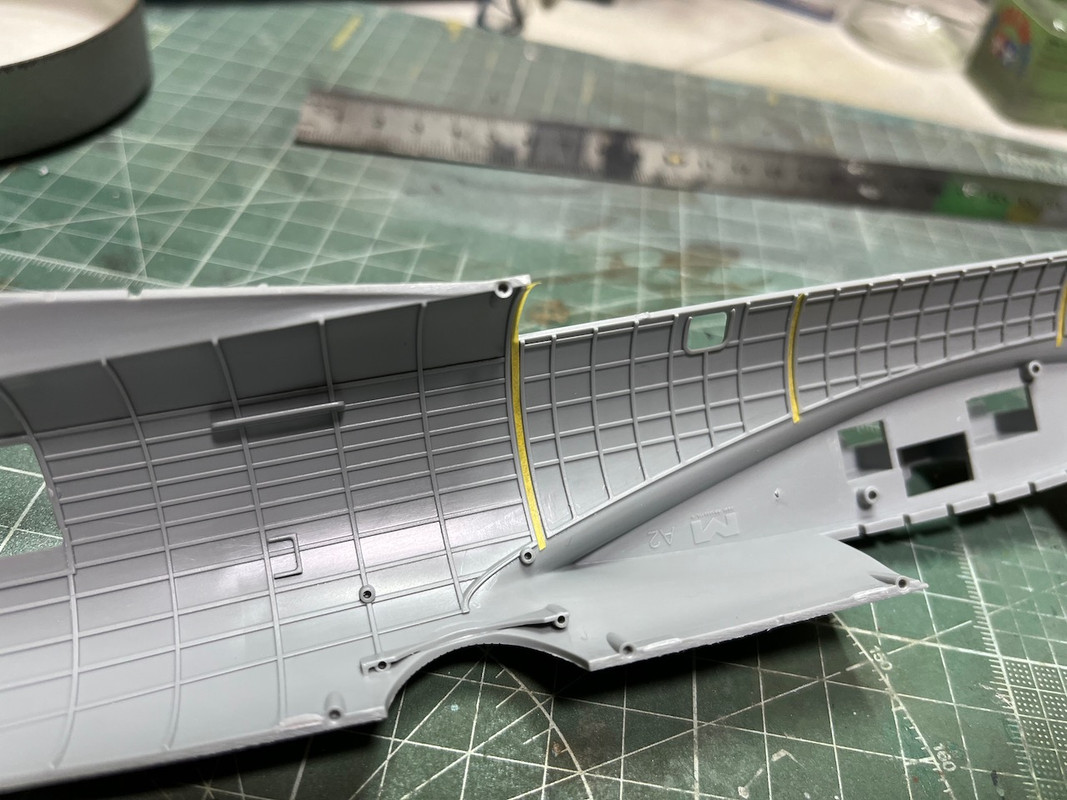
I had watched Doog's Models YOutube on this, and in anticitpation of the PITA he describes of getting the fuselage halves together, I masked off the bulkhead grooves before painting to ensure a clean surface for the cement.
Anyway, on to the interior pieces.
Radio room,
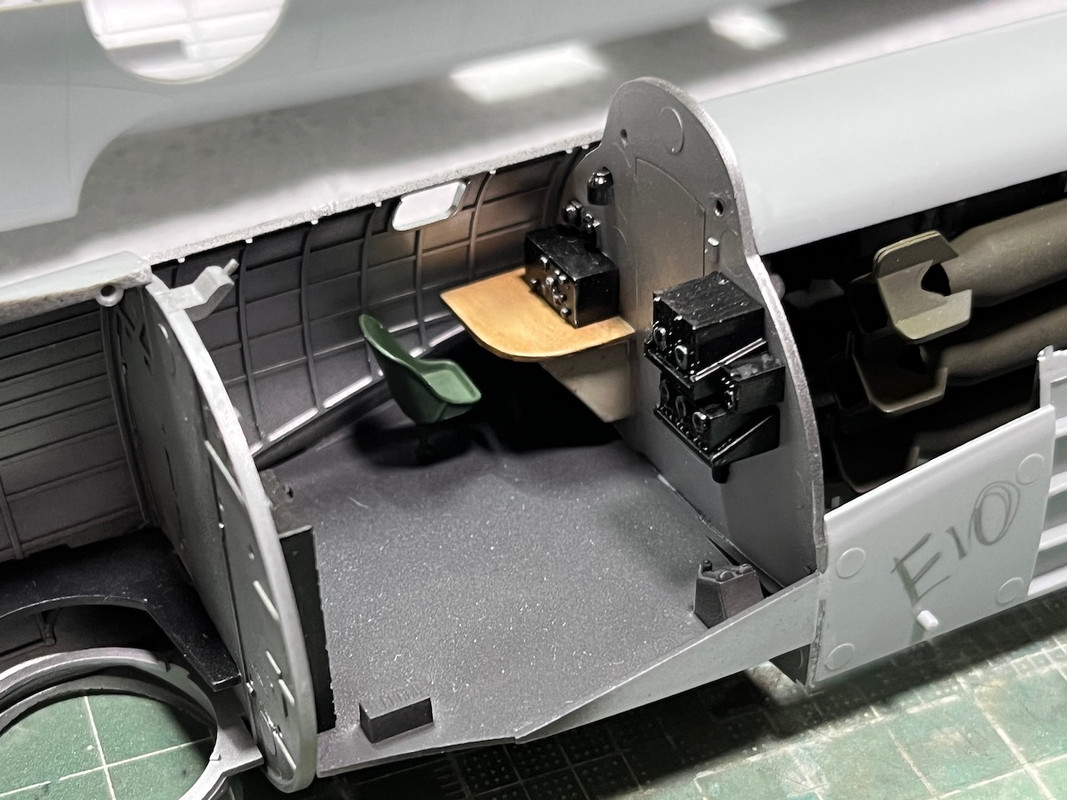
Anterior view

Cockpit - just basics. I did make those yellow parachute bins (?) look better. No photo though.
Rear wall of navigators position.

Navigators desk
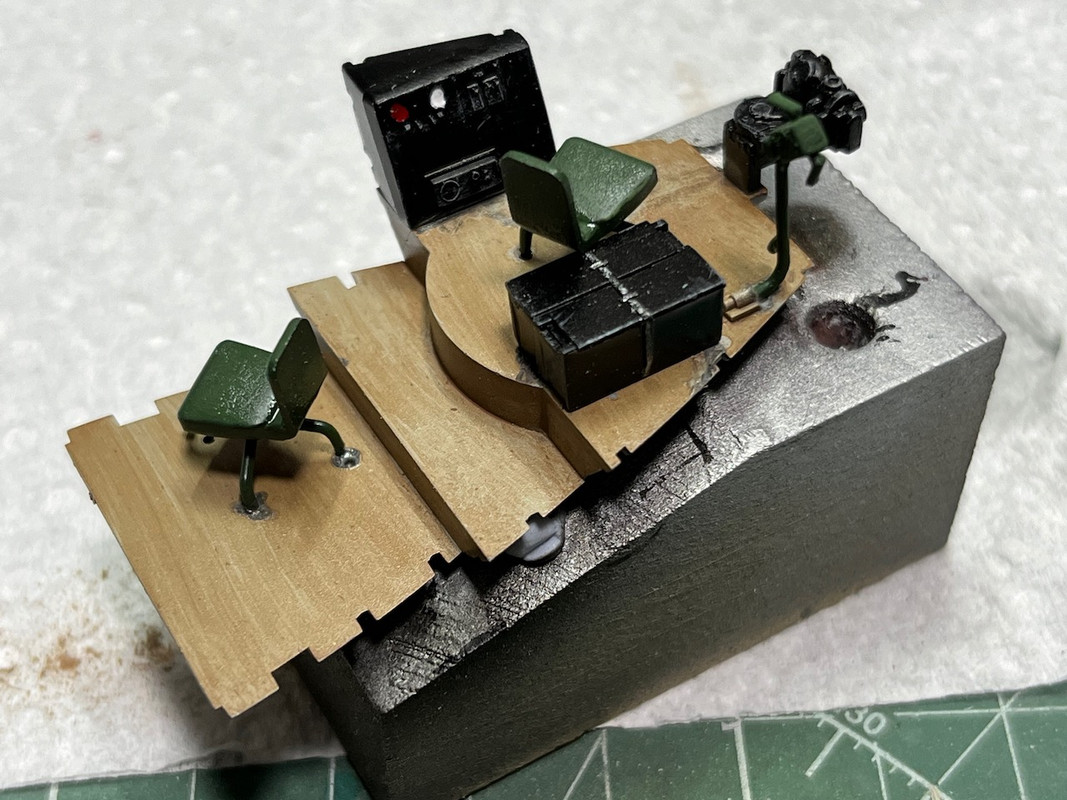
Installed
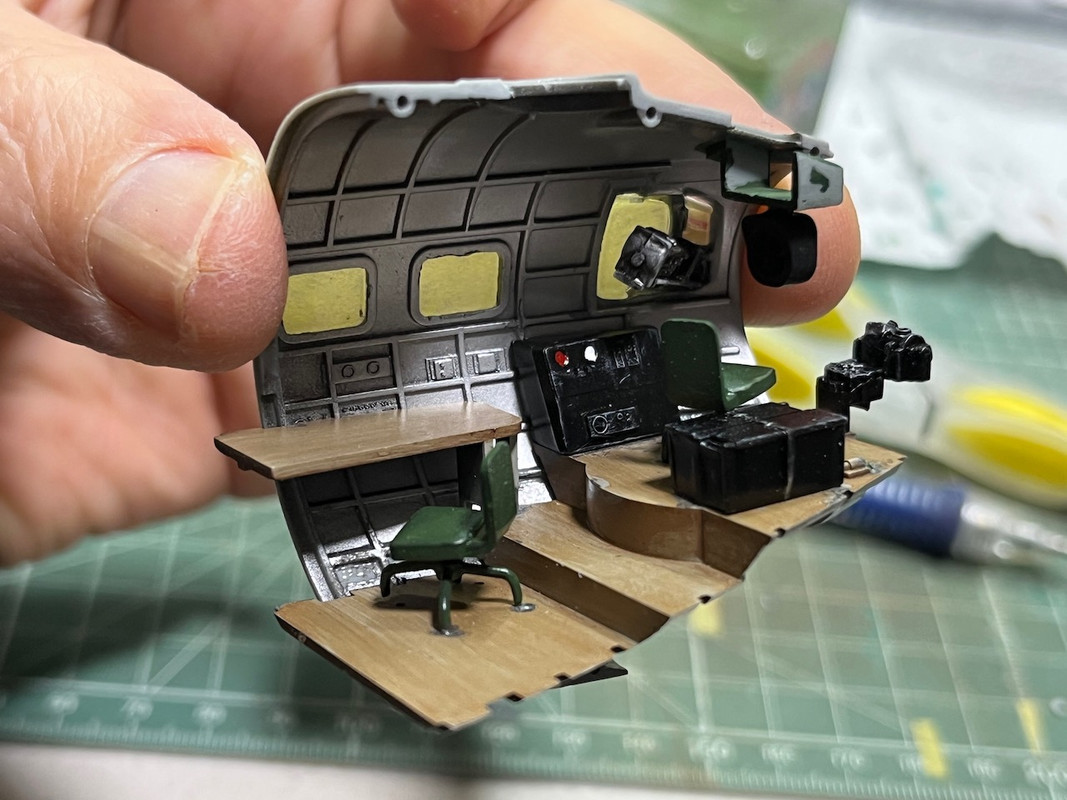
Rear fuselage view. Like I said, nothing too fancy - it's all going to be hidden, forever.
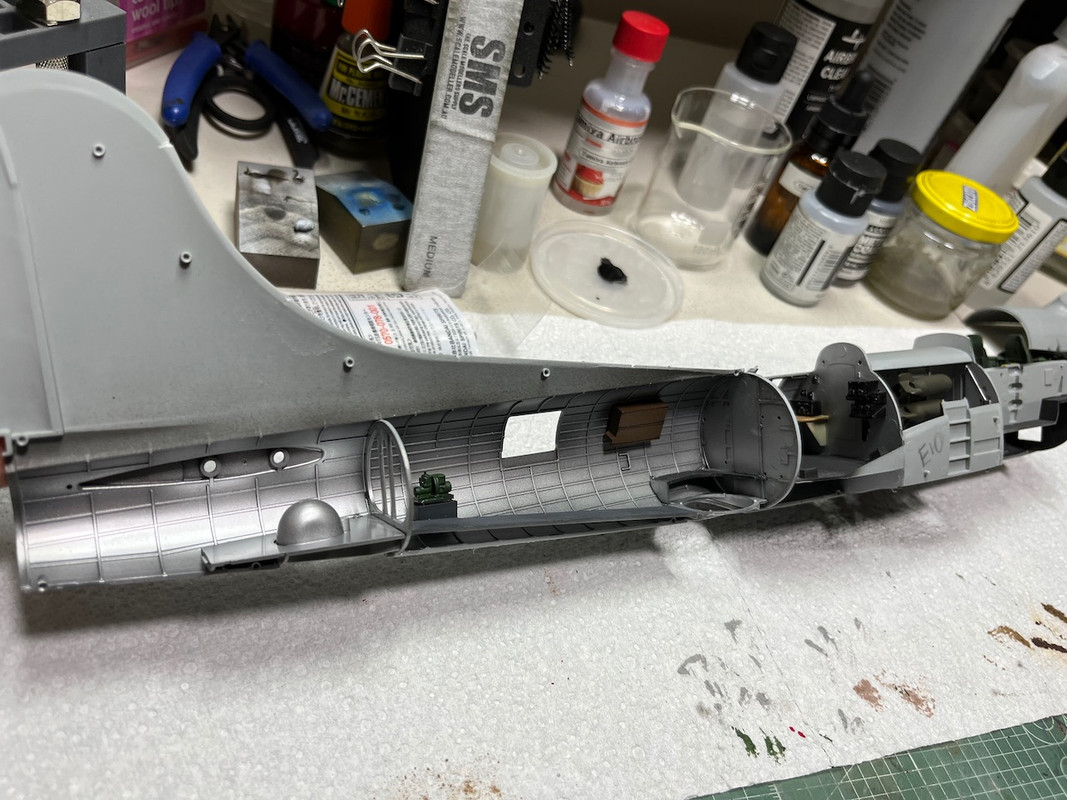
Rear gunners position
Here's the whole body zipped up. This was a nightmare trying to get the fuselage halves together. I had to sand the bulkheads quite lot. Even then I had trouble with gaps here and there. It was painful and shouldn't be necessary. The cockpit roof piece was also troublesome and you can see the putty job around the entire join.
Another strange thing was the machine gun bodies would simply not glue in place. There must be something different about them. I tried several kings of cement and had to temporarily insert the aftermarket barrels to create a more rigid situation so the guns wouldn't move as the cement dried. You can also see just how poor a fit exists on the starboard nose section. I gave up trying to fix it. Seriously, I put a lot of care into each step but it wasn't rewarded with a good fitting kit.
The other major issue I had was with the decals. These are supplied by Cartograph. THey look good. Some are very thick. I found out the hard way that they're incompatible with My Hobby Decal softener. I managed to strech them as I gently used a cotton swab to get out any air bubbles.
You might be able to see this on the star decal on the port wing. Not so obvious at this angle.

That's it for now. I hope this is of some use or interest.
Darren