Unlike my many other entries, this one is a partiulary lower-tech one. In fact, it's the first kit I've done in a long time with only three sprues and raised panel lines. it's a Cold War aircraft that was one of the first to combine piston and jet engines along with the B-36. I normally don't do planes unless they're very special. This one is. My wife recently reconnected with several of her first cousins after a many-years hiatus (no real reason). One of which is Larry. Larry is 82 and was a flight chief on a P2V-5 during the early 60s. He flew the plane that first tested the nuclear depth charge (must less dramatic than one would imagine). His plane was also the first of the series that started using the ultra-powerful Wright R-3350 Turbo-compound, the last and most powerful radial aircraft developed. The 3350-30W produced about 4,000 hp. The addtion of the turbines directly geared to the engine crankshaft added about 500 hp with the aditional of about 500 pounds extra weight.
Larry sent me pictures of his plane that gave me the customization info. The kit instructions called out Glossy Sea Blue. I bought a bottle of Mission Model paint of that color. Then Larry told me his plane was gray. More research... the later color was FS18061, Glossy Engine Gray. I traded the one for the other.
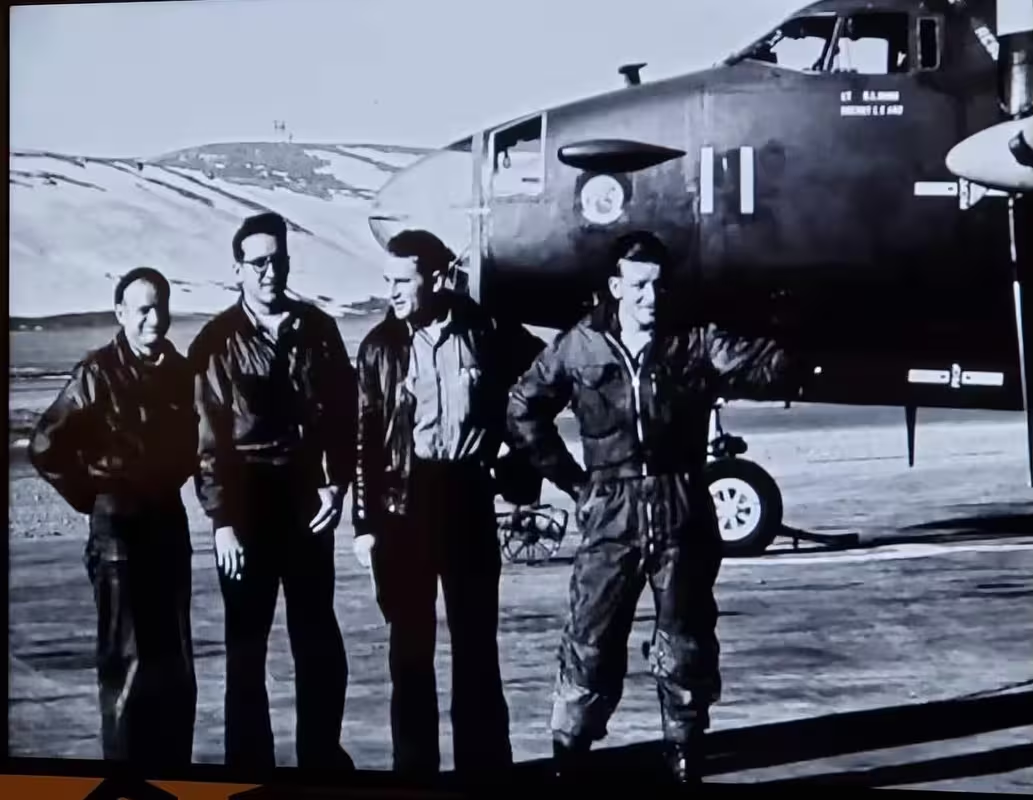
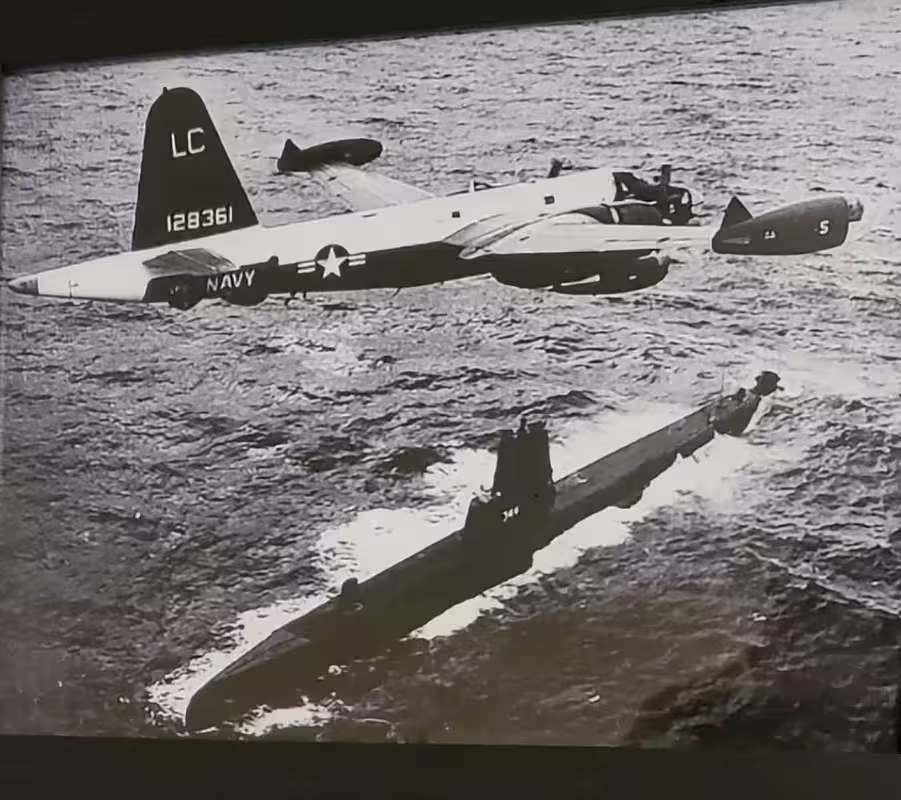
This is another plane in his Squadron, VP-8, before they painted the upper fuze white. I'm going with the later color scheme.
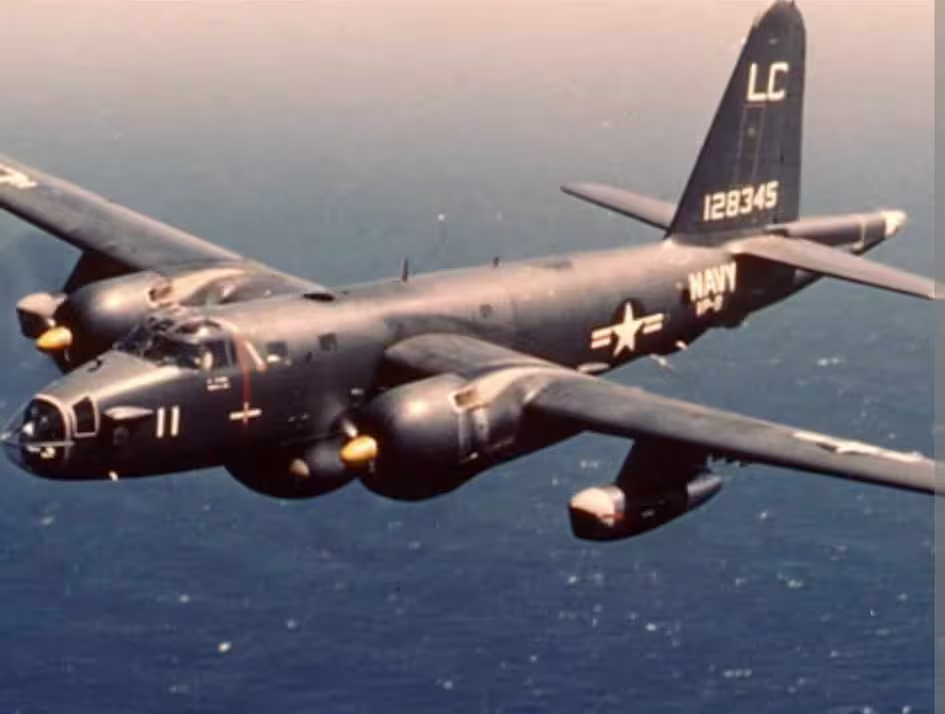
This is Larry's plane with the white color.
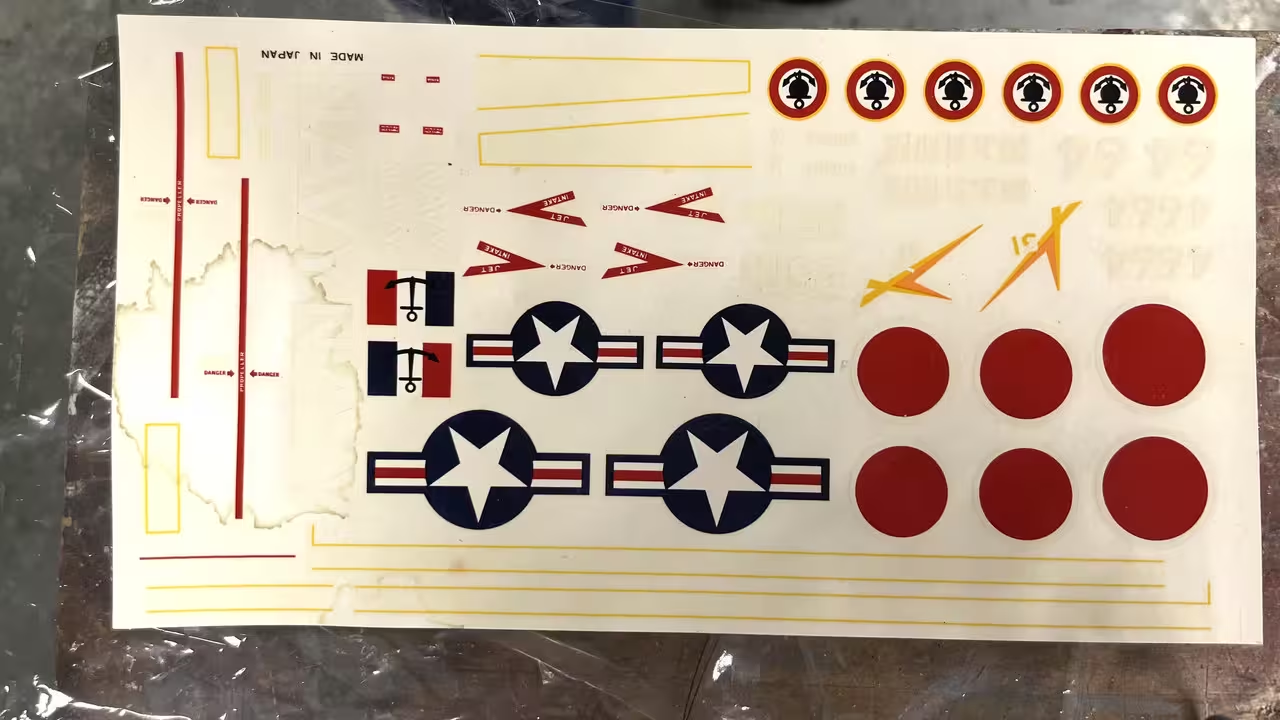
The kit's decals were a mess! They were terribly yellowed and didn't have things that I needed, so i scanned them and re-drew a full set in CorelDraw.
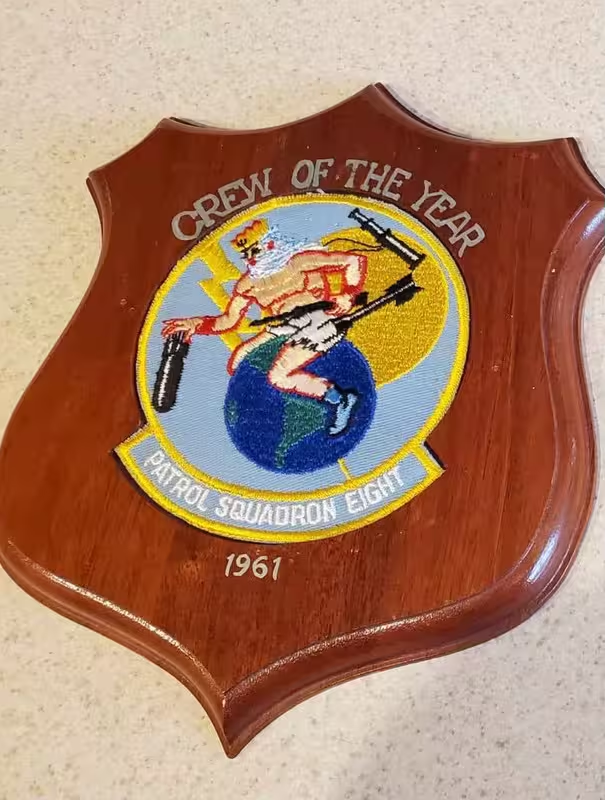
Larry also sent me a photo of his squadron patch which he had mounted on a wood plaque. I couldn't use this in CorelDraw since it was distorted by photo angle.
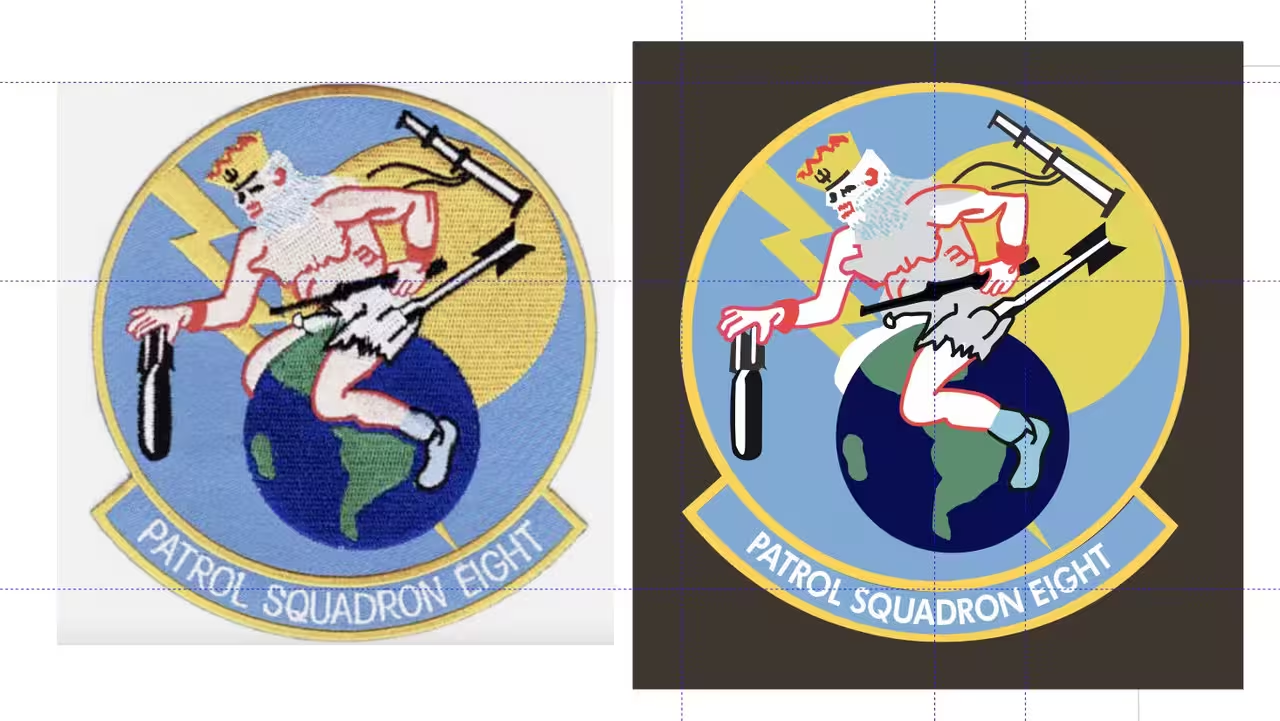
After a short Google search I found a great image of the patch, upon which I could draw it from scratch. The patch is embroidered. My drawing more normal line-wise.
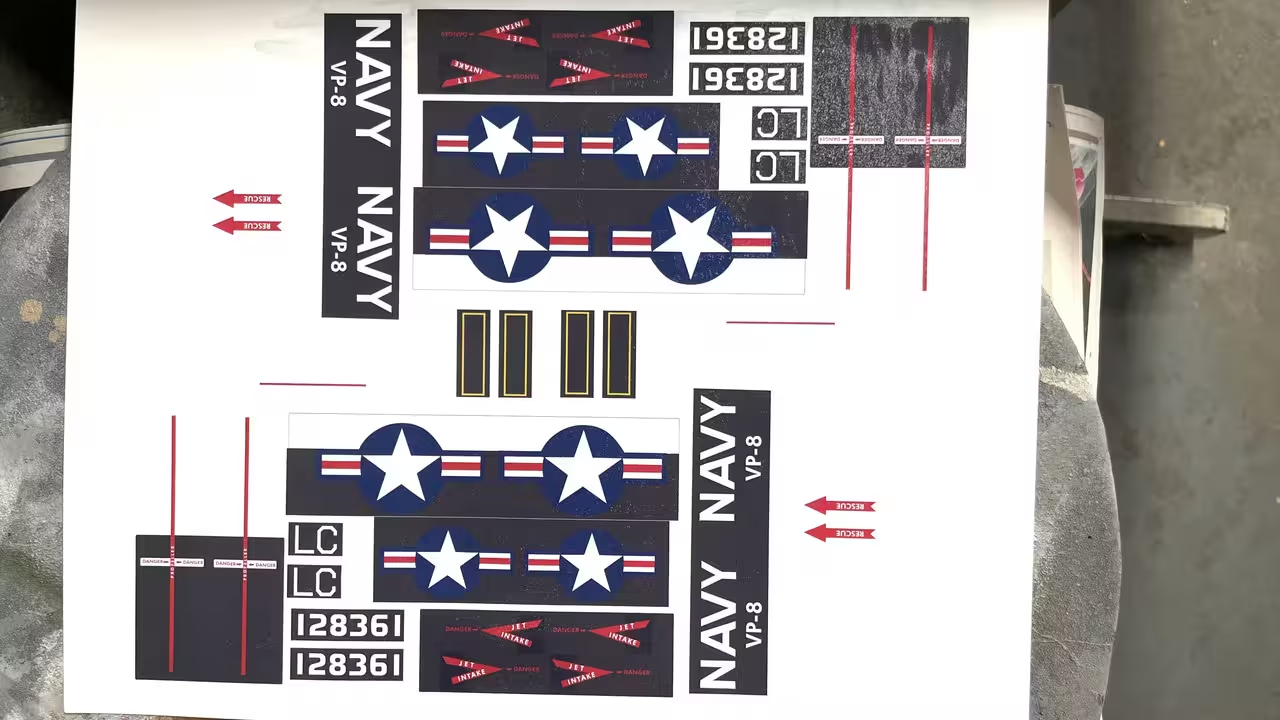
This leads to a bigger challenge. I have to produce decals that have white on white decal paper. You can only print white on full ink printing presses or special machines that cost $$$. For simple decals that you can trim easily, white decal paper isn't a problem like Stars and Bars. However, when you're dealing with specific lettering like "NAVY", trimming and applying each letter in 1:72 is an exercise in futility. To work around this I print the decals on a matching color to the base color on which the decal is placed. This is as hard as it sounds.
I start by painting a test article, scanning the color and bringing it into CorelDraw. For some inexplicable reason, I can no longer print directly from CorelDraw. This gremlin appeared when I upgraded to the latest MAC OS Sonoma 14. To solve I would have to upgrade my CorelDraw from 2021 to 2024 for a couple hundred dollars. I don't need their new "Features". And I don't want to pay this money for just one function. The work around is exporting the drawing as a .PNG and printing out of MAC Finder. it works.
After printing out a test patch, the color was way off. It always is. I then had to, by trial and error, keep adjusting the CMYK mix numbers, creating test patches to find the blend that works. When I got what I thought was "right" I colored backgrounds behind each decal that was going over the gray portions of the plane and printed out the sheet. For the test pieces I was printing on Glossy Photo Paper and set the printer to that type. For the decals, I changed to "Specialty Photo Paper". What I got was way too purple.
I adjusted by reducing magenta, and reprinted.
I overcoated with MicroScale Decal Coating and this happened. It dried terribly!
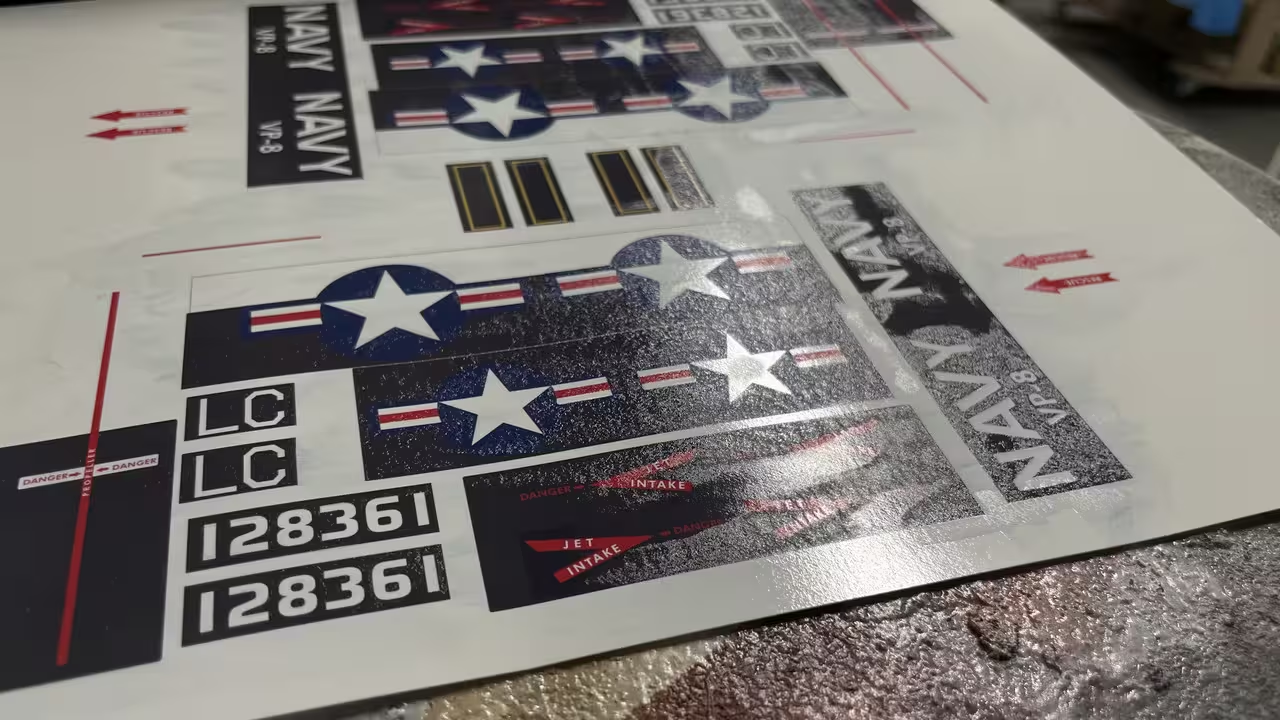
I think the ink wasn't fully cured when coated. I'm going to reprint and use something different to seal them. Inkjet ink is water soluable and must be sealed to work as a decal. I will use photo fixative.
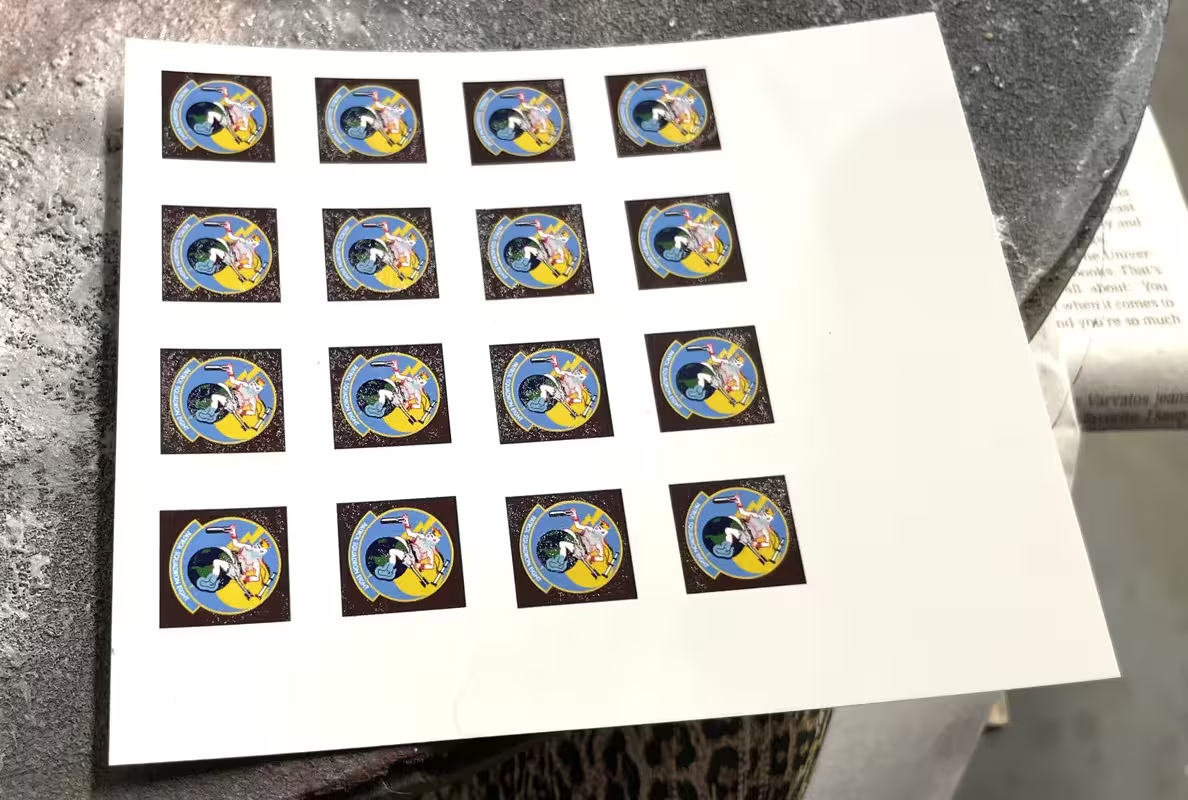
I did successfully coat the insignia decals. One goes on each side of the nose. I printed many.
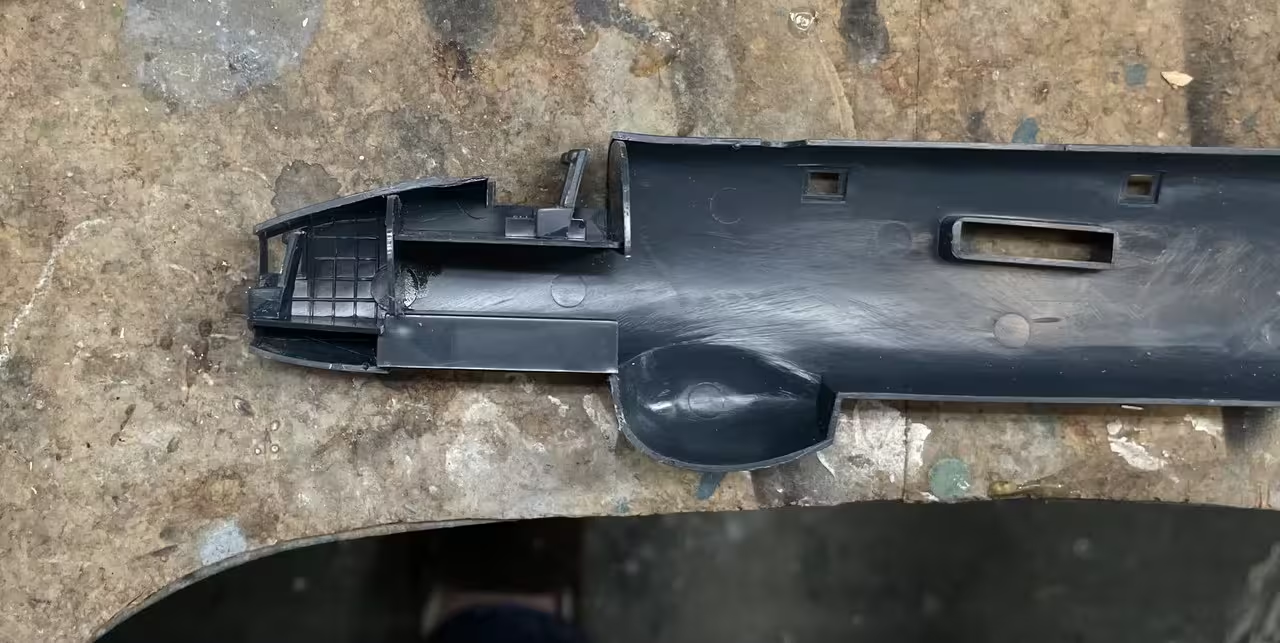
Construction began with gluing fuze innerds. Details are so sparse that I'm leaving out the crew.
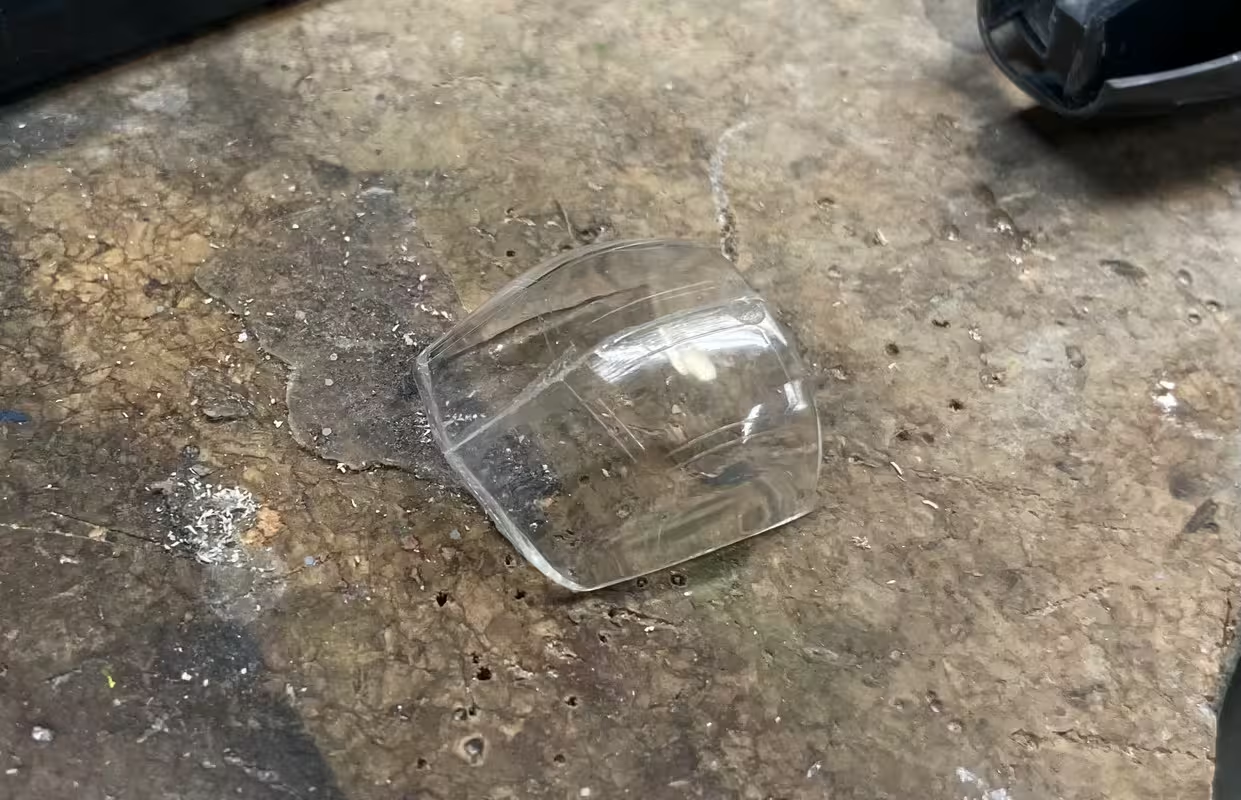
This kit is so old that the canopy is in two parts split down the middle. It's a terrible way to make glazing and is just asking for a gluey mess. I taped one one end and used Tamiya cement very gingerly on the other to tack it. I then removed the tape and finished it off. Any glue damage is on areas that will be painted. It will be an a "fun" job to mask, but as my wife says, "It's your hobby, not work, so stop complaining."
I want to deliver this model on our next trip to Philly in less than two weeks, so I will be working on it seriously. I'm also delivering the 5"38 turret model to the Battleship New Jersey during that trip.