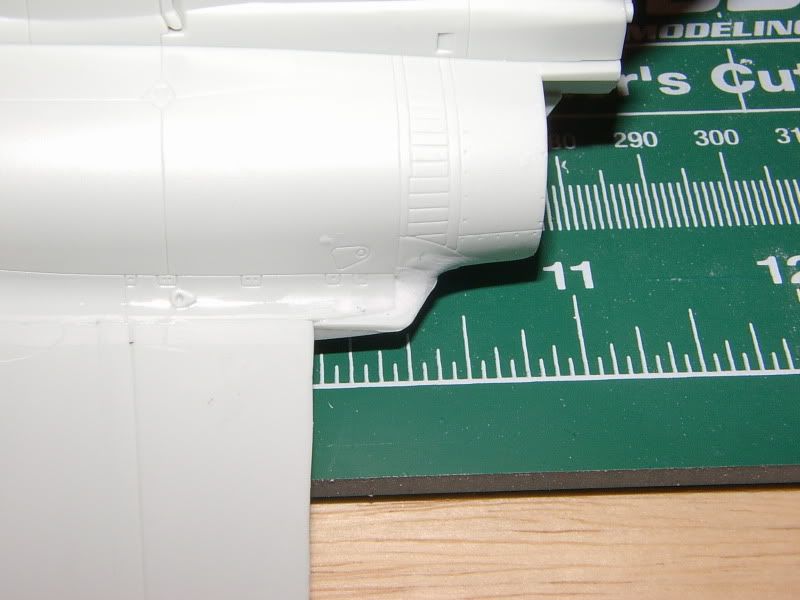
Well, I can see that this GB generated zero interest. I'll keep posting pics of my progress anyway in case anyone else gets the urge to join.
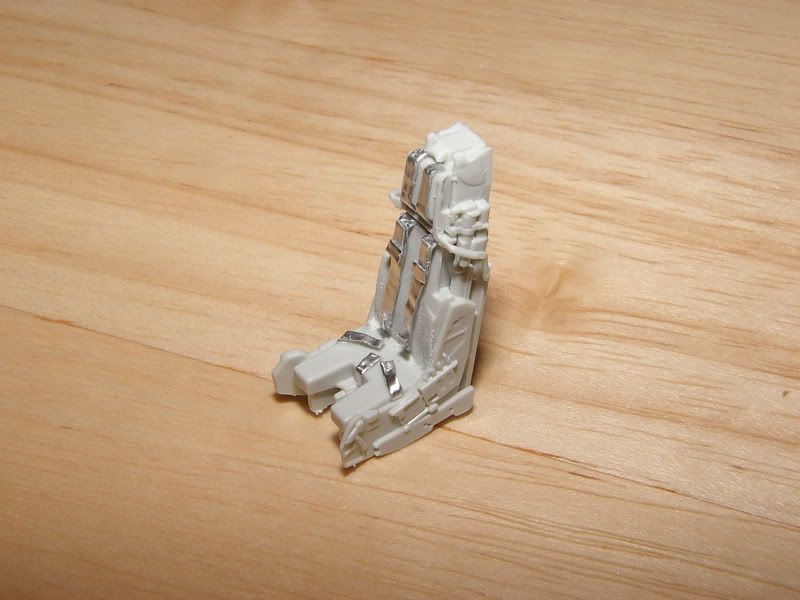
Here's where I'm at so far. The ejection seat is ok but the molded in seatbelts are cheesy so I sanded them off and scratch built some using foil tape. I just folded it over itself and cut it into thin strips and added some little buckles.
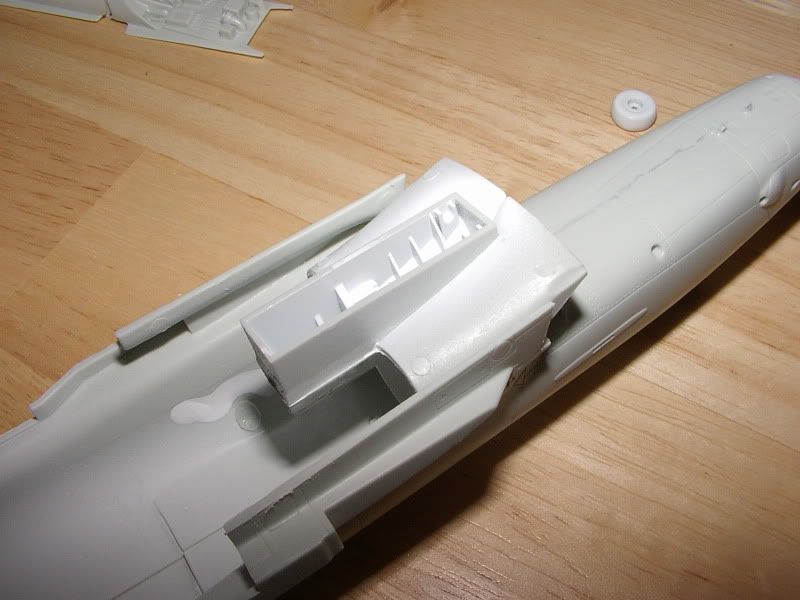
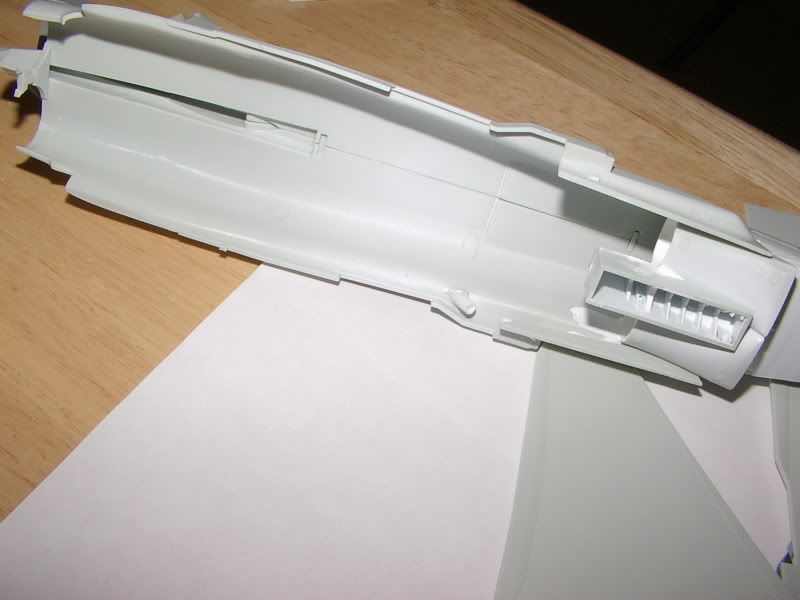
I decided to attach the partially completed intake to the upper half of the fuselage instead of attaching it to the lower part like the directions call for. After some dry fitting it seemed like it would be a little easier to make it seamless this way...and it was. But that's just the inner part.
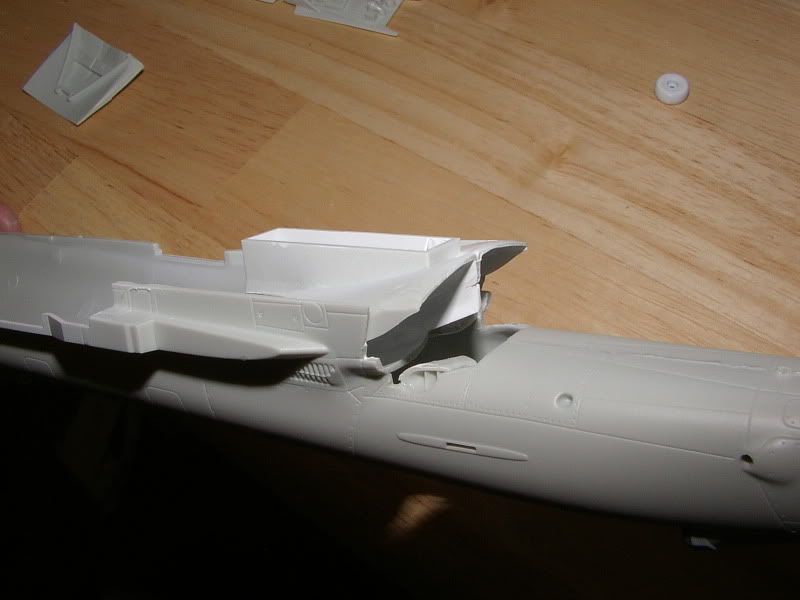
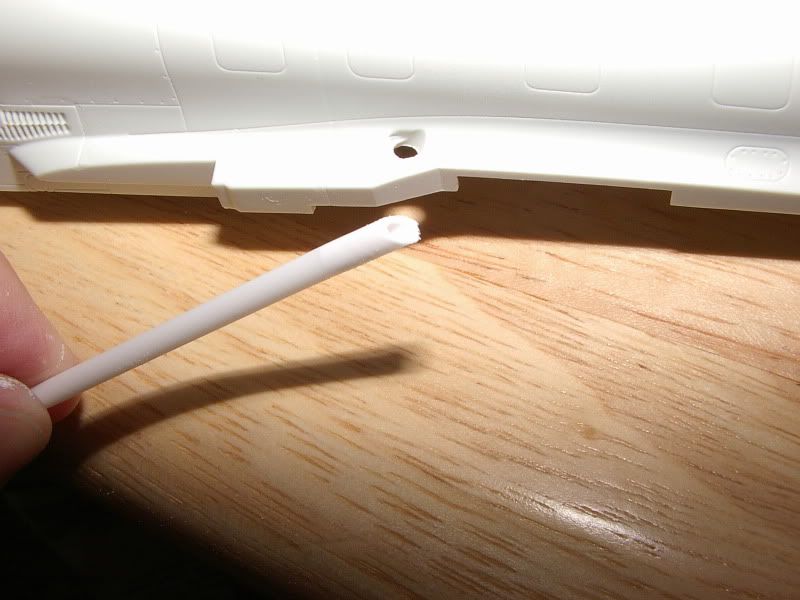
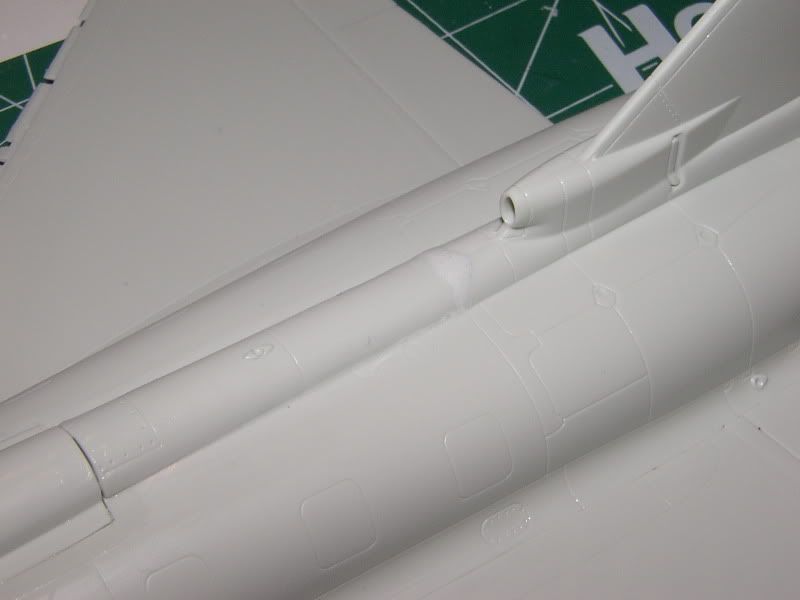
The APU exhaust was just a depression in the side of the fuselage so I drilled it out and cut a styrene tube to make a more convincing exhaust port. This took about 5 minuted to do and cost practically nothing.
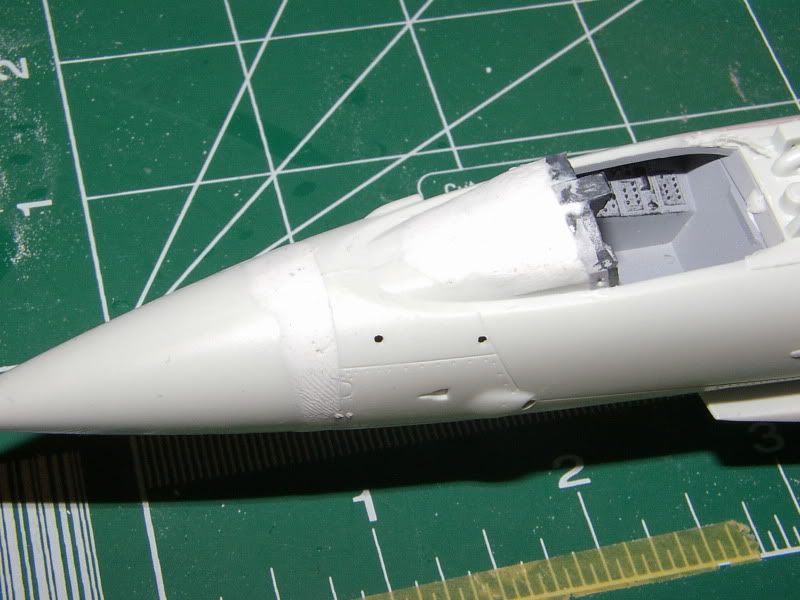
This kit has nice detail but it also has some bad fit issues. The radome was a smaller diameter than the fuselage and the instrument panel sat about 1 mm higher than the glare shield. I used Apoxie Sculpt to fill it out.
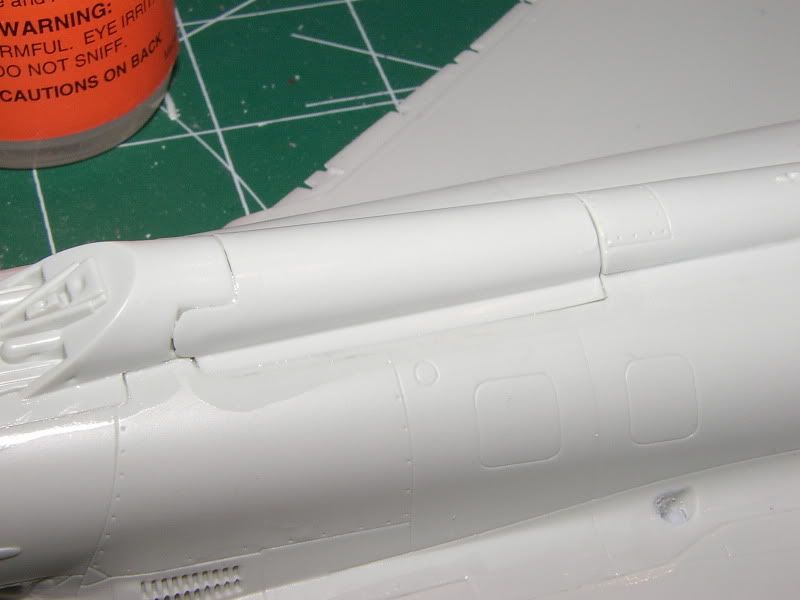
The dorsal spine, especially around the airbrake, had some nasty gaps, too. If you want the airbrake in the retracted position you need to sand down the airbrake itself...and some of the oddly raised plastic underneath where it mounds to the fuselage.
Making the completed intake seamless is going to be a bit challenging but I think its doable. I had to trim the side pieces of the intake mouth to get them to fit correctly. I don't know if its because they were molded poorly or because I mounted the intake out of order.
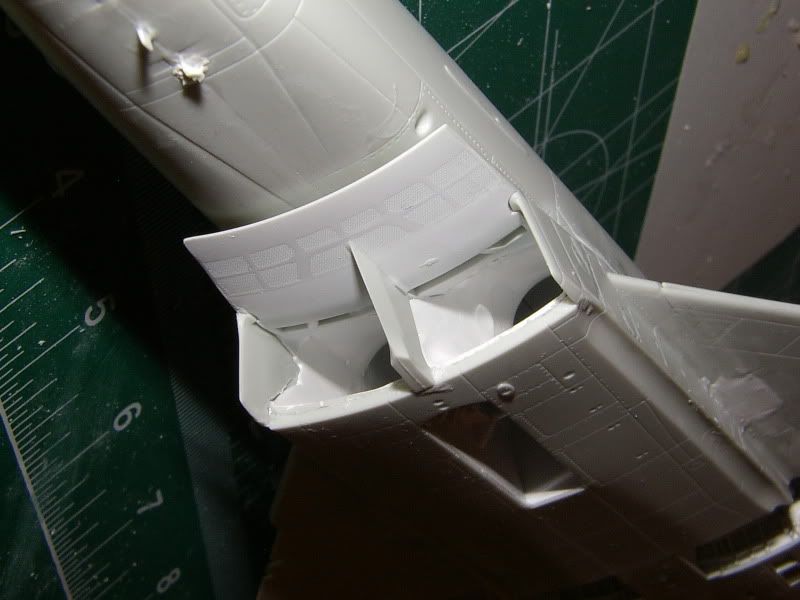
There were some nasty gaps at the tail where the top fuselage half met the bottom half. The putty is the same color as the plastic so its a bit hard to see it.
