So the stage that I have been putting off for as long as I can is the
canopy. As nice as the Flight path set is, the instructions leave a lot
to be desired!
The front canopy section has a raised section just
where it meets the front of the fuselage. The Flight Path set contains
nice sill details with riveting. It however does not mention how to
apply the new sill to the clear plastic part.
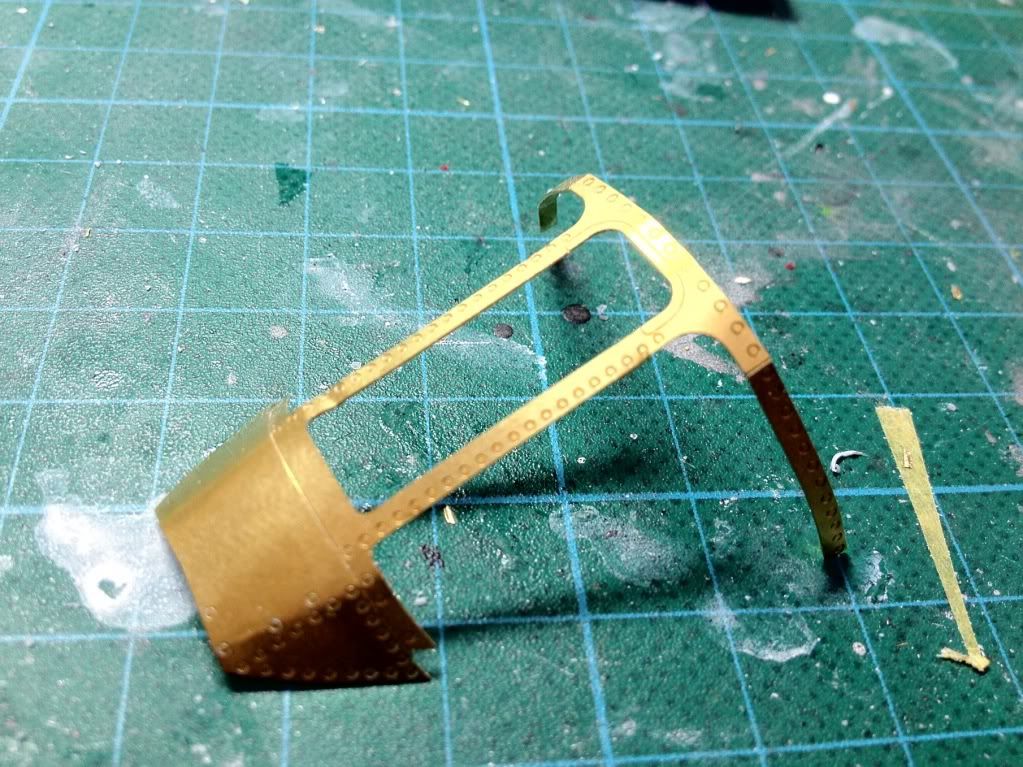
So
I had a think about this and there is a secondary brass part that fits
on top of the front of the sill. I thought that this simulates the
'bulge' in this section so I decide to saw off the front part of the
canopy.
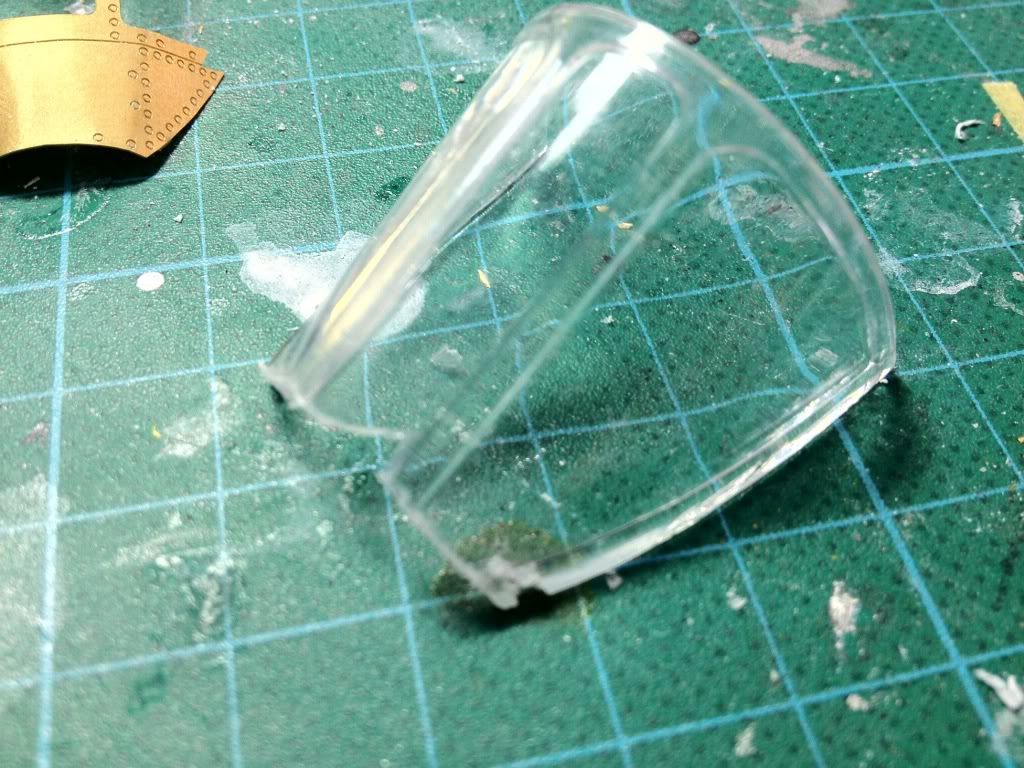
A
disaster! A poor sawing job, the blade kept bouncing and making a new
cut and finally the glass snapped in a very conspicuous place.
Lucky
there are 2 front canopy parts in this kit. The second part seems to be
a bit messier in its molding but Future should help with that. So I
carefully scribed the cut outline first and made very slowly but
slightly firmer strokes. A much better result.
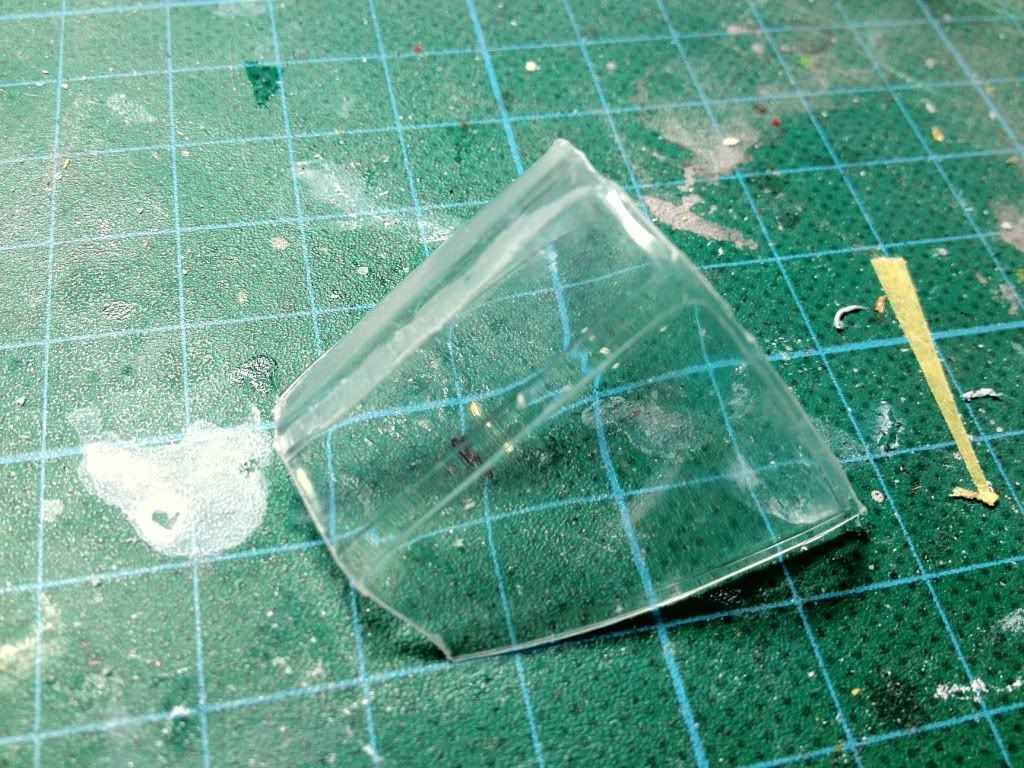
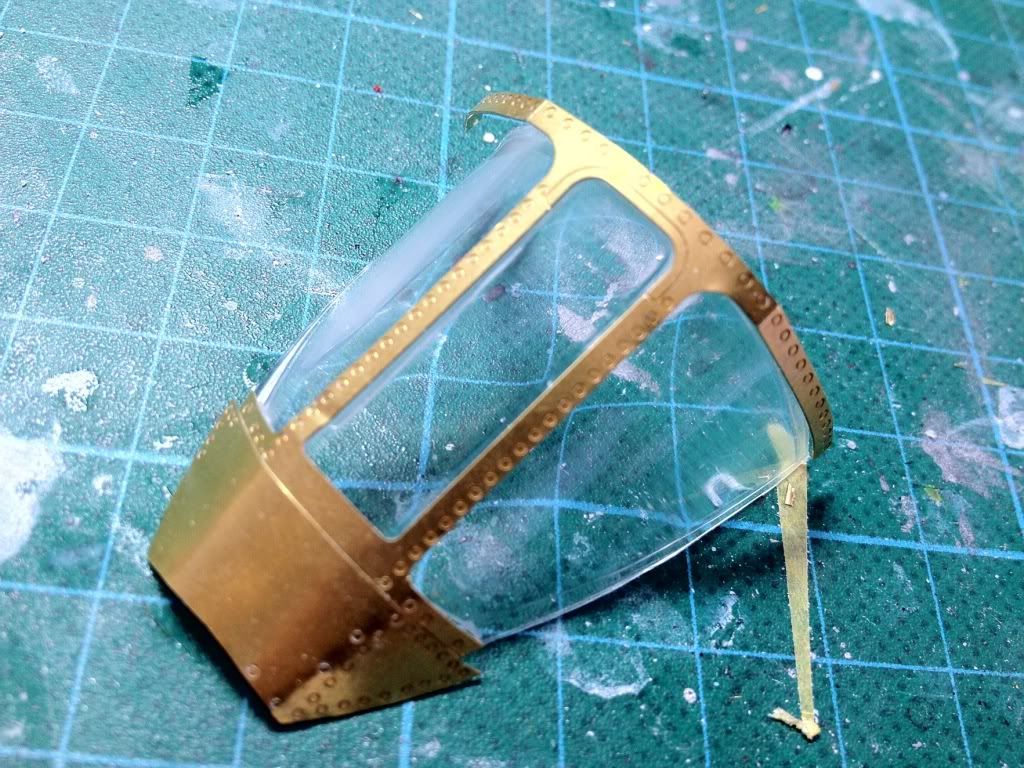
PHEWW!!!  A botched canopy can ruin a model. A test fit with the brass sill confirms that this will work just fine.
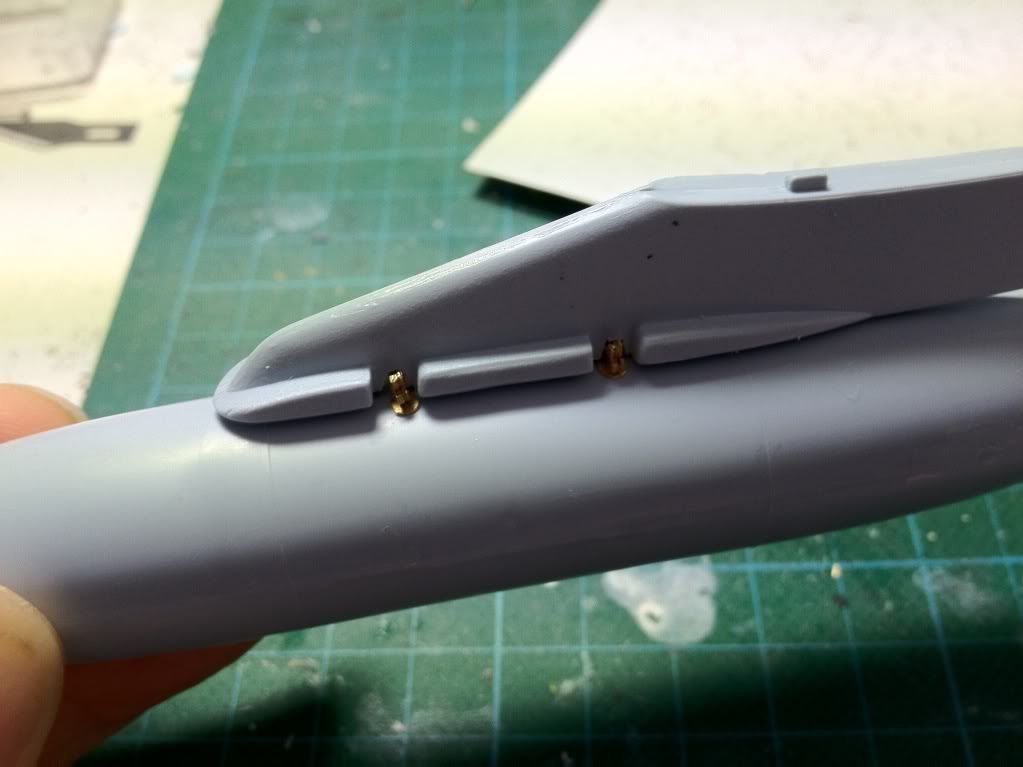
Also got the first external fuel tank done. Note the brass sway braces, they really help with the detail.
Cheers
On the bench: A-4F 1/32 Hasegawa
Just deployed: F6F-5N Hellcat Nightfighter 1/48 Eduard
Up next: A6-E Intruder 1/48 Revell