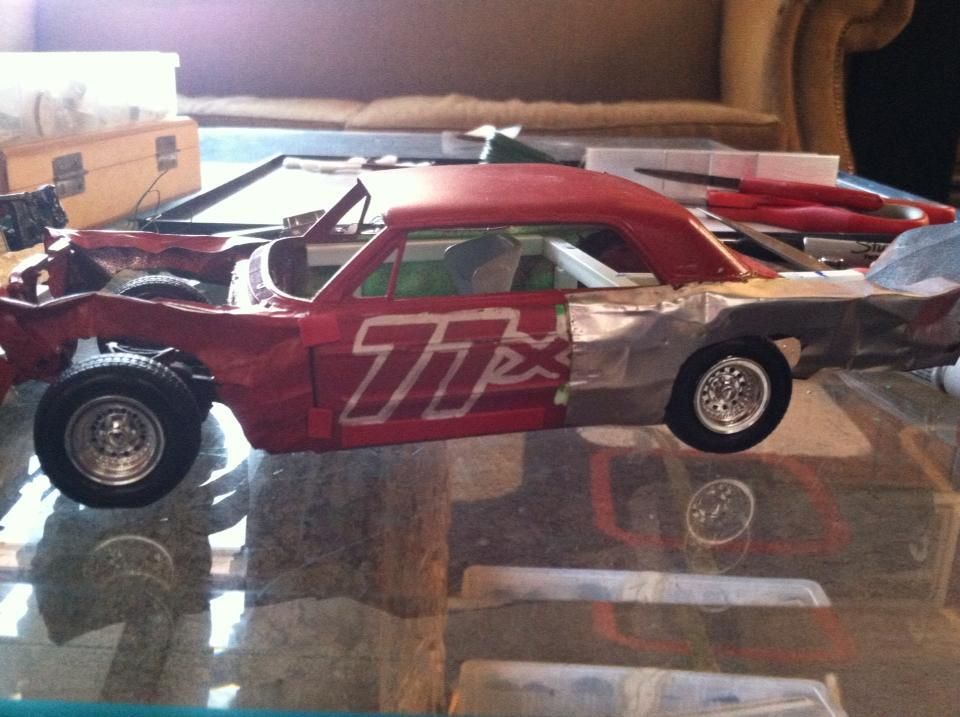
this will be the second car, "17T". ford motor, leaf springs, the whole 9 yards. this is a complete rebuild as well.
it was originally going to be a second car with my number, 77x, but i started making it into an unlimited mod car, so it needed a new face to match a new body. enjoy everybody.
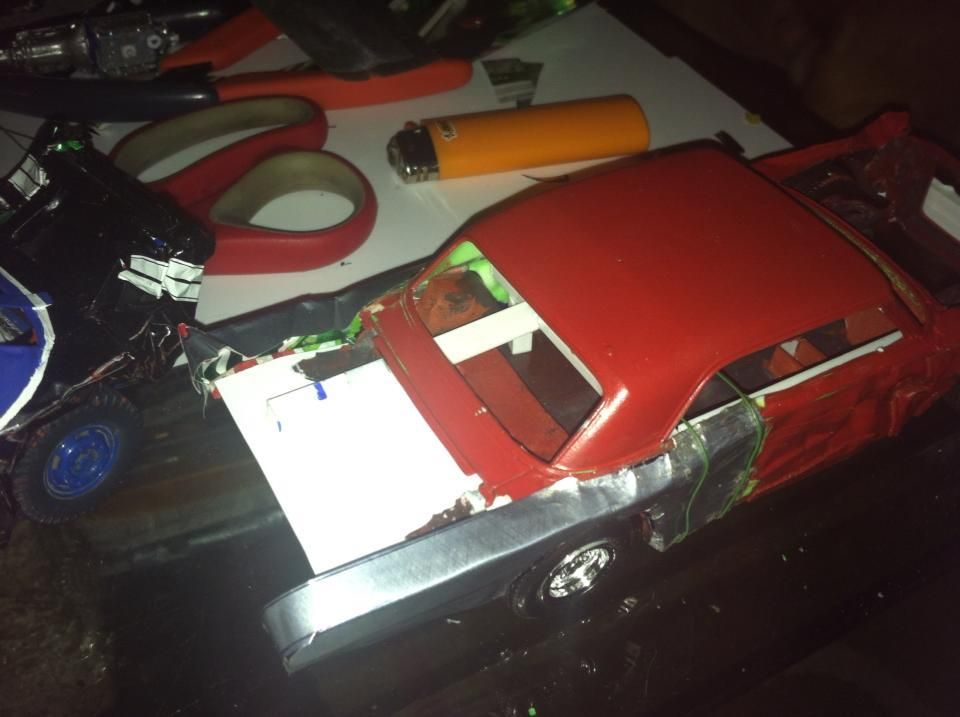
trimming down....
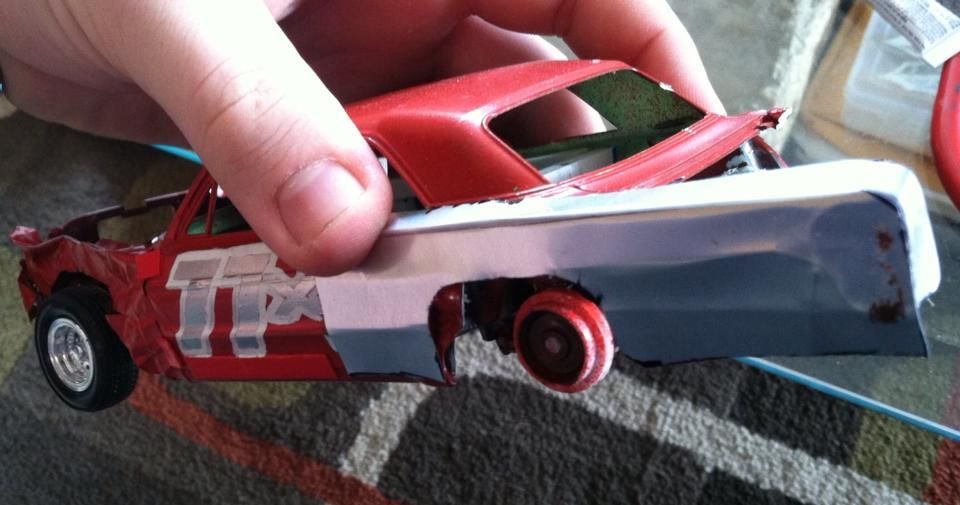
... and shaping up
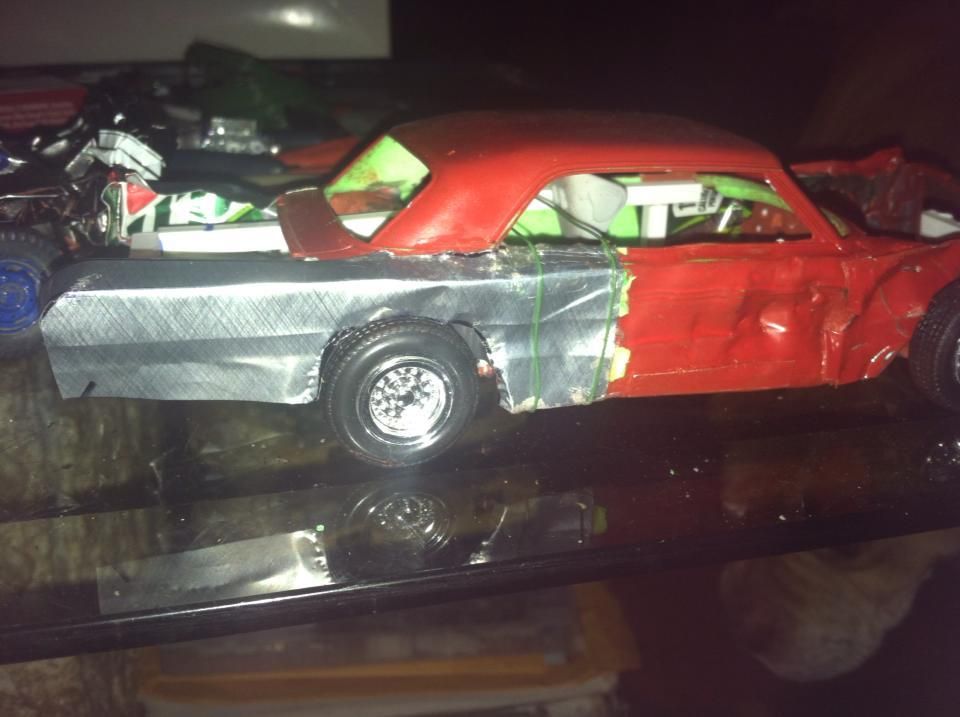
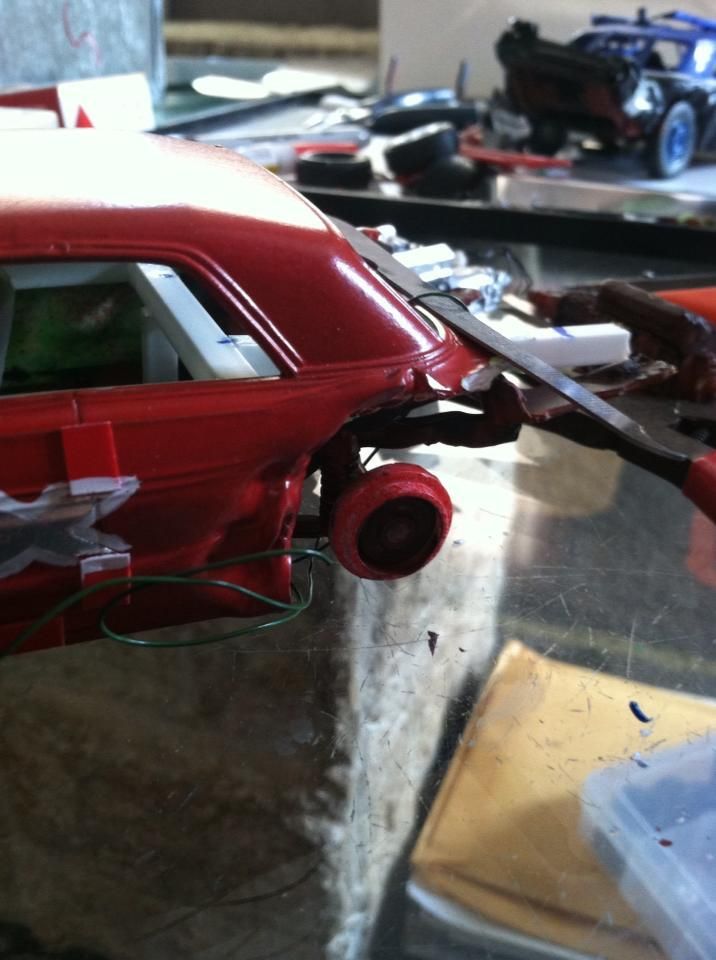
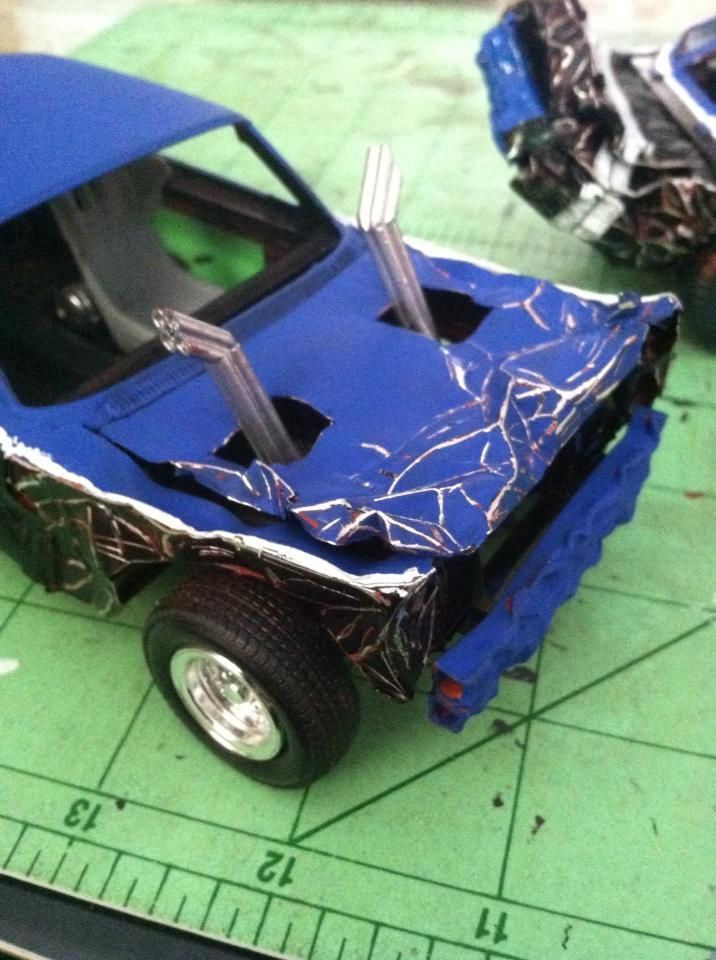
i had to use some wire to hold the panels onto the body while the superglue dried. i also have the ''floor'' in the trunk as well in this picture. i know it doesent look stock, but on a car like this, odds are good that it could be anything from 1/2'' plate steel to just sledged and crimped floor panels. if itll add strength, we'd put it in.
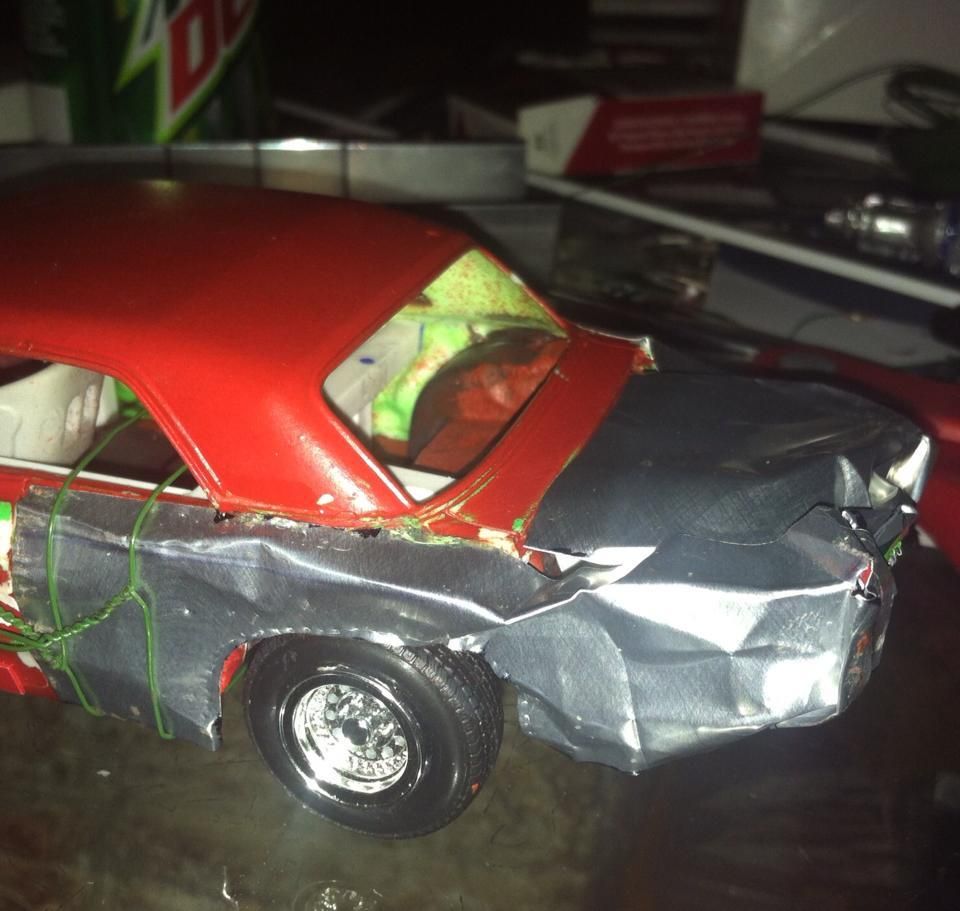
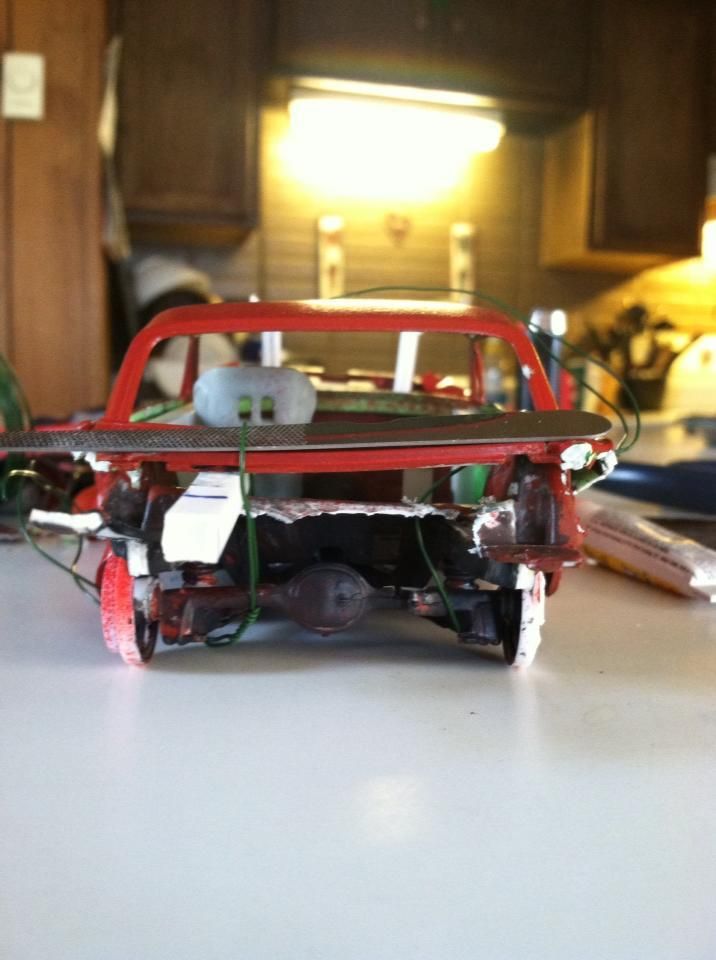
initial rear bends and folds, and first folds of the trunk.
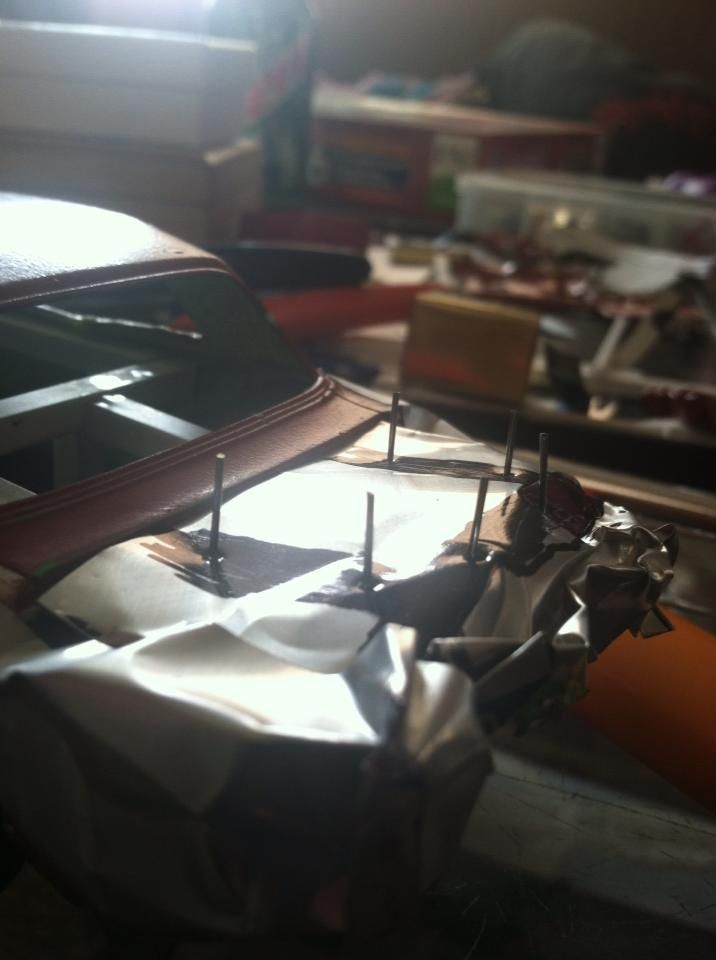
i used cut alteration pins for the 1/2'' or 3/4'' threaded rod. i just have to add "nuts" and the plate washers.
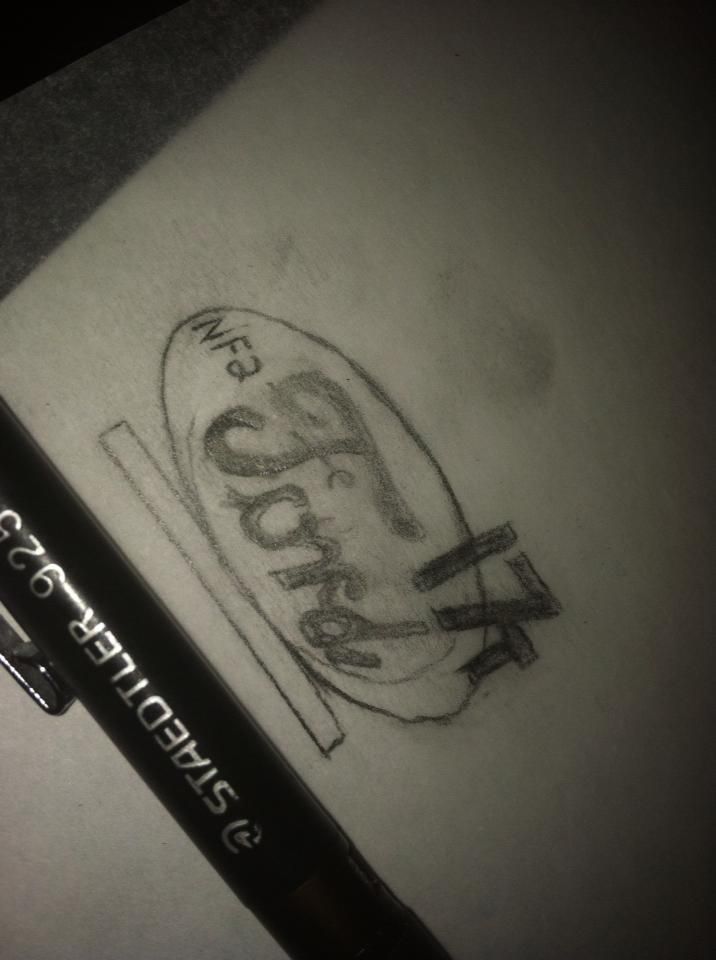
i needed to think of a unique roof sign. a friend of mine is a big ford guy, and i had already added a mopar motor into a chevy derby car... so the chevy guys couldnt be any more upset if there was a ford motor in a chevy derby car lol. everybody has square or rectangular roof signs, so im going to make one a little different. i will be making this out of brass and styrene.
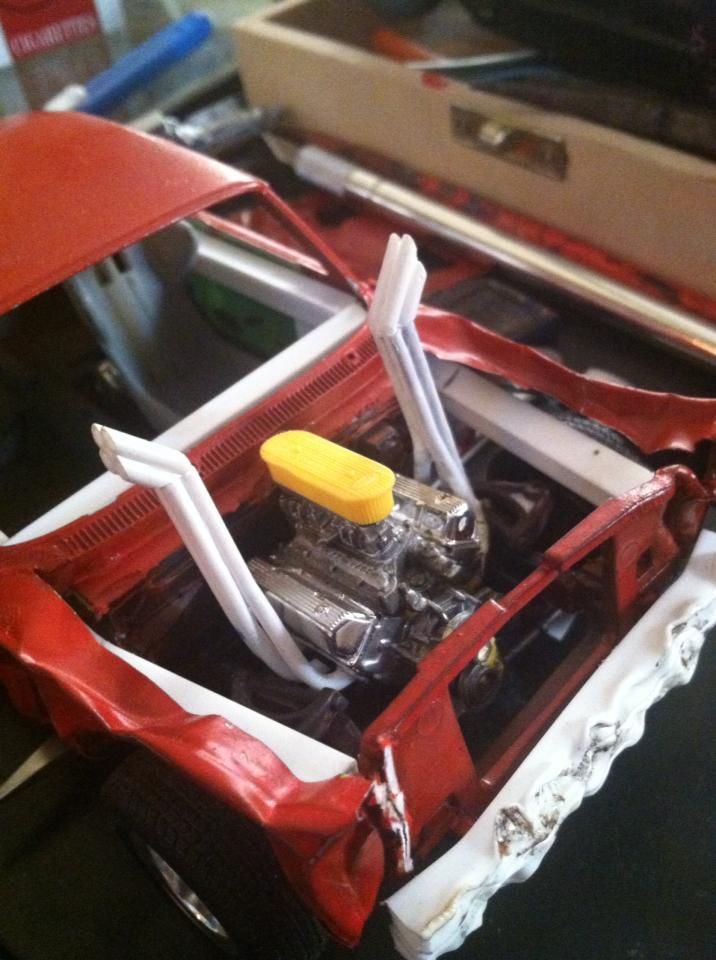
initial fitting of the motor. i believe its a 302, but im not sure.
first fresh paint since the rebuild started
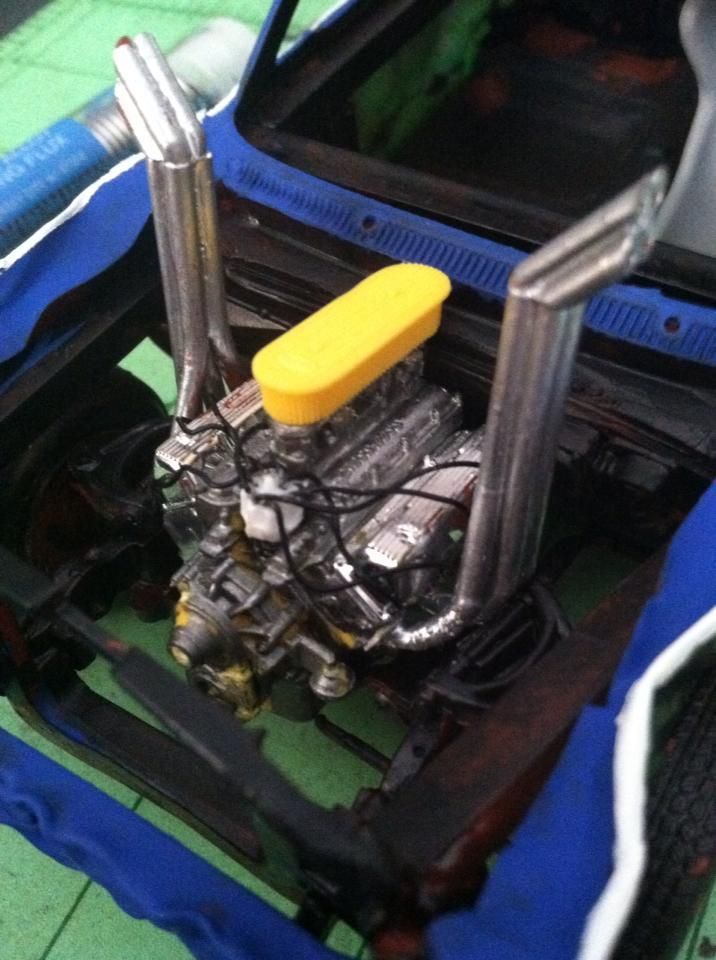
wired the motor after base paint scheme...
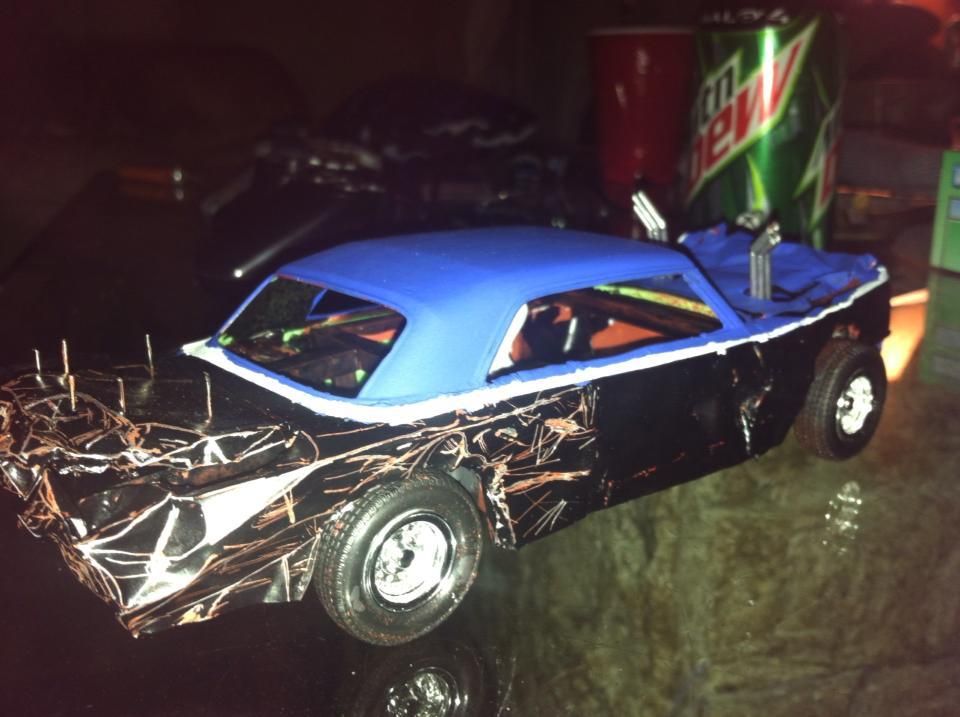
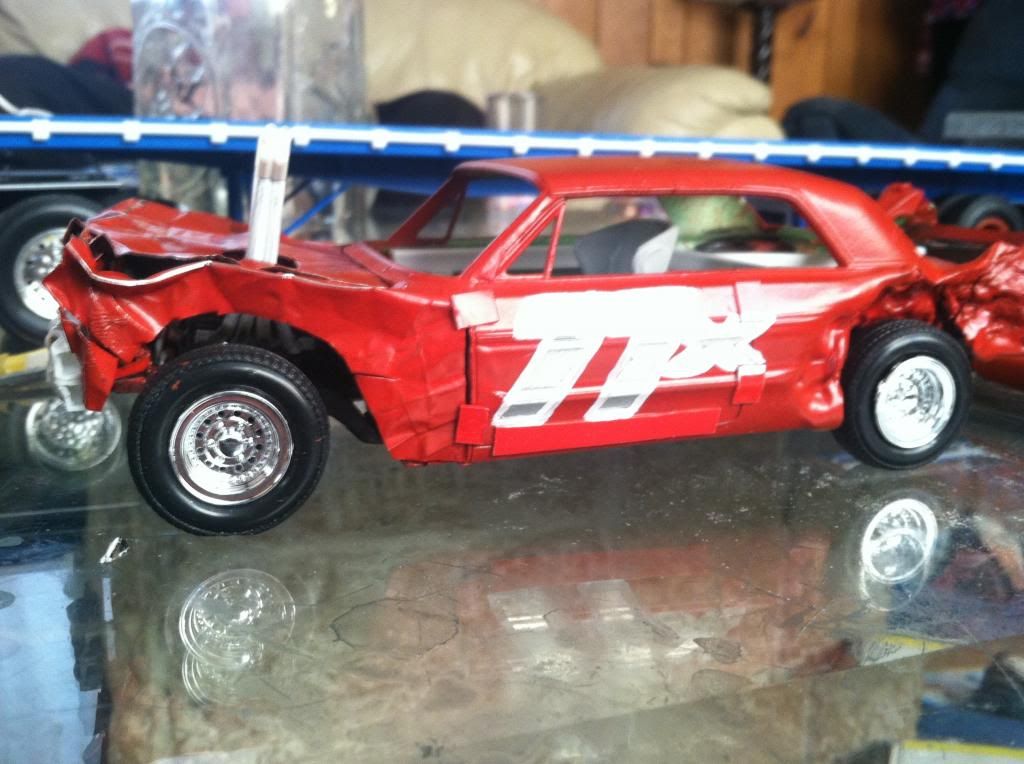
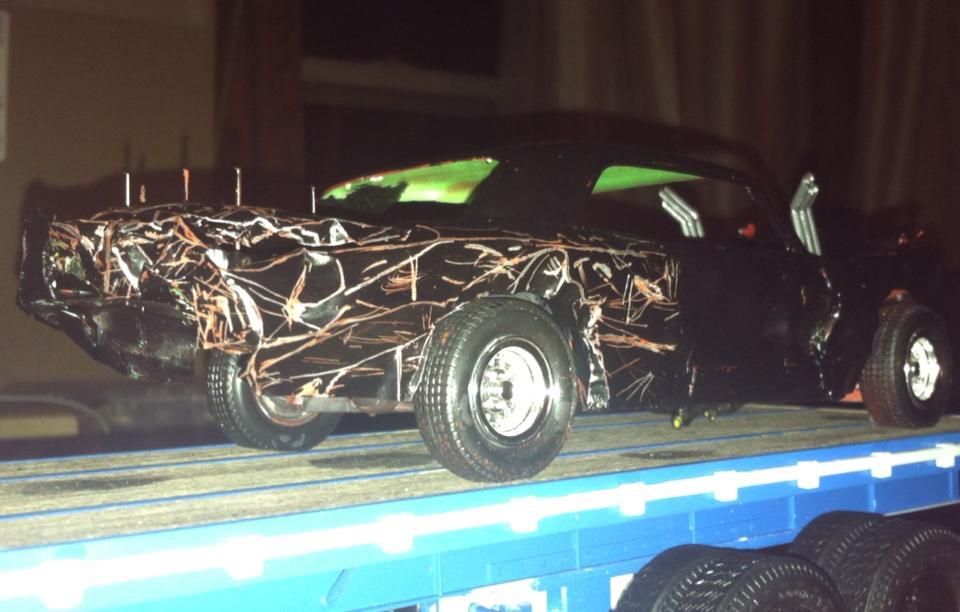
the new look. all of the vehicles built as part of the ''team'' will all have similar paint: black and blue with white trim. numbers will vary.
it still needs alot of work, but this is how she sits right now.
Regards, Logan
1/35 XM77 "Sledgehammer", 1964 Chevy Impala Derby Car
Whats next? Aircraft for Ground Attack Group Build
"I dont just tackle to make a play, I tackle to break your will." -Ray Lewis
"In the end, we're all just chalk lines on the concrete, drawn only to be washed away"- 5 Finger Death Punch
"Ahh, my old enemy.......STAIRS"- Po, Kung Fu Panda