Hey all!
In spite of another 6-day, and nearly 60 hour work week, I have managed here and there to do a little hobby work.
More PE parts for the SU-27 cockpit;
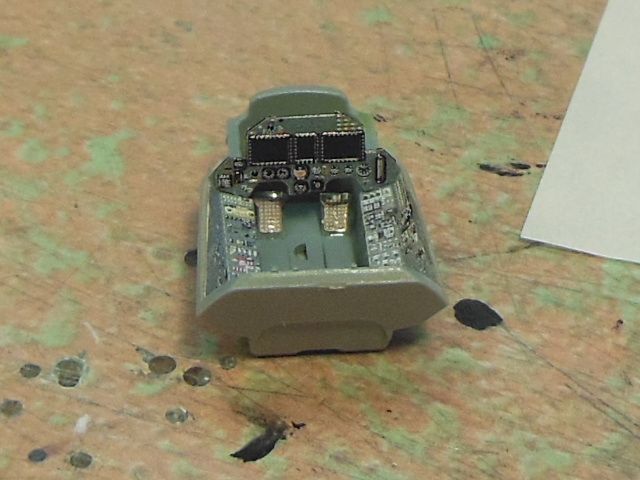
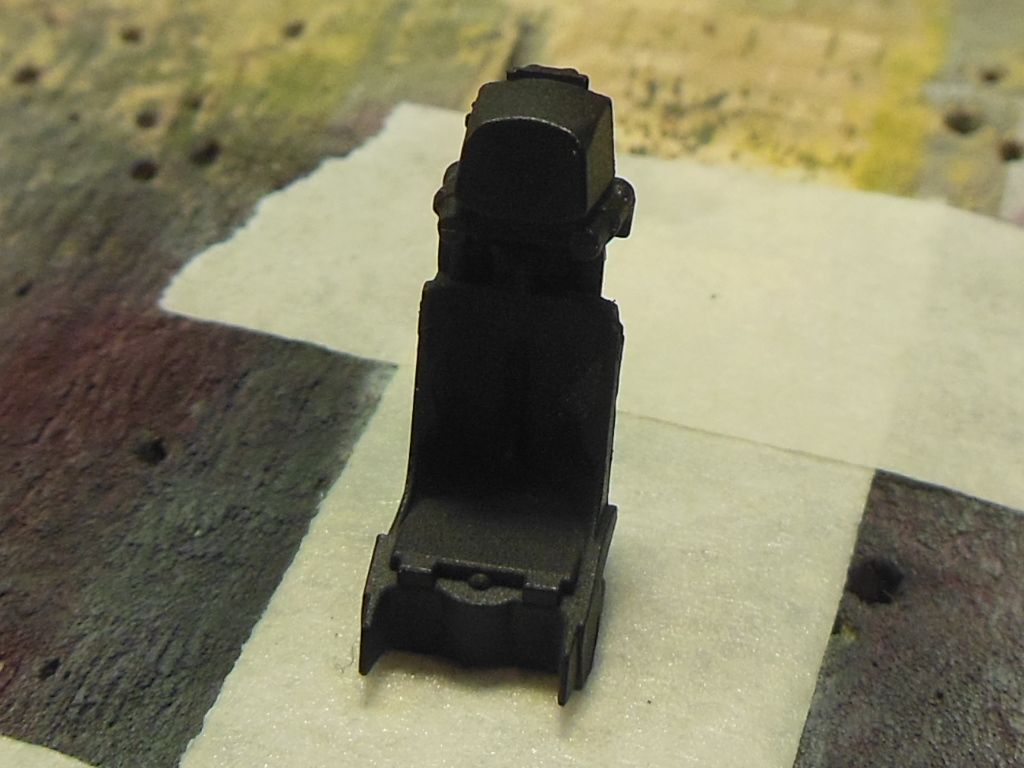
Total madness is going to be the seat. I count 13 PE parts to go on it! I need to have my head examined!
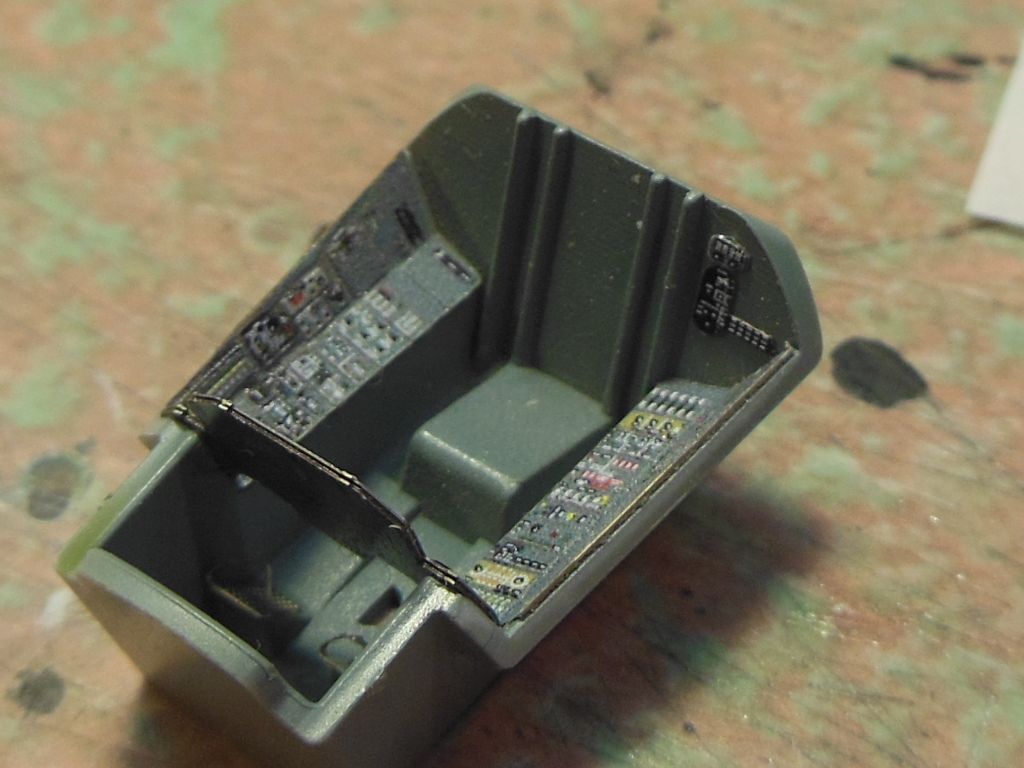
A little ways to go before it gets closer to the F-8E cockpit.
Hard to see, but the Crusader had a control stick now.
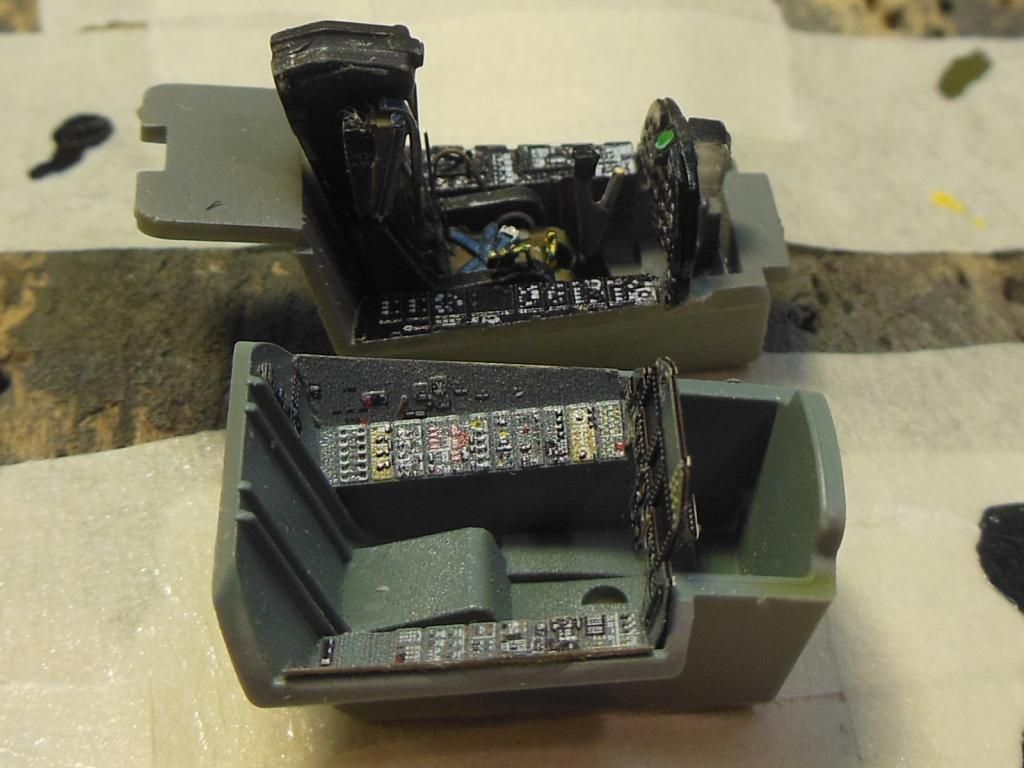
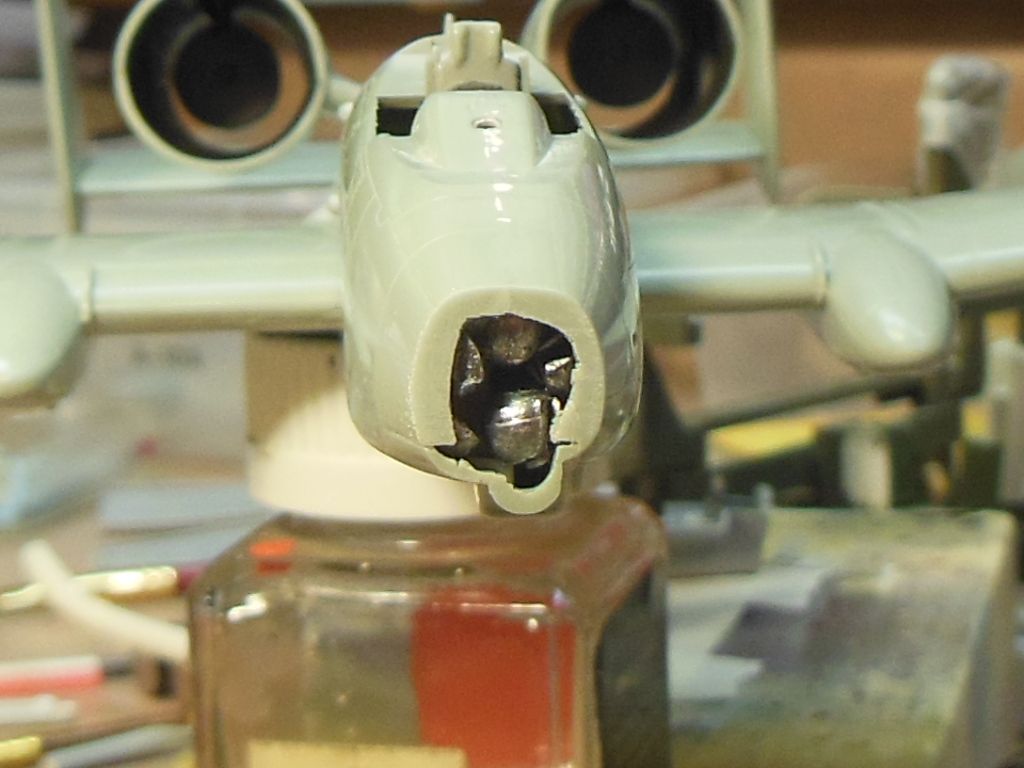
A bit of a panic on the A-10! A little checking revealed my Warthog was destined to be a tail dragger! I added weight during assembly, but it seems to be not enough! Fortunately, I didn't have the nose piece on yet, so I was able open the front and cut up some fishing weights to stuff in there. I think I got enough, but I might be able to add another weight behind the seat. The kit didn't come with a bulk head behind the pilots seat. I wish I had added one because you can see clear into the body of the plane! I might try and add one though it will probably be a pain!
I'm also a bit dis-satisfied with my A-10 cockpit. I know I thought of out-of-box, but there are no seat harnesses or nothing. I'm considering getting a PE kit I found which was made for an Italeri-Revell kit, but thought maybe I could adapt it to the Academy kit....
Lastly, I found a picture of an A-10 and wondered if the AF has changed who is going to fly the planes...
Jim