SEARCH FINESCALE.COM

Enter keywords or a search phrase below:

Tiger I initial production

1474 views
7 replies
1 rating 2 rating 3 rating 4 rating 5 rating
  • Member since
    July 2004
  • From: Sonora Desert
Posted by stikpusher on Wednesday, March 12, 2014 1:27 AM

Damn you should have been a grunt like me ;-) Right click and highlight everything on the post. the right click again and hit copy. Hit reply on the Rommel Vs Monty thread. Right click, hit paste.


F is for FIRE, That burns down the whole town!

U is for URANIUM... BOMBS!

N is for NO SURVIVORS...

       - Plankton

LSM


  • Member since
    January 2011
  • From: The Great North Woods, Maine
Posted by Chazzer on Wednesday, March 12, 2014 12:41 AM

Is there any tutorial on how to do that? My computer skills have improved but not that much. I think I might have to re compose the post and then re-post it?

Thanks S.P.

ChazzerBlack Eye

  • Member since
    January 2011
  • From: The Great North Woods, Maine
Posted by Chazzer on Wednesday, March 12, 2014 12:33 AM

Thanks very much jibber I appreciate it.

Scott

ChazzerBlack Eye

  • Member since
    January 2013
Posted by jibber on Monday, March 10, 2014 1:50 PM

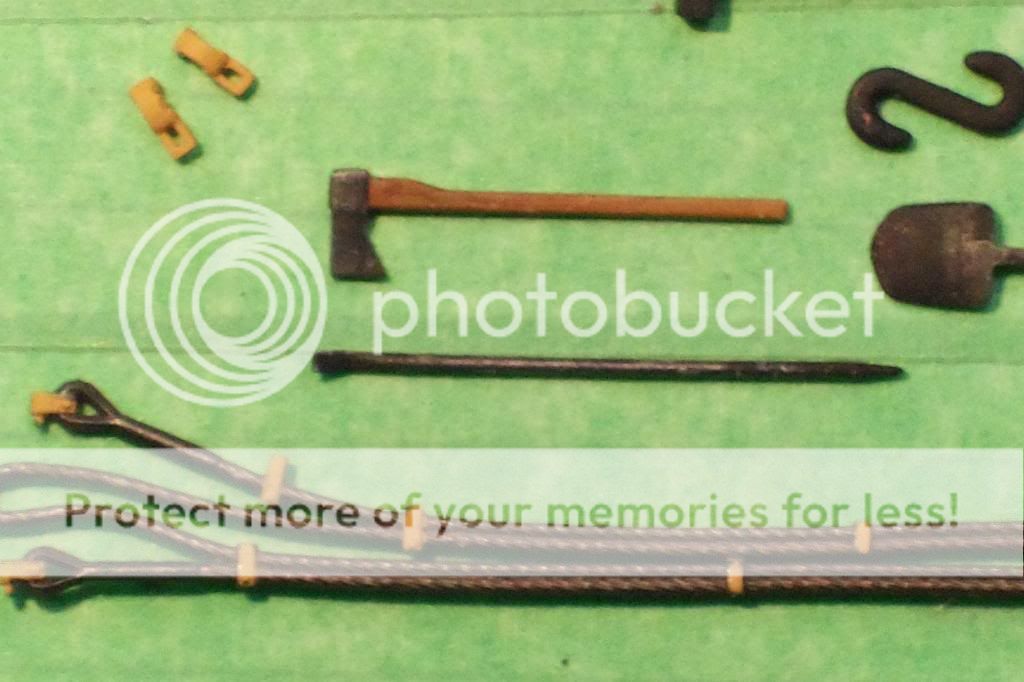
Scott real nice work on that Tiger, love the detail even down to the shovel and ax heads. The individual tracks look great, coming along nicely.

  • Member since
    July 2004
  • From: Sonora Desert
Posted by stikpusher on Sunday, March 9, 2014 9:13 PM

Thanks for the kind words. I am more than happy to help in any way that I can. The simplest method I can think of for adding this to the North Africa GB is to simply copy your original post here and paste it on over there in that thread.


F is for FIRE, That burns down the whole town!

U is for URANIUM... BOMBS!

N is for NO SURVIVORS...

       - Plankton

LSM


  • Member since
    January 2011
  • From: The Great North Woods, Maine
Posted by Chazzer on Sunday, March 9, 2014 8:09 PM

Thanks alot! I learned lots from you before I was laid up. I meant to post this under the Rommel vs Monty group build but I screwed it up. Do you know of anyway that I might be able to transfer this to our group build?

It took a while for me to put it together and I would hate to have to do it again.

p.s. I might need to pick your brain for info.

Thanks

Scott

ChazzerBlack Eye

  • Member since
    July 2004
  • From: Sonora Desert
Posted by stikpusher on Sunday, March 9, 2014 1:49 AM

Nice! I did tank 131 from the same unit last year. I am gonna watch this!


F is for FIRE, That burns down the whole town!

U is for URANIUM... BOMBS!

N is for NO SURVIVORS...

       - Plankton

LSM


  • Member since
    January 2011
  • From: The Great North Woods, Maine
Tiger I initial production
Posted by Chazzer on Saturday, March 8, 2014 8:20 PM

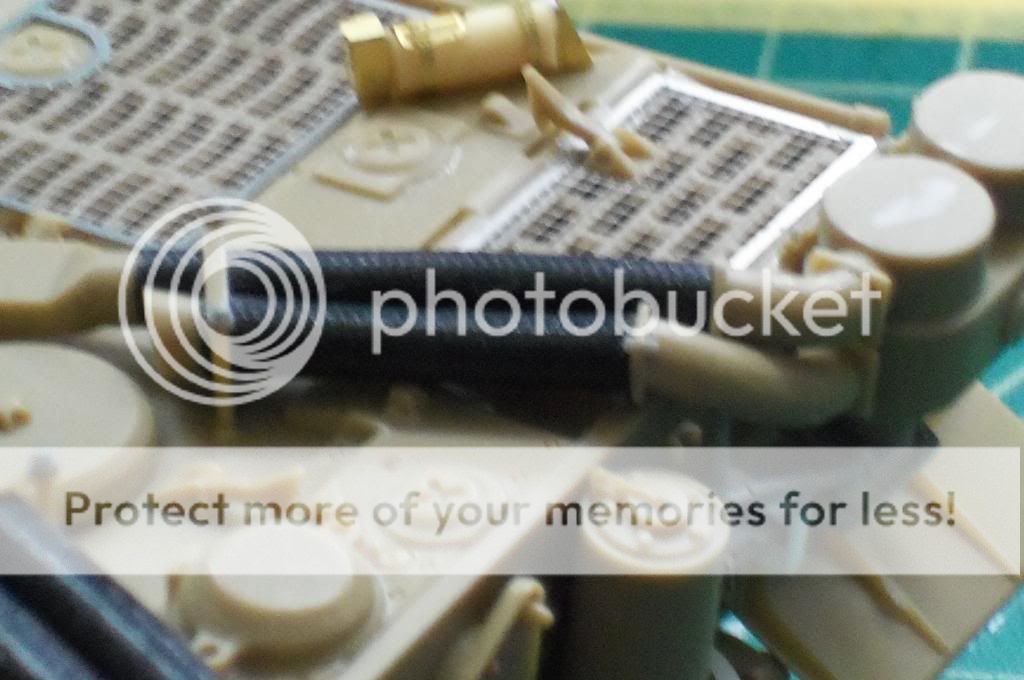
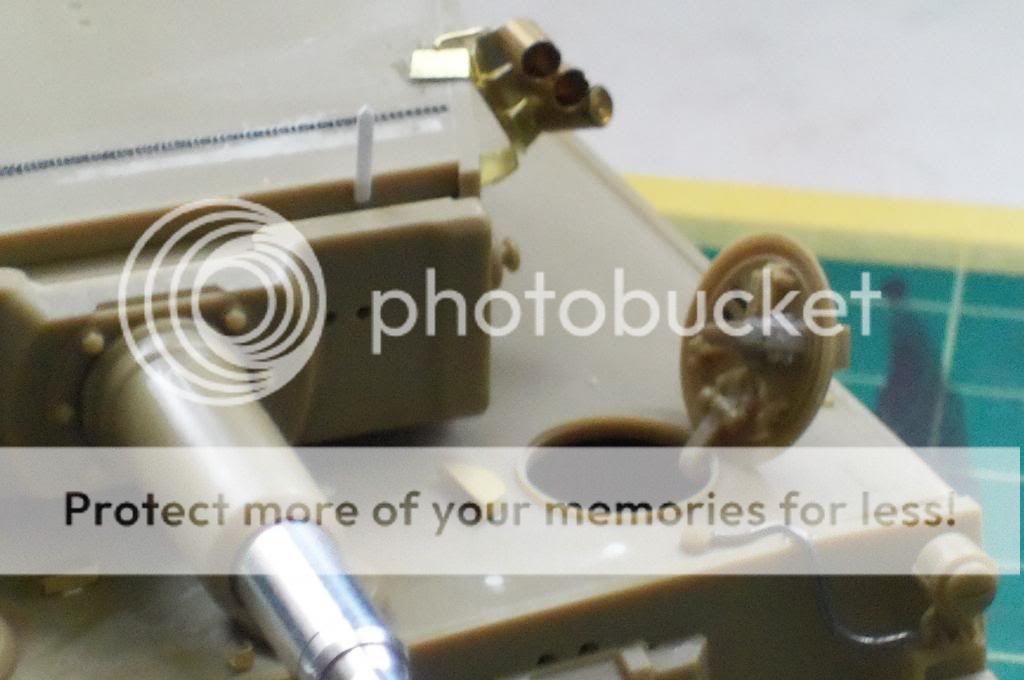
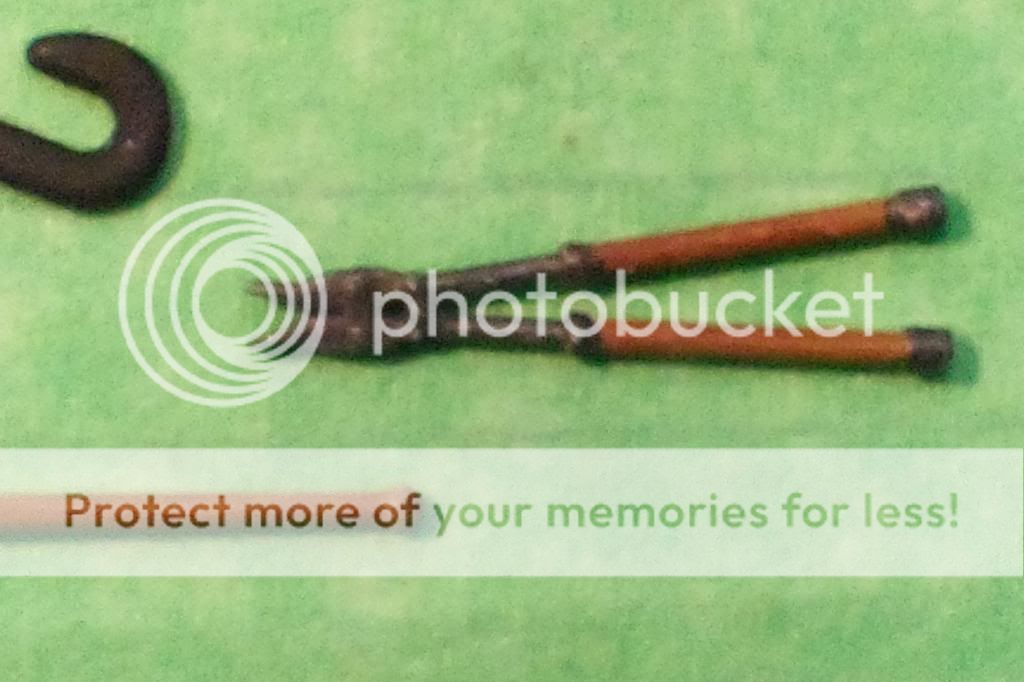
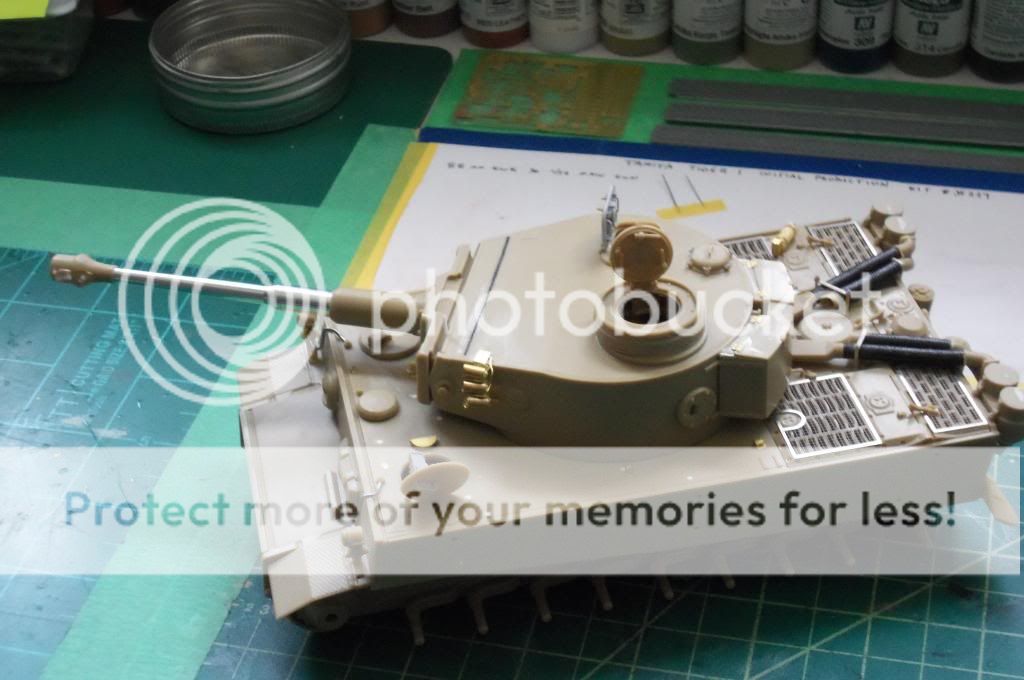
Hell guys, I've been busy. Lots of photos here and lots of text. The list of upgrades is a bit long. Most are compleate, Some are partially done, or will be done. 

Rather than caption all of them here is a brief rundown: I have decided to model Tigertank #142 of the 1st kompany, sPzAbt. 501. Unique to 142 is  :

Direct sight post on the left side turret roof (installed as a backup)

Spare track links mounted forward of the left and right smoke dischargers

Bucket hooked to the jack handle

88 gun is wrapped in camo netting

left side and rear hull also draped in camo netting

I did lots of scratch building and upgrades to this Tamiya kit (#35227) including :

replaced kit tools with Spares from my parts bin (Dragon)

Replaced the jack, jack block and fire extinguisher with Alliance Modelworks offerings

Scratchbuilt jack mount

PE clamps tool mounts by Lionroar and Alliance

Aftermarket grills from Tamiya (They should be included in the kit)

Scratch built partial track mounts on bottom rear hull (not used by 142)

Sanded off molded on convoy light and replaced with partial scratchbuilt and bulb from Dragon from spares bin

Replaced kit MG with brass one from Alliance

Replaced plastic 88 with one from AFV Club

Replaced track tool box with one from spares bin and scratched the mounting bars underneith

Replaced loaders hatch with a Dragon hatch from the bin

Adding LOTS of bolt and rivet detail throughout using Ming nuts and bolts

Replaced hinges on the Turret tool bin with spare PE from the bin

Direct sight post installed

Reworking weld beads throughout with putty and Archer resin weld beads

Butterfly bolts from Bronco are used where approprate

Replaced kit smoke grenade dischargers with super detailed ones from Voyager

Here are some pictures of some of the details. I still have another month or two of work to get done. 

Enjoy
 http://i1344.photobucket.com/albums/p642/Scottchaz/791_zpsd1955f37.jpg

Sorry for some of the picture quality...time for a better camera.

I will post updates on my build more regularly so there won't be such a long post

Scorr

ChazzerBlack Eye

JOIN OUR COMMUNITY!

Our community is FREE to join. To participate you must either login or register for an account.

SEARCH FORUMS
FREE NEWSLETTER
By signing up you may also receive reader surveys and occasional special offers. We do not sell, rent or trade our email lists. View our Privacy Policy.