Hello Folks!!
I did a litle bit of work on my build of Nichimo's Ki-45, "Toryu", or Nick.
Overall, my first impressions of the kit are favorable, my only complaint would be the lack of interior detail inside the cockpit and wheel bays. That's why I am using Lone Star Model's, detail sets for these areas. Otherwise, the kit is well done, with nice surface detail. The fit of all the major components also is spot on.
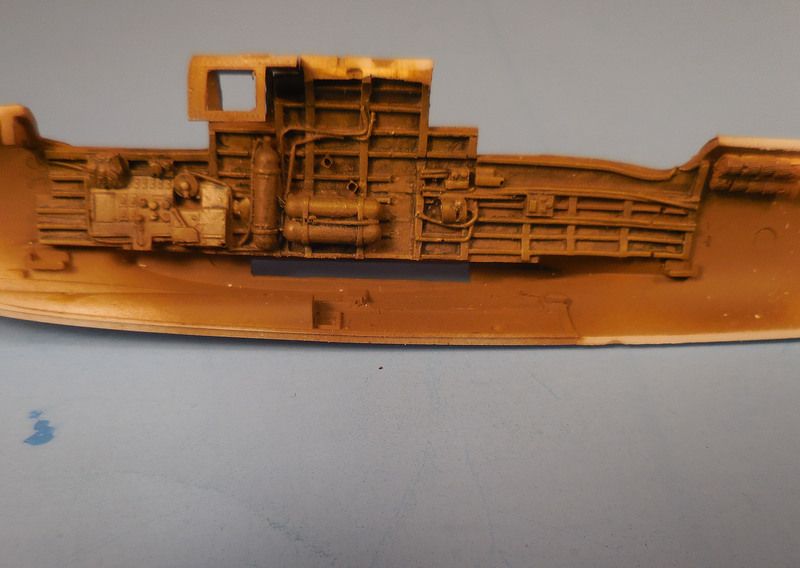
The Lone Star sets, at least with the cockpit, are a wee pit troublesome with the installation. First two pictures, are of the port and starboard sides of the fuselage, after the side consoles were attached.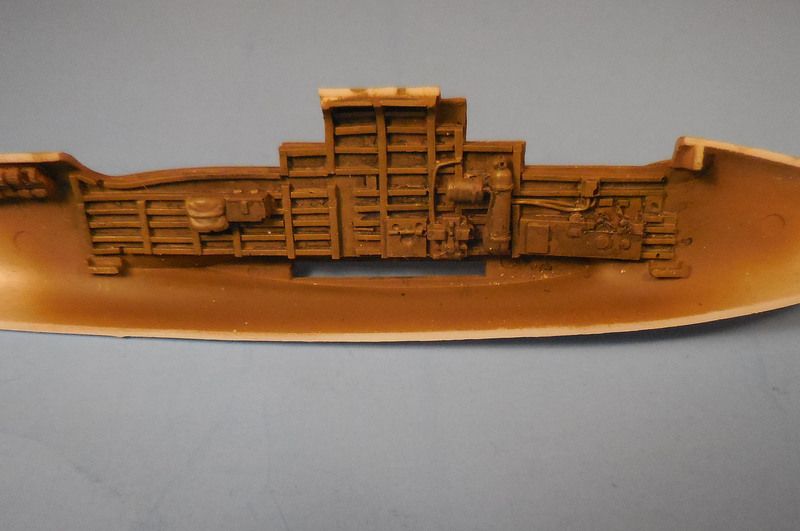
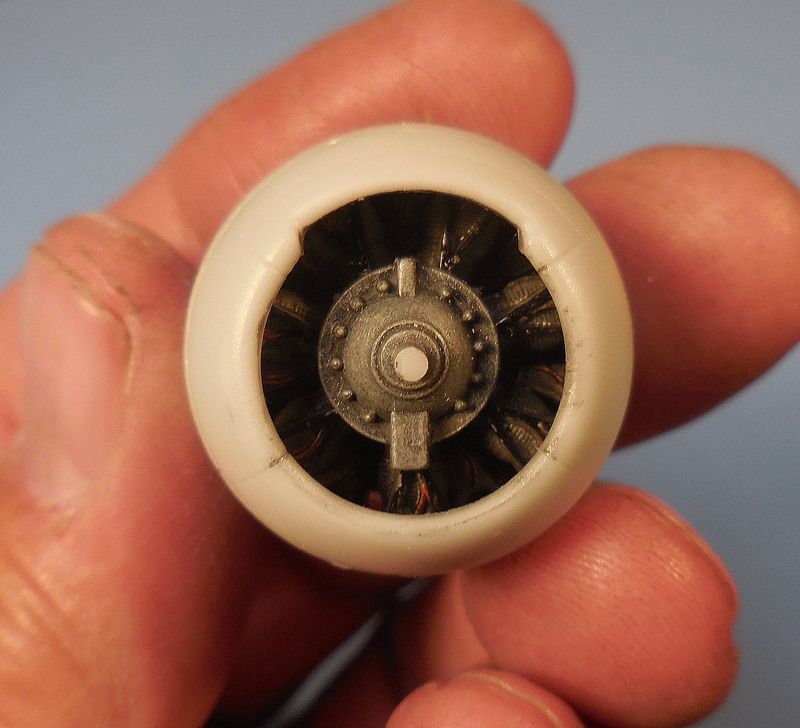
The engines that come with the kit are very well done. I attached these to the resin firewall, and test fitted them to the kit's cowling. The rear of the engine is on the rear of the firewall, and is visable up through the wheel well. When I get these wings together with the wheel wells installed, I'll post pictures of them. Right now however, I have to get this fuselge buttoned up first. As I weather and detail these, there will be more pictures, so stay tuned!!
Regards,
Freddie from LI