Well I have been away from this for way too long (moving, then other stuff), but I've been able to follow via email, and managed to get some work in here and there, so I now have something to show for this build (finally).
My kit is the 1/48 Tamiya Razorback, and I believe I posted pics of the cockpit before (if not - too late. Dropped my phone in the river and it did not survive).
I have the Kitsworld decal set because I wanted to do something a little more fun than OD over Neutral Gray, and I went with a 56th FG bird. The scheme is supposed to have the top invasion stripes overpainted in OD, but I opted to leave it in the D-Day scheme before the overpaint.
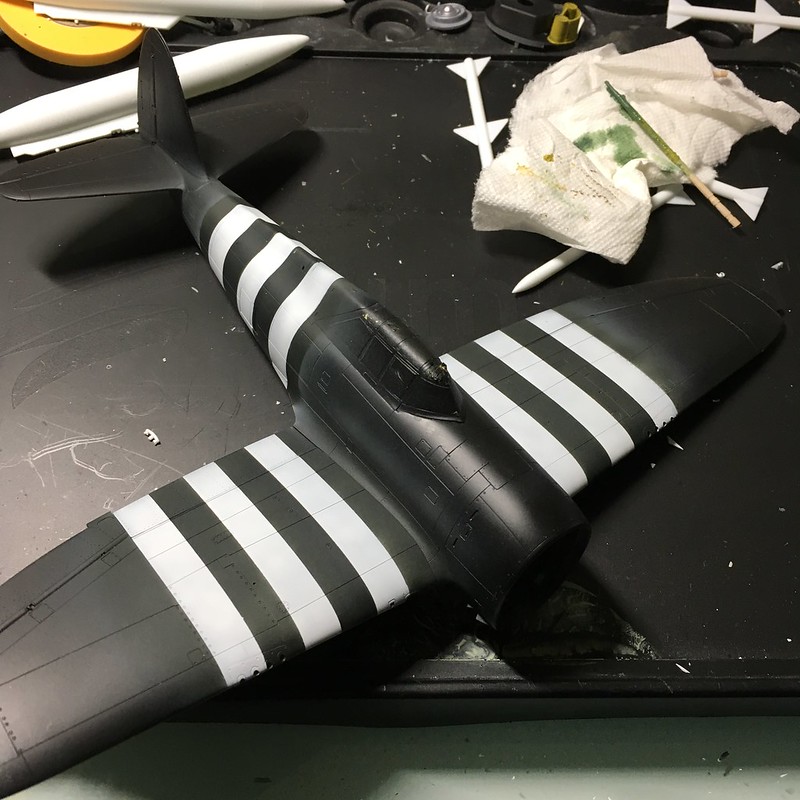
This is the first time I've done invasion stripes, and it took a fair amount of tweaking to get them where I wanted them.

But once done, I was pretty happy with them. They are Tamiya White and NATO Black sprayed over gray.
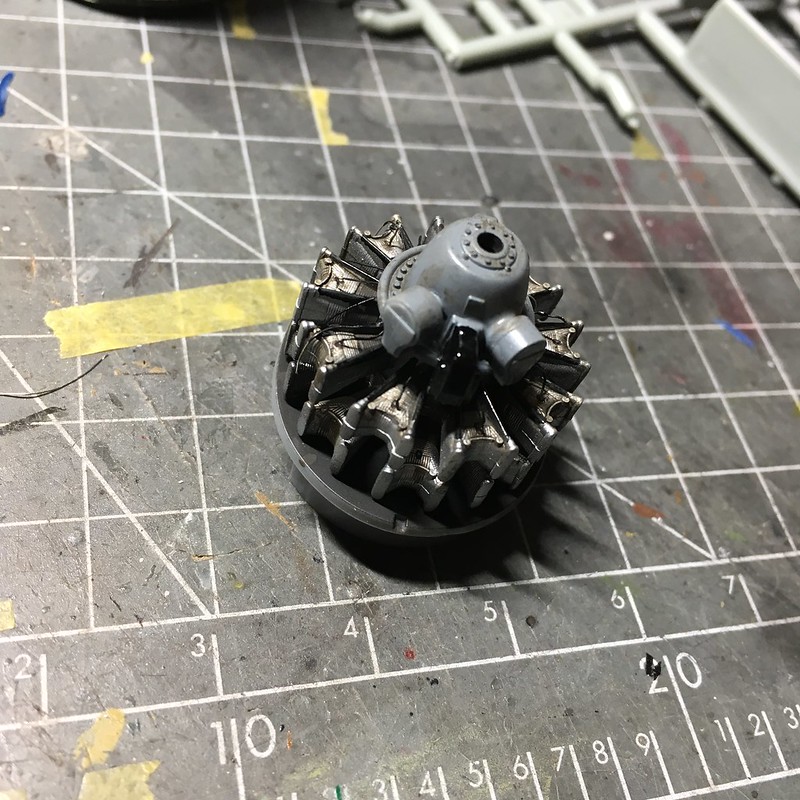
Next up was the engine. I added some spark plug wires, as I've never done this before and wanted to give it a shot. Next time, I'll use copper wire, as the steel wire I had was not great to work with (too stiff).

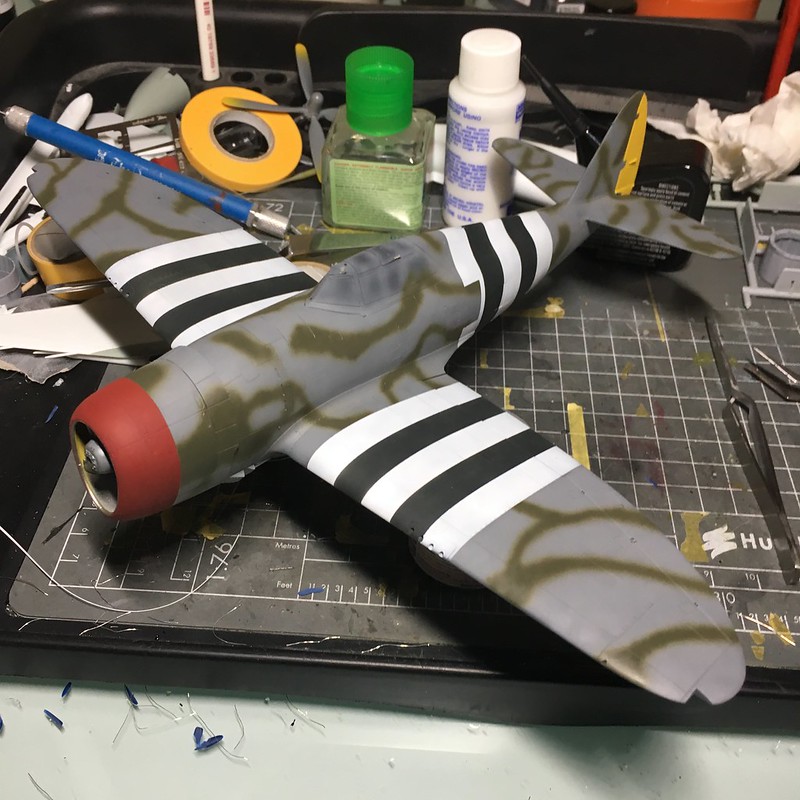
Next up was the scheme. I freehanded the camo after masking the nose, rudder and invasion stripes. My reference pics of this bird show the edges pretty soft, and I tried to replicate the effect without getting the green too discolored over the gray. The colors are Tamiya Medium Sea Gray (bottom), Dark Sea Gray and RAF Dark Green 2, all without mixing. The red is Model Master Insignia Red, and the rudder is Model Master Insignia Yellow.

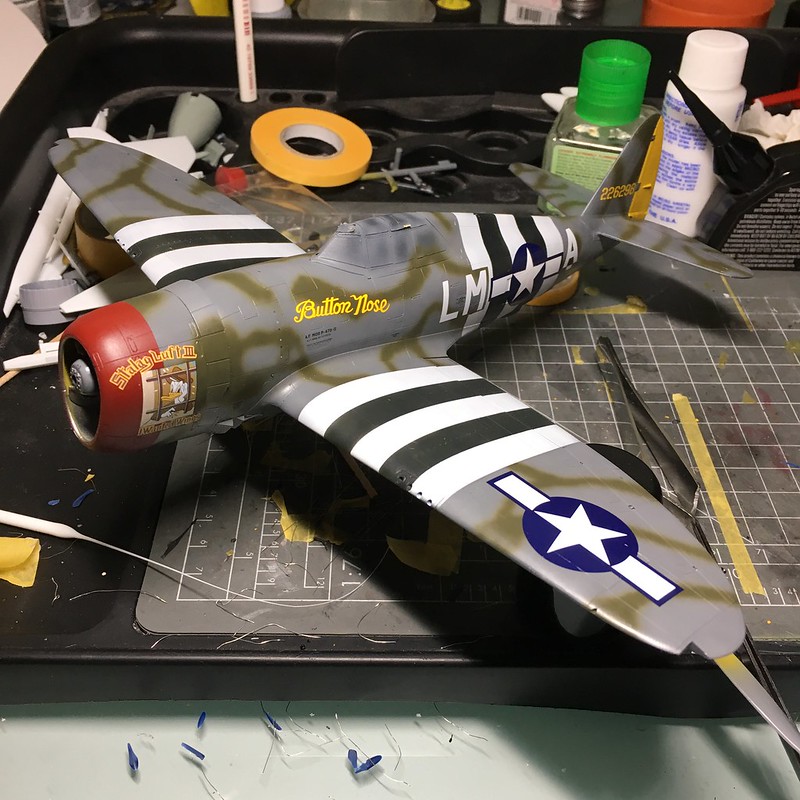
Next up were the decals. As I mentioned, they're from Kits World. These went down excellently, and really sank into the detail nicely with the Micro Set/Sol combo on top of a layer of Tamiya X-22 gloss. I can't say enough good things about the quality of the decals.
The instructions, however - were not good. At all. The main scheme decals are easy enough to see, but the stencil data had literally nothing to indicate placement. I referenced the Kits World stencils to the Tamiya ones and placed them with the callouts in the Tamiya instructions. It took way longer than it should have and should not be necessary. None of them are numbered, either.
Oh well, it's ready for its next clear coat before going to washes.

Thanks for looking, and hopefully I'm back in the saddle now after too much time away!
-BD-