OK....Let's get down to finish the last few items.
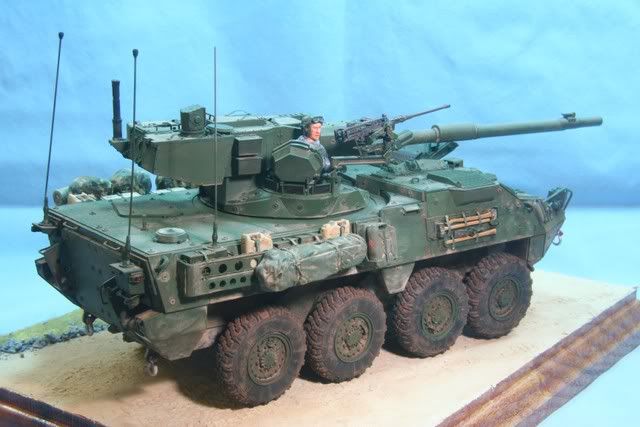
The backpack gear was finished using the Sinsengumi BDU camo set. The bed rolls were painted using Tamiya Med Grey. The canteen pouches and entrenching tool cases were painted with MM Olive Drab. Then I airbrushed some of the MM OD on clear decal paper, cut it in .040 strips and used it to decal on all the straps. Once everything was set it was given a coat of Flat Future to protect all the decal. Lastly a pin wash of black was used on the canteen pouches and entrenching tools and a dark grey wash on the bed rolls.
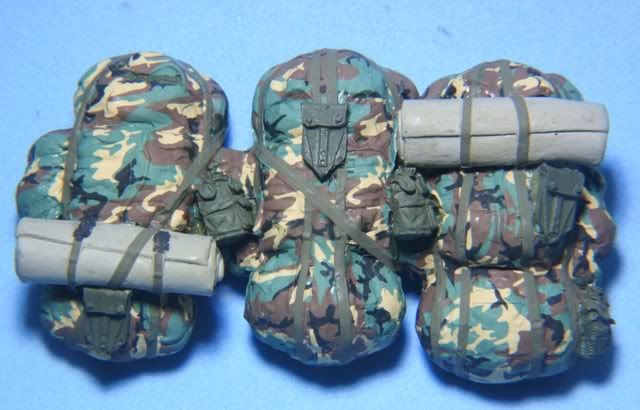
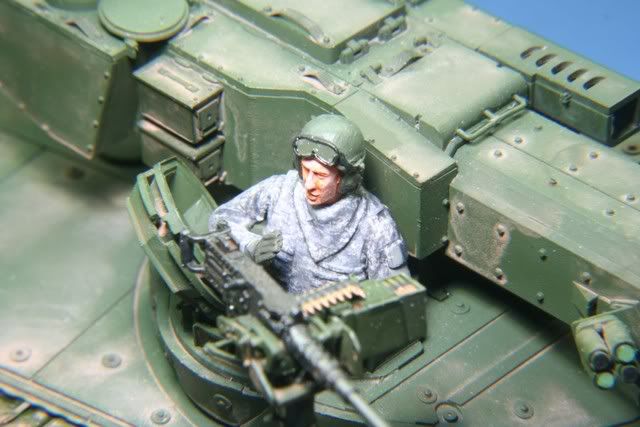
After everything dried it was time to mount up. I glued the backpacks in place. Then I mounted Joe...the TC
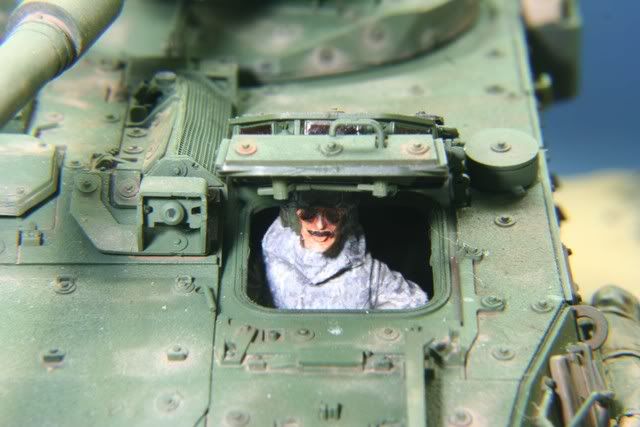
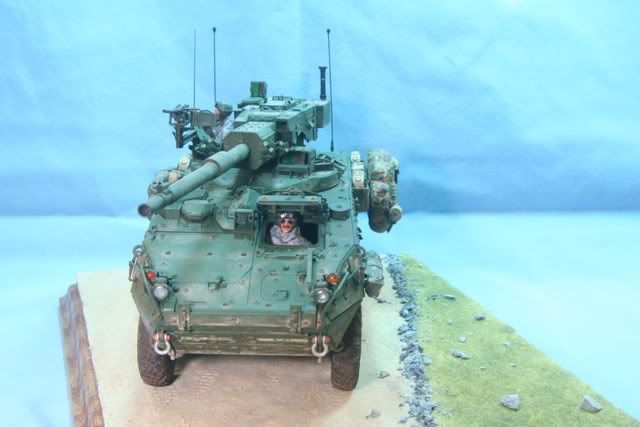
Lastly, Gino climbed into the driver's seat.
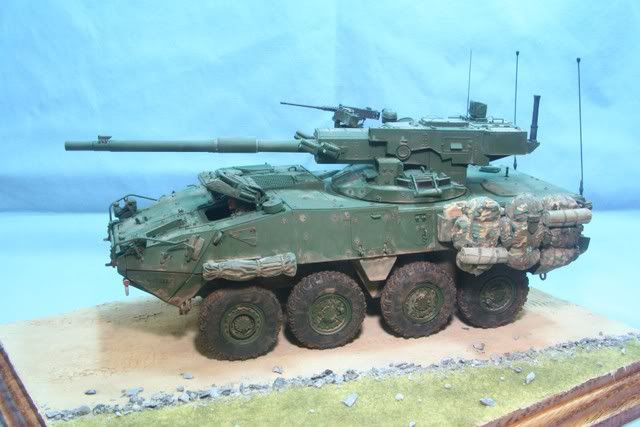
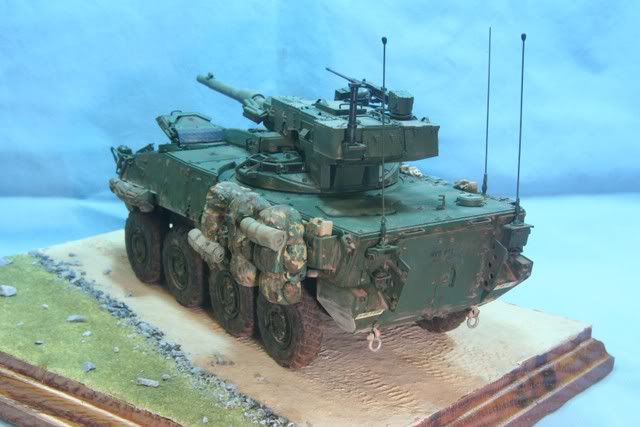
The base was cut from Oak, edge routed and sanded. Stained and sealed. After drying overnight, Celluclay mixed with a Michaels cheap acrylic mud color was mixed and laid down and tire marks laid in. After that dried overnight, I laid in the grass and the stone.
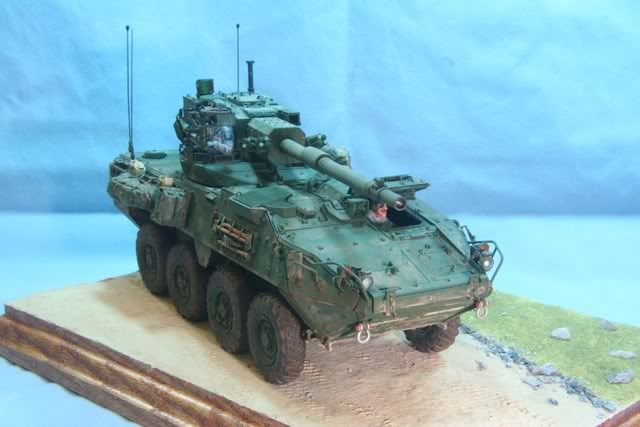
With the base made and the crew mounted up, a few last touch ups and here is the M1128 MGS finished.
Thank you for looking through this WIP thread. I hope I was able to help someone with an idea.
I will be taking a short break from armor and you will find me with my next WIP in the helicopter section as my next build is the OH-6 Cayuse....great aerial artillery observation platform (but I will still be wathing here from my virtual bunker).
All comments are welcome, thanks for looking.
Rounds Complete!!
End of Mission....Mark as Target!