Rear of the piece, face the piece, fall in.
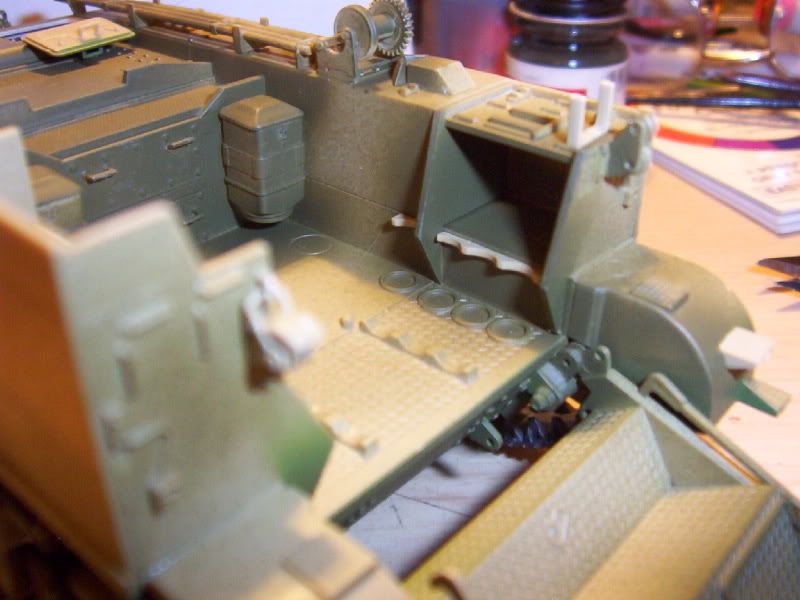
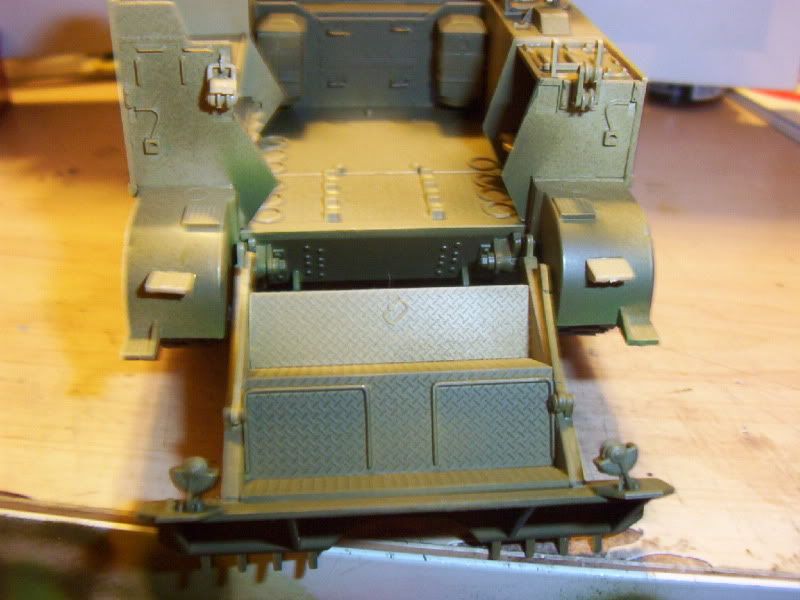
Here's a couple shots of the areas that need painting prior to final assembly of the hull. The stowage areas are impossible to cover completly with the airbrush, so get in there with brushes beforehand, taking care not to get paint on the joints, unless you're using CA or wanna scrape paint


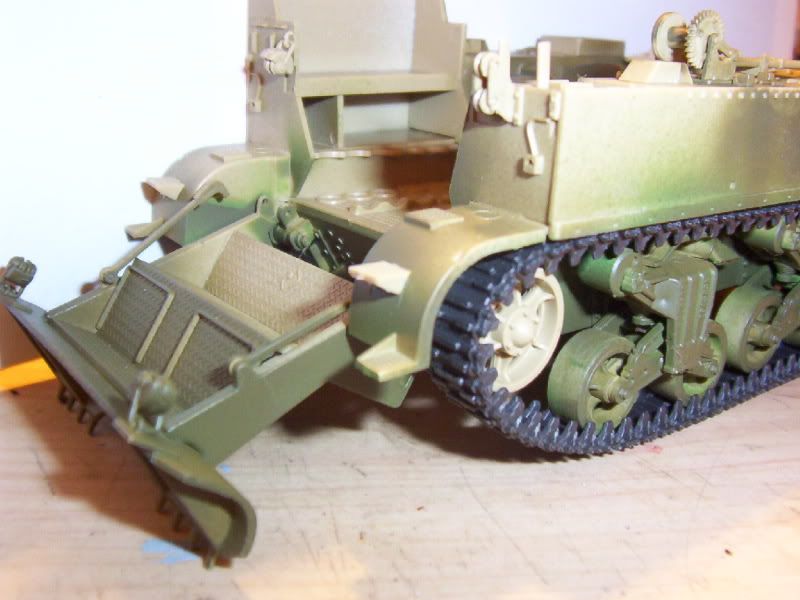
As you can see, I didn't do that on the left oddment bin, so I have to brush that area. Fortunately, I'll have a gunner figure in there to hide that bit of brain-cramp, as the piece was fired with the gunner remaining at the pantel. You can also see (sort of) the four pulley sets that I mentioned, and the winch. Tiny, TINY parts in them things, a total of 24 parts... And they have to cemented carefully as they are flexible, and need to be able to move during the installation of the spade cable.
Another shot of the pulleys and spade:

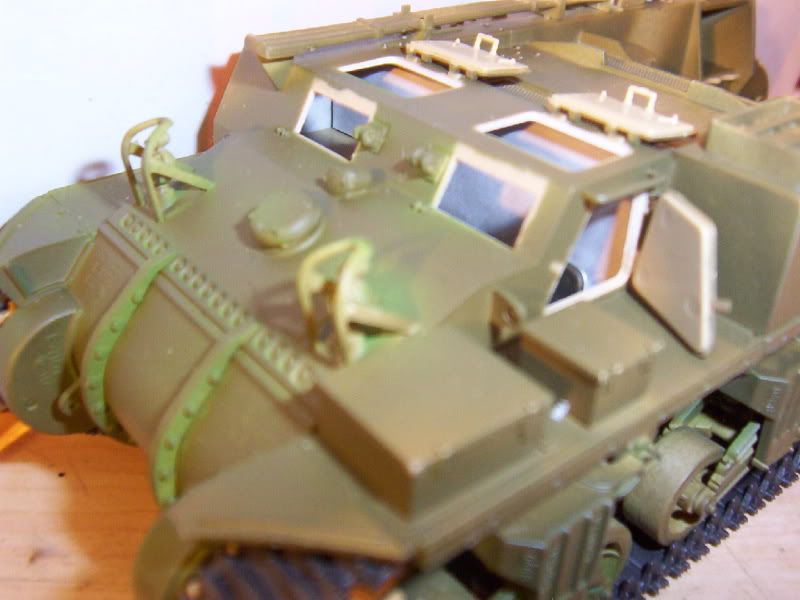
Here's a shot of the driver's compartment. Note that the interior of the driver's left hatch is without any detail (except the pin-marks). That's getting sanded smooth right now, and the interior scratch-built to show the viewport cover in the open position, and I'll drill out the viewport from the outside. I don't have any reference photos that show that hatch's inside face, so it's getting a bit of "creative gizmology" done on it...

Anyway, that's the mission so far... Not bad for a morning's work, eh? 'Course, it's now 0915 and I started around 0100 today...