Fire Mission
1/35 Trumpeter M1117 with Formations M1200 Armored Knight conversion set.
Introduction
The M1200 is a wheeled armored vehicle that carries the equipment needed to quickly bring in guided bombs, missiles and artillery shells. The M1200 contains a laser designator, a laser range finder and GPS, plus radios and computers that take target position data and transmit it to distant artillery units, or bombers overhead, and get the firepower on the target. The M1200 Armored Knight evolved from the desire to provide enhanced protection to Fire Support Teams who perform the targeting mission in high threat environments.
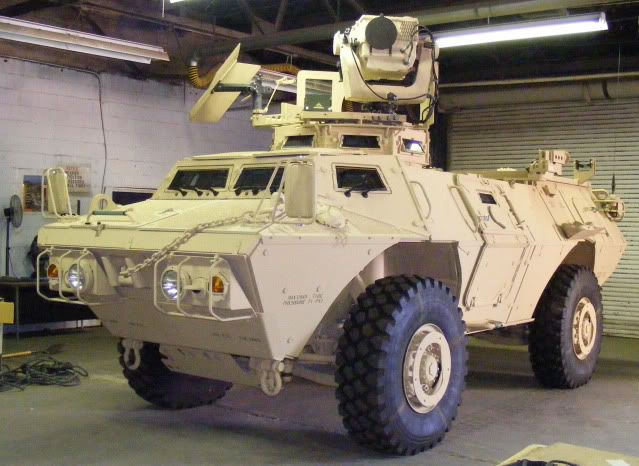
This photo is one of the 150 photos supplied with the conversion set on a CD along with detailed instructions via a slide presentation.
The build
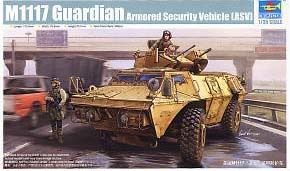
I will be using the Trumpeter M1117 Guardian kit as the base kit for this build.
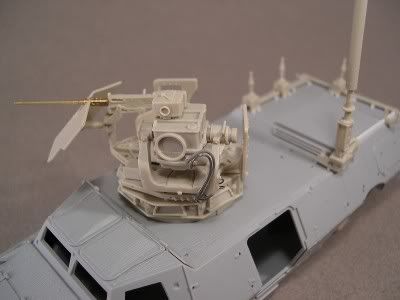
The M1200 conversion set is from Formation Models. This is the catalog page view of the conversion kit.
I will also be adding resin tires from New World Models
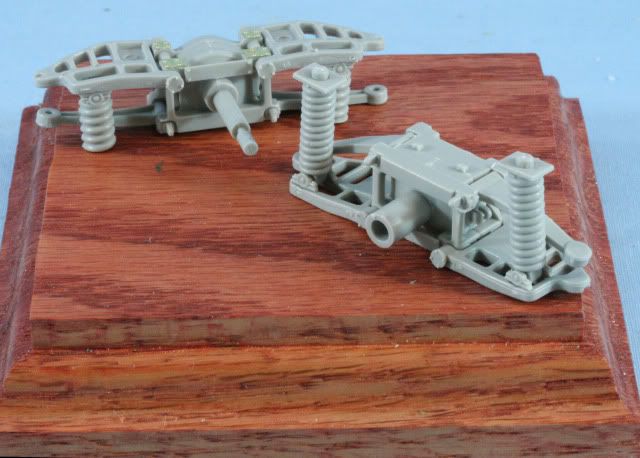
Well, off and running. The first three steps involve the assembly of the suspension and drive shafts. I left the wheels off for painting. The PE is part of the kit supply. The assembly was straight forward and the fit good.
Step 4 has the two body halves assembled. There was some slight warp to the body halves so I used some rubber bands to hold them in place after which I injected liquid glue onto the inside seams.
Step 5 adds the armor panels around the outside of the body. At this stage of the build I am leaving off any small grab handles until later. Again the fit is good and the instruction clear.
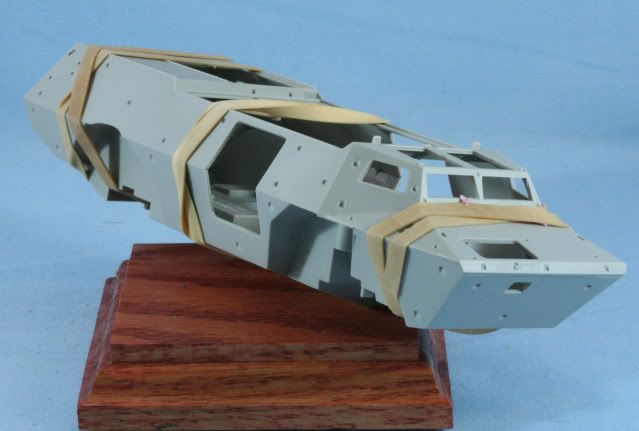
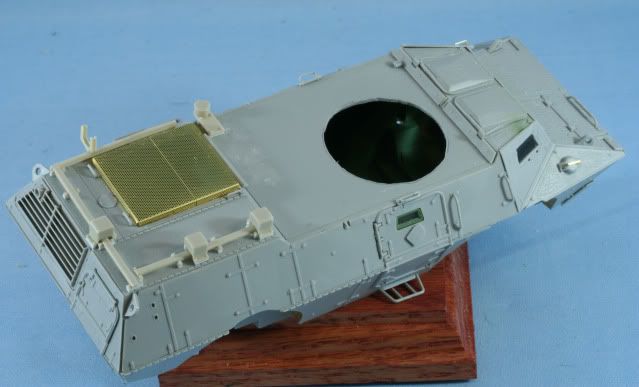
Part of step 5 is adding the main roof. Part C7 has a .765 hole for the M1117 turret. This hole has to be expanded to 1.375 for the M1200 turret. I made a paper template with the smaller diameter inside the larger. Then I cut the template and used the smaller hole marking to properly line up the template on the part. After marking the larger hole on the part it was time for the Dremel.
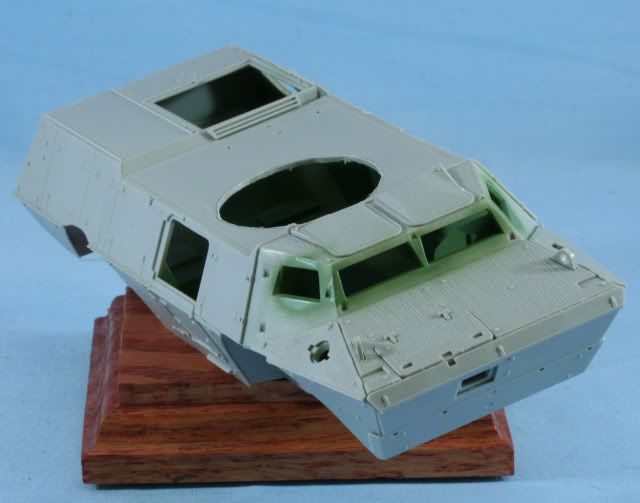
Before gluing the panel in place, I sprayed the inside and widow insets on the front and on the side doors using Tamiya Cockpit Green. At least what little might show will be the right color. Now was the easiest time to do this painting.
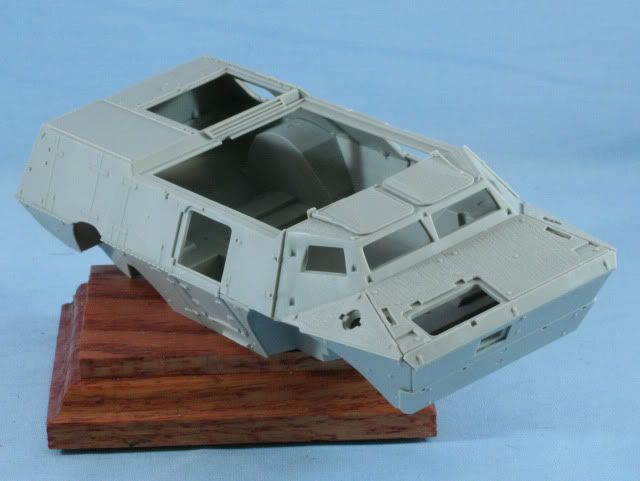
Here is the view after fitting the roof
Step 6 includes adding some details to the bottom side including PE armor panels in the wheel wells
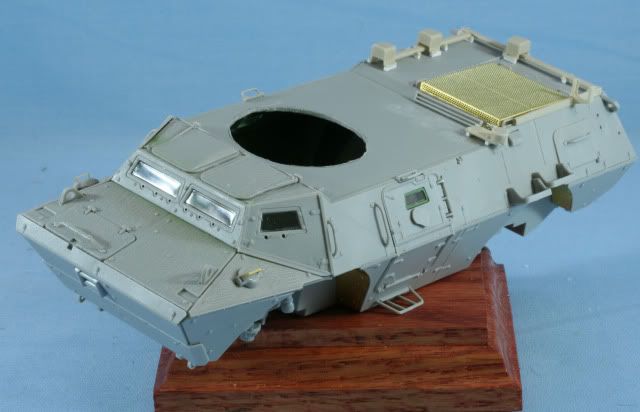
Steps 7 & 8 adds a number of details including the PE engine grill, side doors, rear door, front panels with windshield glass, and numerous access hatches, grab handles and details
In all cases the Trumpeter instructions were clear. The kit parts are excellent for both fit and detail. All of the pin marks are well planned and let you model without the need for putty.
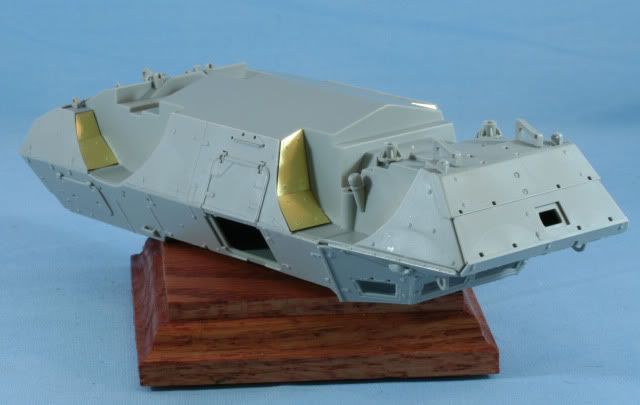
At this point I wanted the get the M1200 conversion antennas on the vehicle. Step 22 of the conversion instructions requires removing the required parts from the casting blocks and with supplied styrene strip, adds feet to all the parts. These parts are well cast but delicate. Removing and cleaning must be done carefully. Step 23 assembles the parts onto the model.
Here is front view
That’s it for now. A few more details on the body section and it will be ready for prime time. Then it will be onto the Armored Knight turret, the heart of the conversion kit.
As always thanks for stopping by. Your comments good or bad are always appreciated.
Rounds Complete!!