UPDATE!
OK--tracks are on. What a genuine PITA though. Trumpeter's tracks are fairly impossible to glue. I tried TenaxR7, Testor's glue, and Tamiya. No luck. Read online that you had to use the old Testor's Orange TUBE glue with toluene in it!!--so I got in the truck and fought traffic down to A.C. Moore's 1/2 hour before they closed and picked up some. Just in case though, I stopped at Lowe's and picked up some Devcon 5-Minute epoxy. Lucky I did. I tried the tube glue, and clamped it for 3 hours, and they still pulled apart. So I slapped some Devcon on them and they finally held. Seriously though--Trumpeter needs to get their act together on these tracks.
So anyway, the epoxy left a rather largish lump at the attachment points, which kinda sucks. I sanded most of it down, but they still don't look as good as Revell's indy links, or even Dragon's rubber band. Sigh. I really wish these companies would just go back to indy link tracks, or link-n-length.
OK, so after I glued the tracks on, I gave the model a wash of Van *** brown, and did some "edge-chipping" with a paint brush on the edges, using a metalllic steel color.
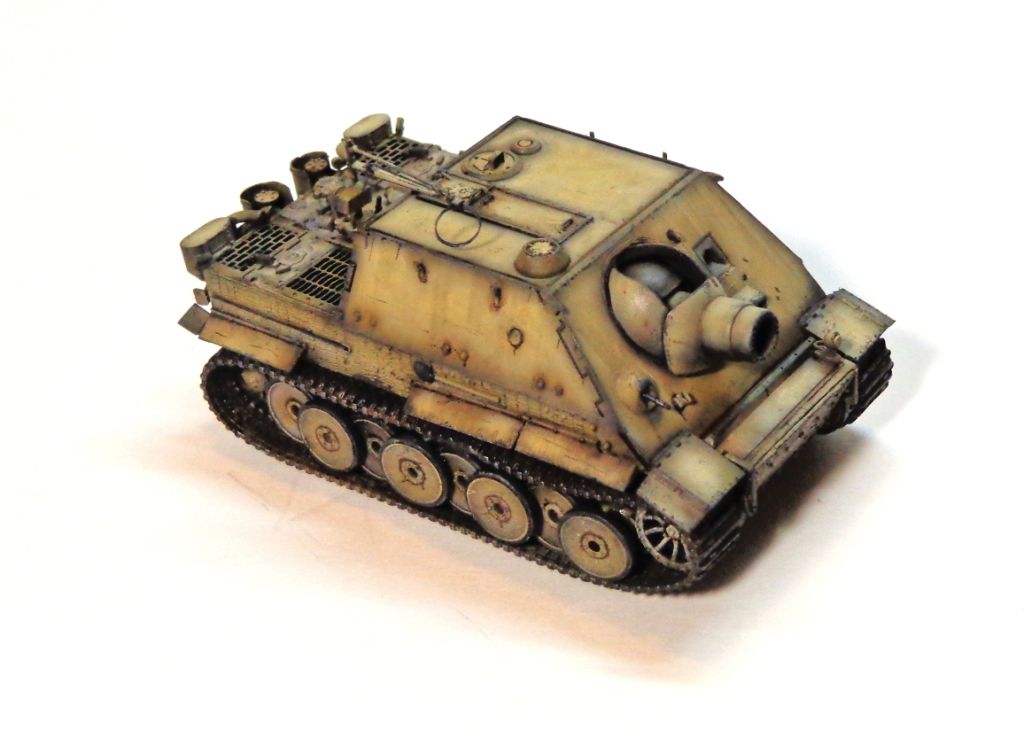
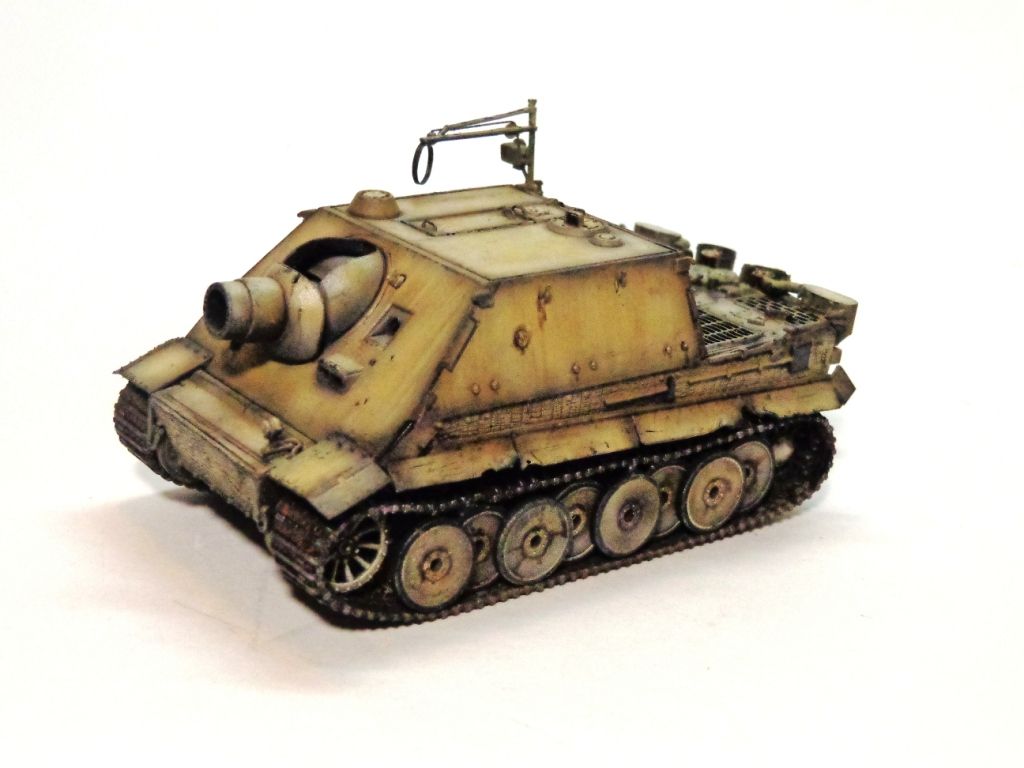
Please excuse the weird color disparity between some shots--I'm still monkeying around with the setting in my fairly-new point-n-shoot camera.
Next, it's time to do some "color mapping". This was discussed in a recent thread, so I thought I'd do some here to show what it is. First, the tools; MIG "Thinner for washes", some white oil paint, some 502 Abt "Light Mud" oil, and two different paint brushes.
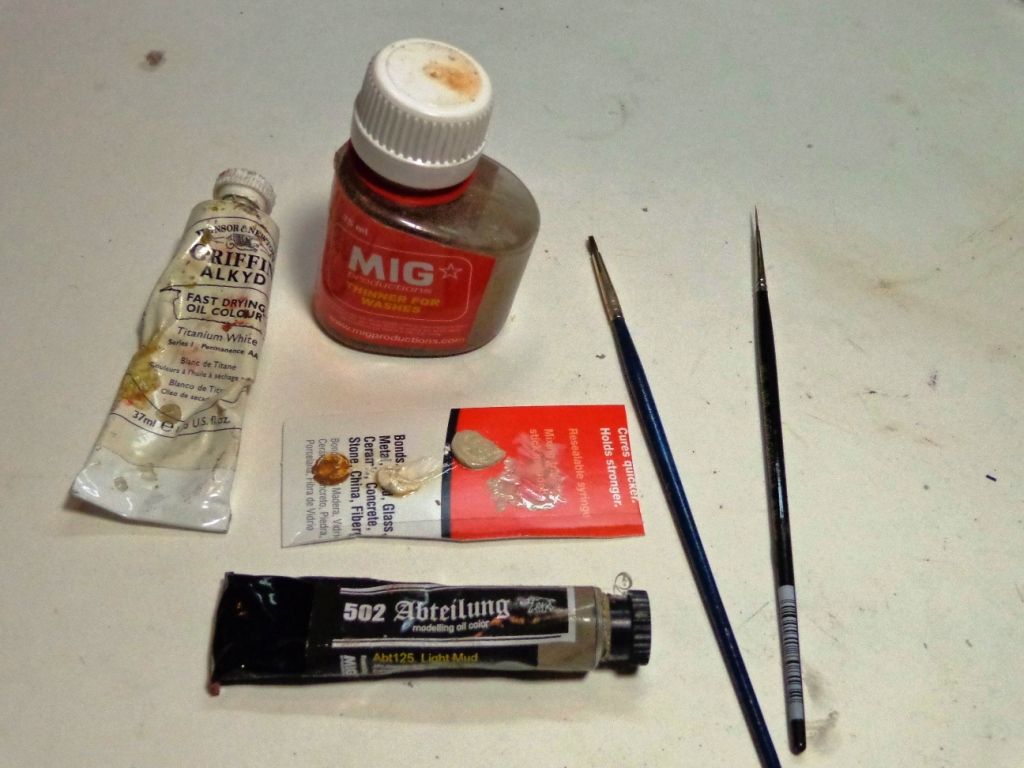
Now, mix up some thinned Light Mud--a good approximation of lightened or faded DY.
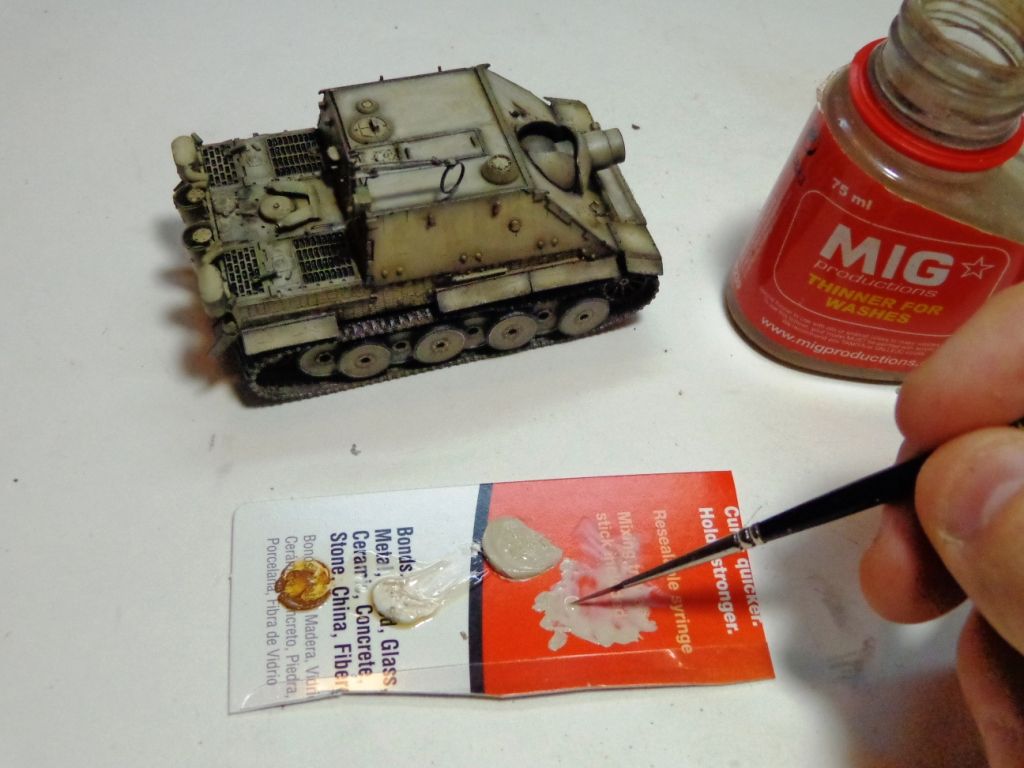
Dab it onto the model.
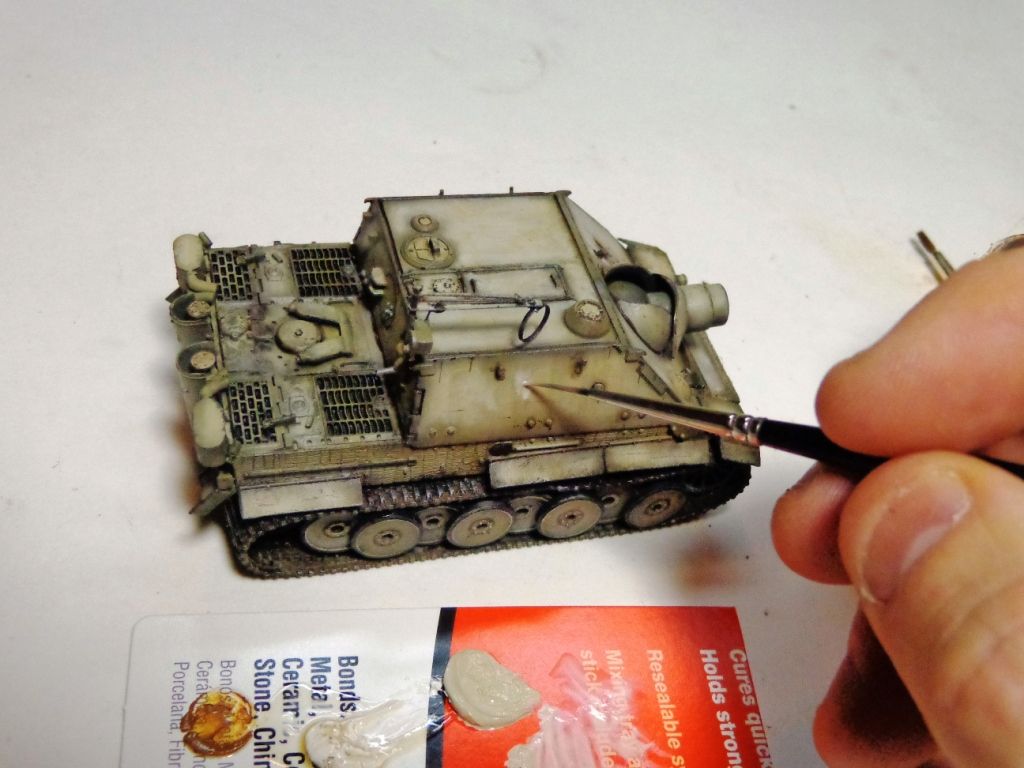
Don't worry about being too precise or calculated; "random" works just fine.
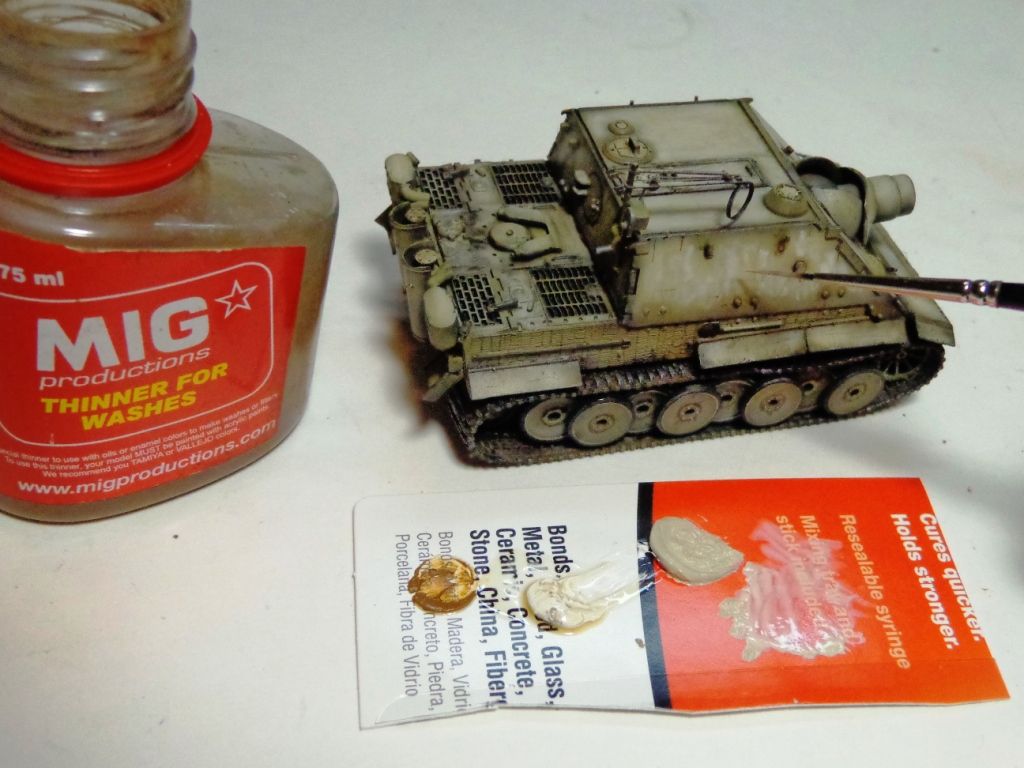
Now, with a different brush, blend in the color.
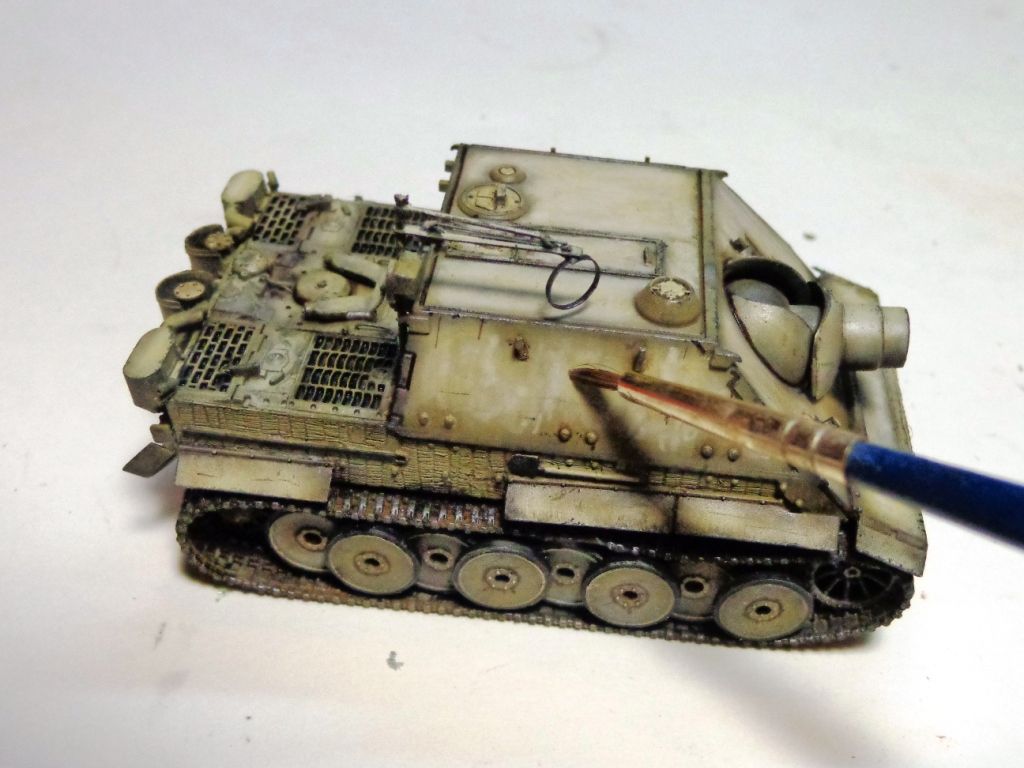
Now, some might call this technique "Color Modulating". It's all very similar in application and result. I'm rather combining the two technique. If I were JUST "color mapping", I would have left these random shapes un-blended. Then, subsequent pigments and/or washes would have reduced their intensity, But I'm such a big fan of "Scale Effect"--the effect of light washing over an object, and the attempt to "fool" the eye by simulating that effect with painting tricks--that I'm going to use a bit of color modulation from top to bottom in order to simulate the effect of light hitting the top of the vehicle in real 1:1 scale. So, I'm adding more white to the top parts of the model and blending that into the base coat.
So, after adding more white to the top parts--and the top hull especially,--here's what I got. I've also gone back over the model doing some "low-lighting" along the edges with a grey-brown-steel color. Why? It's part of "scale effect". In this tine scale, we must fool the eye into thinking that the light is bouncing off the large flat planes of the mode--but not collecting on the edges, as it would in "real life". We do this when we highlight the inner panels of 1/35 scale models with an airbrush-only in this scale, it's more dramatic to deliberately "low-light" the edges as well. This is also why I had painted the model in such a fashion as to let the dark base coat show through on the edges and in the shadows. Note how the paint beneath the mantlet is not faded--where the sun wouldn't reach. I may tone down the contrast a bit with some more mapping after looking at it in pics.
I also brapped a little rust onto the fenders.
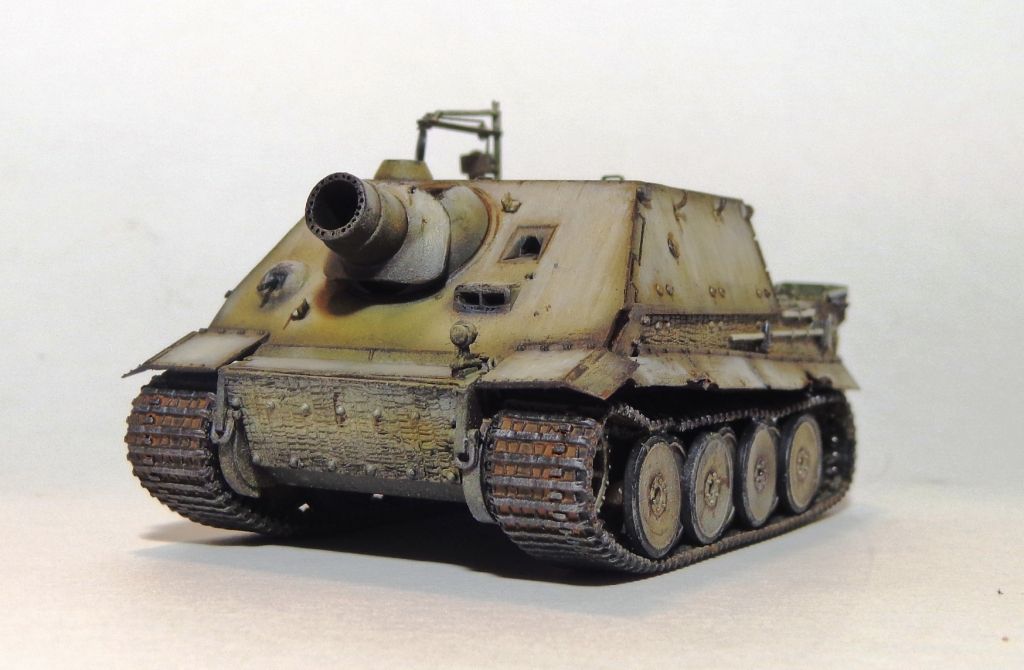
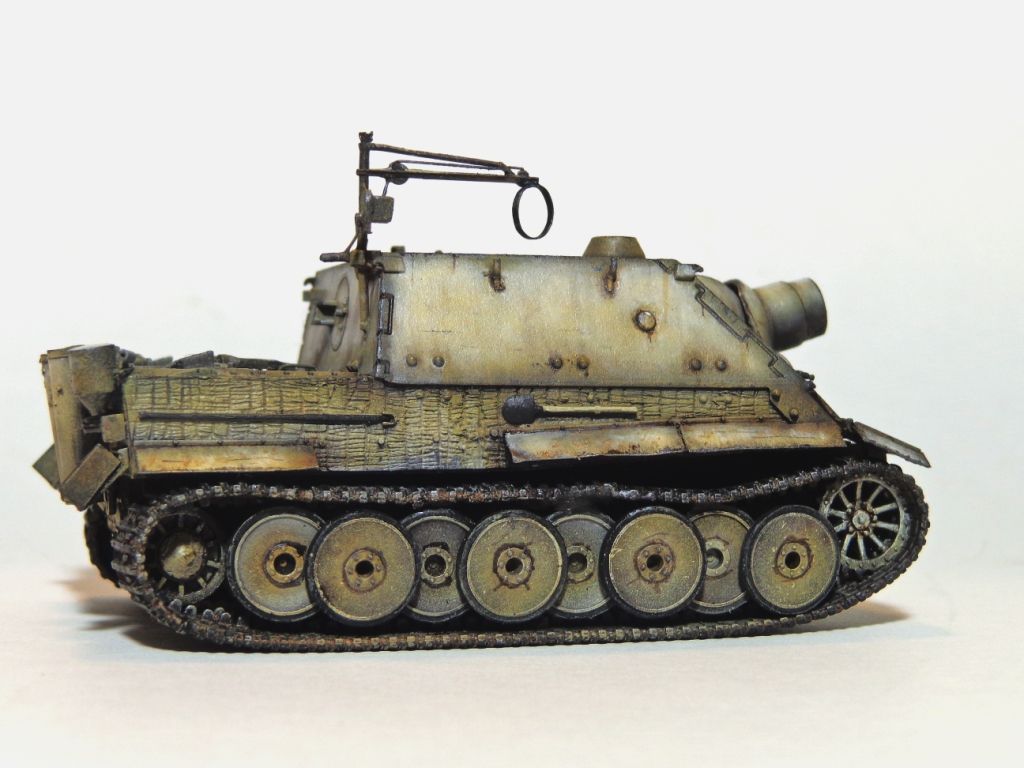
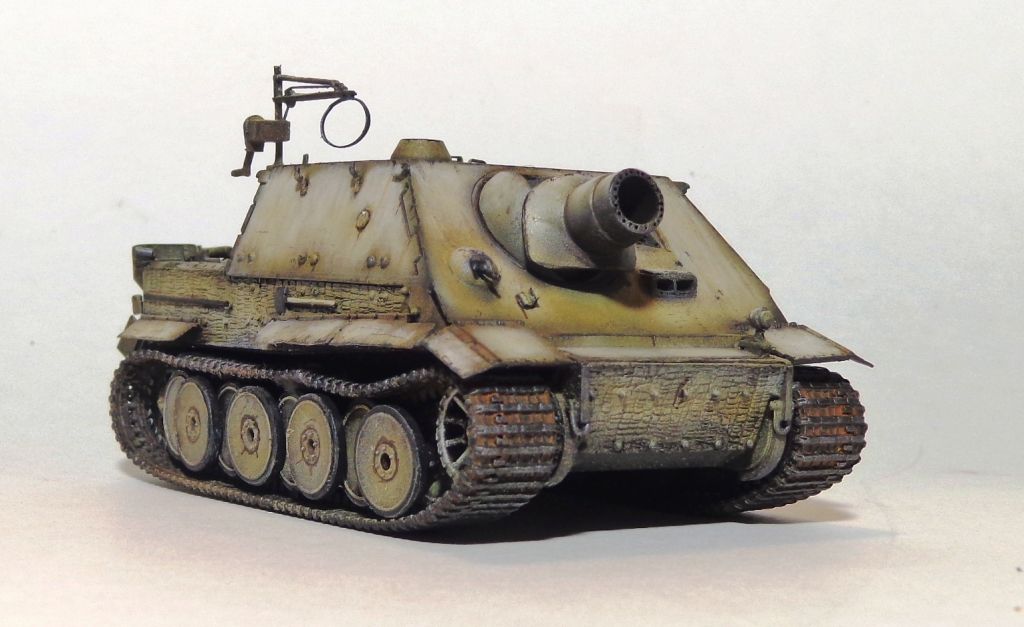
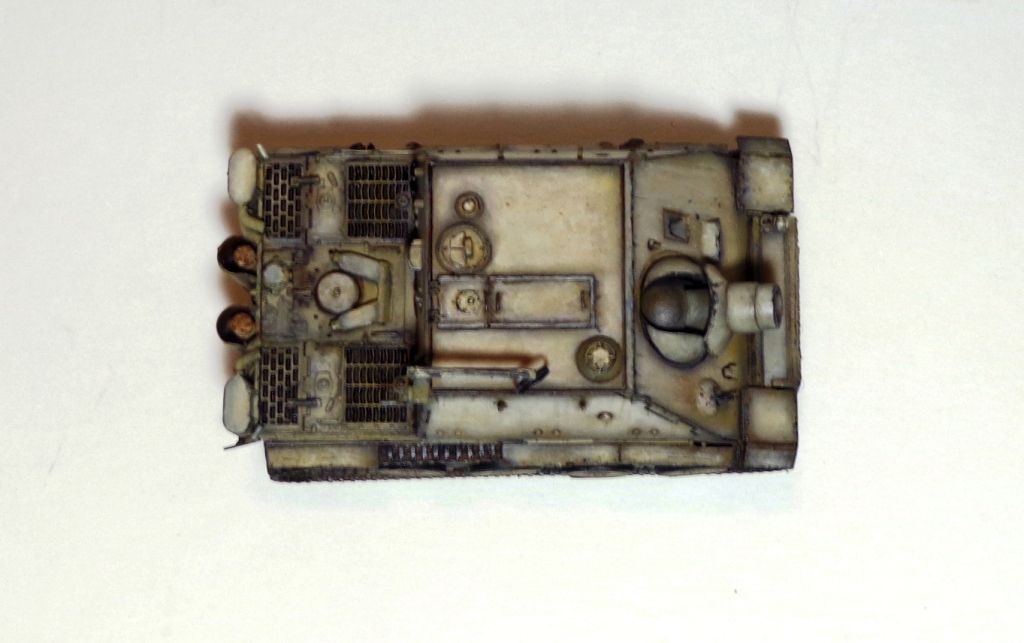
Getting close to wrapping this one up. I have to decide on a base. Originally I was going to do something more involved, but as I don't care for the sit of the tracks so much, I may just make a simpler base. Thanks for looking in, guys! I always appreciate comment and suggestions! 