SEARCH FINESCALE.COM

Enter keywords or a search phrase below:

Academy M3 Lee

3803 views
18 replies
1 rating 2 rating 3 rating 4 rating 5 rating
  • Member since
    November 2005
Posted by T26E4 on Friday, July 26, 2013 7:58 AM

Those bottles are engine compartment fire extinguisher bottles.  Paint them red or OD.  All Shermans have 'em

Roy Chow 

Join AMPS!

http://www.amps-armor.org


  • Member since
    July 2004
  • From: Sonora Desert
Posted by stikpusher on Thursday, July 25, 2013 6:39 PM

I can't imagine any use for O2 bottles in a tank. Compressed air definitely for  operating something on the tank.


F is for FIRE, That burns down the whole town!

U is for URANIUM... BOMBS!

N is for NO SURVIVORS...

       - Plankton

LSM


  • Member since
    July 2007
  • From: Southern New Jersey
Posted by troublemaker66 on Thursday, July 25, 2013 5:43 PM

subfixer

Even in the forties a gas cylinder painted yellow indicated that it was filled with acetylene. Might want to second check those bottles.

I hear ya...problem I`m having is lack of info from the kit or the web...seems everyone can find stuff but me sometimes..lol. I painted them yellow out of my aircraft building habit...most of the time oxygen is yellow. I know these are prolly compressed air and most likely painted white and , being I`m no "rivet counter", I`m not too terribly worried about it. I will look into though, now I`m curious....Big Smile

Len Pytlewski

  • Member since
    March 2004
  • From: Spartanburg, SC
Posted by subfixer on Thursday, July 25, 2013 5:28 PM

Yellow gas bottles sometimes indicate that they are intended for use with acetylene gas.  

I'm from the government and I'm here to help.

  • Member since
    July 2004
  • From: Sonora Desert
Posted by stikpusher on Thursday, July 25, 2013 1:21 PM

Well the Lee does have those nice big side hatches and the drivers flap to pose open. I know what you mean about that though. On thier M12, I painted up the interior, only to close it all up.... :-(

It's coming along very well so far there Len.


F is for FIRE, That burns down the whole town!

U is for URANIUM... BOMBS!

N is for NO SURVIVORS...

       - Plankton

LSM


  • Member since
    July 2007
  • From: Southern New Jersey
Posted by troublemaker66 on Thursday, July 25, 2013 7:57 AM

Made some progress .....

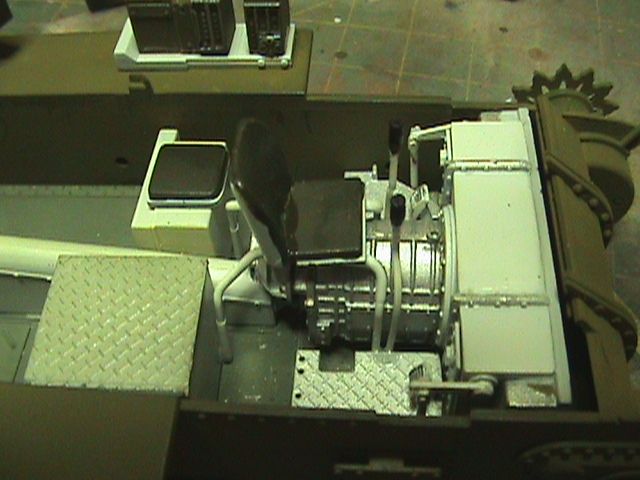
Installed the rear bulkhead and what I guess are either fire extinguishers or compressed air bottles...?...leaning towards air tho`...

Below is the completed turret basket. Obviously there are gaps between the panels that need attention but will be terribly difficult to do. The real thing has sorta the same deal so I may just call it a draw...Wink

I "dirtied" up the basket with a silver prisma pencil....just noticed the injection pin marks that I missed....Bang Head.

I have since painted the bulkheads white and I am working on the various gun assemblies...instructions are no help with this as nothing seems to want to go where indicated...very confusing.

I`m also trying to make it so the upper hull can be removed to see the inner details but may be impossible looking at future construction steps. Hopefully I`ll figure something out...always hated super-detailing aircraft cockpits, only to close it up inside the fuselage, never to be seen again....Sad

Thanks for looking,

Len

Len Pytlewski

  • Member since
    November 2010
  • From: Florida-West Central
Posted by Eagle90 on Monday, July 22, 2013 7:51 PM

That is some sweet detail work!  I'm looking forward to more WIP pics!  Great build!

Eagle90


  • Member since
    July 2007
  • From: Southern New Jersey
Posted by troublemaker66 on Monday, July 22, 2013 6:17 PM

the doog

That's a sharp job on the interior!

Thank you sir! I was playing around with the turret fit...have to enlarge the hole it goes into a little...not sure if its meant to turn or not.

Len Pytlewski

  • Member since
    January 2007
Posted by the doog on Monday, July 22, 2013 5:34 PM

That's a sharp job on the interior!

  • Member since
    July 2007
  • From: Southern New Jersey
Posted by troublemaker66 on Monday, July 22, 2013 4:33 PM

Bish

There's some nice detail in there, that's looking good.

Thanks Bish! I really have the "armor bug" pretty bad....lol.

Len Pytlewski

  • Member since
    July 2007
  • From: Southern New Jersey
Posted by troublemaker66 on Monday, July 22, 2013 4:31 PM

Raualduke

Love the shell casing color. What did you use?

The directions called for gold so I had some Tamiya Gold Leaf,  X-12 and used that. I used a fine tipped , silver paint marker to color the slugs. I think it`s made by Pilot and I got it at AC Moore.

Len Pytlewski

  • Member since
    July 2007
  • From: Southern New Jersey
Posted by troublemaker66 on Monday, July 22, 2013 4:28 PM

T26E4

All the interior surface walls would have been white

toadmanstankpictures.com/lee.htm

toadmanstankpictures.com/m3grant.htm

Wow!  I`m never able to find pics like these through Googling....thanks for posting them. It looks to me that my only real screw-up was not painting the side walls white, which I am tempted to resolve with careful airbrushing or maybe just a brush. Normal wear and tear would darken up the deck  so I think the gray will pass. Wish I had these pics 24hrs sooner as I glued the rear bulkhead into place...DOH!

Thanks again for the pics!

Len

Len Pytlewski

  • Member since
    December 2002
  • From: Bury St Edmunds, Suffolk, England
Posted by Bish on Monday, July 22, 2013 11:38 AM

There's some nice detail in there, that's looking good.

I am a Norfolk man and i glory in being so


On the bench: Airfix 1/72nd Harrier GR.3/Fujimi 1/72nd Ju 87D-3

  • Member since
    February 2011
  • From: St louis
Posted by Raualduke on Monday, July 22, 2013 11:01 AM

Love the shell casing color. What did you use?

  • Member since
    November 2005
Posted by T26E4 on Monday, July 22, 2013 10:52 AM

All the interior surface walls would have been white

toadmanstankpictures.com/lee.htm

toadmanstankpictures.com/m3grant.htm

Roy Chow 

Join AMPS!

http://www.amps-armor.org


  • Member since
    November 2009
  • From: SW Virginia
Posted by Gamera on Monday, July 22, 2013 7:30 AM

I would have guessed white too but really have no idea. Nice work so far Len. I've only built the ancient Tamiya Lee (as have I'd guess 2/3 of the people in this forum) and have heard a lot of positive and negative about the newer Academy kit. I'd like to give one a try though, wish I could find a great deal like you did.

"I dream in fire but work in clay." -Arthur Machen


  • Member since
    July 2007
  • From: Southern New Jersey
Posted by troublemaker66 on Monday, July 22, 2013 5:03 AM

stikpusher

I like it! Shouldn't all the interior walls and floors be white?

Not 100% sure. The directions are unclear so I`ve been using the picture of Academy`s completed build on the side of the box as my reference. Seems like slim pickings for Lee pic`s on the Web...at least I couldn`t find many. They have the deck and transmission housing as Steel and most of the bulkheads and turret as white. I painted the deck IJN grey to give the tranny housing some contrast. Going to try a pinwash tonight.

Thanks for looking Stik!

Len

Len Pytlewski

  • Member since
    July 2004
  • From: Sonora Desert
Posted by stikpusher on Sunday, July 21, 2013 7:56 PM

I like it! Shouldn't all the interior walls and floors be white?


F is for FIRE, That burns down the whole town!

U is for URANIUM... BOMBS!

N is for NO SURVIVORS...

       - Plankton

LSM


  • Member since
    July 2007
  • From: Southern New Jersey
Academy M3 Lee
Posted by troublemaker66 on Sunday, July 21, 2013 6:38 PM

Hey !

I`m onto my 3rd armor kit, the Academy, super-detailed, M3 Lee kit.
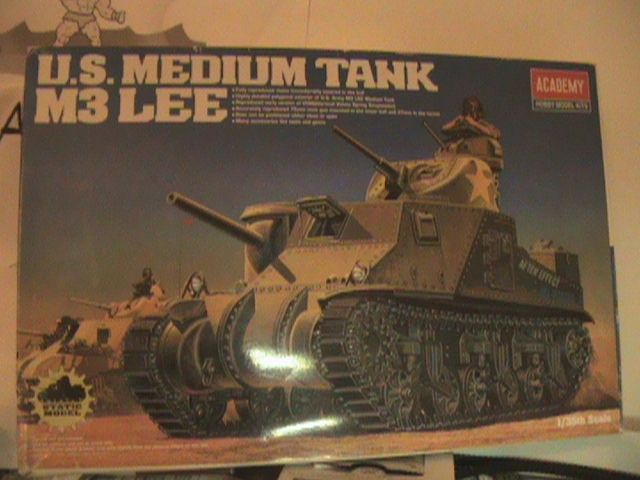
I picked this kit up at a vintage toy store for 19 bucks. Not only did I get this nice kit but there were some aftermarket goodies in the box too. A set of Dragon replacement bogies and tracks and a resin turret set! Here are some WIP shots....
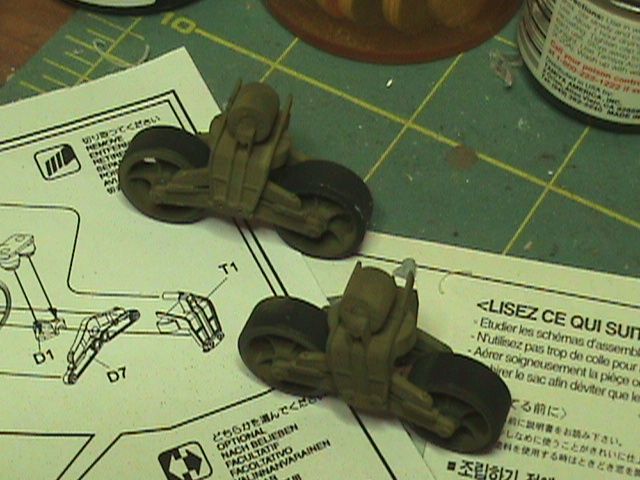
These are the Dragon "VVSS" suspension, also used on the M4 apparently.
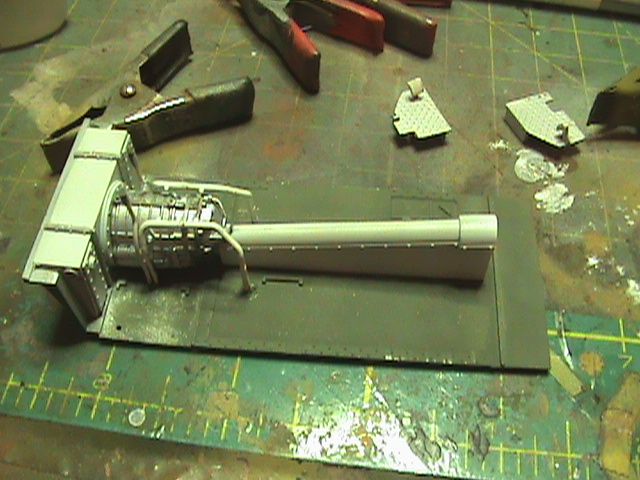
Engine and transmission..
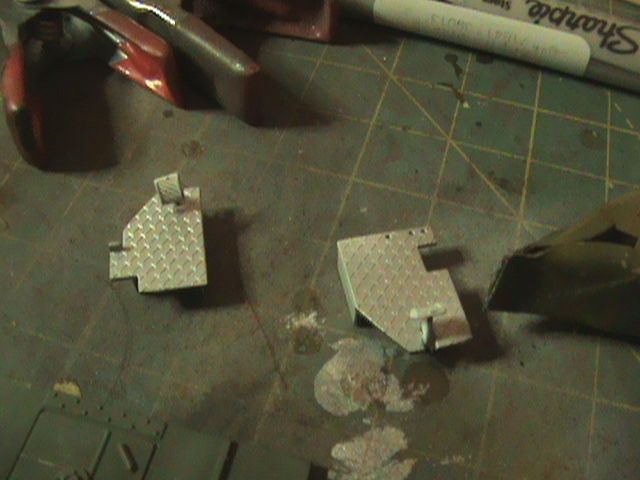
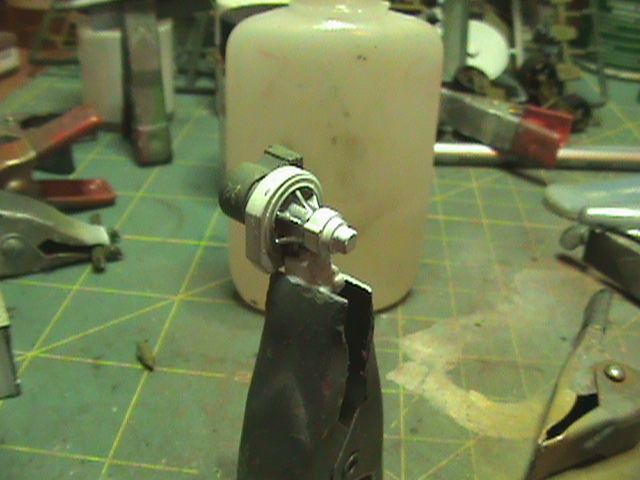
I think this is the traversing motor for the turret...nothing is labled with it`s real name....Tongue Tied

The "office". Really nice detail IMO..
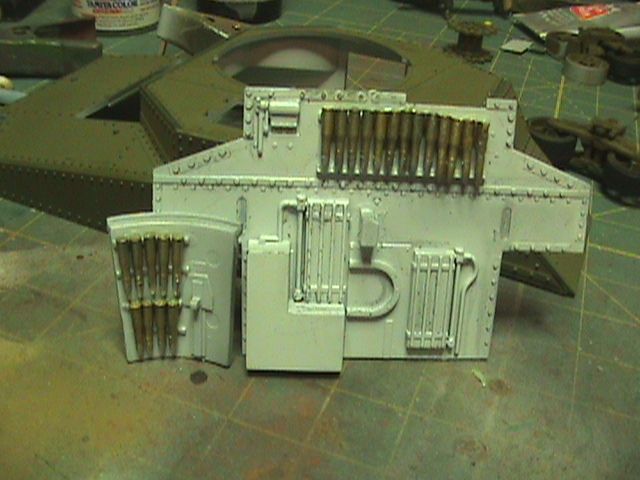
The rear bulkhead....I have since fixed the off-kiltered ammo....Big Smile

The assembled outter hull....made up of several parts due to all the angles.
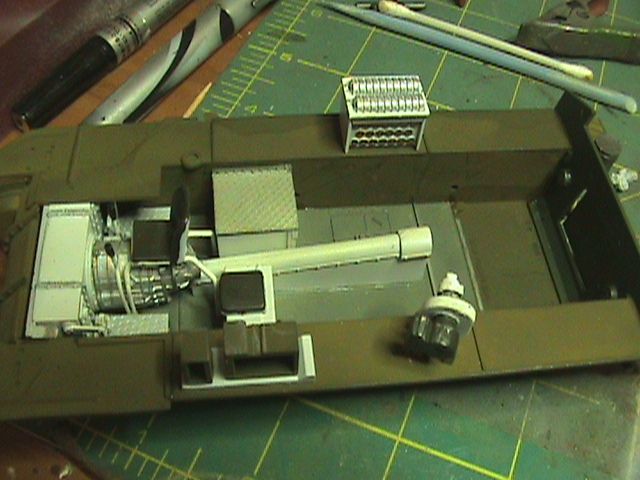
And lastly, a shot with ammo stowage box, radios and traverse motor mounted.

I`m currently working on the turret assembly...painted white and sealed with Future, awaiting washes, etc.

Thanks for looking!

Len

Len Pytlewski

JOIN OUR COMMUNITY!

Our community is FREE to join. To participate you must either login or register for an account.

SEARCH FORUMS
FREE NEWSLETTER
By signing up you may also receive reader surveys and occasional special offers. We do not sell, rent or trade our email lists. View our Privacy Policy.