Been doing quite a few alterations this week, lot more needed changing than I had expected.
A big thank you to Roy and Johan for those pics and links, they have been more helpful than you can imagine. Theres lots of stuff I would have missed without them, and while it would still be a good kit, those changes do make a difference. I am able to get pics of almost every inch of those 88's so am able to check everything.
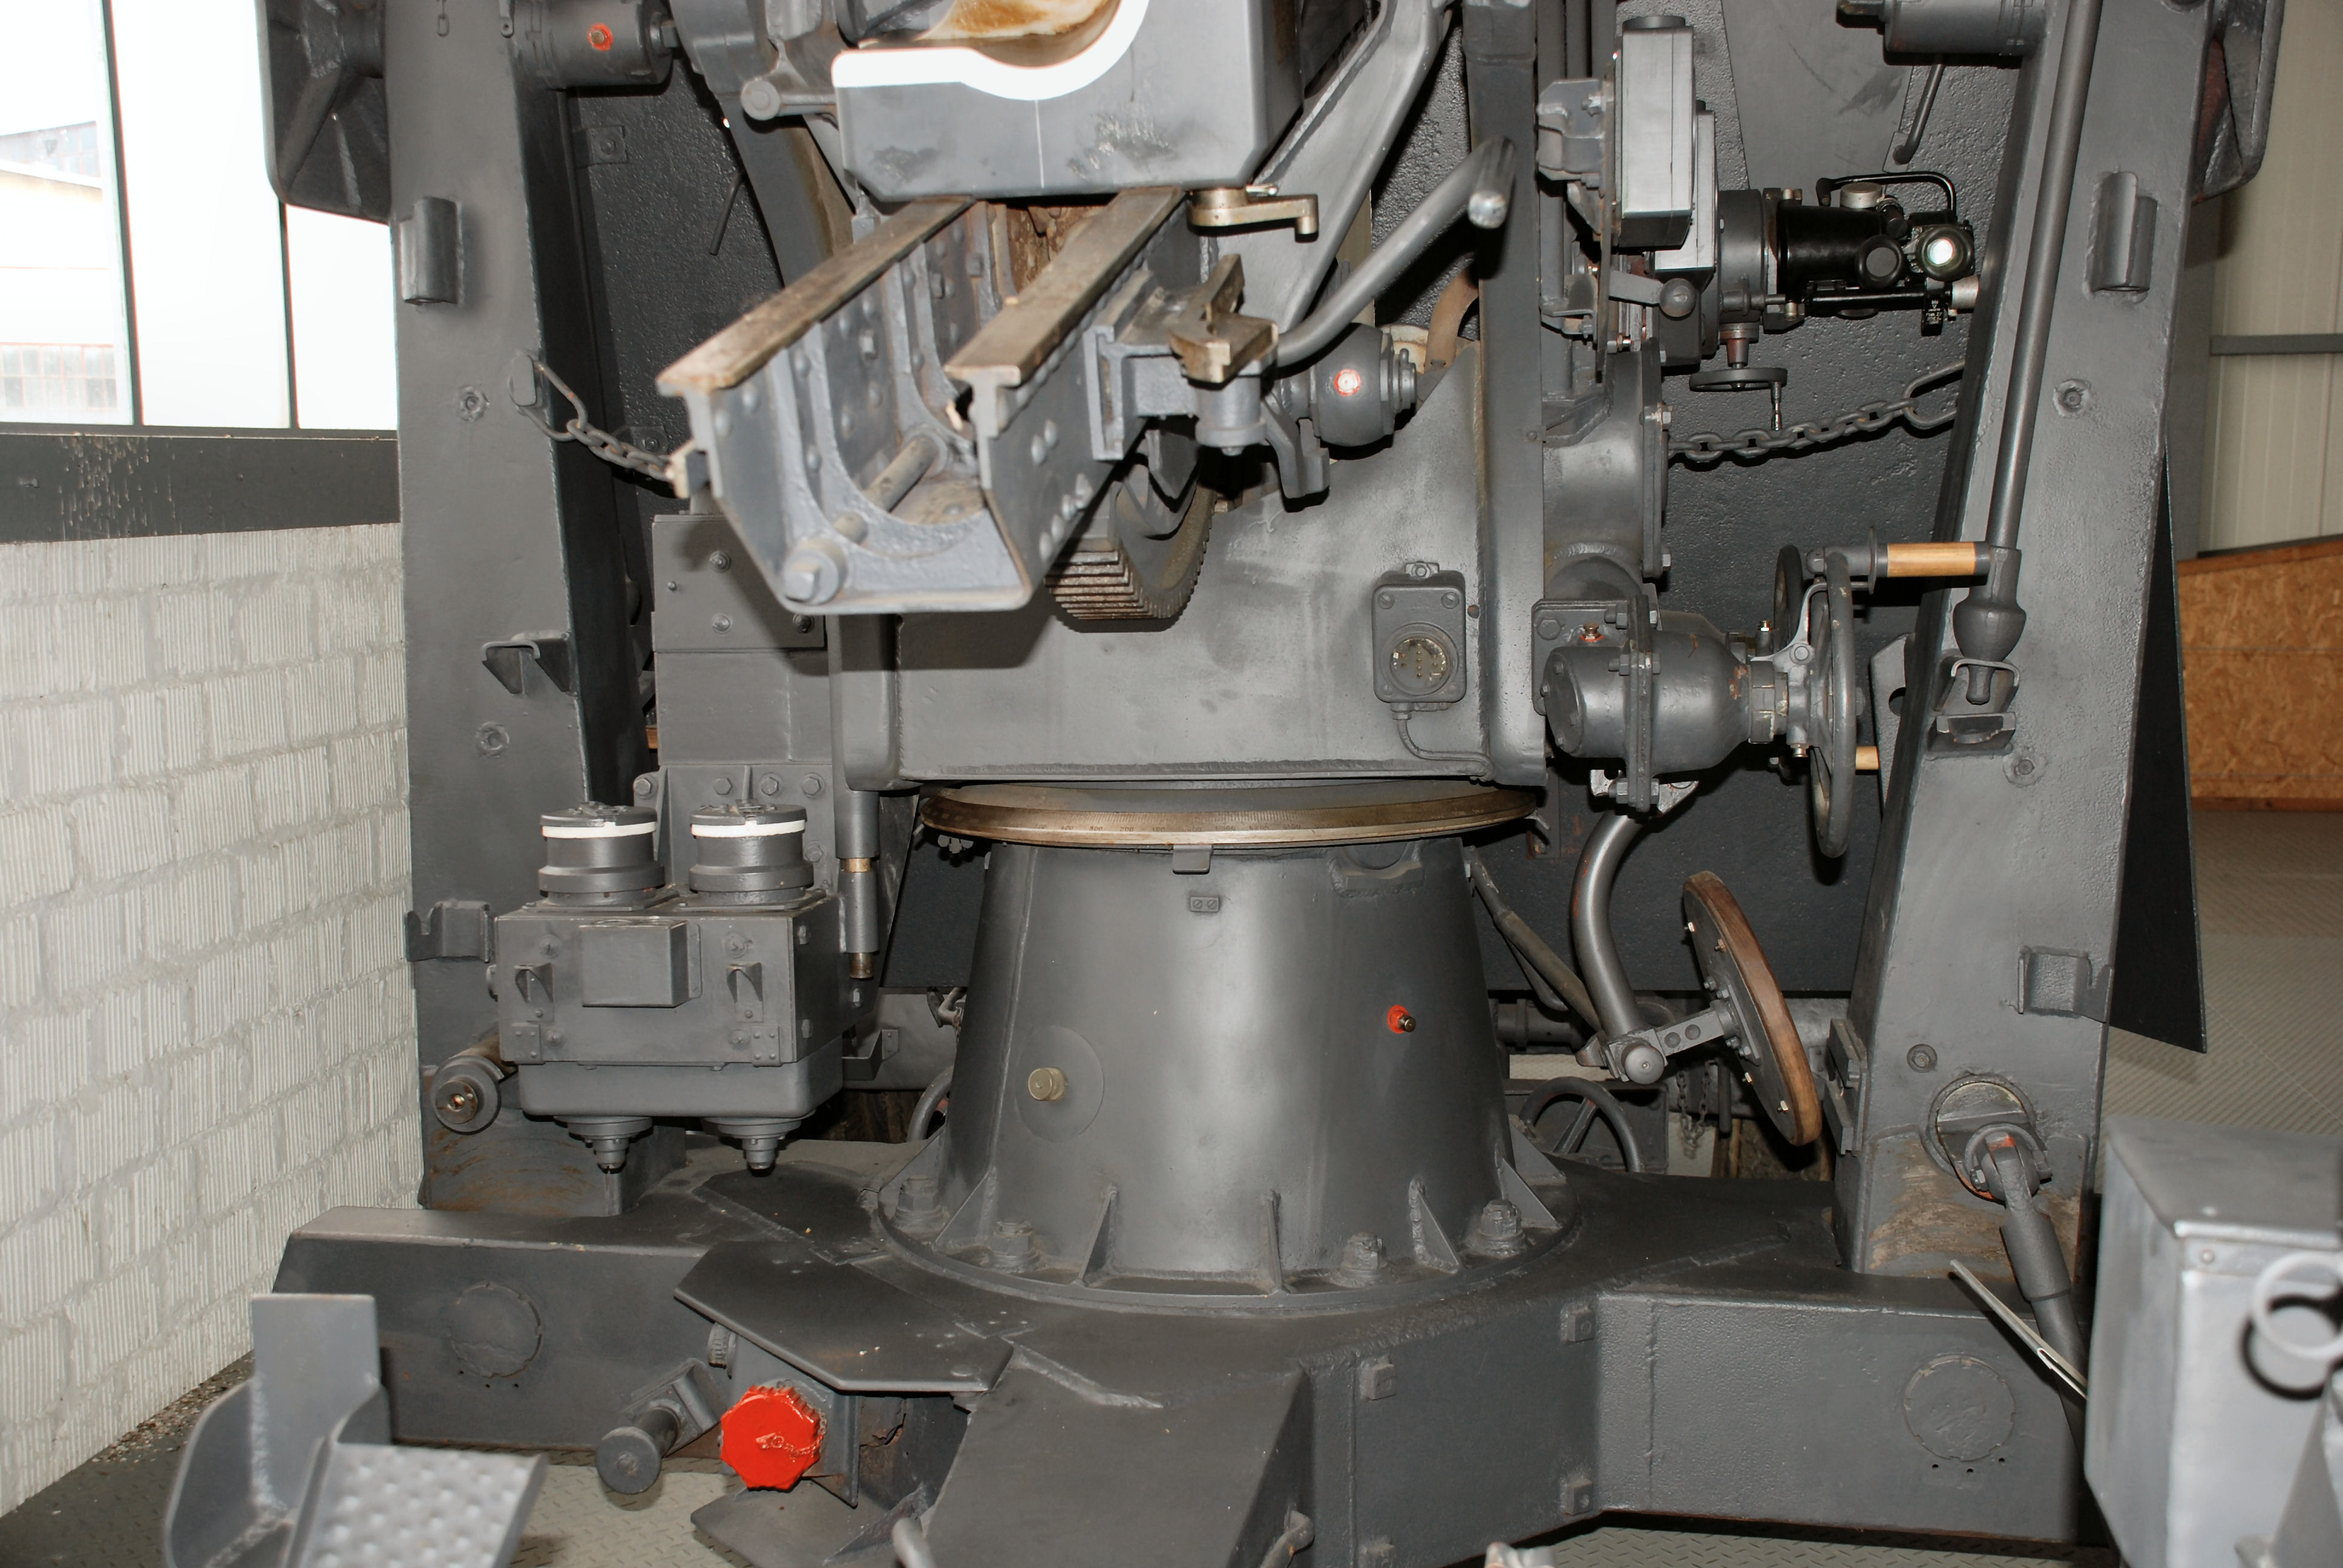
Its very much appreciated. I will add some comparison pics of the real things so you folks can see what needs changing.
Firstly, the left side of the cradle. I am leaving the loading tray off as this was often removed in the field, and the kit one is missing some detail.
This is the kit piece before altering.

And this is the finish I am aiming at.

I removed the strip under the rivets, being careful not to remove the rivets. I will add some stripe later on, I have to get some more as what I have isn't wide enough. Also used sheet styrene for the netal plate and cut back the piece that comes out of the front. The circled handle had to be thinned as the pad at the bottom stuck out both sides and the whole thing was to thick.

And here the rest of the cradle, most of this side is complete.

On the other side of the cradle are two hand wheels. The handles are the main issue here. They should look like this. Its the item on the right with the wooden handle.

And the kit pieces look like this.

So the handles were removed and replaced with plastic rod. For the nut on the back, I used hex rod, its a fraction to small, but was the closet I could get. Got one done, working on the other.


Now the gun barrel. You can see where I have filled in the back of the breech. The area circled will need filling if the breech is open. The breech block has two small tabs which allow you to open and close it without it falling out. But this mean it have to be fitted before the breech goes together. So I removed the tabs so I can add the block later. I am having it closed so don't nee to fill these in.

On the piece the barrel sits on there are 3 holes on each side which need filling. They go right through, so I added some bits of sheet styrene underneath and then filled. The styrene needs to be thin, I used .010. If its to thick, it won't slide onto the cradle. The circled area should have 3 hex bilts, same for other side. Will add these later.

Now for the major work, the platform. The main issue is the pivoting legs. The inside of the pieces that hold the legs is hollow, so will need filling is the legs are folded.

I am having mine down, and its ok in that position.

But the fixed pieces don't close enough. I took all of the pins and other bits from the inside and sanded away some of the edges, but not to much as it will throw everything out. But there was still a gap that needed sorting and the rear of the legs slope down to much.

The pins that stick out of the pivoting legs can either be fitted in the locked or unlocked position, so you need to decide how you want the legs. If down like mine, the recesses in the fixed piece needed filling out or it pushes the pins forward. The arm that locks the pin in place, on the right of the fixed piece, also needs some work. The bracket at the back is to square and needs rounding off a bit and round end at the pin needs thinning.
And here's the platform as it stands, you can see other parts I have changed, these are mostly just plastic blobs as they come.

And that's it for now. My main focus is to finish the platform and cradle and then star on the trailers.
This is my first time doing a WiP in this much detail. If I have confused anyone, please feel free to ask for clarity and for pics of anything you want close up's of.