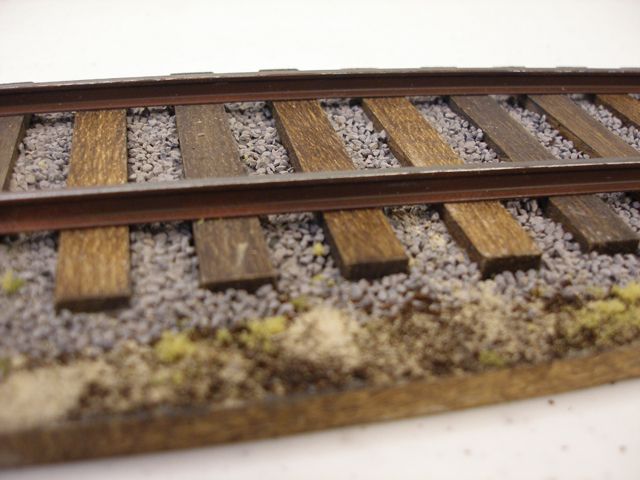
I have done a railroad build or two and I find the plastic rails that come with the kits really not worth the effort to make them look good. For a little bit more time and a small additional expenditure, you can make a quality railroad track base. This tutorial will demonstrate how I do that.
Parts List
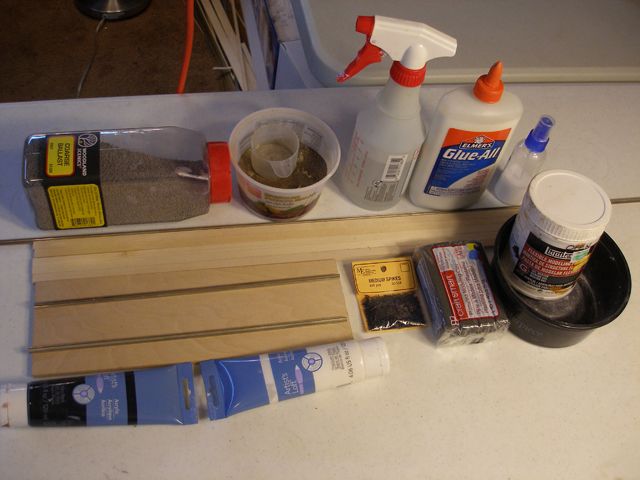
Wood for Base. Since railroad builds tend to be long but not wide pre-cut basswood works well.
Basswood strips 3/8:Wide x 3/16:Thick (not as important as the width)
Rails Aluminum CODE 205 N.S. (i get mine at Caboose Hobbies in Denver)
Pack of Medium Spikes
The following picture shows just about everything I used but obviously there are other options.
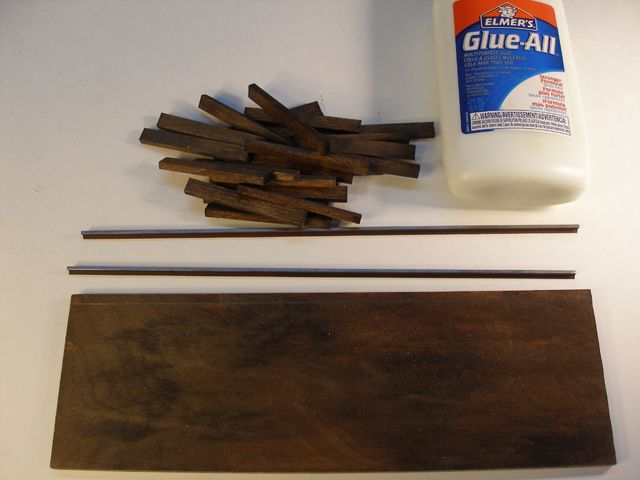
I stained the basswood strips for the ties and the base. Any medium stain like driftwood looks nice but i also use walnut. I buy the small reject cans at the local paint store as they tend to be discounted. It is fastest to stain the basswood strips before cutting into ties. I found it took about 2 days for them to dry. I tried washing one side with payne gray oils but it darkened the wood too much.
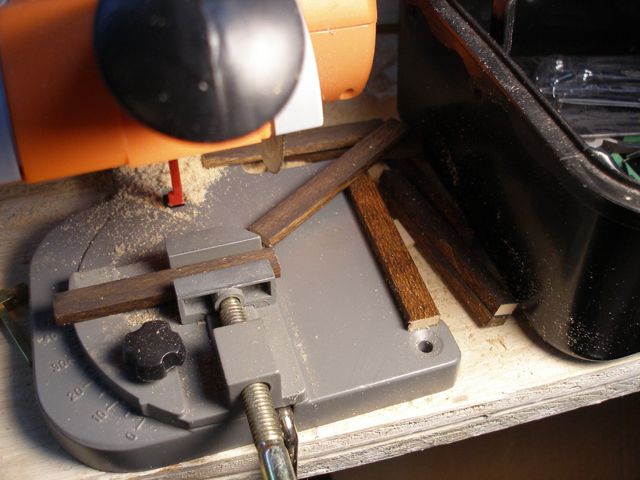
I cut the basswood strips into 3" lengths to create the ties. A miter saw works great for this.After the ties (or sleepers as they are called in the UK) were cut i dipped the ends in the stain, wiped them down, and set them aside. I do all of the basswood strips which means i will have leftovers for future projects. There will be 16 per foot but you may need an extra one or two ties for longer bases.
I used a hacksaw to cut the rails, primed them (I use ACE Hardware NOW gray primer) and airbrushed with Vallejo Air German red brown. I like this color better than the Vallejo rust which as a metallic element to it. The top of the rails are painted shiny silver if they are in use or can be left rusty if this section of track hasn't been used for a while.
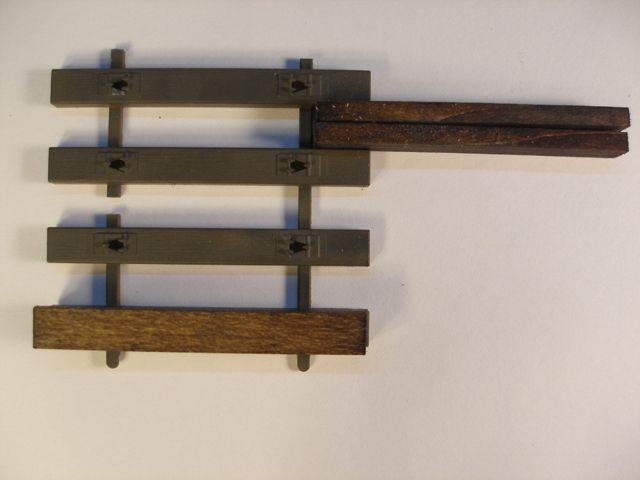
The next step is laying the ties. I drew a line to represent the left side of the ties so they would be even. I also offset the ties from the center to avoid too much symmetry. Using the Trumpeter rails as a guide I glued two spare ties together and turned them sideways. This will be used as the spacer between rails.
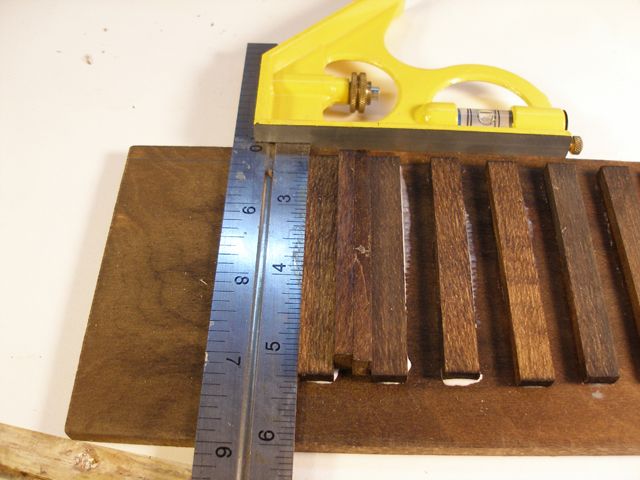
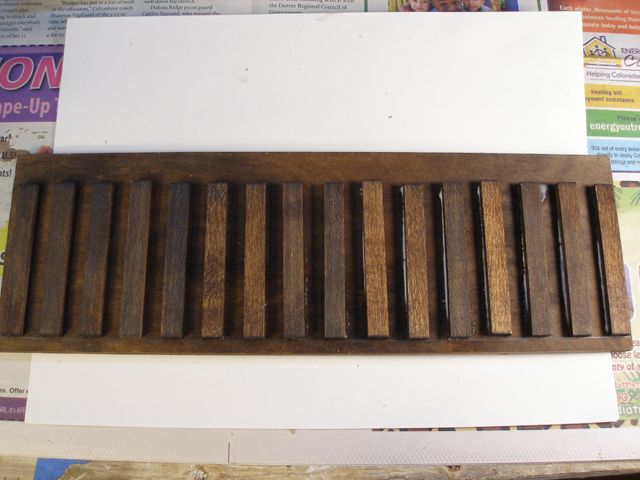
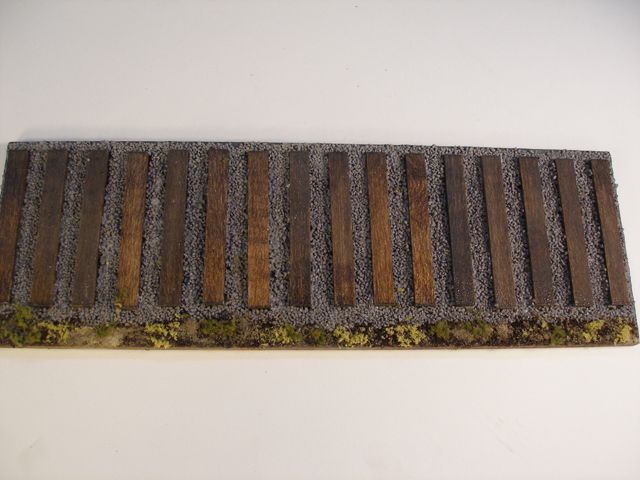
Using white glue or wood glue, I glued the first tie to the base one spacer in from the edge. A square ensures the ties are perpendicular to the edge of the base and parallel to each other. I continued to the end for a total of 16 ties. some of the ties are the darker ones i oil washed to add some contrast. Also the pencil line is a guide so if a tie or two is a millimeter off it is fine. The tracks are suppose to represent hastily laid tracks, not high speed rail lines.
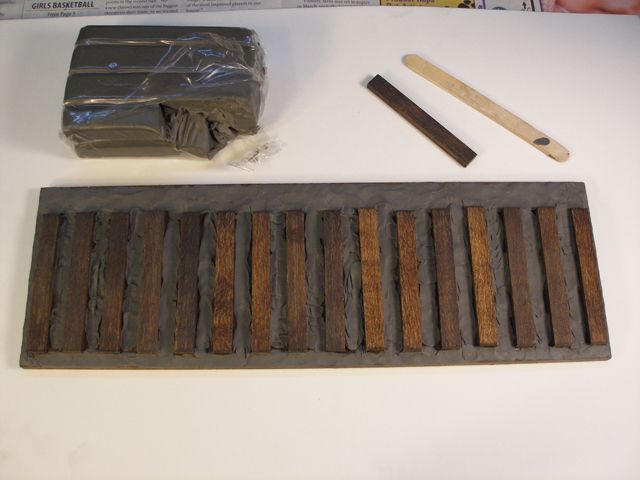
I used modeling clay to create the terrain. It isn't as messy as Liquidtex A key factor here is to have the clay very close to the color of the turf on top. If that isn't possible I will use cheap artist acrylic to paint the clay a suitable color.
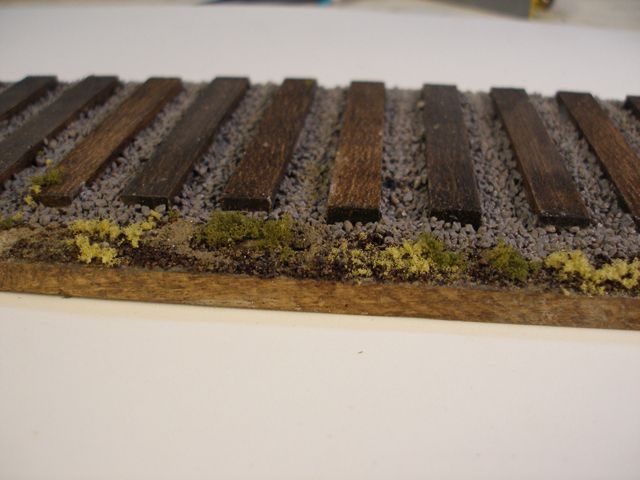
Putting the base in a clean box or a large sheet of clean paper, i spread white glue diluted with water between the the first 5-6 ties and start adding the turf. For 1/35 track I used medium gray ballast. After adding the ballast and pressing down i turn the base over and tap on the bottom letting the loose ballast fall on the paper so i can use it again. There will probably be some areas that need additional glue and ballast.
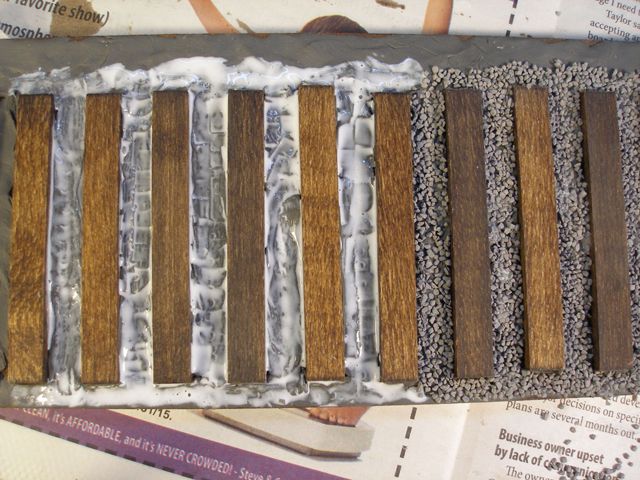
I did the same procedure along the edge with dirt and added some vegetation.
The next step is adding the rails. This is the tricky part though much easier than 1/72 using HO scale rails because the tolerances are tight. I measured in ½” from the end of the tie and used the square to draw lines on random ties from one end to the other. I laid one painted rail on the line and checked to ensure it was parallel to the ends of the ties. If so, using superglue I attached it to the ties.
These rails are wide enough to sit on the ties. I laid the other rail on the ties the approximate distance for the wheelbase and set my railcar on the rails, shifting the second rail so it was the correct distance. I amde some pencil marks on the outside of the second rail and measured the distance between the rails at their base. It turns out to be 39mm. I made a number of spacers using popsicle sticks, laid them along the ties, added superglue and attached the second rail.
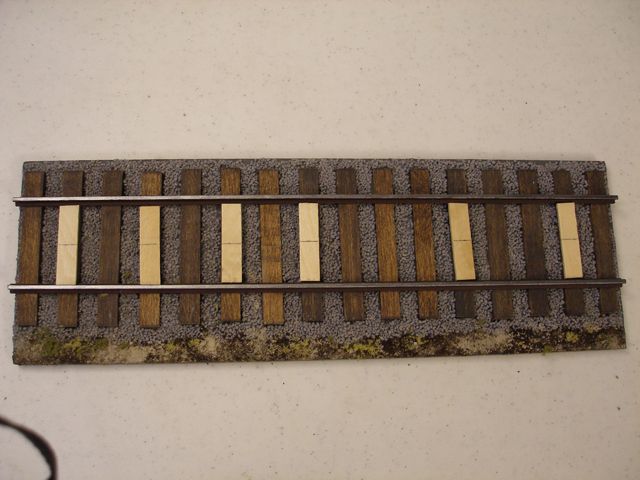
The rails.
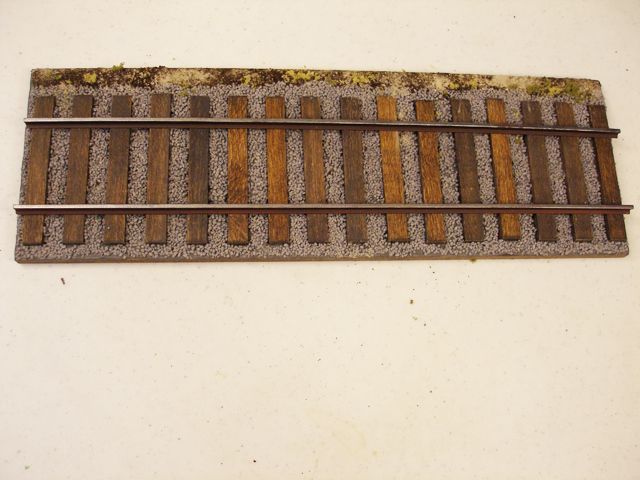
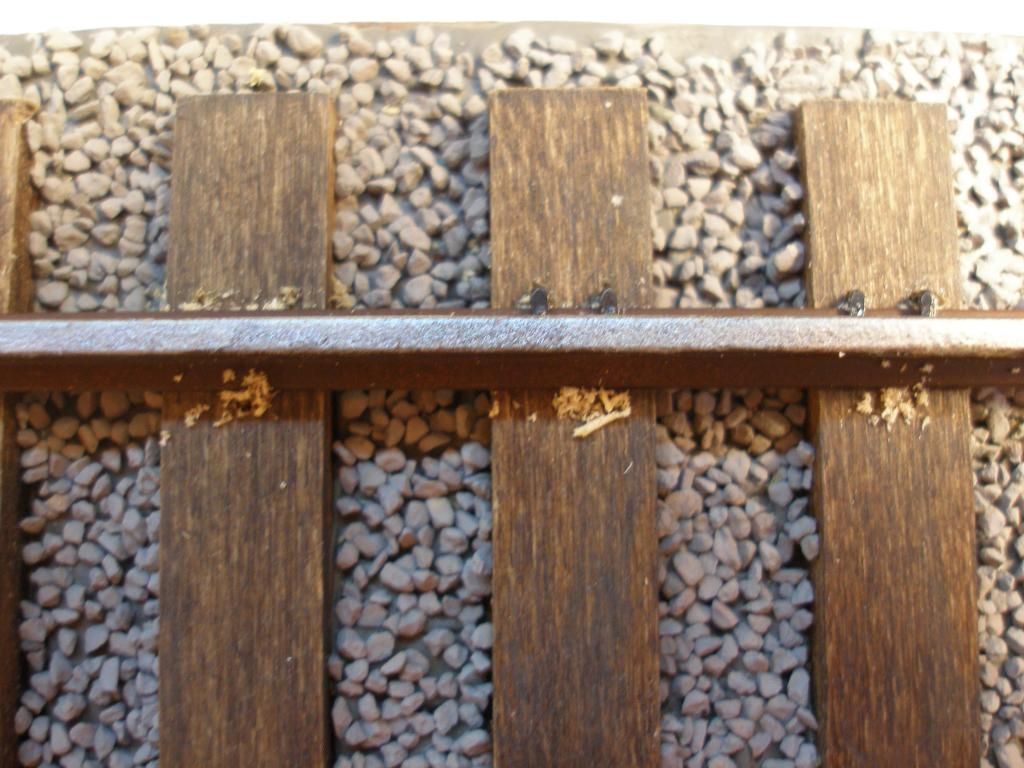
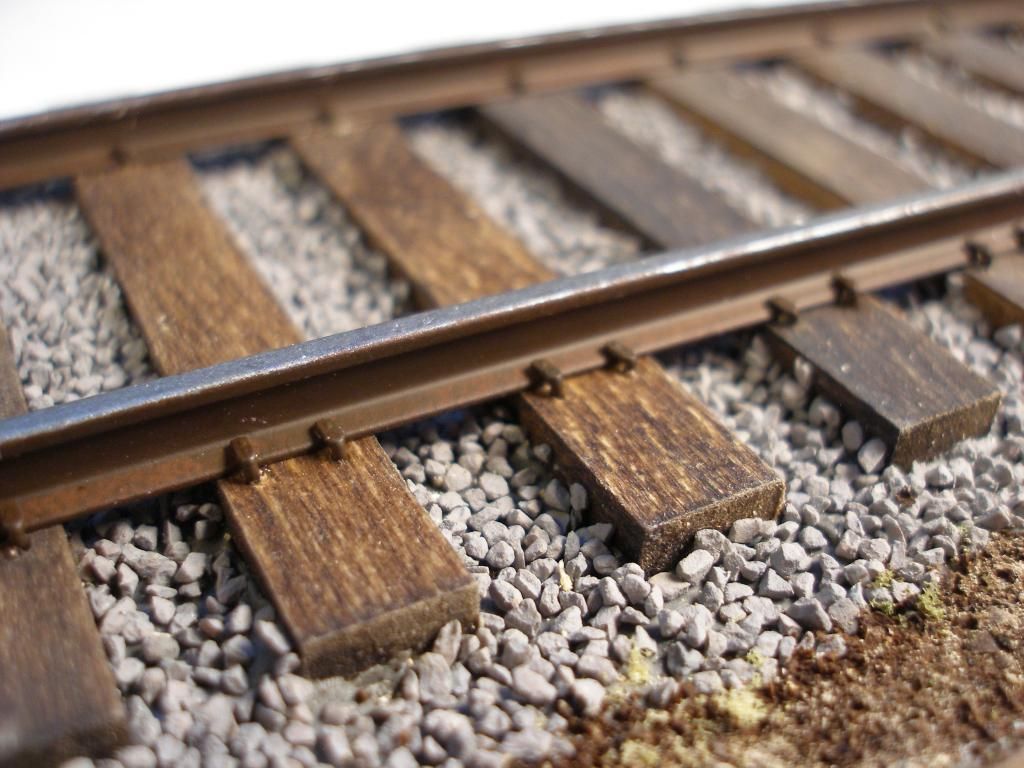
While a lack of spikes isn't noticeable in 1/72, it is at 1/35. This turned out to be surprisingly easy. I decided on two spikes on the outside and one on the inside. I didn't have rail attachment plates so I assumed hastily laid rails wouldn't use them and spiked the rails directly to the ties. It was difficult to push the spikes into the ties but I remembered these spikes are not needed to hold the rails.
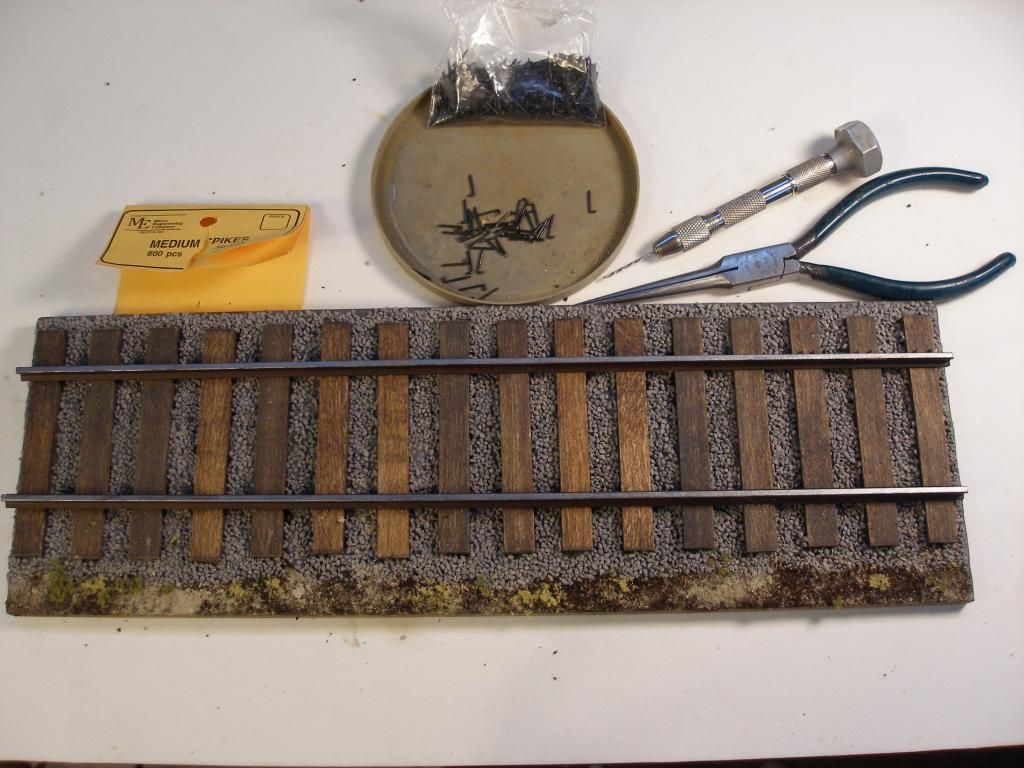
Using a pin vise I drilled holes where i wanted the spikes and used needle nose pliers to insert the spikes. When all the spikes where in i painted them rust and touched up any scrapped paint on the rails.
It took me an hour to spike and touch up one foot of track.
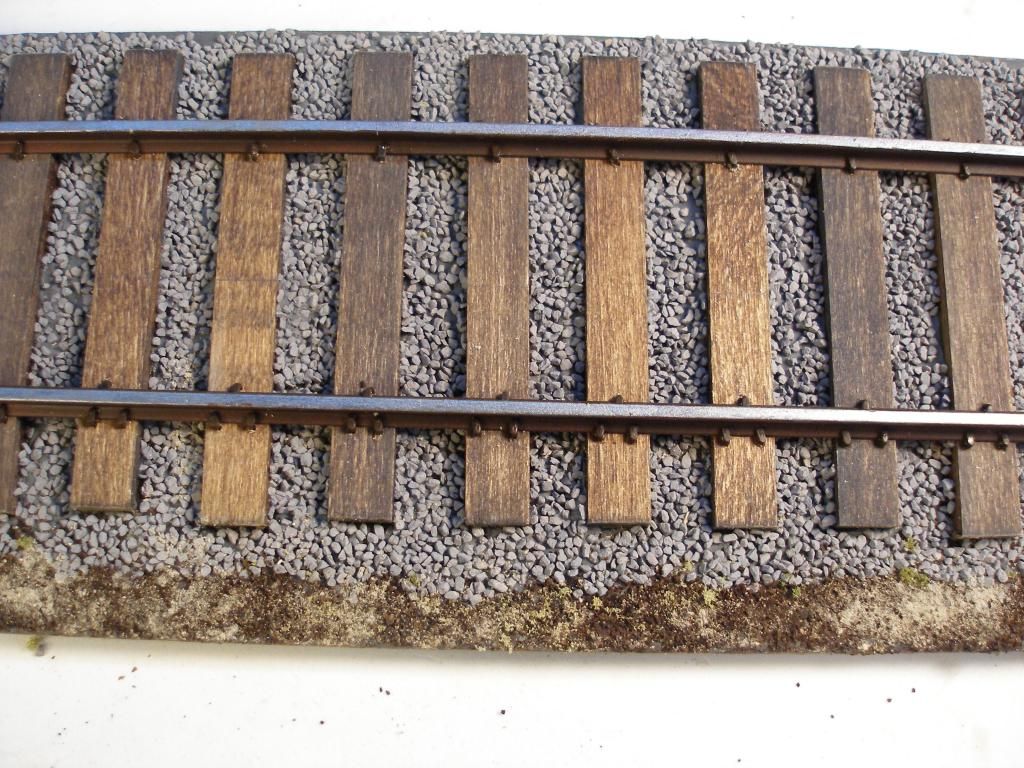
This technique will work with 1/72 track too. Thank you fdor looking at this tutorial. Any comments and suggestions are welcome.
CHANGE 1
It was suggested the ties would be splotchy with oils, grease and other stuff falling from locomotives and rolling stock.
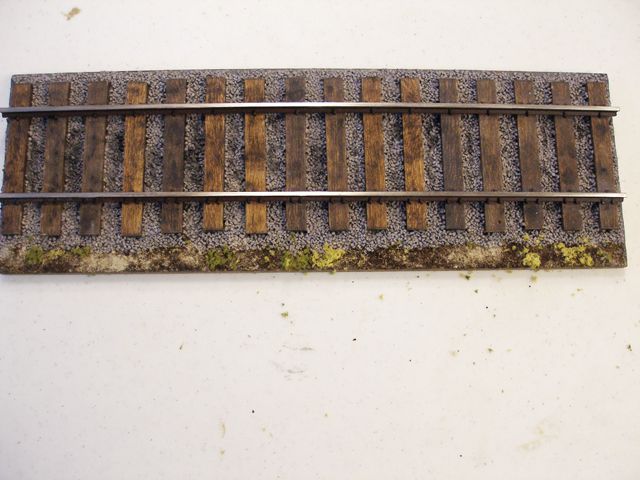
a second suggestion recognized, since the rails I used are aluminum, why not polish the tops with a scouring pad. Given i had 4 coats of paint and primer i used sandpaper instead.
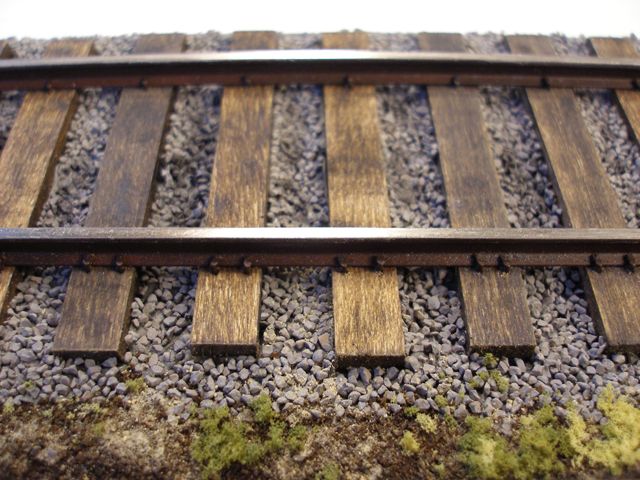
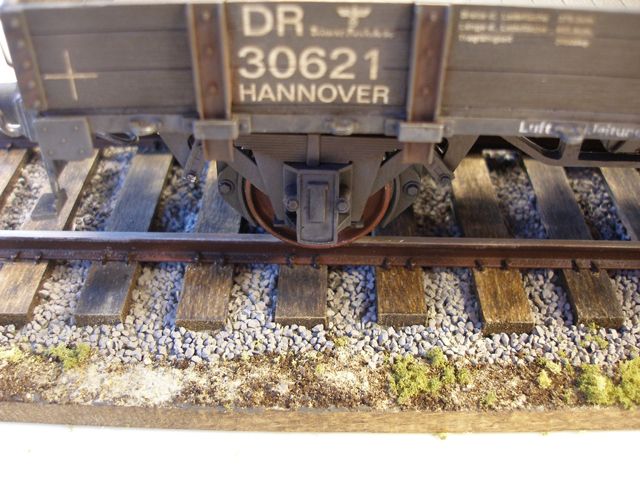
A third suggestion, at least for American rails, was to use styrene to make plates so the spikes go through the metal plate into the ties. I will do this on the next build.