SEARCH FINESCALE.COM

Enter keywords or a search phrase below:

SHERMAN FIREFLY 'TULIP'

4964 views
16 replies
1 rating 2 rating 3 rating 4 rating 5 rating
  • Member since
    September 2014
SHERMAN FIREFLY 'TULIP'
Posted by Aussie modeller on Thursday, July 2, 2015 12:05 AM

G'day all,

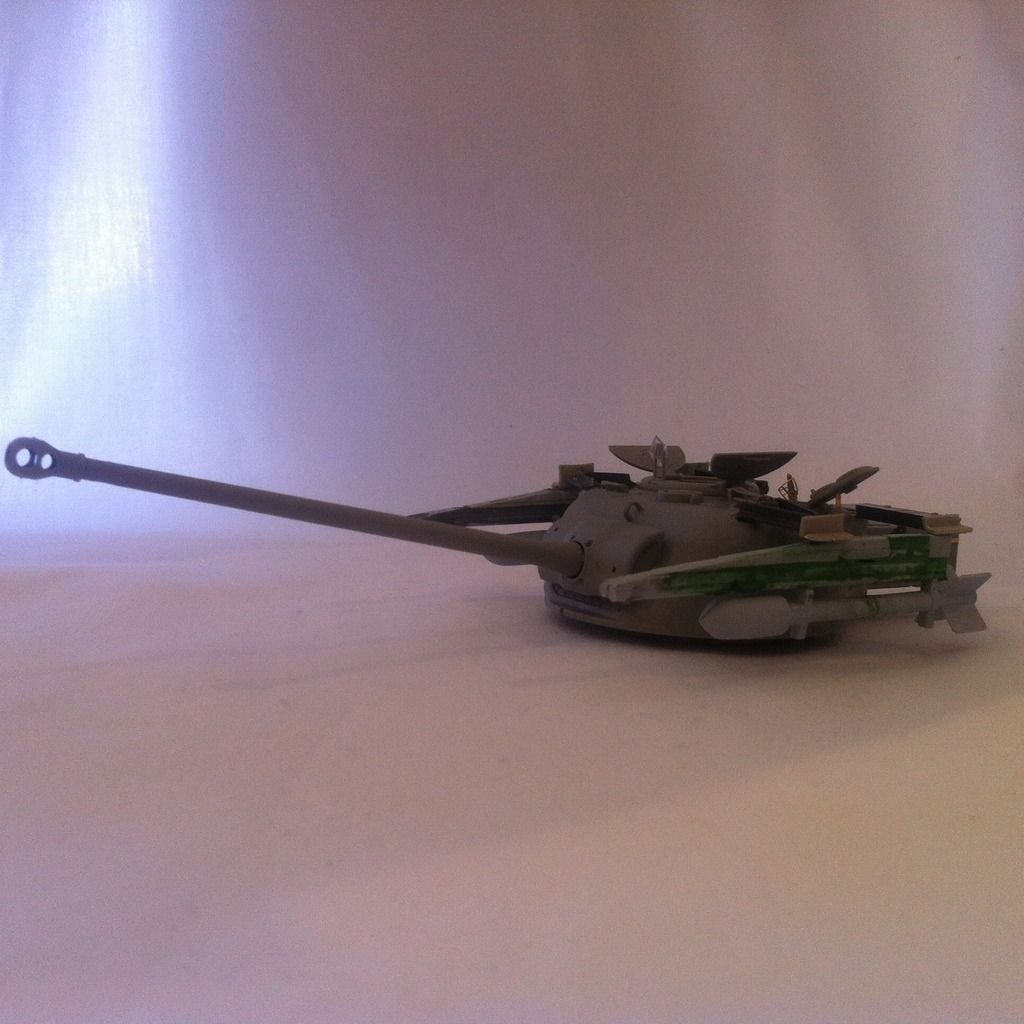
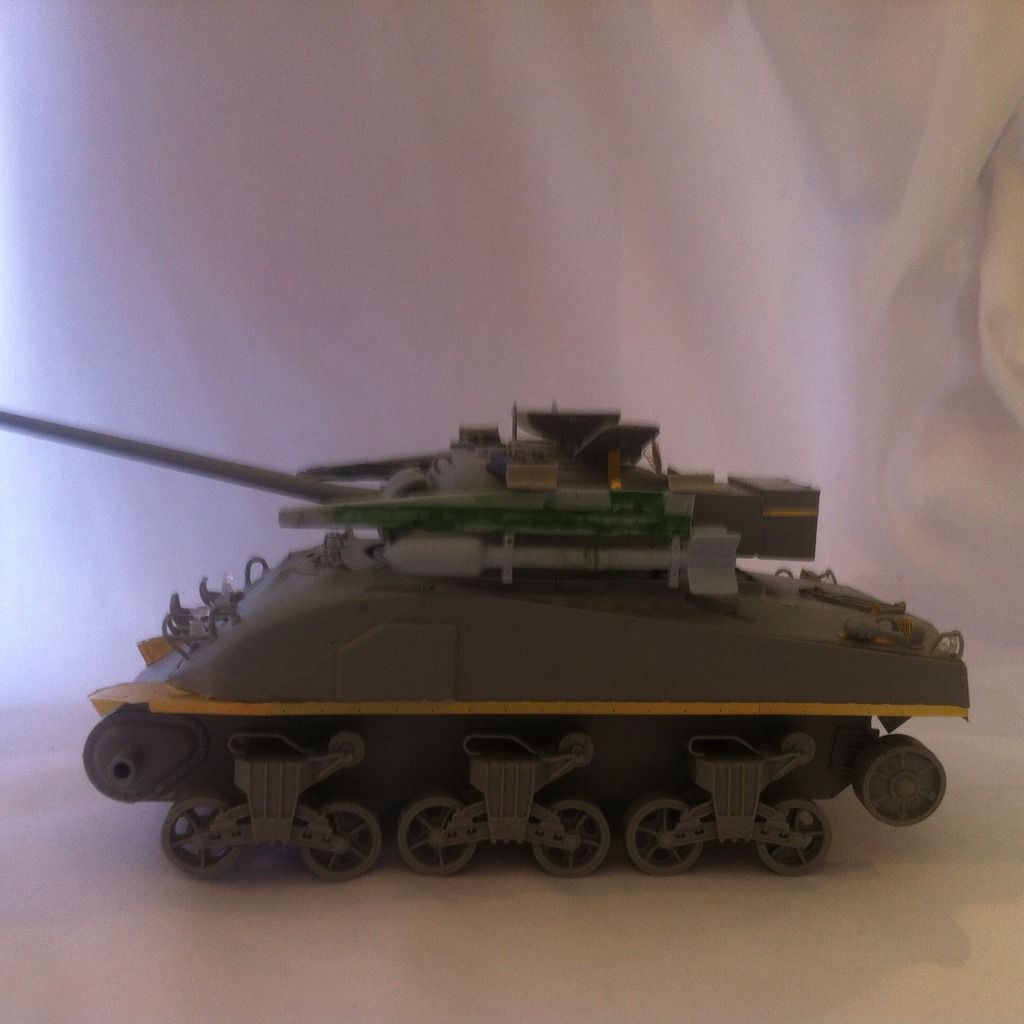
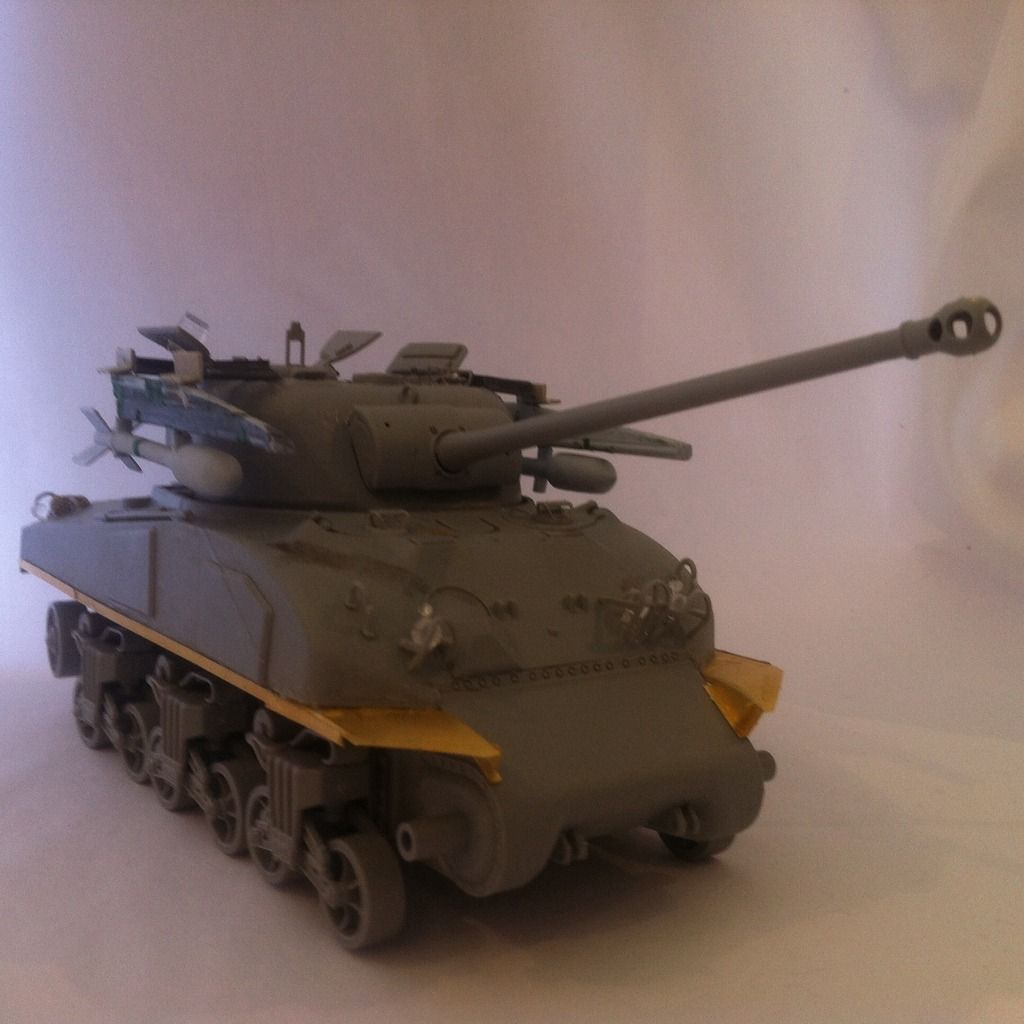
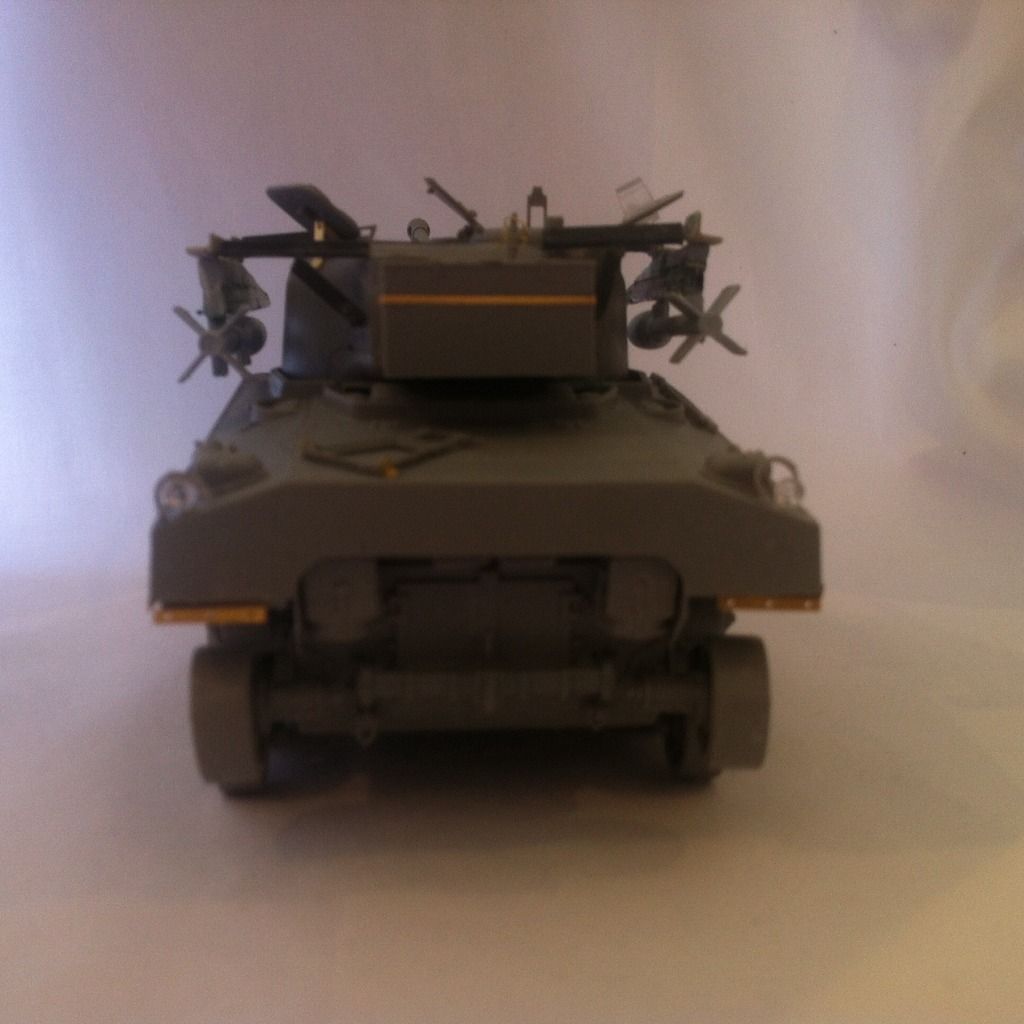
I've been working lately on this bad boy, the dragon 1/35 Sherman firefly hybrid. I decided to model a Sherman 'tulip' tank after seeing photos of them on the net. they were Sherman fitted with the same rockets mounted on Typhoon aircraft,  so i set to work on the kit. The kit goes together well. I used spare rocket racks from Airfix's wonderful Typhoon, glued them together, and sanded them to shape on a belt sander (use caution). i attached them to the turret with styrene angle-iron. so, without further ado, here are the pics!
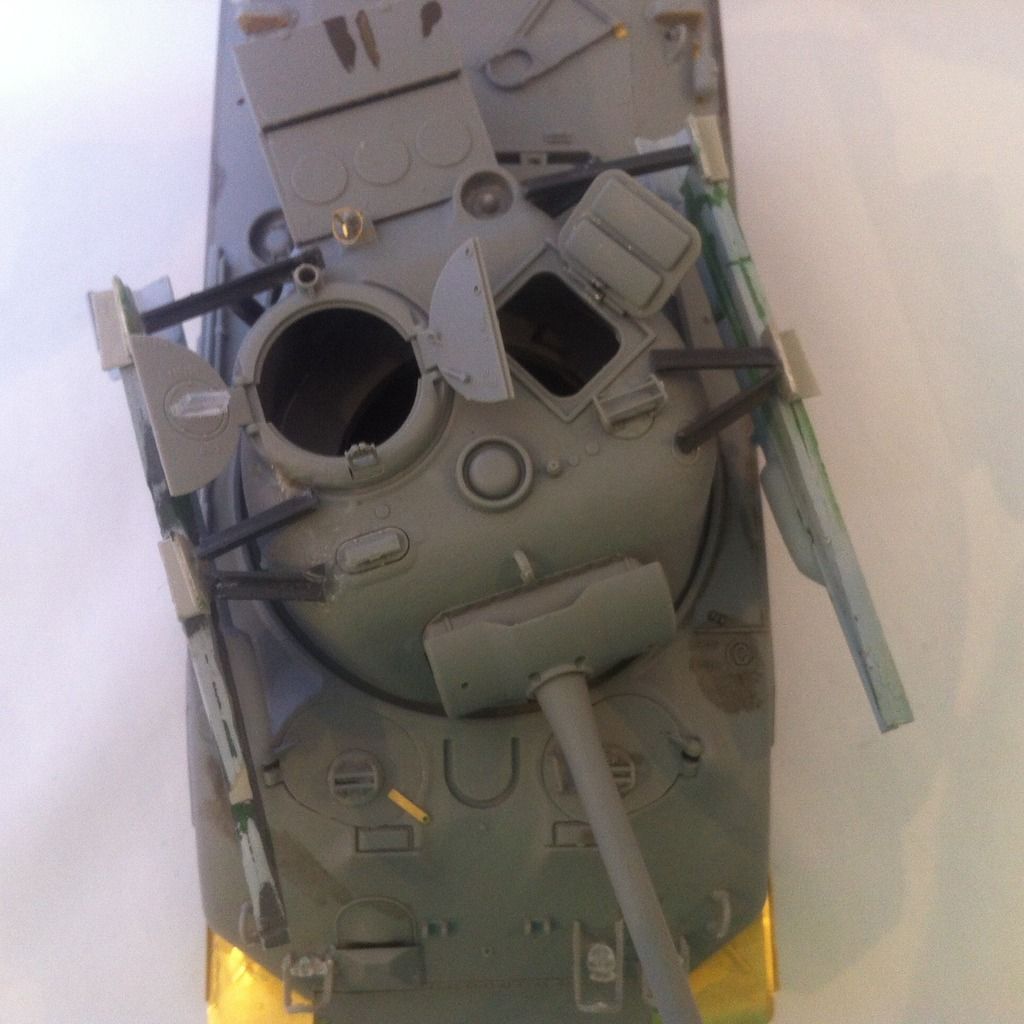
the turret:

This build is full of firsts for me,

first #1, first scratchbuild/kitbash project,

first#2, my first British tank build,

first #3, my first Sherman,

and, first #4, my first ww2 tank,

anyway, on with the pics!!

the turret:

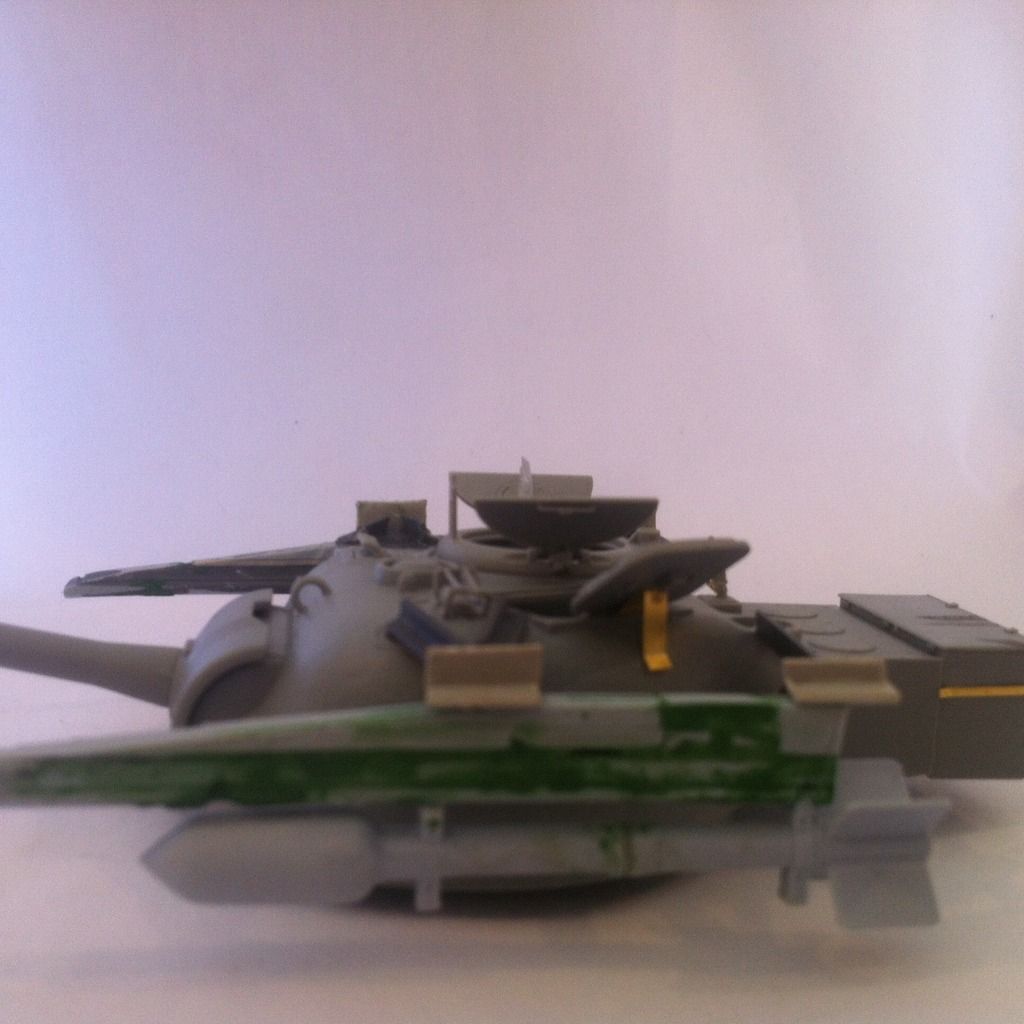
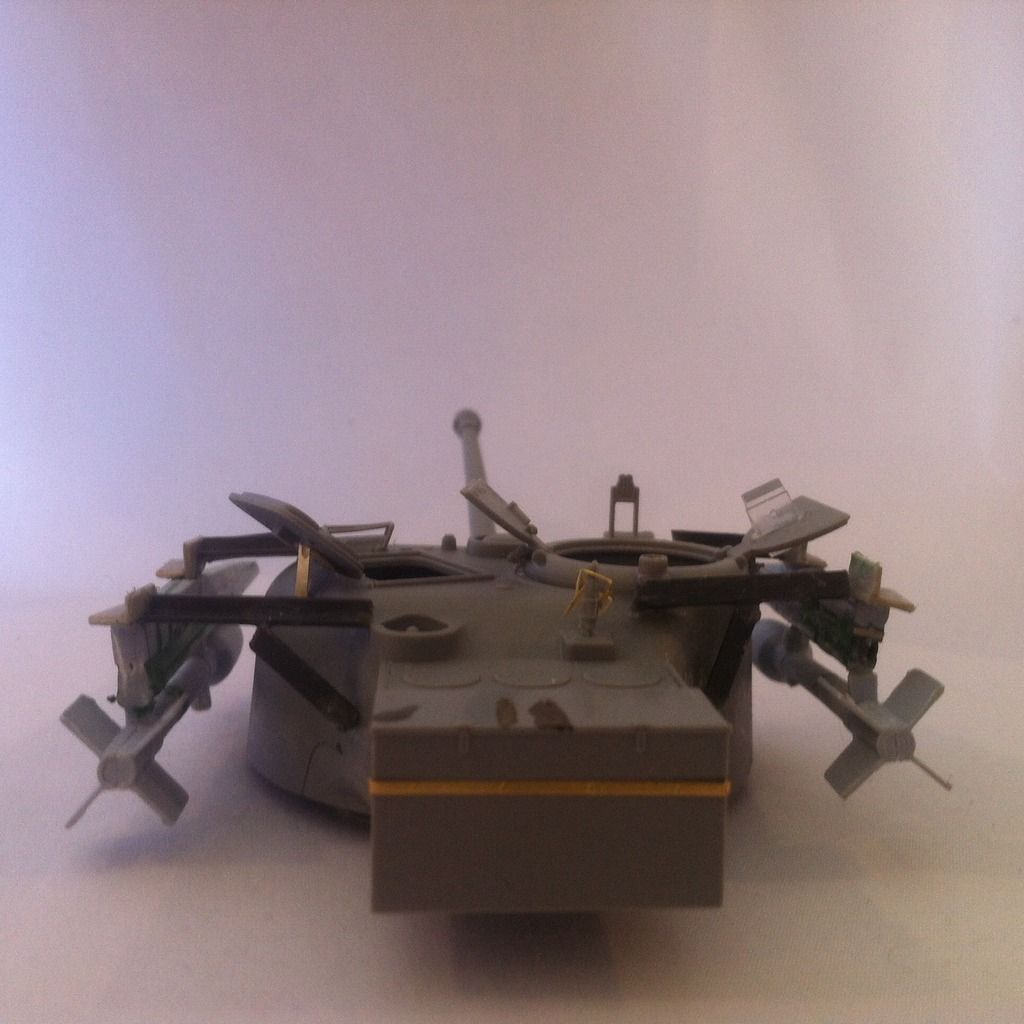
this is also the first time i've used a large amount of photo-etched parts.
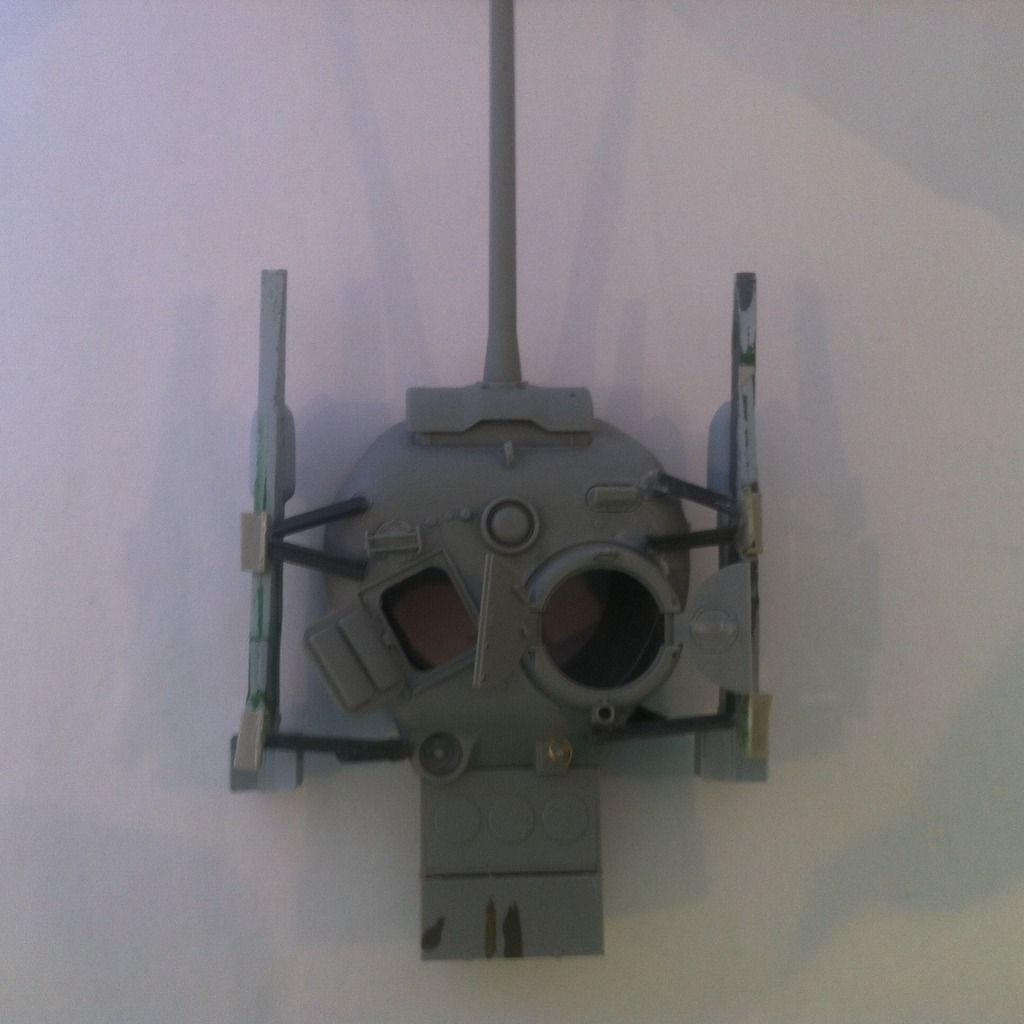
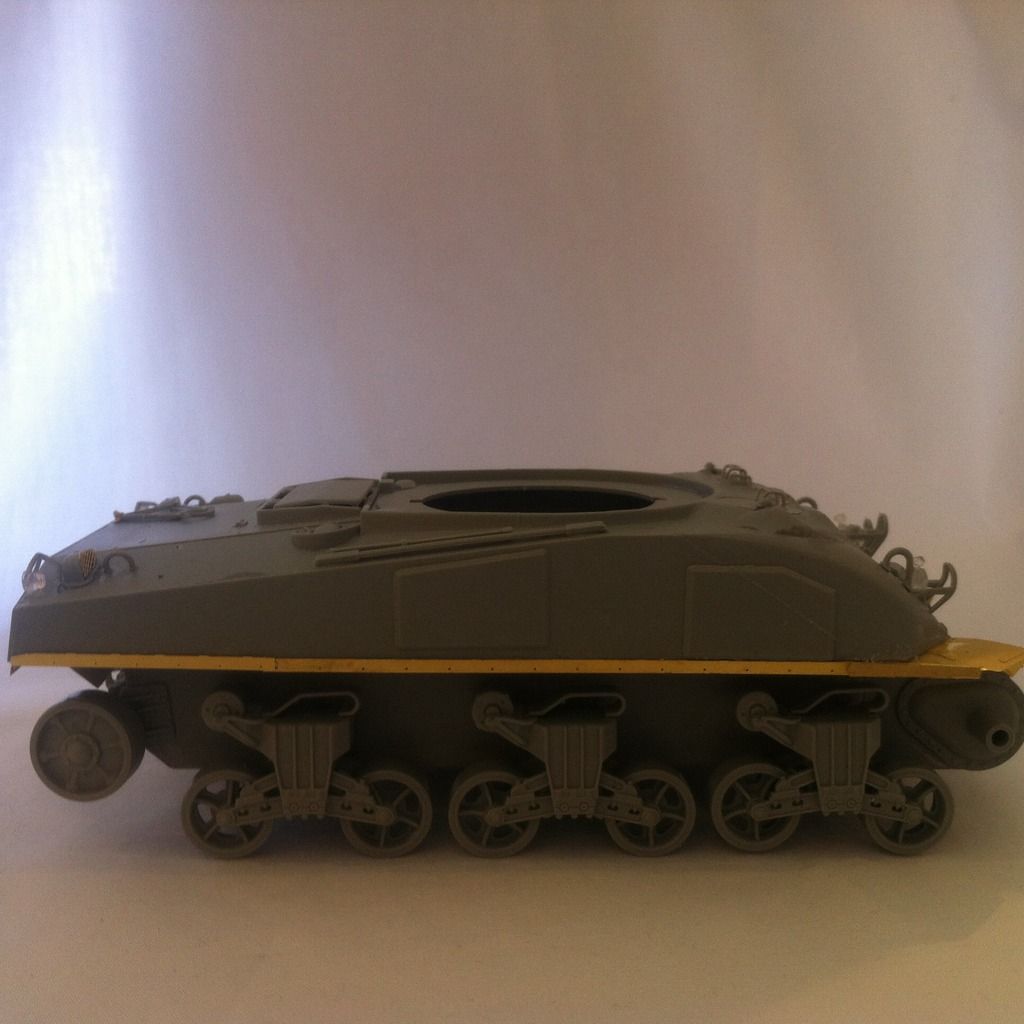
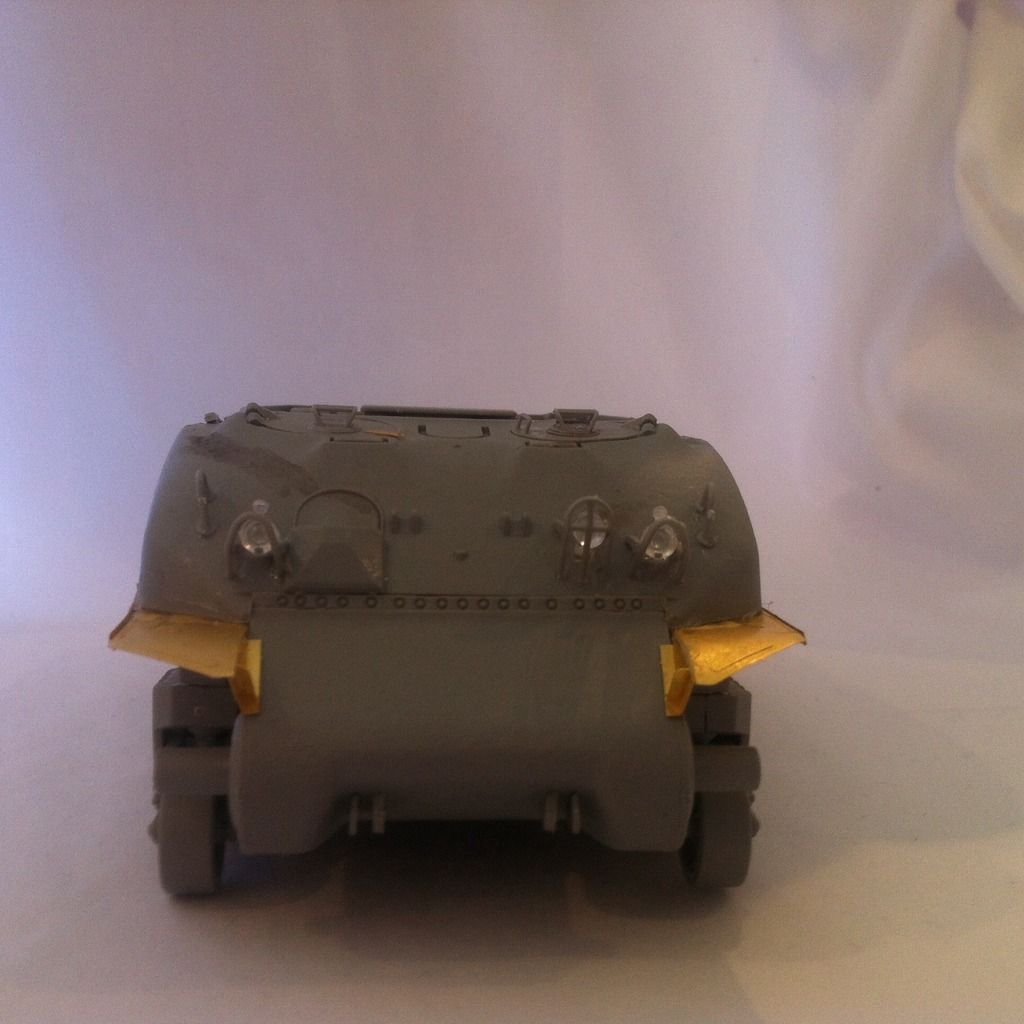
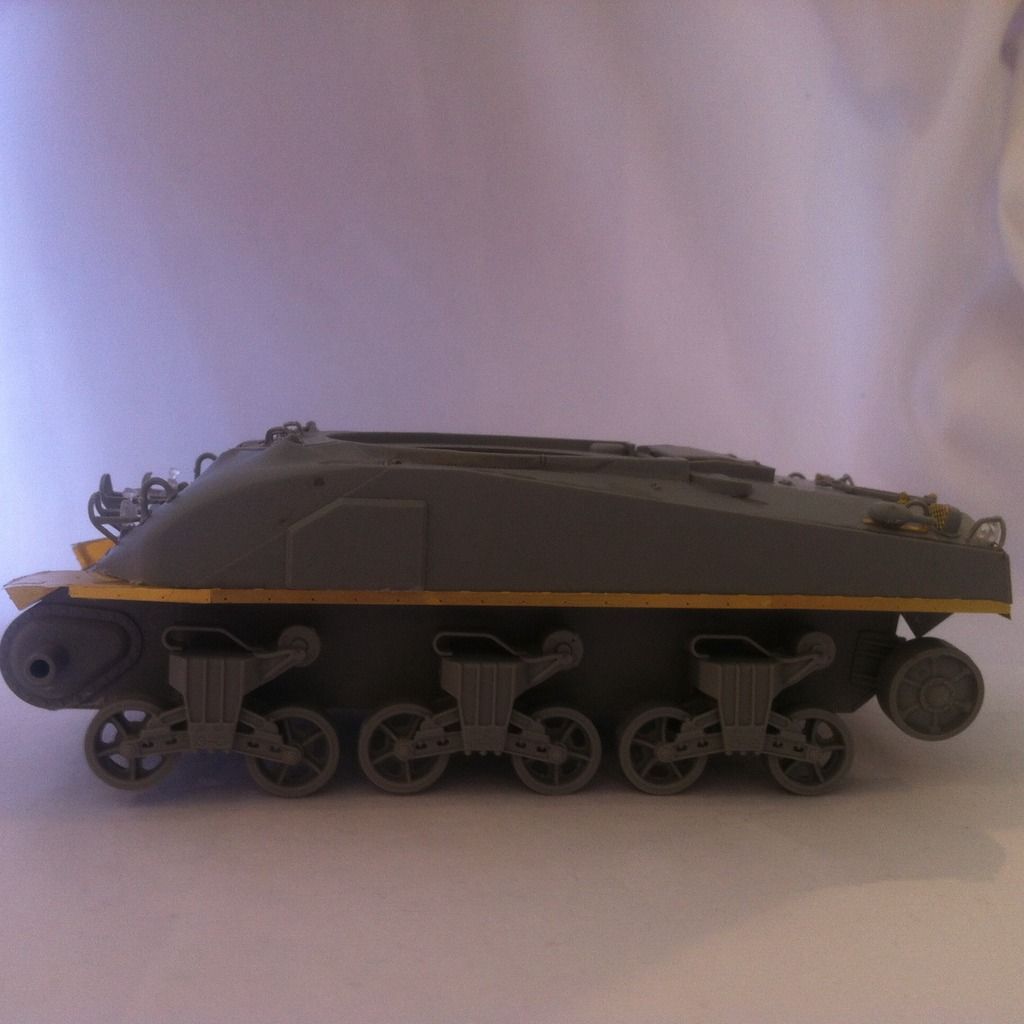
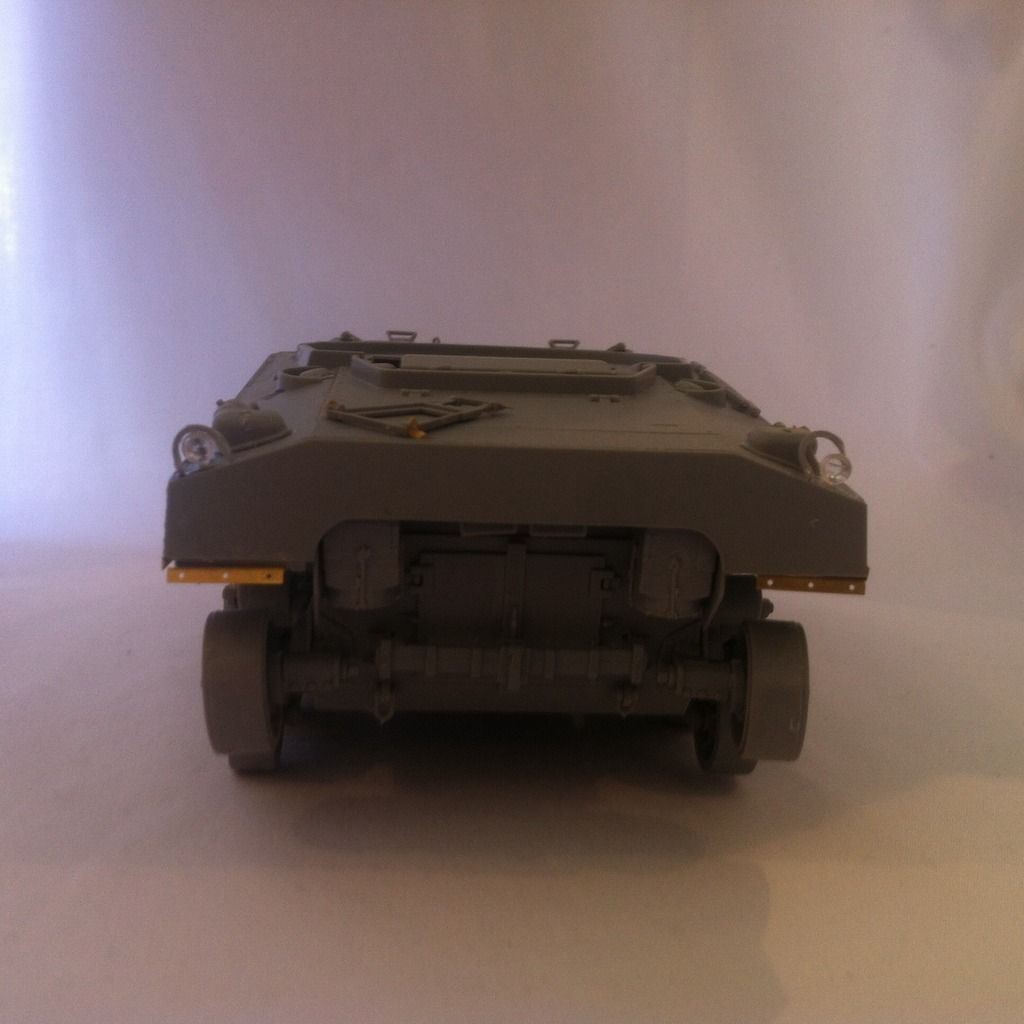
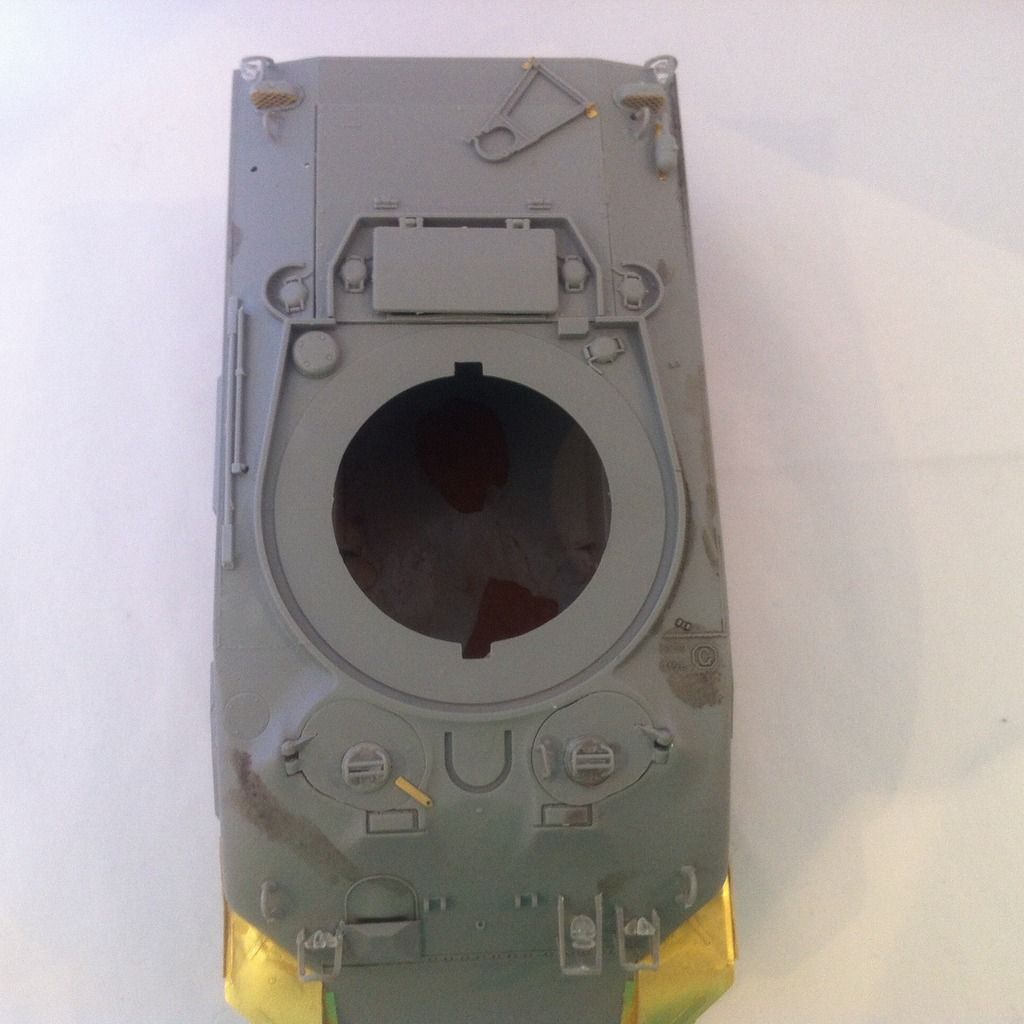
the hull:

and lastly, the completed model:

today I finished the small assemblies, so i will see if i can give it a coat of pant by the end of the day!

(by the way, the brown stains on the hull are from me testing out Tamiya's panel line colour wash)

any comments welcomeBig SmileToast

There's no such thing as a clean tank!
  • Member since
    November 2009
  • From: SW Virginia
Posted by Gamera on Thursday, July 2, 2015 7:52 AM

That's pretty awesome!!! I've seen resin versions of the Typhoon rockets but so far haven't gotten around to trying to build one of these, looking at yours has me motivated!

"I dream in fire but work in clay." -Arthur Machen


  • Member since
    November 2005
Posted by T26E4 on Thursday, July 2, 2015 8:10 AM

For some great after action analysis: look at these primary documents

www.network54.com/.../1339036705

Also, if I can make a simple model suggestion: the lifting hooks on the rear corners of the hull -- should be vertical -- not perpendicular to the hull angle.  Maybe reposition yours?

Roy Chow 

Join AMPS!

http://www.amps-armor.org


  • Member since
    September 2014
Posted by Aussie modeller on Friday, July 3, 2015 7:05 AM

G'day all,

well, so far so good,

I managed to meet my goal of getting a coat of paint on the tulip yesterday afternoon,

i started the coat of olive drab with a coat of very black-looking coat of Tamiya xf-61 dark green.

after that dried overnight, i then gave it a thin coat of Tamiya xf-62 olive drab:

and was impressed with the results! the resulting color looks very close to British scc olive drab. I learned this technique from Michael rinaldi's book TANKART #2, i am now going to use this technique on all my future British armor builds.

but enough from me,  I'll let the pictures speak for themselves

I plan to put a gloss coat on it first thing in the morning, put the decals on, give it a wash, then it is time to start throwing mud around!!!

i have a track-link set on order from modelkasten & a stowage set from blackdog so i will be adding these at some point in the future.

B.T.W. has anyone had any sucsess with modelkasten's sherman tracks?

There's no such thing as a clean tank!
  • Member since
    March 2003
  • From: Rain USA, Vancouver WA
Posted by tigerman on Friday, July 3, 2015 12:25 PM

I like the work you've done so far. Are you going to drill out the ends of the rockets?

   http://i7.photobucket.com/albums/y269/wing_nut_5o/PANZERJAGERGB.jpg

 Eric 

  • Member since
    June 2015
Posted by jersey66 on Friday, July 3, 2015 8:39 PM

I'm not a big Sherman guy but I like this

  • Member since
    November 2005
Posted by T26E4 on Saturday, July 4, 2015 7:54 AM

Never use the Modelkasten Sherman tracks.  The complexity of those will drive you crazy.  There are many better alternatives: Panda Plastics for instance.

Roy Chow 

Join AMPS!

http://www.amps-armor.org


  • Member since
    January 2007
Posted by the doog on Saturday, July 4, 2015 9:14 AM

Man, that's a beast! Cool looking tank!!!

  • Member since
    April 2013
Posted by KnightTemplar5150 on Saturday, July 4, 2015 12:57 PM
Really appreciate the demonstration of your technique to achieve the SCC OD, mate - looks great! The Modelkasten Sherman links aren't so bad to work with, provided you're fortunate enough to have purchased one of the newer sets without the nasty ejector pin marks found in some of their older products. Watch for possible spacing issues with the track over the drive sprocket and idler wheel assemblies - they can be a pain to adjust. The prep work is tedious, but once you start laying things into the jig for assembly, it goes quickly. Work small sections at a time, check fit often, and it will work out fine.
  • Member since
    March 2013
  • From: Puebla, Mexico
Posted by garzonh on Sunday, July 5, 2015 6:09 PM

I dont get, the tanks is 1/35 and you said you used spare rockes from a Typhoon, usually planes are 1/48 or 1/72...I dont recall a 1/35 plane kit...just asking....

About the tank...WOW...I cant imagine how that could actually work on battle...

  • Member since
    December 2013
Posted by jetmaker on Monday, July 6, 2015 10:09 PM

Magnificent!!

  • Member since
    September 2014
Posted by Aussie modeller on Tuesday, July 7, 2015 7:20 PM

thanks for your comments guys! they will be dully noted.

sorry that I haven't  wrote in a while, i've been busy.

this is pretty close to a record for me, only 5 days and it is painted, marked and sitting on wheels!

the decals adhered tightly to the hard gloss i put on it.

then, i gave it a wash using tamiya's panel line wash.

then, i painted the white pattern on the barrel.

then, i shot the clear flat.

I received the stowage set today, so i will paint that and attach it later today.

then.... the fun can start..... weathering!!!!!!

There's no such thing as a clean tank!
  • Member since
    September 2014
Posted by Aussie modeller on Friday, July 10, 2015 4:34 AM

G'day all,

so, i've finally finished the model, the other day I started weathering. first, i applied some Mig productions mud paste, stippling it on to the lower hull areas.then, when this was partially dry, i applied different shades of pigments.

then I very carefully applied a light coat of dust overall

 .

i then attached the stowage to the glacis plate and the rear deck, and the turret boxes.

i then tied them down with string painted with tamiya buff. when that was done, i made a tarp from tissue paper, painted it, and washed it.

I then finished the tracks with pigments & drybrushing. with them attached, i called it done.

I am thinking of entering it into my local hobby show,

any comments & criticisms welcome

There's no such thing as a clean tank!
  • Member since
    November 2009
  • From: SW Virginia
Posted by Gamera on Friday, July 10, 2015 9:18 AM

garzonh

I dont get, the tanks is 1/35 and you said you used spare rockes from a Typhoon, usually planes are 1/48 or 1/72...I dont recall a 1/35 plane kit...just asking....

About the tank...WOW...I cant imagine how that could actually work on battle...

Hey Garzonh, I think he said they were from a 1/32nd Typhoon kit. And the rockets were I think I read sorta aim in the general direction of the enemy and pray! I think they were more to demoralize the enemy than any effective use.

"I dream in fire but work in clay." -Arthur Machen


  • Member since
    November 2009
  • From: SW Virginia
Posted by Gamera on Friday, July 10, 2015 9:19 AM

AM: I love how she came out, the mud looks great and I love the storage!

"I dream in fire but work in clay." -Arthur Machen


  • Member since
    April 2015
  • From: Detroit, MURDER CITY
Posted by RudyOnWheels on Friday, July 10, 2015 10:51 AM

Very cool!!! Never seen one with the typhoon rockets before. I'll have to look in a WWII Tank book I purchased at a local antique store and post any pics if I find one. I look forward to getting good at weathering like this. Nice work!!

 Rudy

  • Member since
    June 2015
Posted by jersey66 on Friday, July 10, 2015 12:14 PM

Cool build and only 5 days, it takes me 5 days just to do a set of road wheels

JOIN OUR COMMUNITY!

Our community is FREE to join. To participate you must either login or register for an account.

SEARCH FORUMS
FREE NEWSLETTER
By signing up you may also receive reader surveys and occasional special offers. We do not sell, rent or trade our email lists. View our Privacy Policy.