Well, I"m working away....got some more to show, but not as much as I hoped. I'm having to strategize this build so as to be able to pull it off with the finish I want. Basically this is going to be a hypothetical preserved tank in an outdoor environment so there is bound to be a lot of rust and degradation of the metal.
Also, the painting requirements make the build sequence a challenge because of the variations in color of some of the parts. I have therefore decided to skip adding some of them and will paint them on stulls.
Here's some pics:
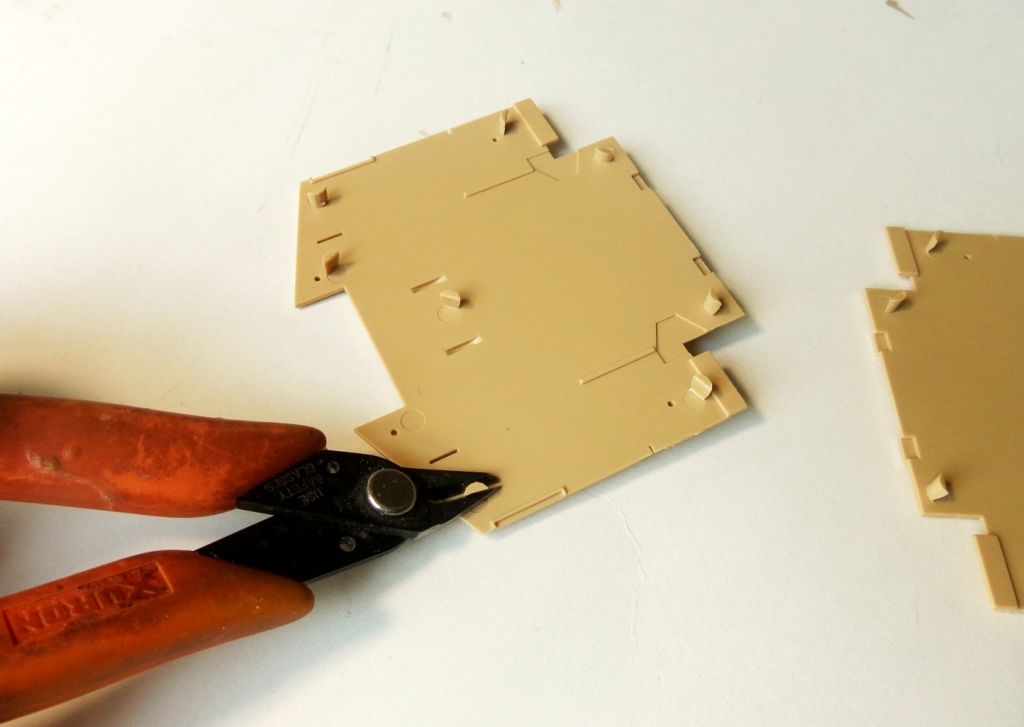
The hull pieces, walls, and floors have dozens of these annoying little stubs to cut off..
I had to dig this piece out and re-glue it because I had it on upside-down. 
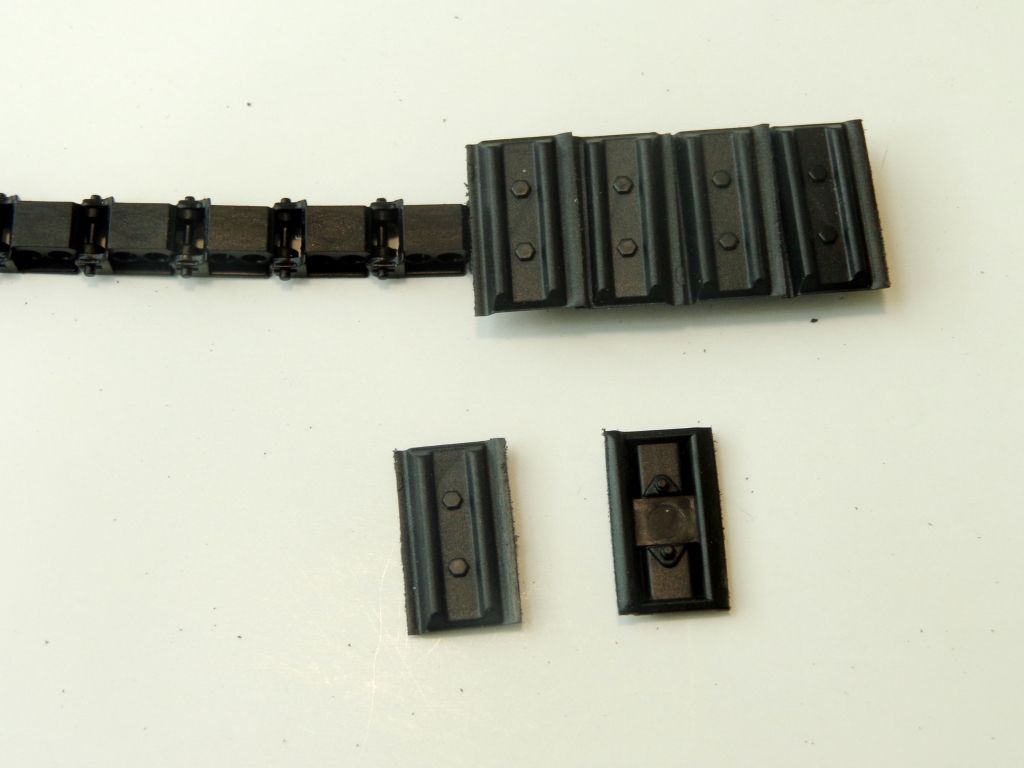
The tracks are an absolute joy to assemble. I HIGHLY recommend that you do NOT join the top "shingles" on top of the individual inks until you assemble all of the 48-per-side connecting pieces. Otherwise, it's awfully hard to join them without dislodging the upper plates. NOTE also that the flat plates ARE directional---you have to apply them depending on the flat vs "crimped" side. See here:
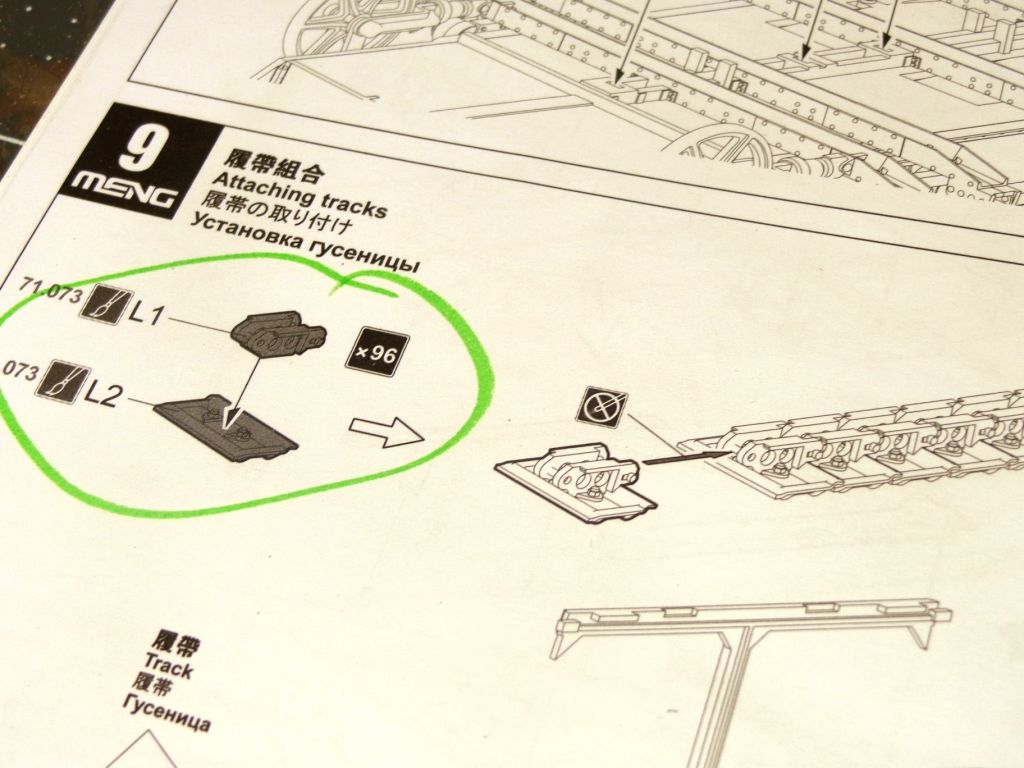
See how they lay?
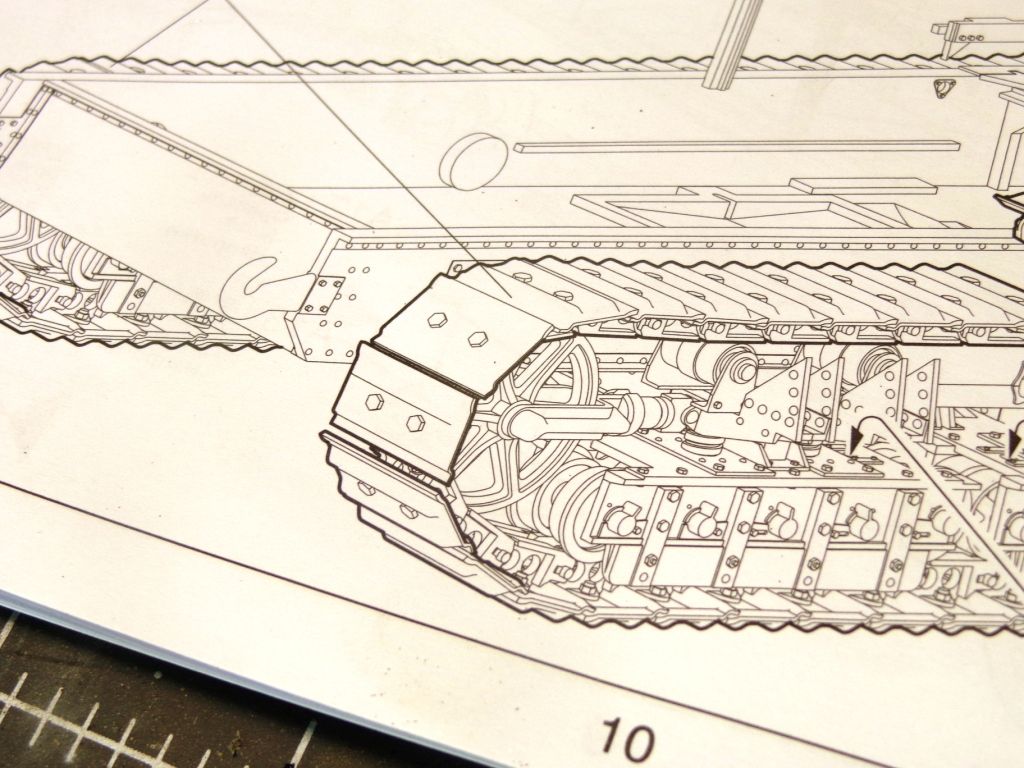
Here's the in-progress shot...
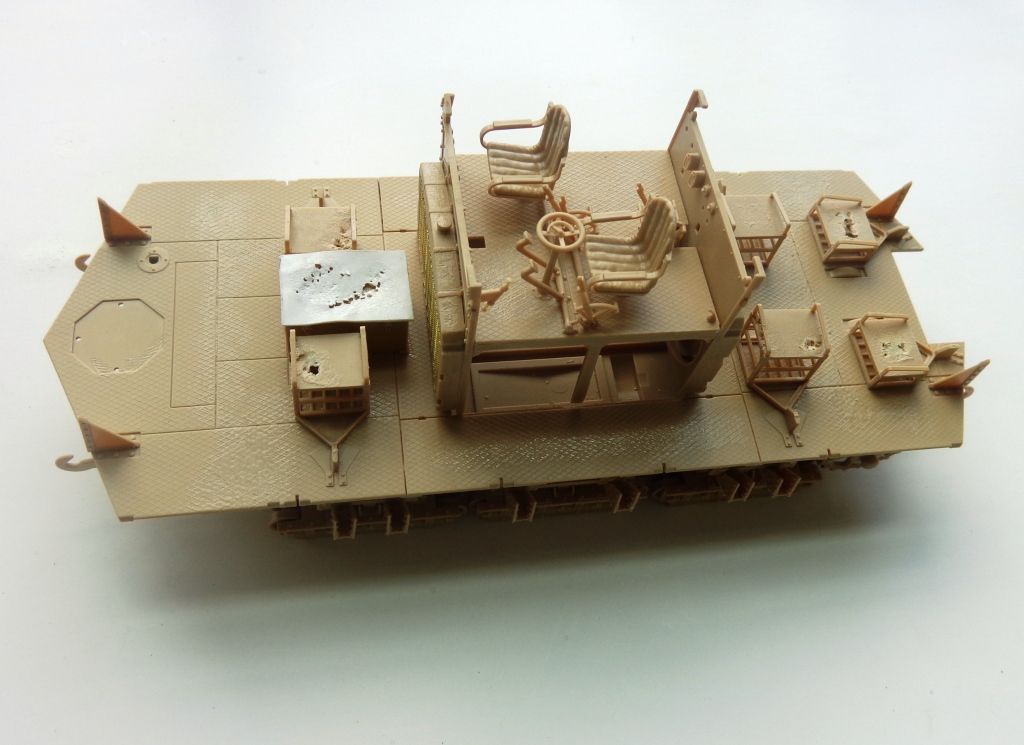
I made a new cover for the ammo bin, damaged it from long-time rust , and thinned out the seats from underneath and did th same...
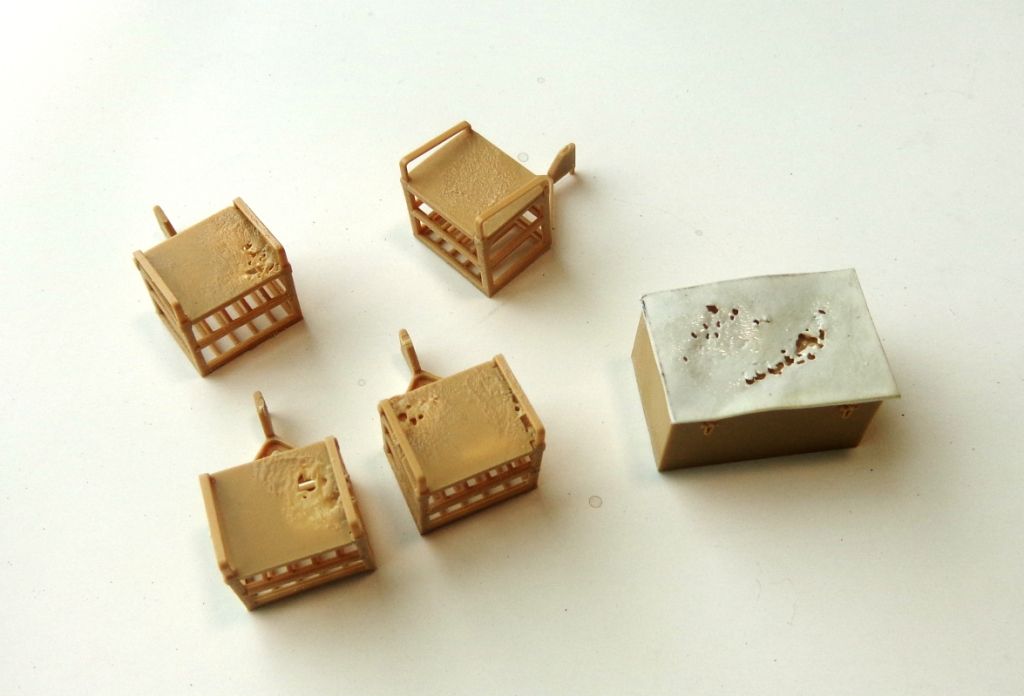
I also roughed the surfaces up with glue.
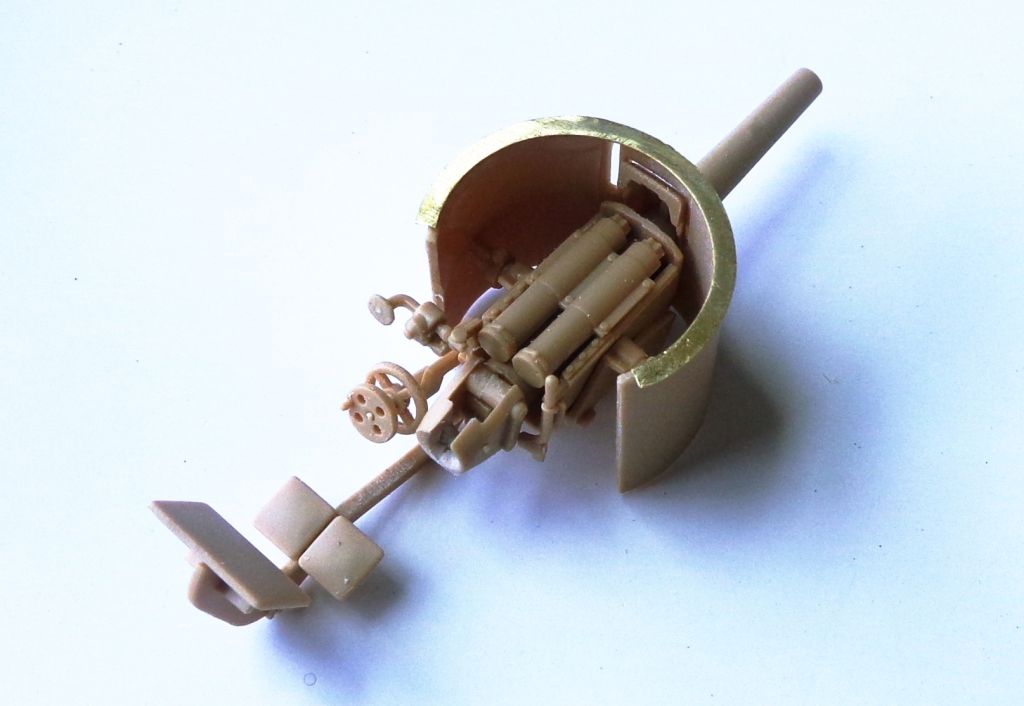
Of COURSE the @#$@^#' PE didn't fit. so I had to trim the sides of the gun cupola to look correct...this is "before". Look at how far off the PE piece is! Did I mention that I HATE P??? 
The seats and ammo bin in place.
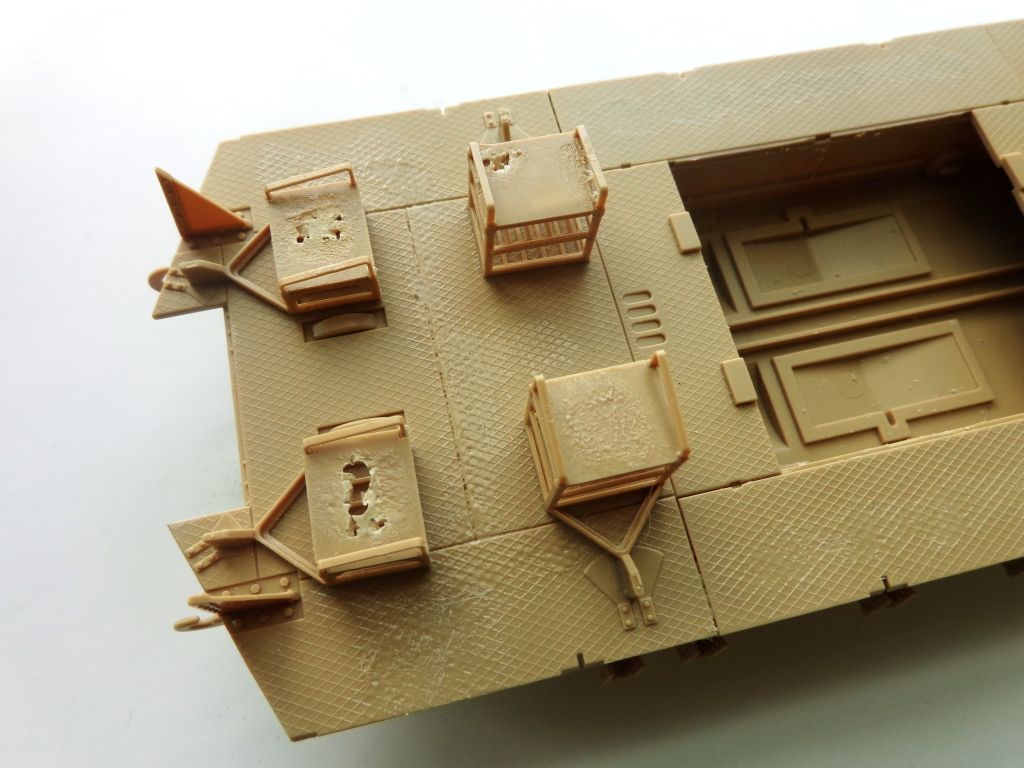
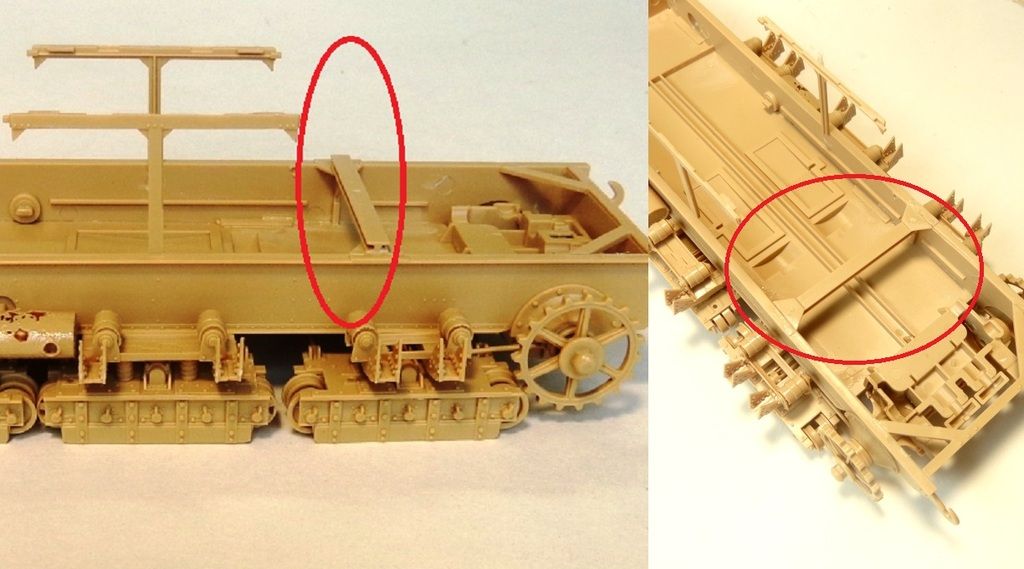
I cut off the driver's compartment because it is too short to fit into the tabs of the side walls. When I do finally install it, it will be sandwiched between the walls and shimmed on bottom.
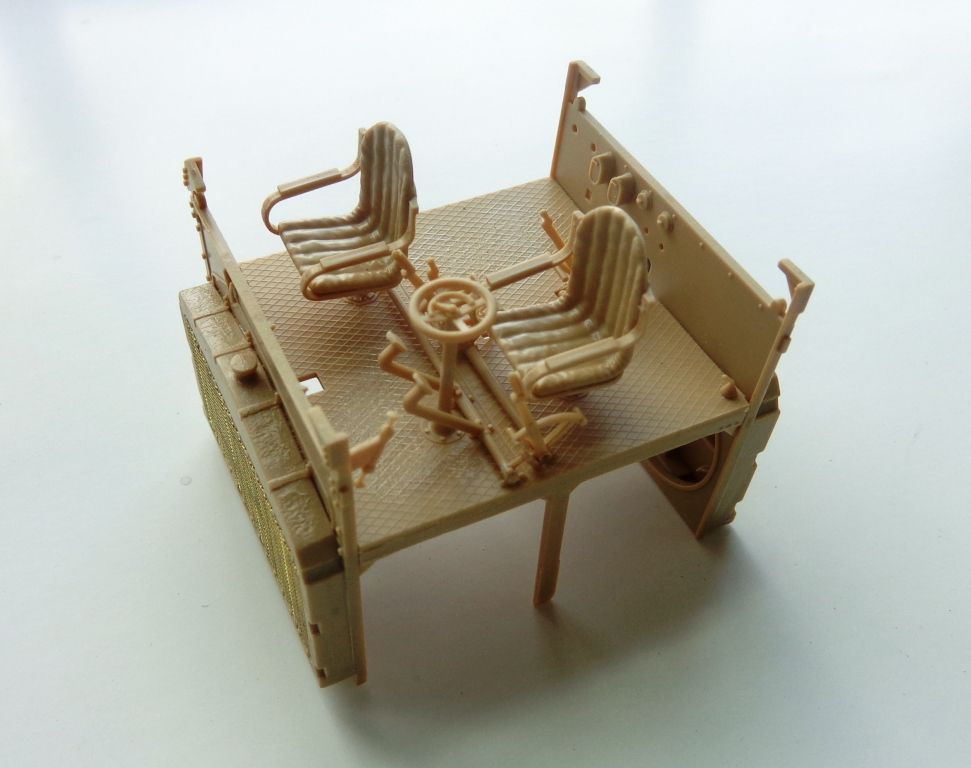
Sorta like this...
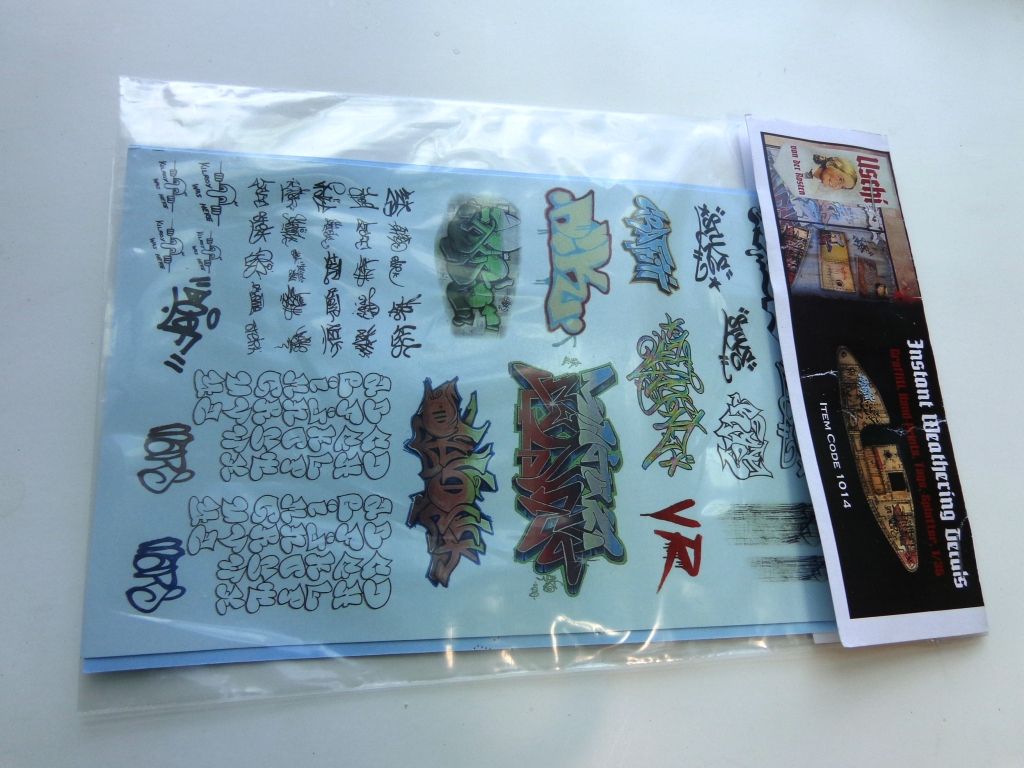
I got another key element in today. The graffiti for the vehicle sides. The "Crime" for which the sentence is..... BWAH HA HA HAAAAA!! 
Miles to go before I paint....