redleg12: Thanks for the link...it was helpful.
Guys: I’ve made a lot progress on the M4 and thought I’d post an update.
The build portion went very well. This is a real nice kit with good engineering. My only gripe is the amount & placement of ejector marks. There are several of them along the fenders, inside the cab and the dashboard, some of which are deep and required filling & sanding. The instructions are clear & concise but I did find a couple omissions. The highlighted items need to be addressed:
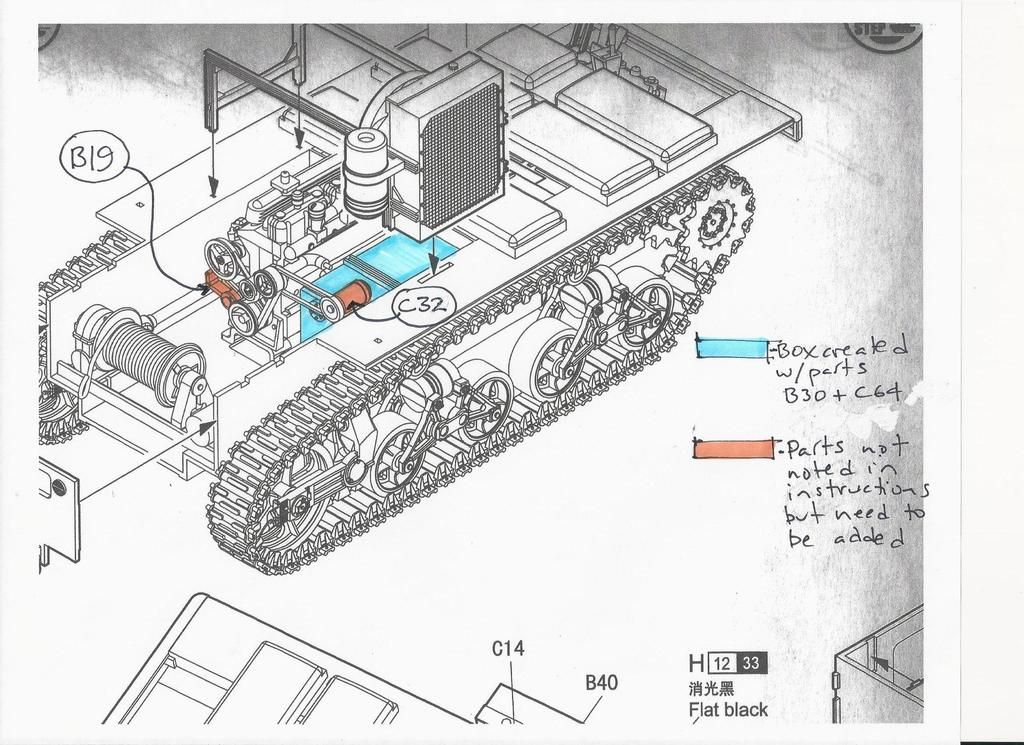
NOTE: Be sure to mount the front bumper JUST BELOW the fender!!! I didn’t catch this until AFTER a test fitting and checking of my reference material. I had to do a good bit of sanding to the front-bottom of the cab to get it to nestle-down correctly.
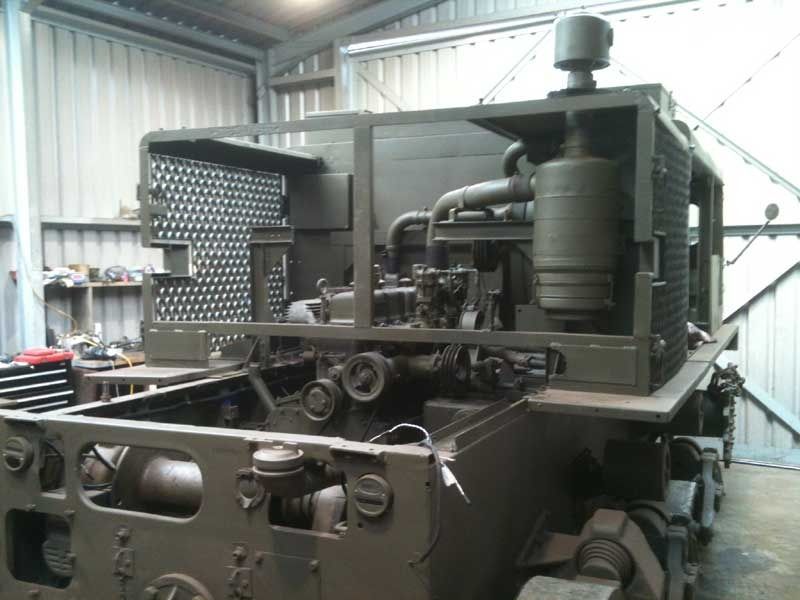
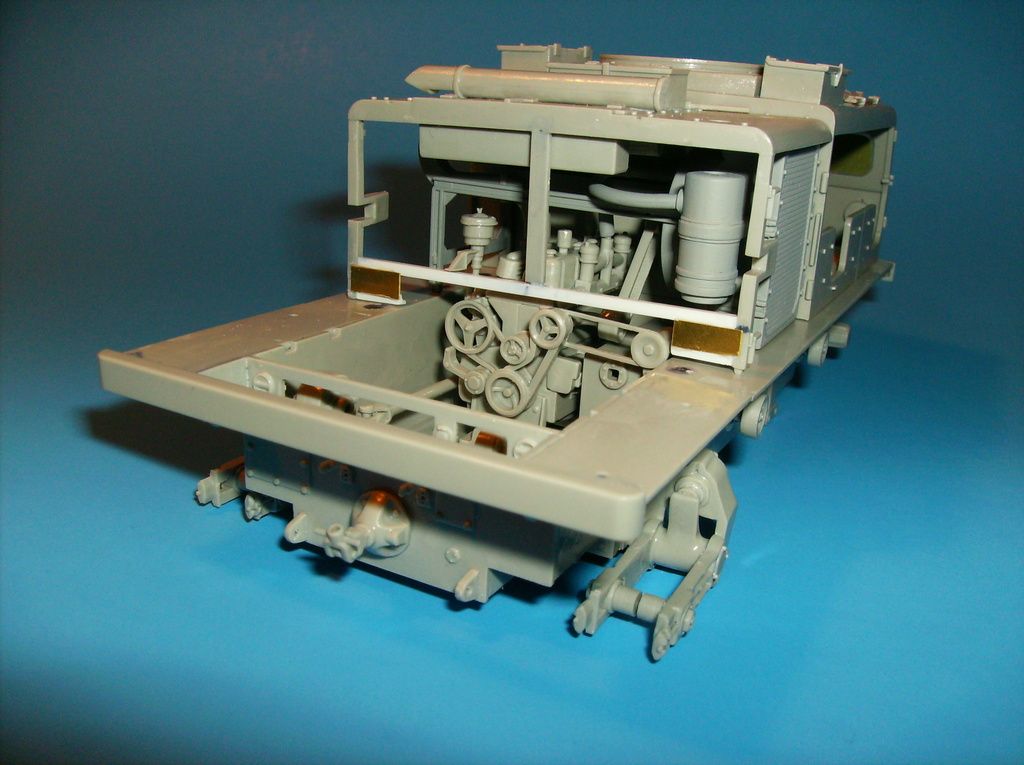
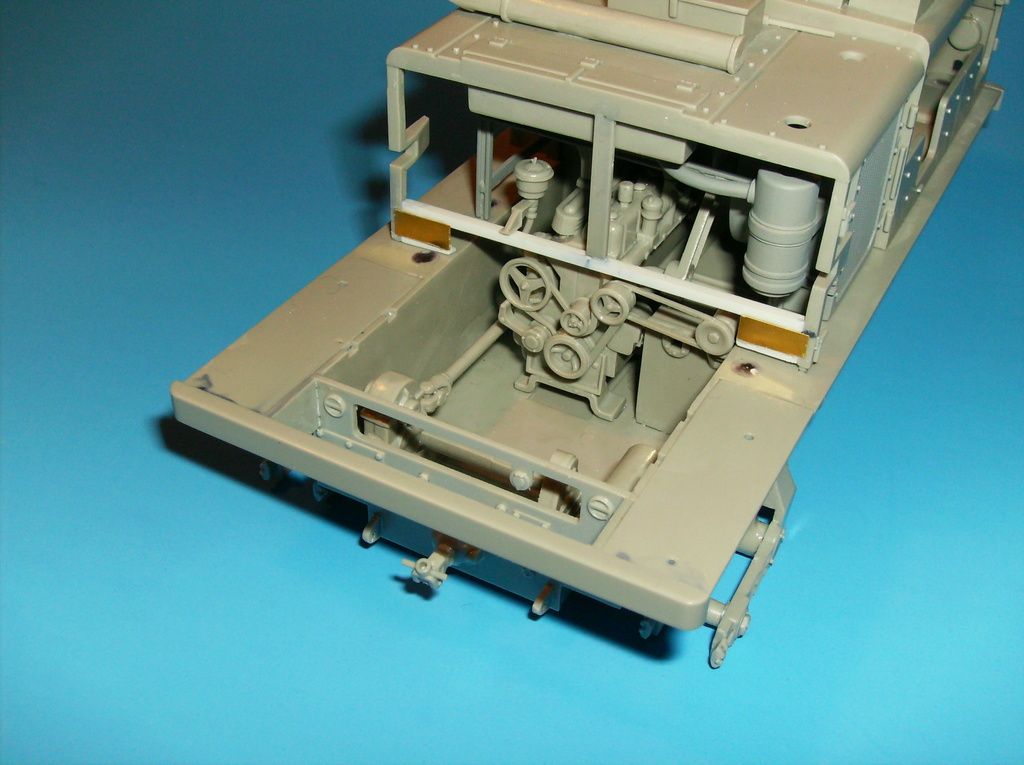
Moving right along...I did a little scratch work at the back of the engine compartment to get ready for the flatbed and fortunately found a great reference photo to work from. I added the lower bar, just above the belt pulley, made from an Evergreen styrene “L angle” and the vertical bar from a spare part. The added PE plates at the bottom corners were sawn from spare PE parts. Note: Along the way I decided that my other HobbyBoss M4 kit would be helpful as a kitbash (spare parts) and since I picked up this M4 for so cheap I felt it was worth it. I’ve pillaged a bunch of other things which I will note along the way.
Here’s how it came out:
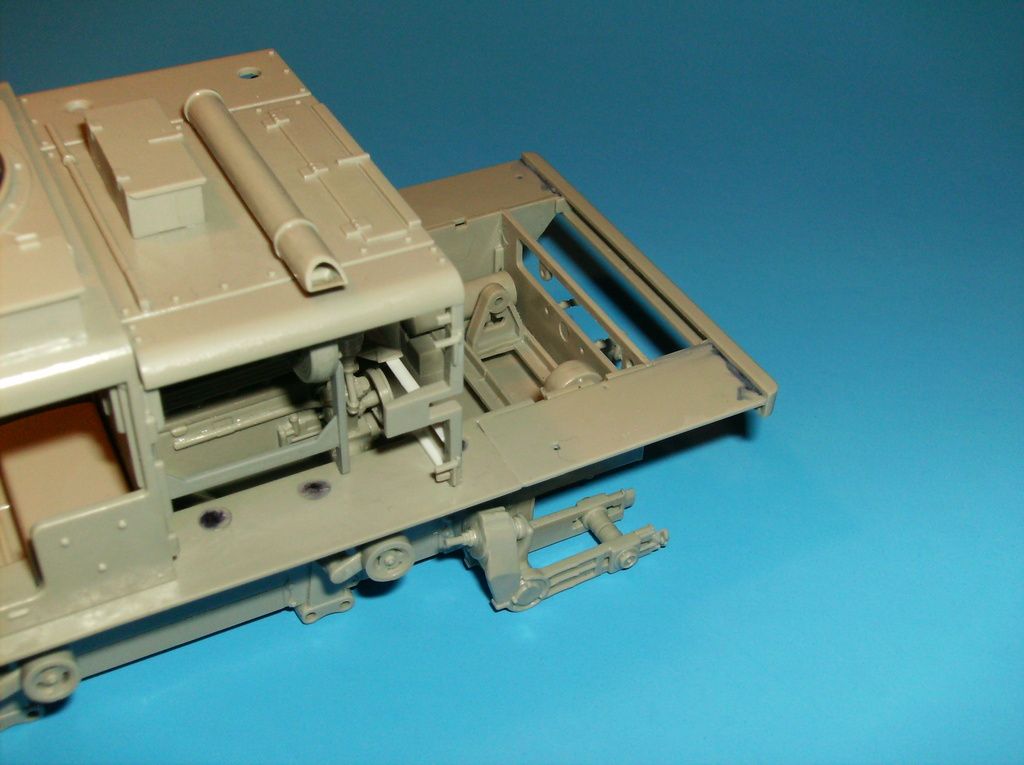
I wanted to make the flatbed area bigger than the kit included ammo box area so I shaped two 15mm long “plate steel” angles from spare parts and added them to the back of the hull. I stole the bumper from the other M4 kit and added it to the top of the angles. I had to add a filler from where the fenders ended to reach to the bumper but the sheet styrene I bought for this task was too thick. Again, kitbash to the rescue...(maybe I should buy two of every kit I work on!) I sawed-off two lengths from the other kits hull and of course the thickness was perfect. Lastly, I had to extend the gas tank filler tube (not in photos) to get past the back of the bumper...again, a kitbash. Here’s how it all came together:
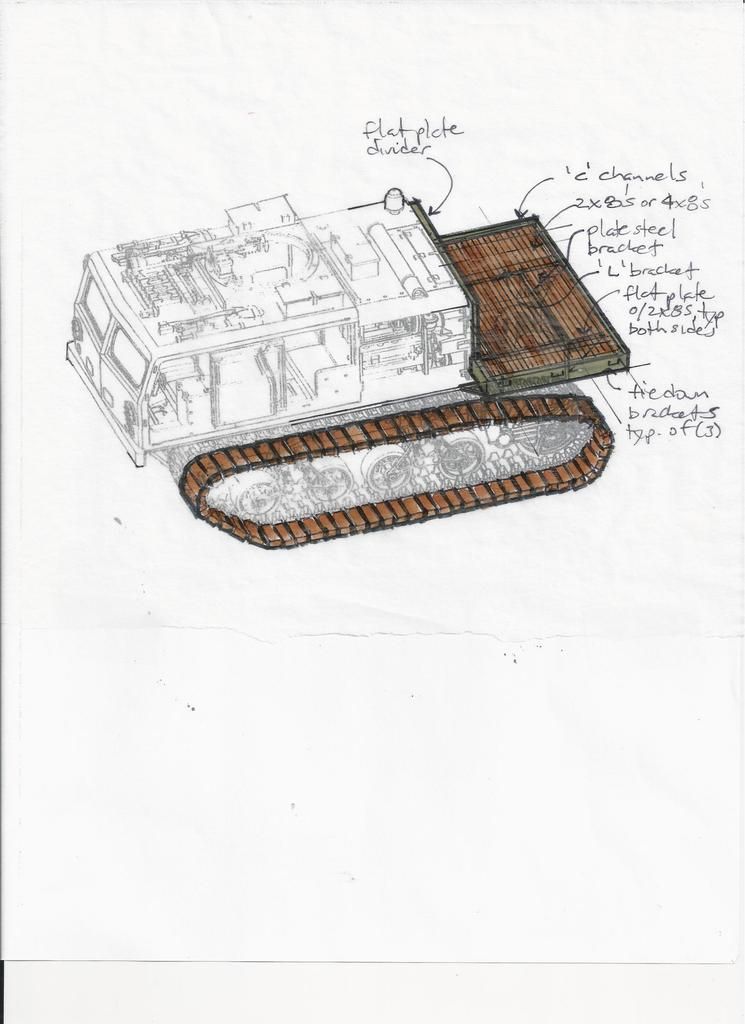
To make the flatbed I reviewed my design idea:
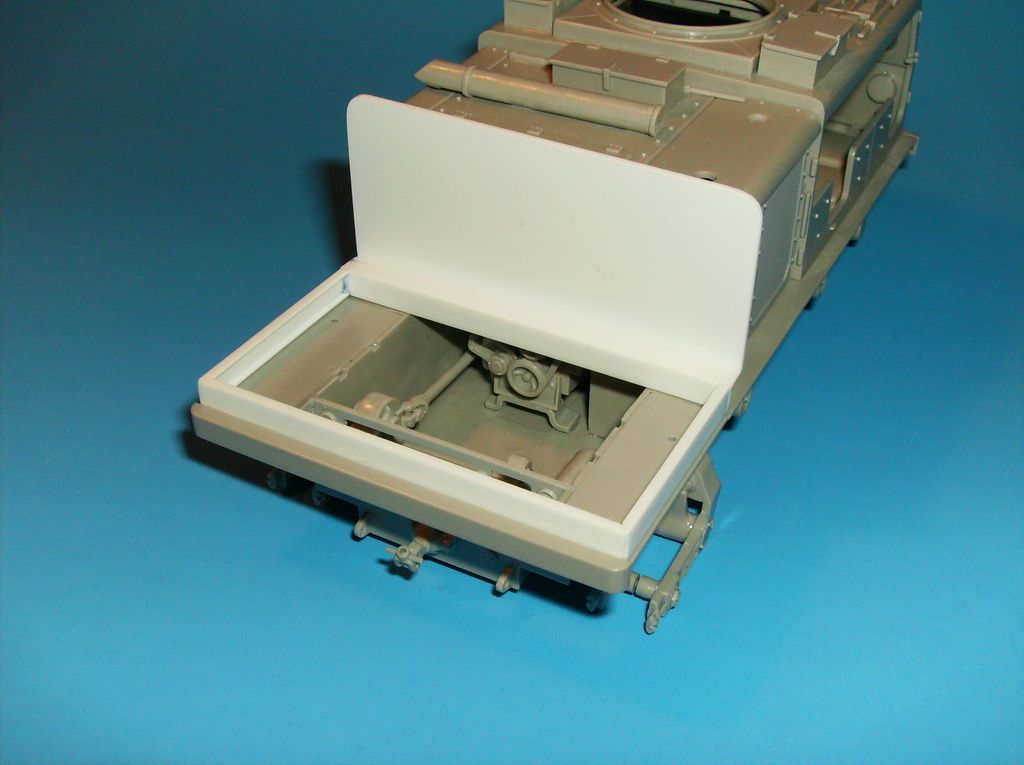
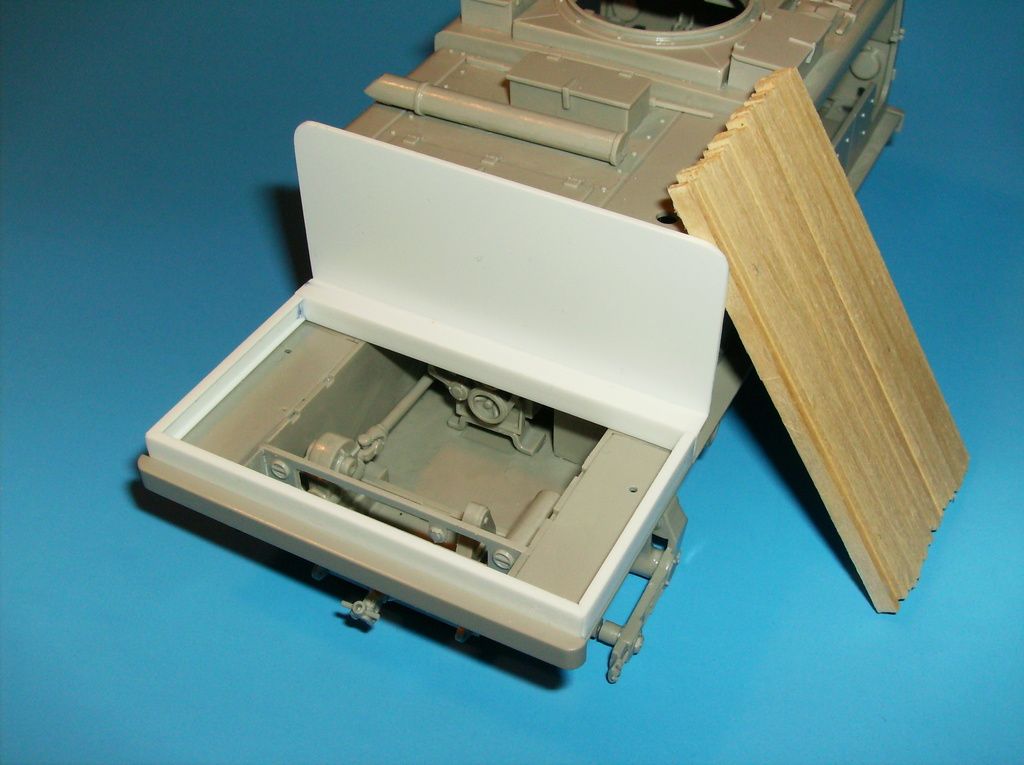
The perimeter frame was made from Evergreen styrene 3/16” “c channels” and the divider plate was made from an Evergreen sheet. I needed to raise the divider plate a bit to clear the engine belt pulley, that was done by adding a 3/16” Evergreen “L angle” I think it came out nice:
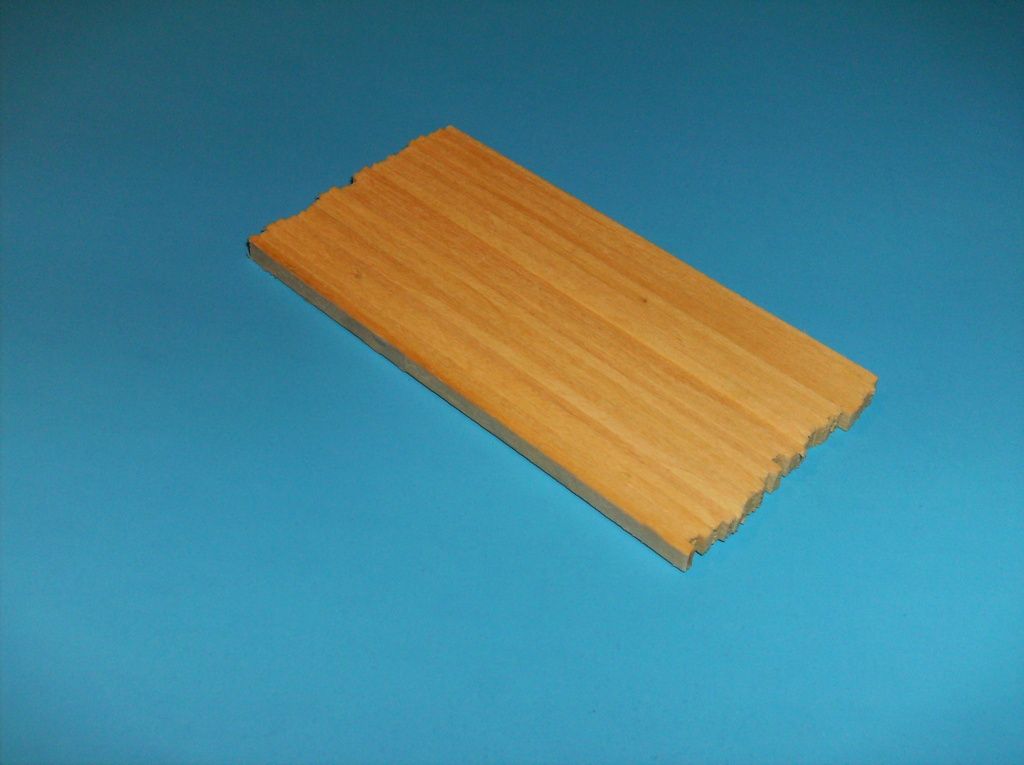
Last but not least I needed to make the bed surface. I wanted to have it look like laminated 4X8’s standing on edge (like a wooden cutting board) so what better than real wood! I bought some small ,to scale, basswood strips that would fit in the 3/16” c-channels . I intentionally cut them a bit long for fittng later and then sandwiched/glued a bunch of them together. After a night of drying in the clamps here how it looks:
That’s where I am so far, more to come later....