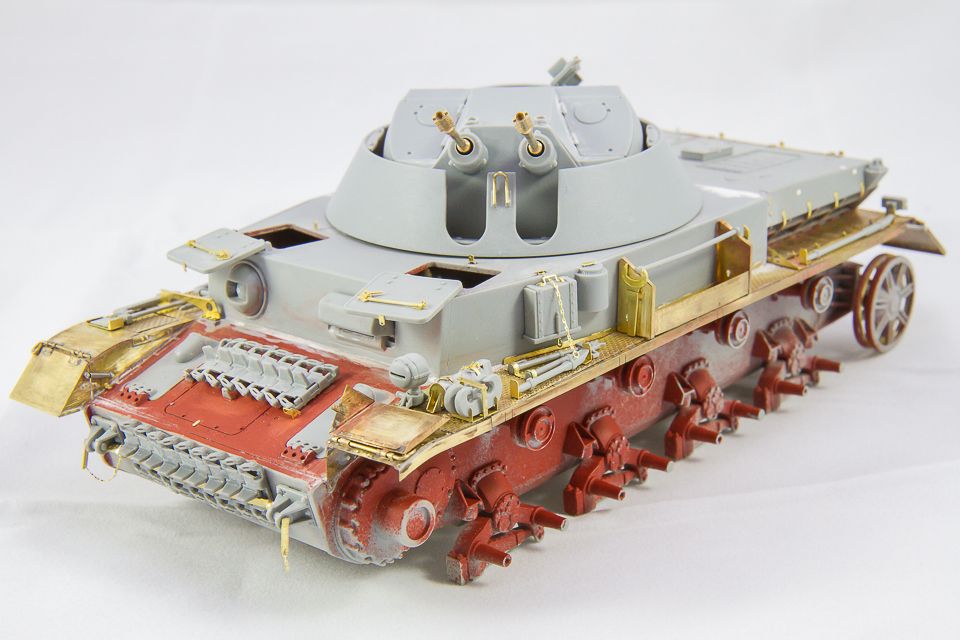
I picked up cyber-hobby's 1/35 scale “Orange Box” Series Kit No. 09 (Dragon Models Limited Kit No. 9109); Flakpanzer IV “Kugelblitz” kit at a steal at last years IPMS National Convention. I wanted to do my homework on this first before jumping in. It seems many indicate that the reboxed kit does have some accuracy issues with the older Panzer IV hull that is included. I thought it would be fun and challenging to do what I hope is a straight forward conversion/upgrade and create a Work in Progress (WIP) thread to convert DML’s Kugelblitz to a Panzer IV variant that should be historically correct and available with more detail/quality in both a kit and accompanying PE. My WIP is over on armorama at this link. But I thought I would post a few of the finished pics here.
To recap, I built this to make a more detailed 1/35th Kugelblitz by combining parts from the two kits below along with some detailed aftermarket parts:
• DML's Cyber-Hobby “Orange Box” Series Kit No. 09 Flakpanzer IV - Kugelblitz
• Dragon's 1/35 PZ.KPFW.IV AUSF.J Mid Production (Smart Kit #6556)
• Griffon Model PE Set for Panzer IV Ausf. H & J (BPL35010)
• RJ Productions Resin Drop In Interior
• Schatton Modelbau Metal Gun Barrel/Muzzle
• Additional items from the "scratch box" for the interior
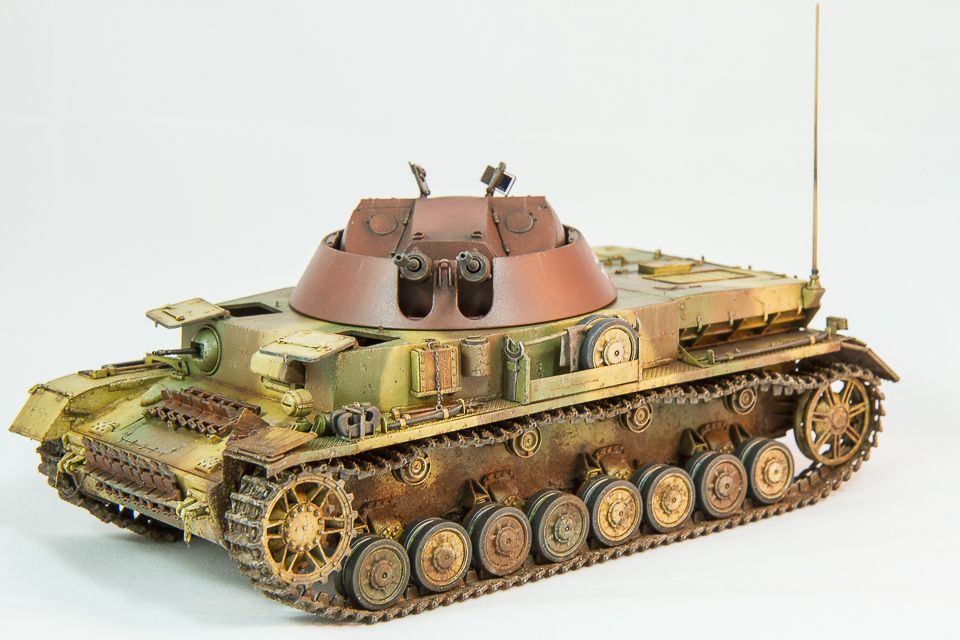
Weathering surely makes a huge difference in the completed model. But in the end I think I am happy with the outcome. I am planning to finish this off as part of a diorama portaying the fighting with US recon units in the Spichra, Germany area in April 1945 (event described on the Armorama link). Being in the Spring, the terrain surely would have some mud to contend with so I wanted to show that... but not overpower it too much (i.e., not fully cover the suspension/road wheels/tracks). I think I acquired the balance I was after. Would love to hear some feedback on that.
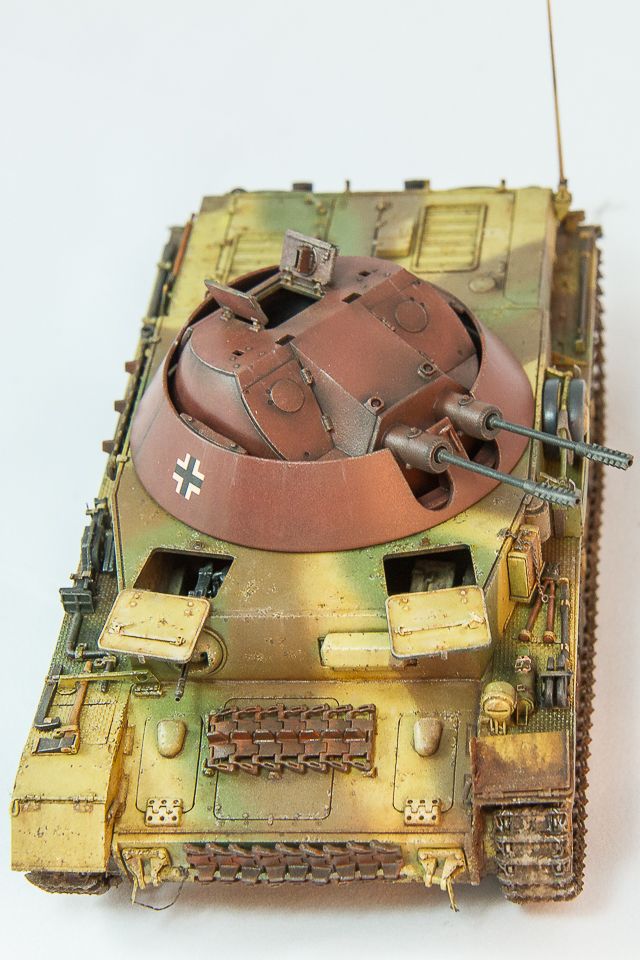
Before mounting it to the dio I will likely add some gear to the outside (maybe a gas can beside spare roadwheel) and top it off with some pastels for dust etc. Since I plan on having hatches open showing the partial interior, I will probably add some gear inside as well.
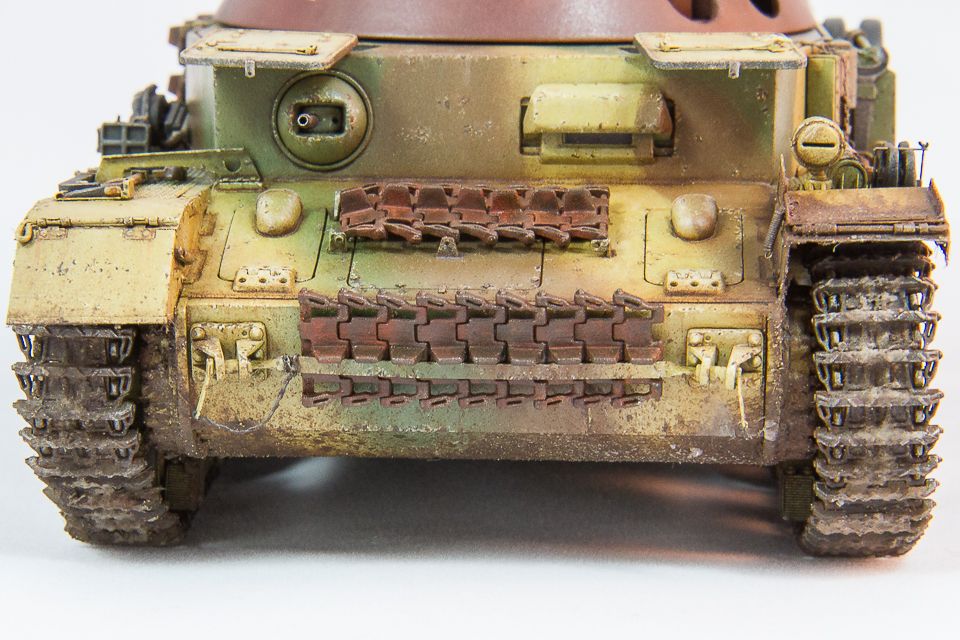
I know leaving a vehicle in primer/partial primer is a bit controversial to some but I wanted to portray how the Germans may have rushed this one into service. In the end no one really knows what the final finish was and if they had time to camo the turret to match the Panzer IV J hull it was mounted to. I have not done a vehicle in primer (or partial primer) before and thought this would have been a likely candidate (if any) to be done this way. It was fun building it like this and trying different techniques to weather the two sections. In this situation I assumed they mounted the completed turret to a slightly used Panzer IV J hull, hence it is a bit more weathered than the turret.
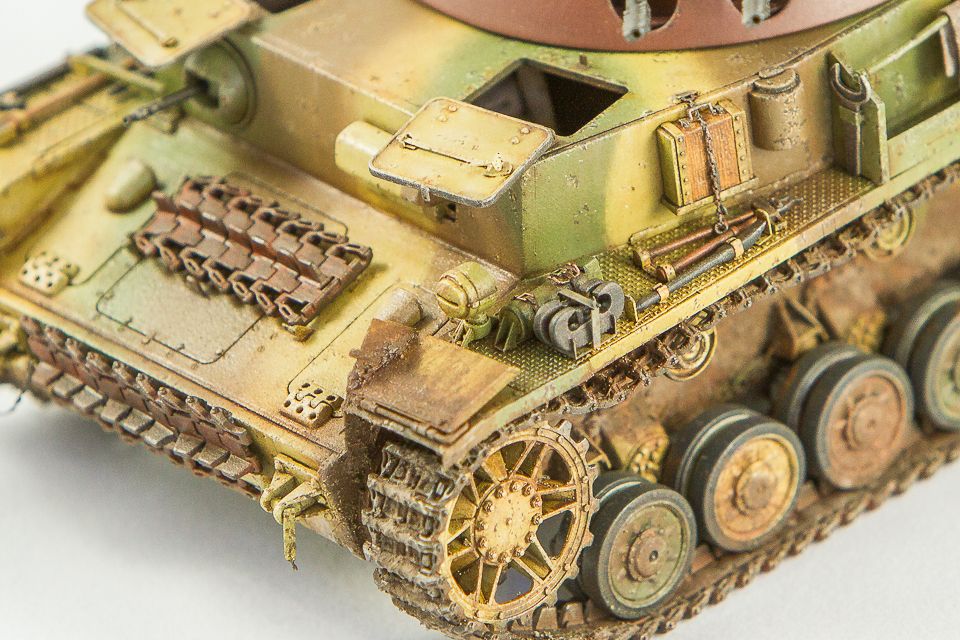
I wanted the Panzer IV J hull to look like it was previously used in battle (perhaps losing its turret) before lucky enough to become a Kugelblitz, therefore I added numerous paint chips, usually with a lighter shade of the base dark yellow and following that up with a brownish grey inside the yellow/lighter chips.
The mud and dirt finish was completed in stages, with an initial application before mounting the finished tracks. This allowed me to get some mud behind the road wheels. After adding the tracks, additional mud covered surfaces were added, including the outer edges of the inside of the tracks. I wanted to try out some of the new mud products that recently became available so picked up a combination of Vallejo acrylic and AK Interactive Enamel products specifically for mud effects. I added the Vallejo acrylics first since the ones I picked up are lighter in color and should be a better representation of dried mud. I followed that up with the darker AK enamels. When mixing these products, I did add various shades of pigments and static grass for more realism and thickness.
Anyway, more pics and details can be found on the link above. This was a big undetaking, especially since this was my first armor model since around the mid 1980s. Feel free to leave any feedback. I may can make some adjustments before adding it to the dio and completing her good.