stikpusher
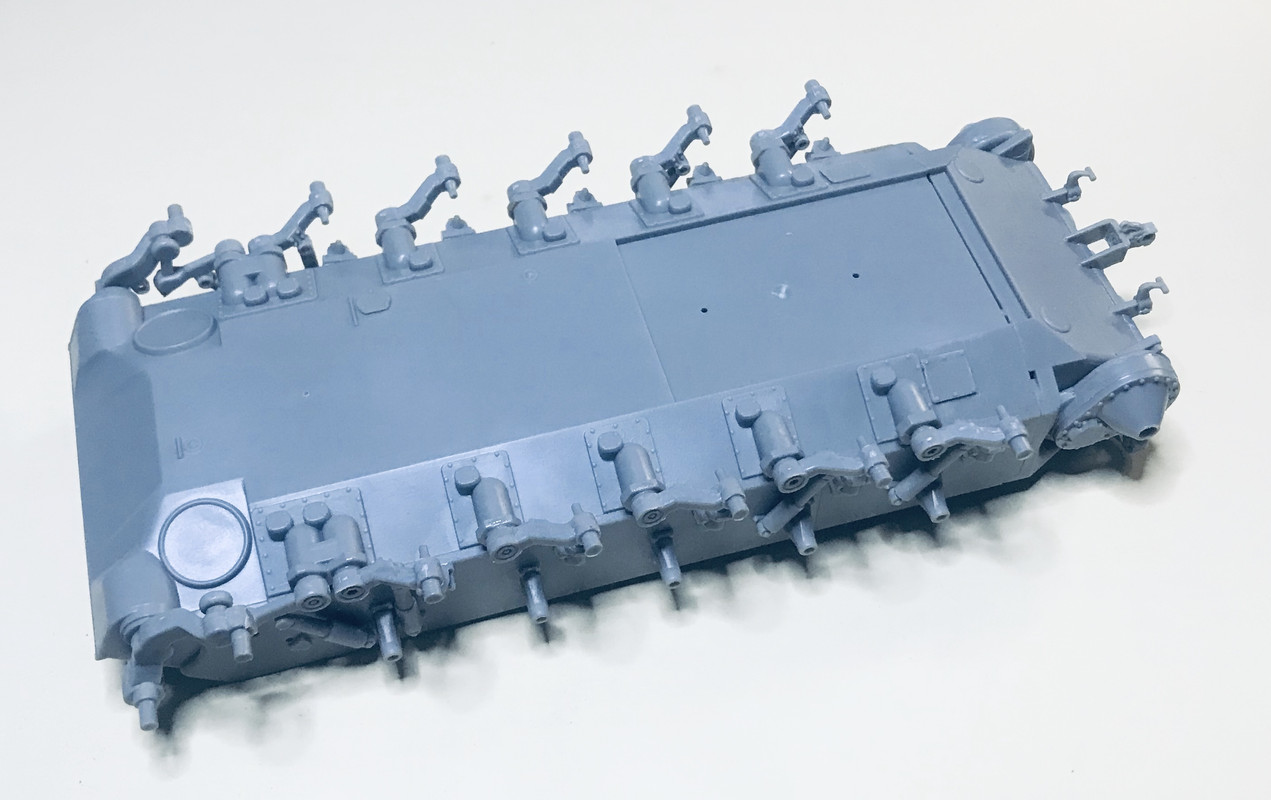
Step 3, adding the road wheel arms, shock absorbers, and the transmission housing to the hull... there was a LOT of mold line clean up on all those parts, then making sure that the alignment is good getting all of them level and straight... note to self for the next Patton build, do the corner arms, then work inwards...
So, I'm scrolling through to get down to the most recent comment, and this picture struck me.
All I could think about was the Shep Paine dio booklet in the Monogram kit and on how he went to some trouble to cut (one, I think) arm to show a road whee going over some bit of terrain on the dio. (I also have this memory he used a carriage bolt to hold the kit to the dio, too.)
I needed that rememory. Many thanks.