SEARCH FINESCALE.COM

Enter keywords or a search phrase below:

Takom 1/35th Chieftain Mk 11 Completed Page 1

2633 views
23 replies
1 rating 2 rating 3 rating 4 rating 5 rating
  • Member since
    February 2011
Posted by GreySnake on Wednesday, January 6, 2021 7:45 PM
The Chieftain looks amazing Bish! Really like how the weathering turned out.   
  • Member since
    December 2002
  • From: Bury St Edmunds, Suffolk, England
Posted by Bish on Monday, January 4, 2021 2:39 PM

Thanks Rob.

I am a Norfolk man and i glory in being so


On the bench: Airfix 1/72nd Harrier GR.3/Fujimi 1/72nd Ju 87D-3

  • Member since
    November 2020
Posted by Also known as Rob on Monday, January 4, 2021 2:32 PM

Very nicely done!

  • Member since
    December 2002
  • From: Bury St Edmunds, Suffolk, England
Posted by Bish on Monday, January 4, 2021 6:19 AM

There are some walk arounds on Prime Portal that i used, but i could find any detailed images of the running gear.

I am a Norfolk man and i glory in being so


On the bench: Airfix 1/72nd Harrier GR.3/Fujimi 1/72nd Ju 87D-3

  • Member since
    November 2005
  • From: Formerly Bryan, now Arlington, Texas
Posted by CapnMac82 on Sunday, January 3, 2021 6:22 PM

Bish
I am not sure how the tracks were adjusted on the real tank either

Oddly enough, Nick Moran has not done a walk-around on any version of Cheiftan.

  • Member since
    December 2002
  • From: Bury St Edmunds, Suffolk, England
Posted by Bish on Saturday, January 2, 2021 6:10 PM

Thanks Carlos.

Ye, i have a good idea of what should be there, i am just not sure what type of kit. In the late 80's the British army changed its personal equipment, but i am not sure when the tank crews would have got it and i am not sure what year the Chieftains were replaced by Challengers at BATUS. Unfortuantly post war British equipment is very limited. Accurate Armour does the stuff introduced in the 80's, PLCE, but no one does the kit used before it, Pattern 58 webbing. I know i will get what i need on Brit Modeller, there are quite a few ex Chieftain guys on there.

I am a Norfolk man and i glory in being so


On the bench: Airfix 1/72nd Harrier GR.3/Fujimi 1/72nd Ju 87D-3

  • Member since
    July 2004
  • From: Sonora Desert
Posted by stikpusher on Saturday, January 2, 2021 5:58 PM

Man that was fast! It looks real good too! Well done Bish!

For external stowage on a tank in a training area, I would imagine that being water cans, cases of rations, and perhaps camo nets. But that’s just an educated guess. I’m sure that there should be a load plan for as to what goes where.


F is for FIRE, That burns down the whole town!

U is for URANIUM... BOMBS!

N is for NO SURVIVORS...

       - Plankton

LSM


  • Member since
    December 2002
  • From: Bury St Edmunds, Suffolk, England
Posted by Bish on Saturday, January 2, 2021 3:02 PM

Been ploughing through with the Chieftain to get it done. I did some oil dot filters followed by AK Streaking grimes.

After a flat coat, wet pigments were applied and the excess dusted off. Once everything was together, it then got a light dusting of dry pigments. I managed to solve my track problem when i remembered i have the Takom marksman in the stash. I raided the tracks from then and took one to fill the gap and 2 more for spares on the rear. I had bought the Master metal tracks to use on this kit but decided to try out the kit ones. I'll just use the metal ones on the Marksman.

So here is my BATUS (British Army Training Unit Suffield) based Chieftain Mk 11.

I do plan to come back to this and add some stowage, but i am not sure what would be right for it given the time. There are a few ex Chieftain crewman on Britmodller, so i plan on checking with them.

Thanks for looking.

I am a Norfolk man and i glory in being so


On the bench: Airfix 1/72nd Harrier GR.3/Fujimi 1/72nd Ju 87D-3

  • Member since
    December 2002
  • From: Bury St Edmunds, Suffolk, England
Posted by Bish on Saturday, January 2, 2021 2:35 PM

Thanks GS.

I am a Norfolk man and i glory in being so


On the bench: Airfix 1/72nd Harrier GR.3/Fujimi 1/72nd Ju 87D-3

  • Member since
    February 2011
Posted by GreySnake on Saturday, January 2, 2021 12:29 PM

Looking very nice Bish! 

  • Member since
    December 2002
  • From: Bury St Edmunds, Suffolk, England
Posted by Bish on Sunday, December 20, 2020 11:20 PM

Thanks guys.

Carlos, no, there is no room for movement there. I am not sure how the tracks were adjusted on the real tank either, there is nothing there that looks familiar from my knowledge of the Warrior.

I am a Norfolk man and i glory in being so


On the bench: Airfix 1/72nd Harrier GR.3/Fujimi 1/72nd Ju 87D-3

  • Member since
    March 2012
  • From: Corpus Christi, Tx
Posted by mustang1989 on Sunday, December 20, 2020 10:27 PM

Really liking what I'm seeing so far Martin. Yes


 Forum | Modelers Social Club Forum (proboards.com) 

  • Member since
    July 2004
  • From: Sonora Desert
Posted by stikpusher on Sunday, December 20, 2020 2:21 PM

Turret and paint scheme look good Bish. Thank goodness for side skirts to hide issues with indie link tracks. Do the idler or sprocket wheels have adjust placement to allow for track tension issues?


F is for FIRE, That burns down the whole town!

U is for URANIUM... BOMBS!

N is for NO SURVIVORS...

       - Plankton

LSM


  • Member since
    December 2002
  • From: Bury St Edmunds, Suffolk, England
Posted by Bish on Sunday, December 20, 2020 12:20 PM

Some more progress to report on the Chieftain, i was slowed down some what by the paint. But before that i had to wrap up the turret with the addition of the TOGs. I painted the inside black before putting it all together, the clear part on the front has ha the lense covered with liquid mask.

Than the painting. I decided to use MiG paints as that is the recomended colour by Takom and i didn't want to try and find a match for the sand colour. For the green, i usually use Tamiya NATO Green mixed with some field grey, so i ordered MiG's field grey set thinking i could use it on my figures. But the field grey in the set was very light, so i used the field grey shading which was more like the Tamiya field grey. Not sure if MiG just got it wrong or they are meant for a more artistic style of painting.

One think about the MiG paints, they don't like a cold damp English winter. 24 hours after painting the green it was still as wet as it had been when applied. I had to bring it inside in the warm to dry. After that i free handed the sand and after some touching up, this is what i have.

There still some rough edges here and there. I am not a fan of the paint, it seems similar to vallejo model air, which i don't like eitehr. I won't be getting them again. I think the sand used on the BATUS fleet, which is also used on the Warminster based Demo battalion vehicles, is the same as that used on desert vehicles prior to Op Telic, so if i need to do another of tehse schemes i can use the Gulf War colours. I also maske and added the white V for the arc marker.

Then the decals, not keen on these either. They damage easily and are very matt looking. But they did conform well enough and there's not many of them.

And the tracks where put together, and here's another issue. There are 200 links and the instructions say to use 97 on each side. I put one track together forming it around the idler and sproket and over the top rollers adding slight sga. But when i out the send run together i was one link short. On counting the second lot it had 100 links, so the first must have 101. Not sure what i have done wrong to use the extra link, the sag doesn't look to much. But at least the gap is behind the side skirts, unless i can force it together.

Next up some weathering and hoping for no more problems.

I am a Norfolk man and i glory in being so


On the bench: Airfix 1/72nd Harrier GR.3/Fujimi 1/72nd Ju 87D-3

  • Member since
    February 2011
Posted by GreySnake on Tuesday, December 8, 2020 10:43 AM

Bish


GS, i have seen that scheme, someone on Britmodeller is doing that kit now. Never really appealed to me but deffinetly a challenge.


I ended up getting it because I wanted a Chieftain and was the only one by Takom that I could find at the time. The Tamiya one was available however then I’d want to replace the tracks and add some PE which would have made it cost more than the Takom one.
  • Member since
    December 2002
  • From: Bury St Edmunds, Suffolk, England
Posted by Bish on Monday, December 7, 2020 3:11 PM

Thanks guys. this is my second takom kit after doing the 432 last year, very nice kits with great detail. I also have the marksman in the stash which should be a fun build.

GS, i have seen that scheme, someone on Britmodeller is doing that kit now. Never really appealed to me but deffinetly a challenge.

I am a Norfolk man and i glory in being so


On the bench: Airfix 1/72nd Harrier GR.3/Fujimi 1/72nd Ju 87D-3

  • Member since
    November 2008
  • From: Far Northern CA
Posted by mrmike on Monday, December 7, 2020 2:02 PM

I've been wondering how the Takom kits build as well. Looking forward to the next installment.

  • Member since
    June 2014
Posted by BrandonK on Monday, December 7, 2020 11:50 AM

I was wondering how nice the Takom kits were. It looks very nice and a cool build. I'm following for sure.

BK

On the bench:

A lot !! And I mean A LOT!!

2024 Kits on deck / in process / completed   

                         14 / 5 / 2  

                              Tongue Tied

  • Member since
    February 2011
Posted by GreySnake on Monday, December 7, 2020 11:43 AM
That’s coming along very nicely Bish. I have the Mk. 10 Takom makes in the stash that I’m looking forward to building one day. Just not looking forward to painting the Berlin Brigade camouflage.
  • Member since
    December 2002
  • From: Bury St Edmunds, Suffolk, England
Posted by Bish on Monday, December 7, 2020 3:26 AM

Thatnks G. They were really nice to fit, the clips were a little fiddly, but nothing major. These takom kits really do have everything you need.

I am a Norfolk man and i glory in being so


On the bench: Airfix 1/72nd Harrier GR.3/Fujimi 1/72nd Ju 87D-3

  • Member since
    November 2009
  • From: SW Virginia
Posted by Gamera on Sunday, December 6, 2020 7:52 PM

Yeah she looks fantastic Bish, I love the mesh engine intake screens.

"I dream in fire but work in clay." -Arthur Machen


  • Member since
    December 2002
  • From: Bury St Edmunds, Suffolk, England
Posted by Bish on Sunday, December 6, 2020 3:04 PM

Thanks Hutch, me to Though apparently it was a real pain to crew.

I am a Norfolk man and i glory in being so


On the bench: Airfix 1/72nd Harrier GR.3/Fujimi 1/72nd Ju 87D-3

  • Member since
    May 2020
  • From: North East of England
Posted by Hutch6390 on Sunday, December 6, 2020 2:14 PM

Looks great already - I really do like the Chieftain.

Vell, Zaphod's just zis guy, you know?


TakkaTakkaTakkaTakkaTakkaTakka


  • Member since
    December 2002
  • From: Bury St Edmunds, Suffolk, England
Takom 1/35th Chieftain Mk 11 Completed Page 1
Posted by Bish on Sunday, December 6, 2020 1:43 PM

There are 2 British army vehicles i really have a thing for, other than the Warrior of course. Back in the 70's when i was 6 or 7, there was a large fair at a local park in Norwich, and the Army were there. I recall they had 3 armoured vehicles, and while i think one might have been an Abbot, the other 2 i am certain of, a Scorpion and Chieftain. I think it was from that day that my desire to join the Army started. So when i got interested in building modern British armour a few years back, those 2 were high on the wish list. Now i have both in the stash, and this is as good a time as any to build one of them.

I will be building it in the scheme of one of the BATUS training vehicles as shown on the box. The only extras will be an Accurate Armour resin barrel and some 3D printed exhausts from FC Model Trend.

I started a few weeks back while i was doing the Harriers so i could get the lower hull and suspension painted early.
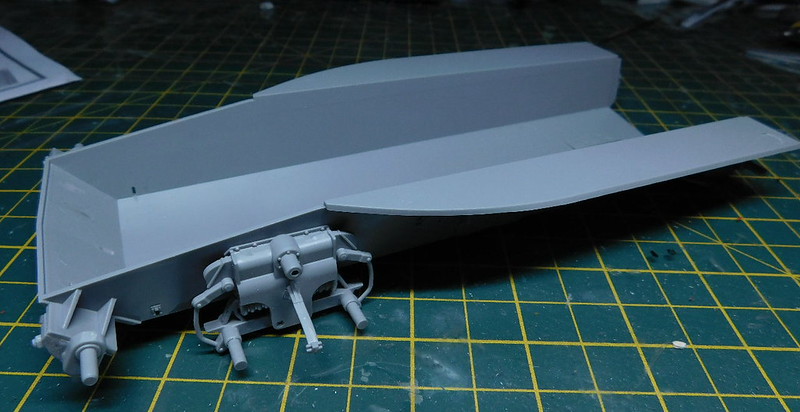
These parts were assembeled on the sprue so i could get all round them.
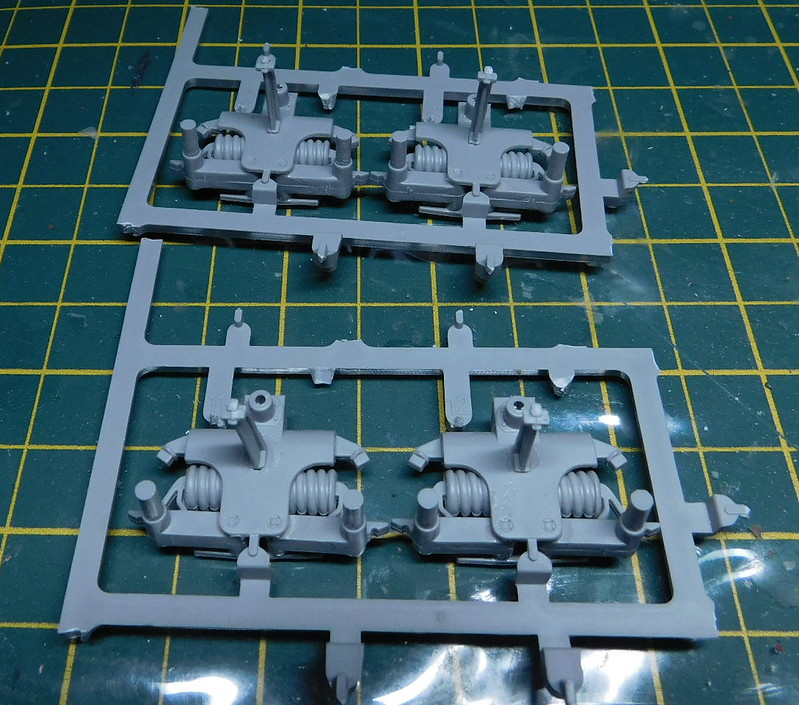
And an armour build is not complete without a wheel forest.

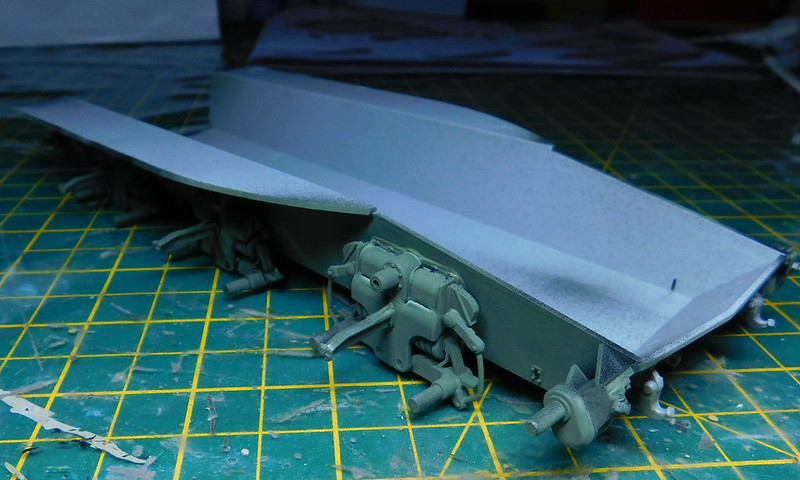
Once the lower hull and suspension parts were painted, they got put together. I use my usual Tamiya mix here of NATO green and field grey. But i will be useing MiG paints on the rest.

These are the 3D exhausts, first time useing printed parts on an armour build.

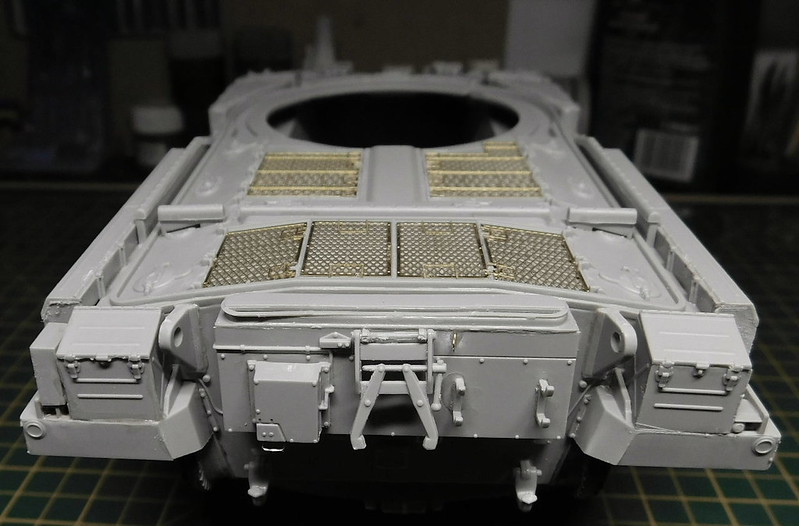
And then last weekend i started on the rest of the build. For a well detailed kit, it goes together very easily and quickly. The hull is ready for primer. I left off the wing mirrors as tehse are not used in BATUS.
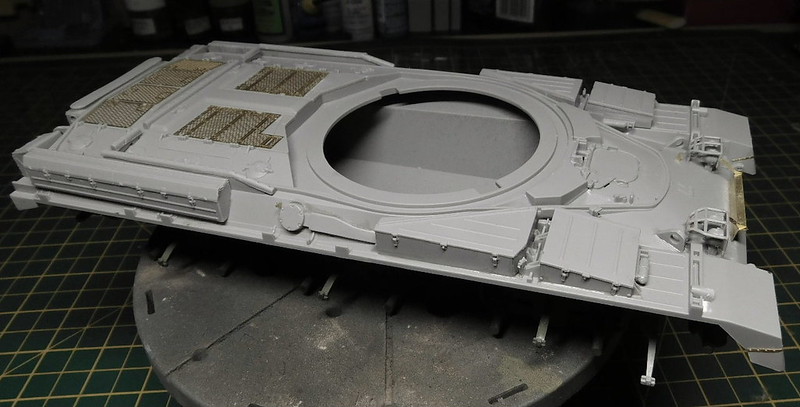
And the turret is just waiting for the TOGS on the left side. I left off the top of the comanders hatch so i can paint around it before fitting the clear periscopes.

The gun barrel was originally part of the Accurate Armour kit, now sold as a seperate AM part. A hole had to be drilled to allow it to fit on the Takom mount, but i was able to get a nice tight fit.

I should be able to get the primer on by the midle of the week. Then i can start on the tracks. I am useing MiG paint so i have a good match for the sand colour. But my LHS didn't have their field grey so i have ordered some which should be here by the end of the week.

I am a Norfolk man and i glory in being so


On the bench: Airfix 1/72nd Harrier GR.3/Fujimi 1/72nd Ju 87D-3

JOIN OUR COMMUNITY!

Our community is FREE to join. To participate you must either login or register for an account.

SEARCH FORUMS
FREE NEWSLETTER
By signing up you may also receive reader surveys and occasional special offers. We do not sell, rent or trade our email lists. View our Privacy Policy.