Heavy Arty, the reference photos were GREAT! I didn't post last night so y'all in for a bunch tonight. BTW: I wasn't going to mess with the levers, but did. And furthermore, I wasn't going to mess with the gear shift, but when I broke of the kit's, I didn't have a choice and happy I did.
Yesterday was mostly Power Pack day. I built the engine, hydrodynamic trans and started working on the driver's compartment. After looking for about an hour to find good pictures of the Cummins VTA930 turbo diesel, I ended up doing what the kit suggested and airbrushed it all gun metal. When pulled for maintenance, the engine is all sorts of colors, but you can't see the darn thing so any time I spent on this detail is going to go unnoticed.
Here is the assembled engine. The Cummins engine is a modern design and therefore has streamlined shapes, very little visible piping and is clean.
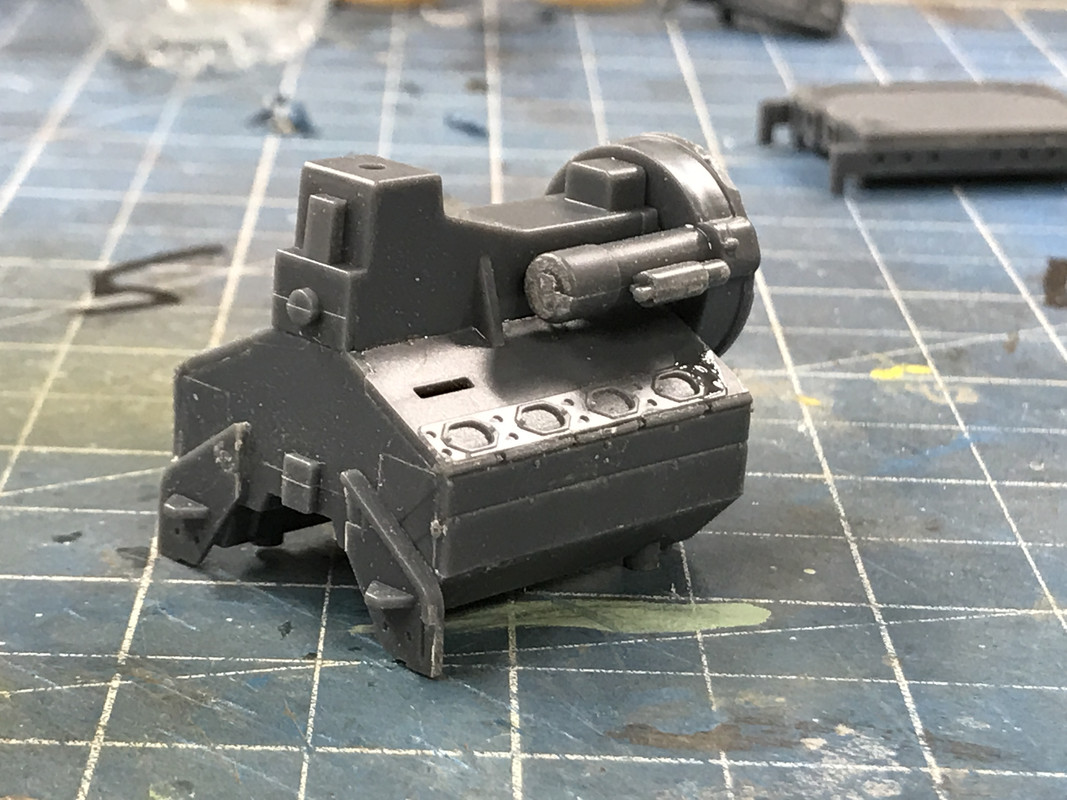
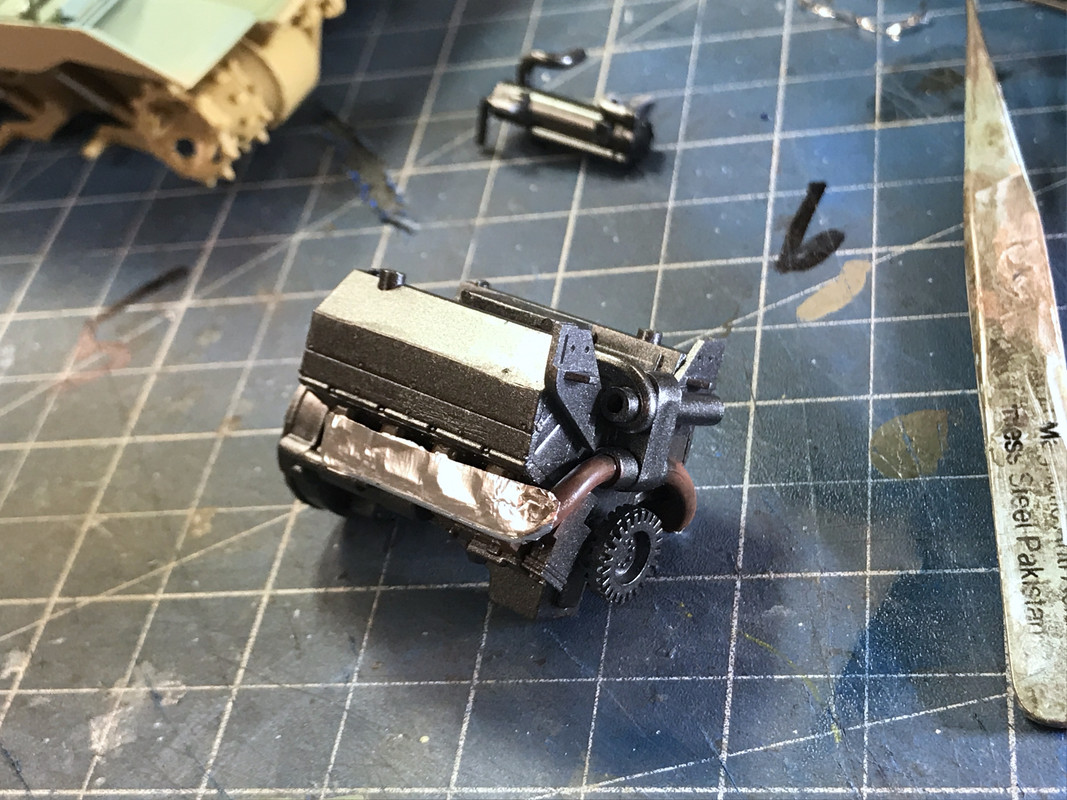
Pictures I found, in addition to showing the typical heat-rust appearance of the exhaust headers, also show a heat shield on the outside. So of course, I had to add them.
The headers go into the bottom of the turbo manifold. The turbo seems a little smalll and insignificant compared to pictures of the engine, but I'm sure that Meng got it right.
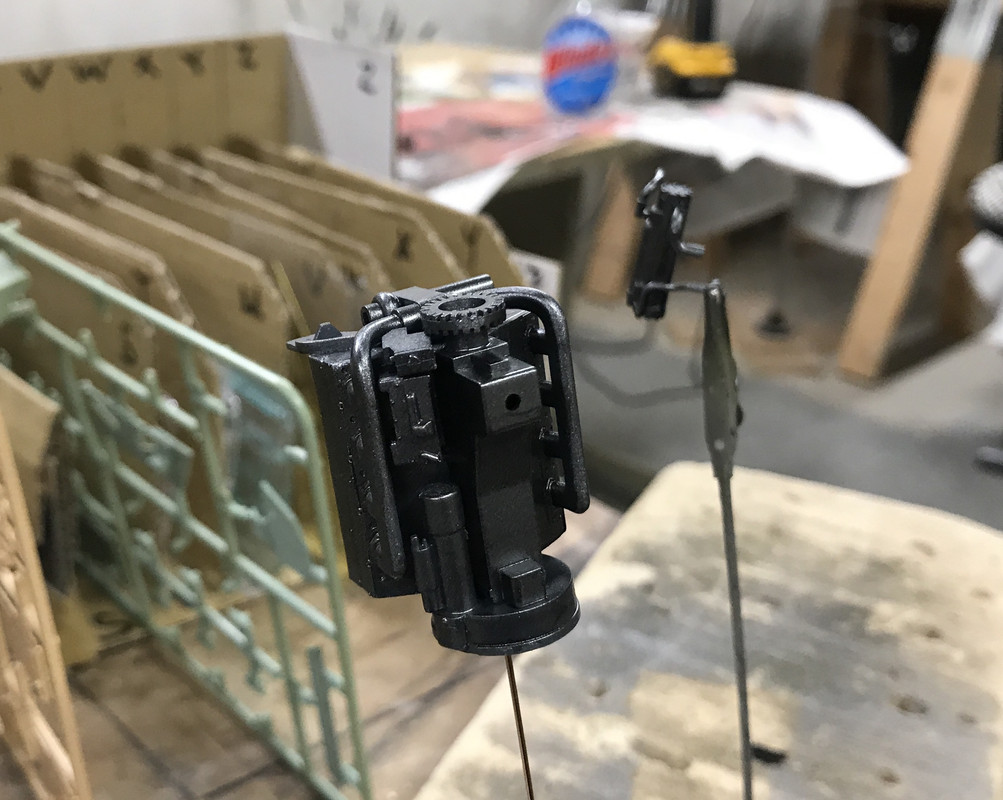
After the gun metal dried I overpainted the headers Dark Iron and then add rust pastels to give it that "used header" look. After that I add some Bare Metal Foil brushed aluminum for the heat shields. Too bad you won't see this either unless I build the model with the upper half removable like I did with the Sherman.
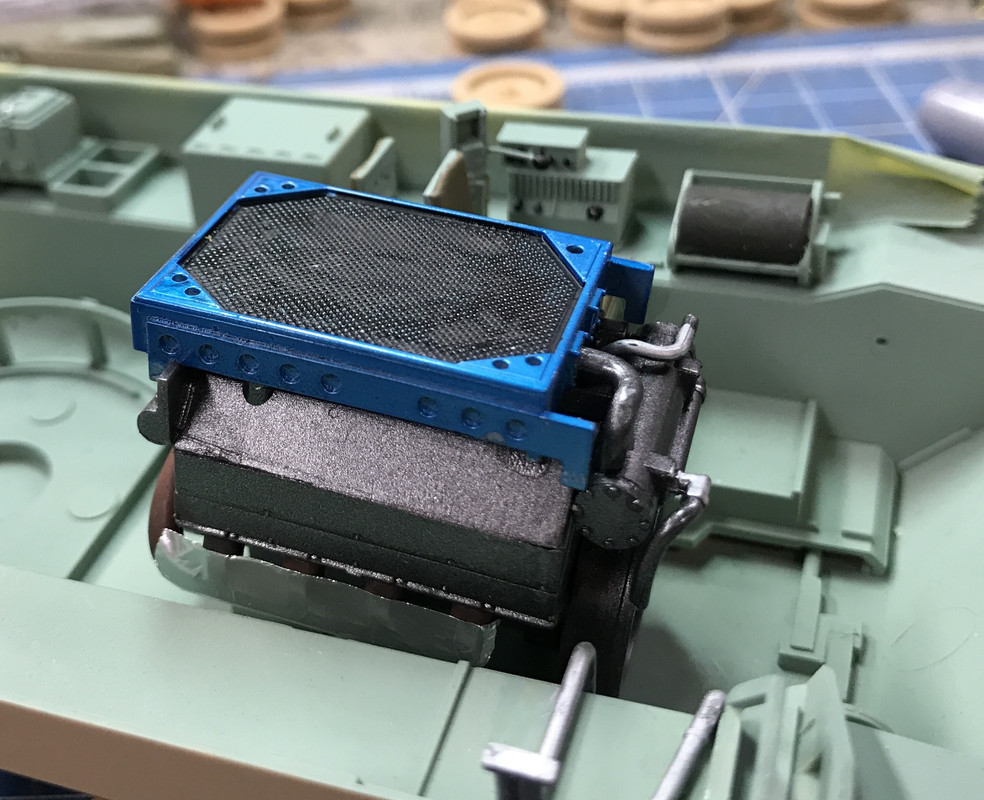
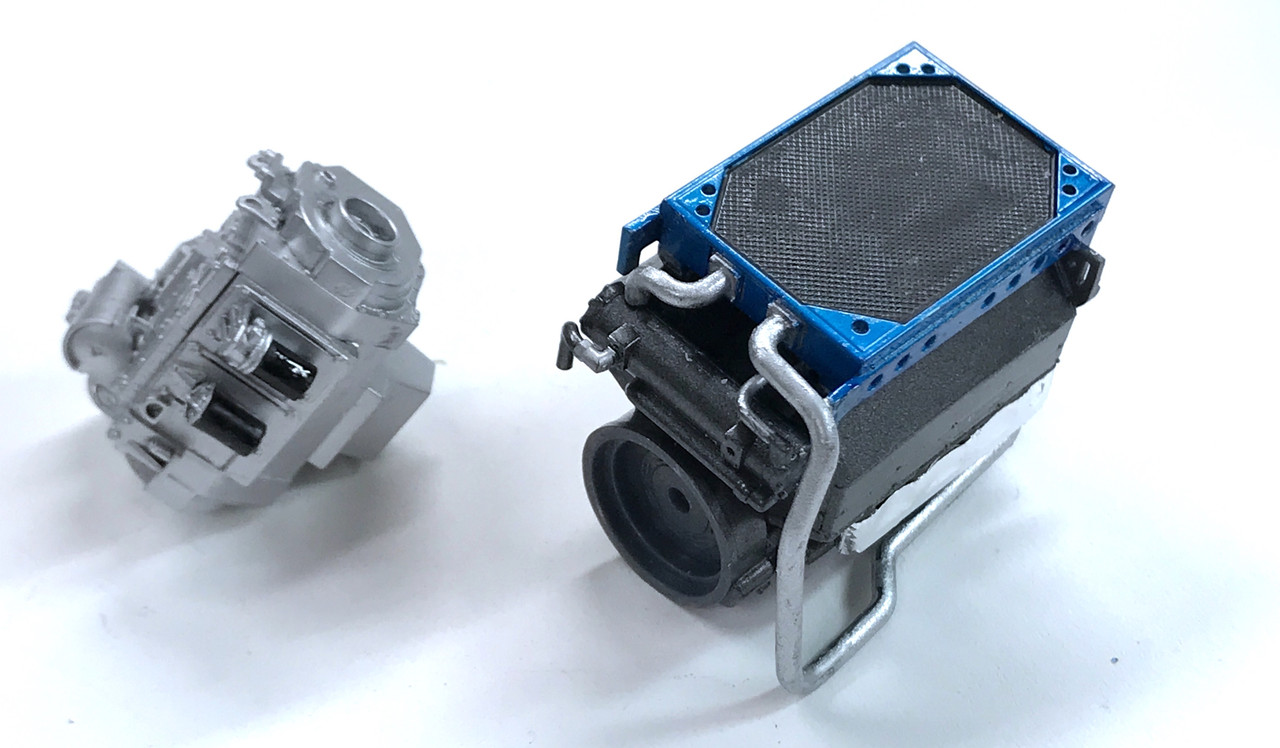
The radiator sits on to of the engine. The intructions call out "Blue" as the radiator frame color. Again, the reference photos were very ambiguous regarding this component, so I took some artistic license. I decided the frame would be blue anodized aluminum. In other words, silver overcoated with Tamiya transparent blue. You do see the end of the radiator from the open engine hatch. The radiator core is flat black and is up against the roof so you'll never see that either other than in my photos.
The silver was Tamiya rattle can silver and the blue was airbrushed.
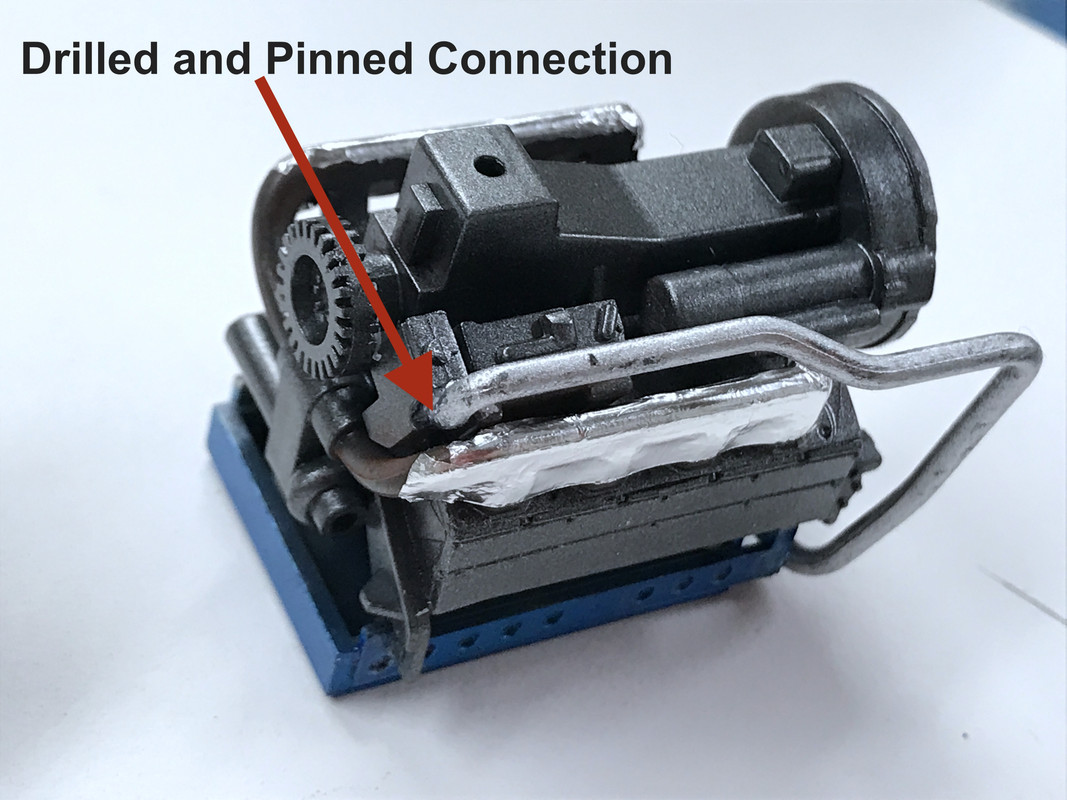
There's another large coolant pipe that runs from a heat exchanger to the water pump inlet on the block's lower side. The pipe has some springiness and made gluing it difficult so I immediately decided to drill 0.032" and pin it with some phos-bronze and medium CA. It won't come loose.
The GM-Allison Hydrodynamic Transmission was a simple glue-all-the-pieces together job which I again rattle canned with the Tamiya Silver.
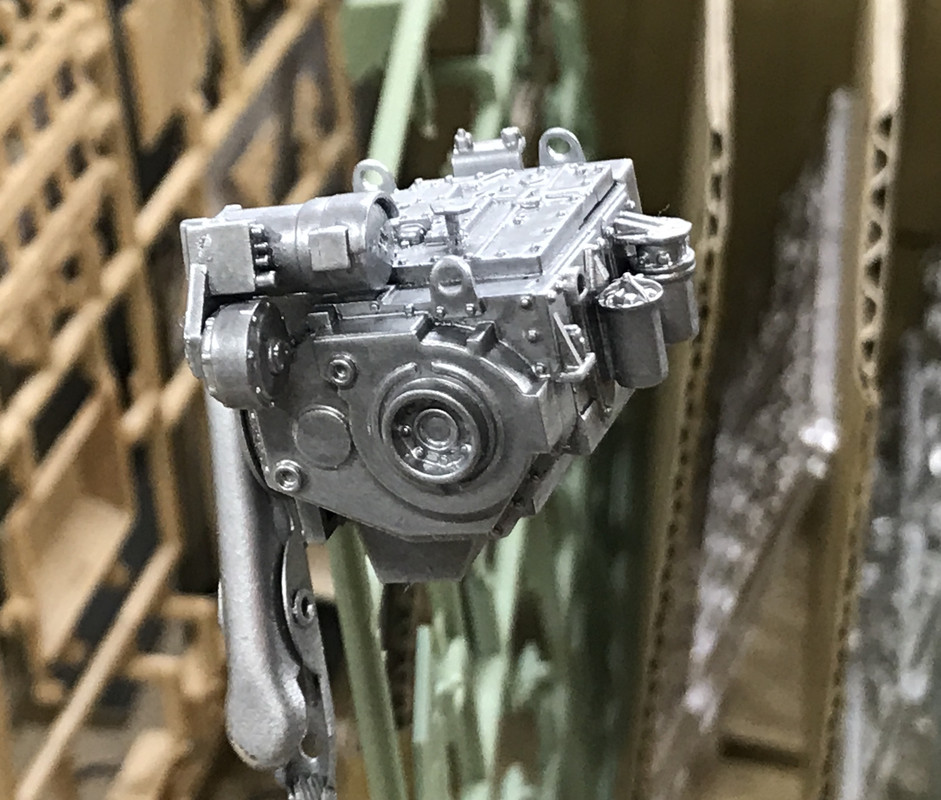
So the power pack is done and ready for install.
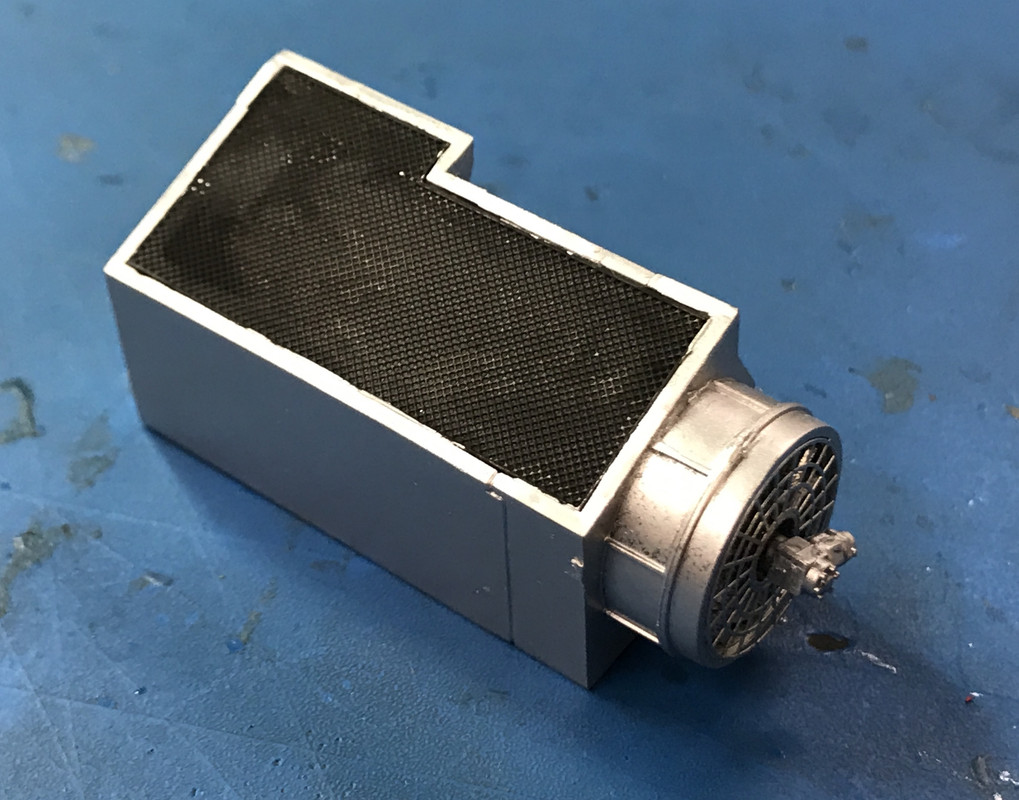
The tank has a huge air cleaner, bigger than the engine. The Bradley is extensively used in desert service and turbo-diesels don't like dirty air. In front of the what-looks-like hydraulic motor driven fan is the first piece of photo-etch on the model.
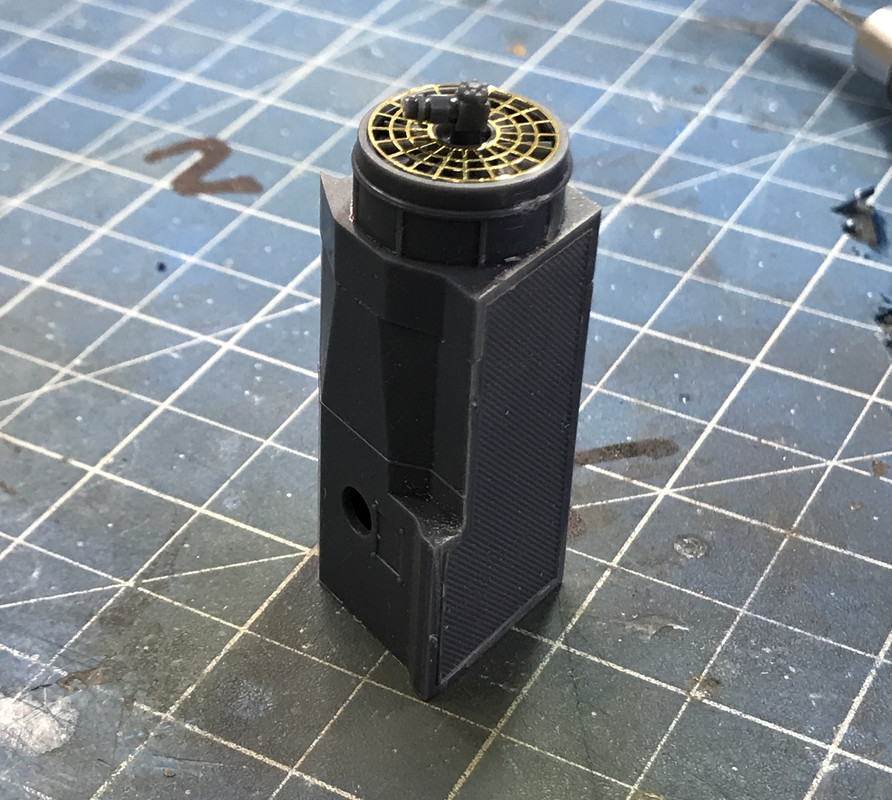
Again, I painted it like I did with the trans. The filter's intake was painted flat black and it too will be invisible to the naked eye.
Today concentrated on the Driver's compartment and installation of the power pack. Since Heavy Arty pointed out that the model was missing the driver's seat adjusting lever I decided to add one. My first attempt got two things wrong: I put it in the wrong spot and made it out of too-heavy stock. So I filled that hole, drill another in correct location and redid the lever with thinner 0.022" stock.
Here was the wrong way,
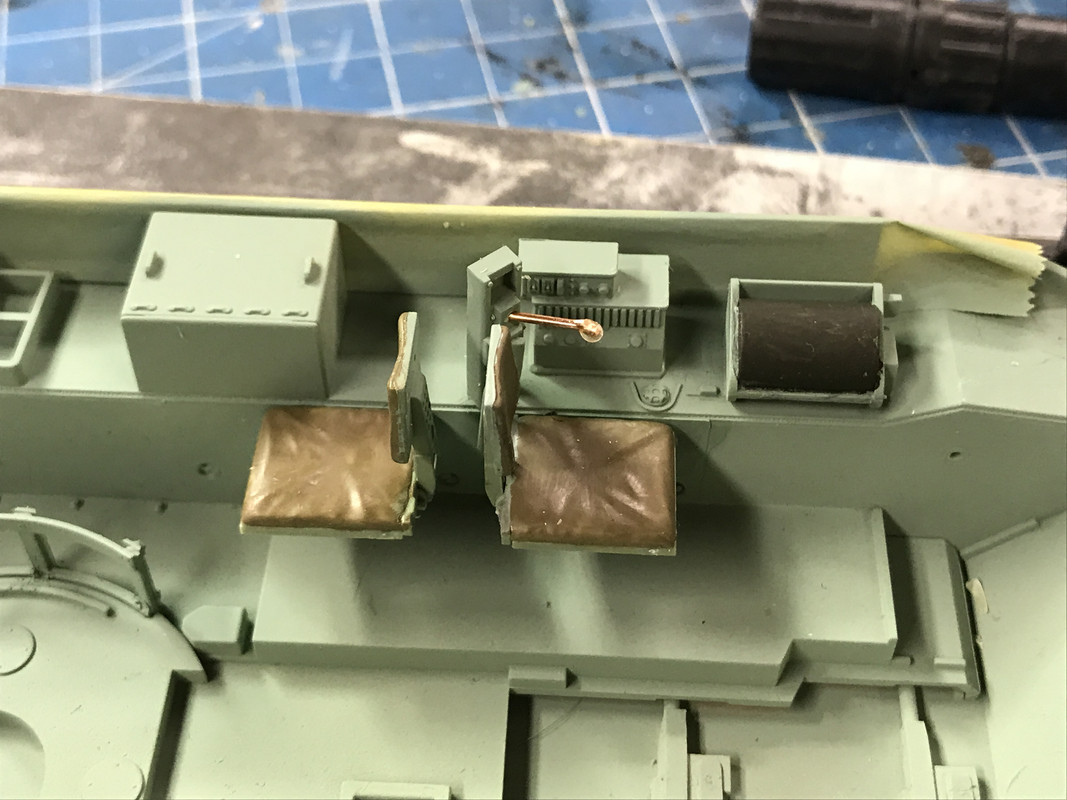
After spending a lot of time to find an image of the real tank that showed this lever, I built the corrected version. I used UV-Cure Bondic to form the handle ball.
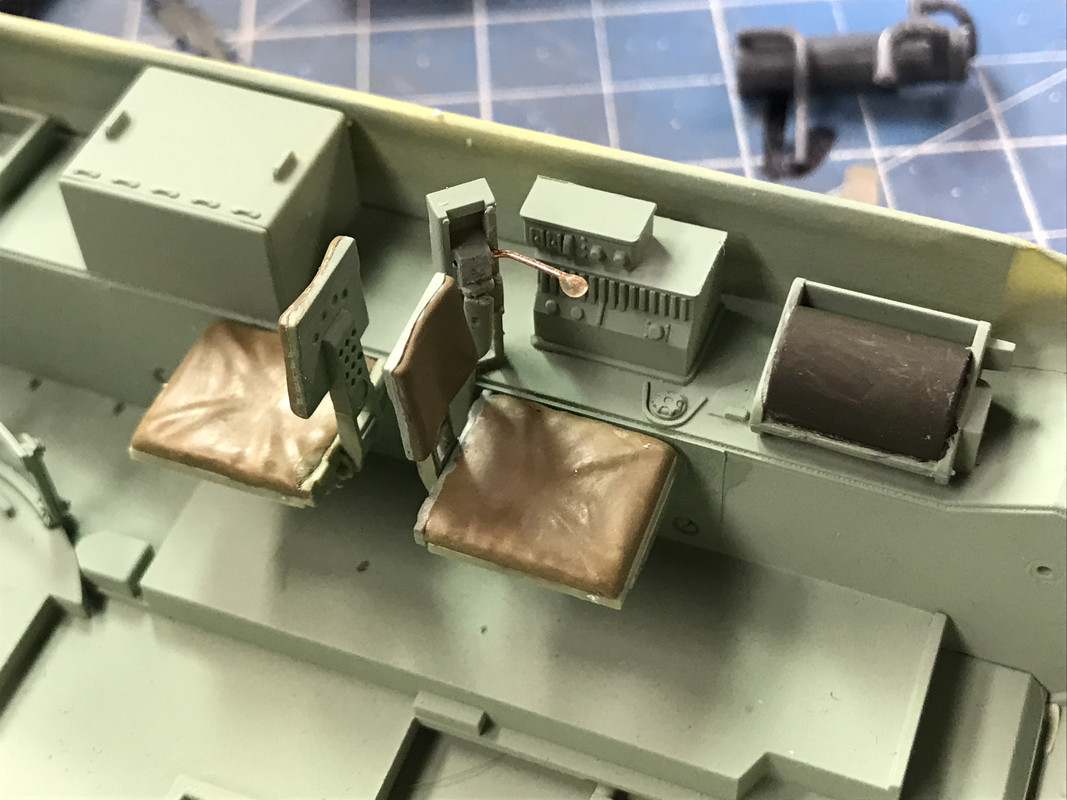
And here it is painted.
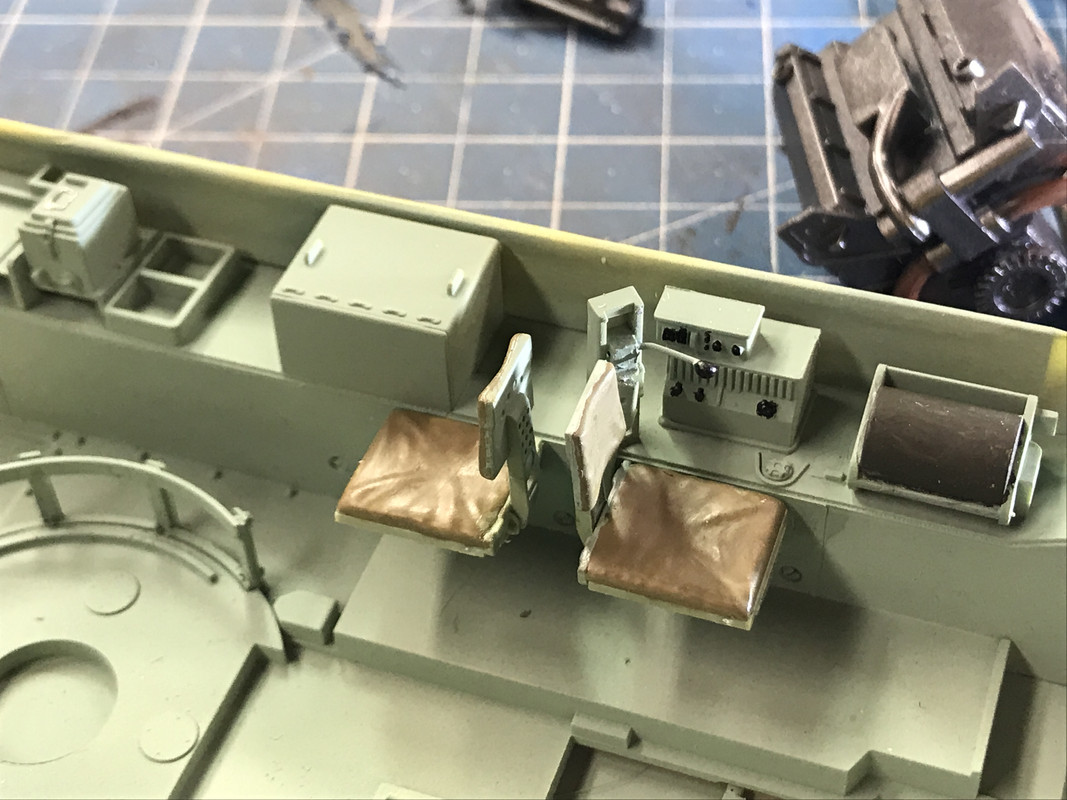
From the same set of Heavy Arty images that showed me the seat lever, I also saw what he did with the shift lever. The kit's impression of same is weak in appearance. It also turns out that it was weak in strength as well. I wasn't going to mess with this detail, until I broke off the kit's lever. So I built it back better. I removed the surface of the shifter plate and fabbed a piece of thin styrene and another phos-bronze lever. This time I used the thicker 0.032" stock which looked okay in this instance.
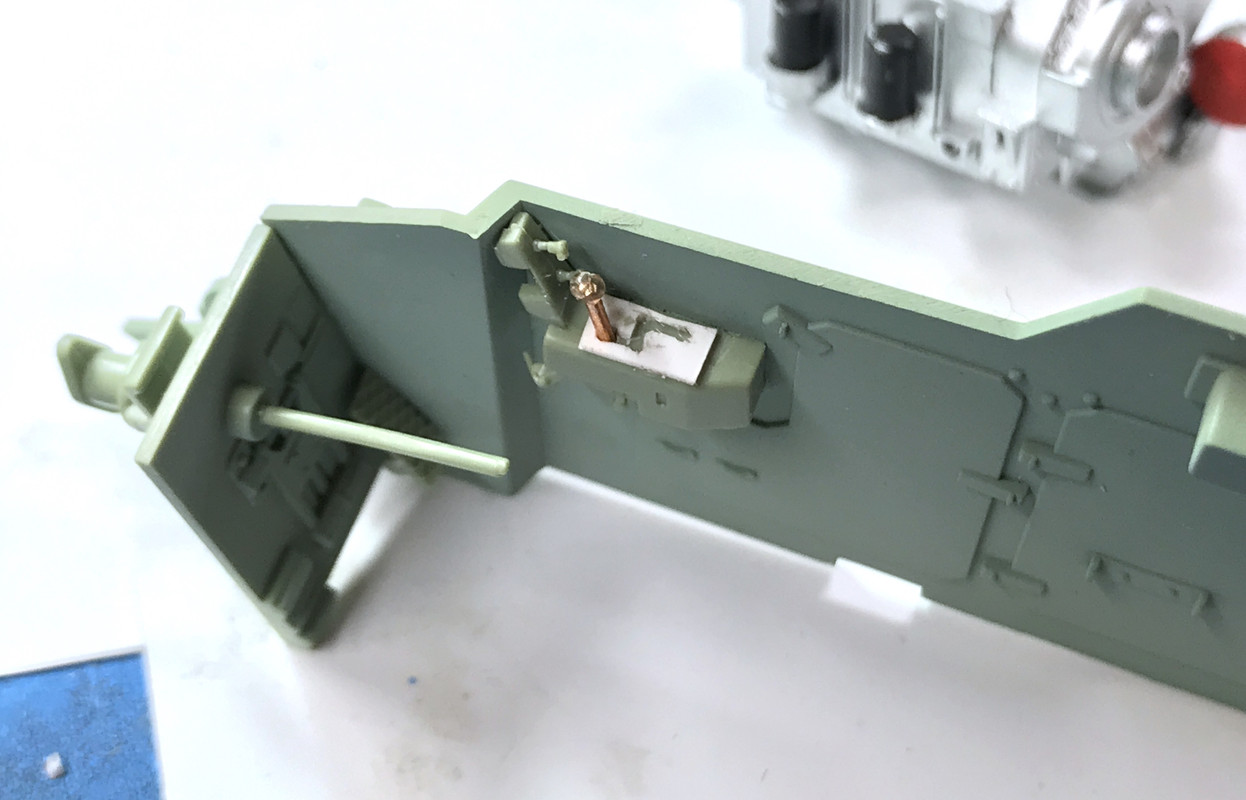
Here's the compartment with the lever painted. I also used some panel accent to dirty up the access panel seams. I painted all the doodads on the control panel, added the steering handles and did some more accenting on the controls on the left side of the panel. This was all after gluing the bulkhead into the vehicle.
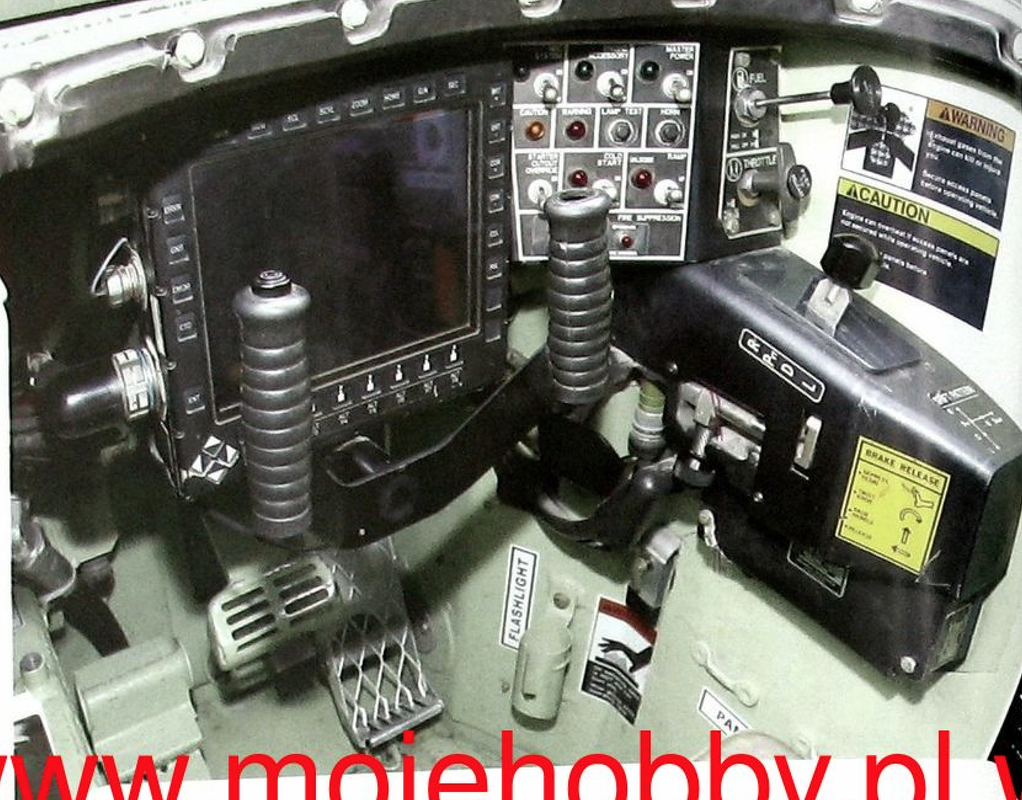
And here's the actual driver's compartment and my lever isn't actually rights. The real lever is stamped out of sheet metal and the knob's not exactly round. The entire wheel is black as is the gear control box. There are decals that need to go on. I may or may not fix this discrepency. Talk me off the ledge... The kit called out many of these details as interior green.
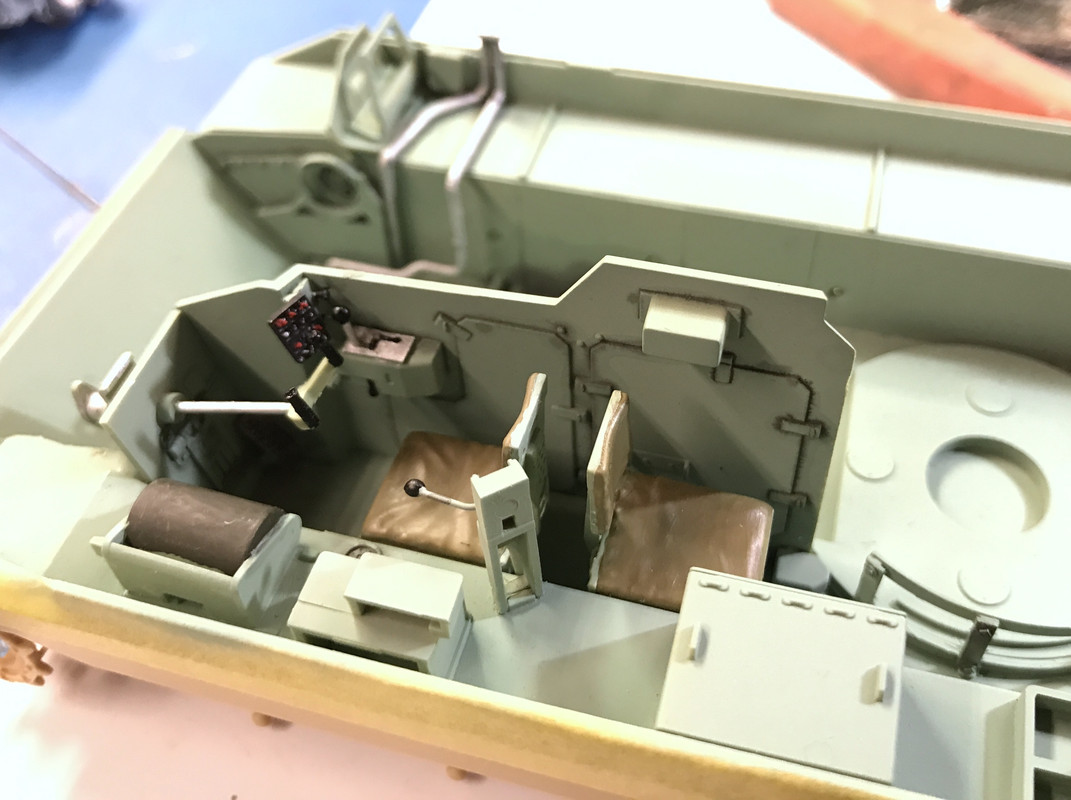
Reverse view,
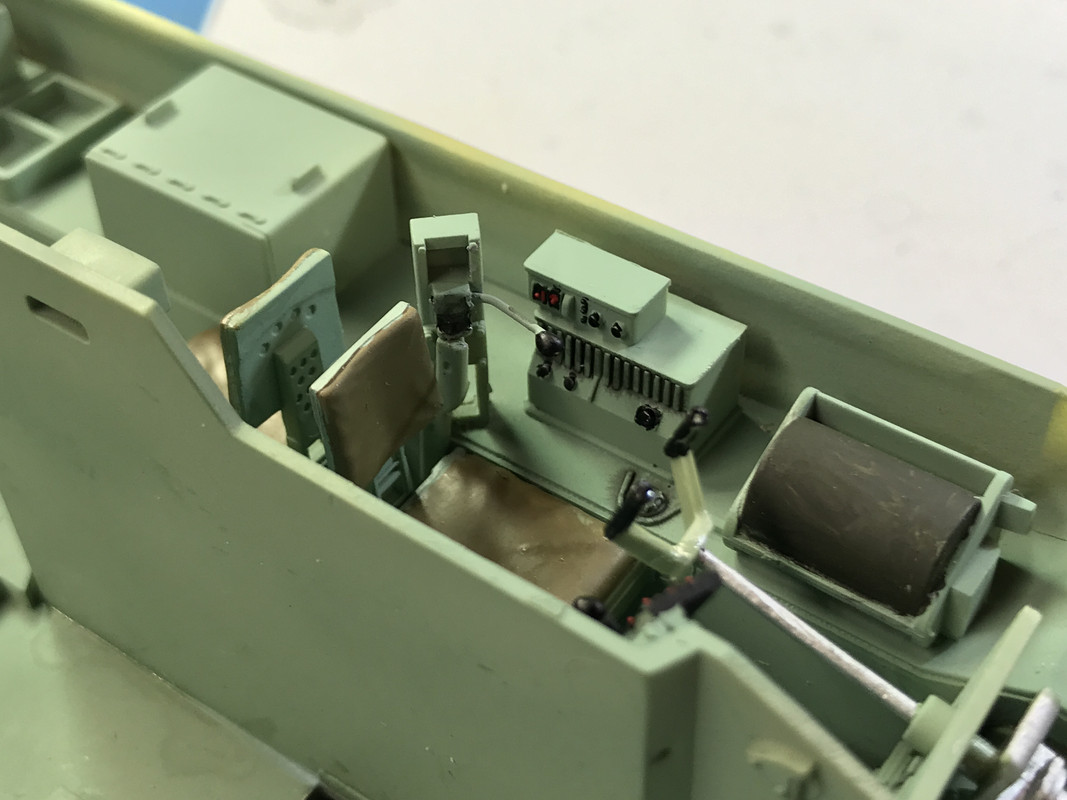
With this critical bulkhead in place it was time to glue in the engine and transmission. The engine glues into single point at the bottom of the oil pan. I'm surprised the kit didn't actually model the motor mounts that a real engine would require. The Rye Field Sherman had very detailed engine mounts.
The front of the engine engages a shaft that comes out of the transmission and this sets the engines fore and aft angle. You really need to glue both engine and trans in at the same time since they do interact. I put a weight on the engine to ensure that it was seated well in the square, fenced-in recess in the floor pan.
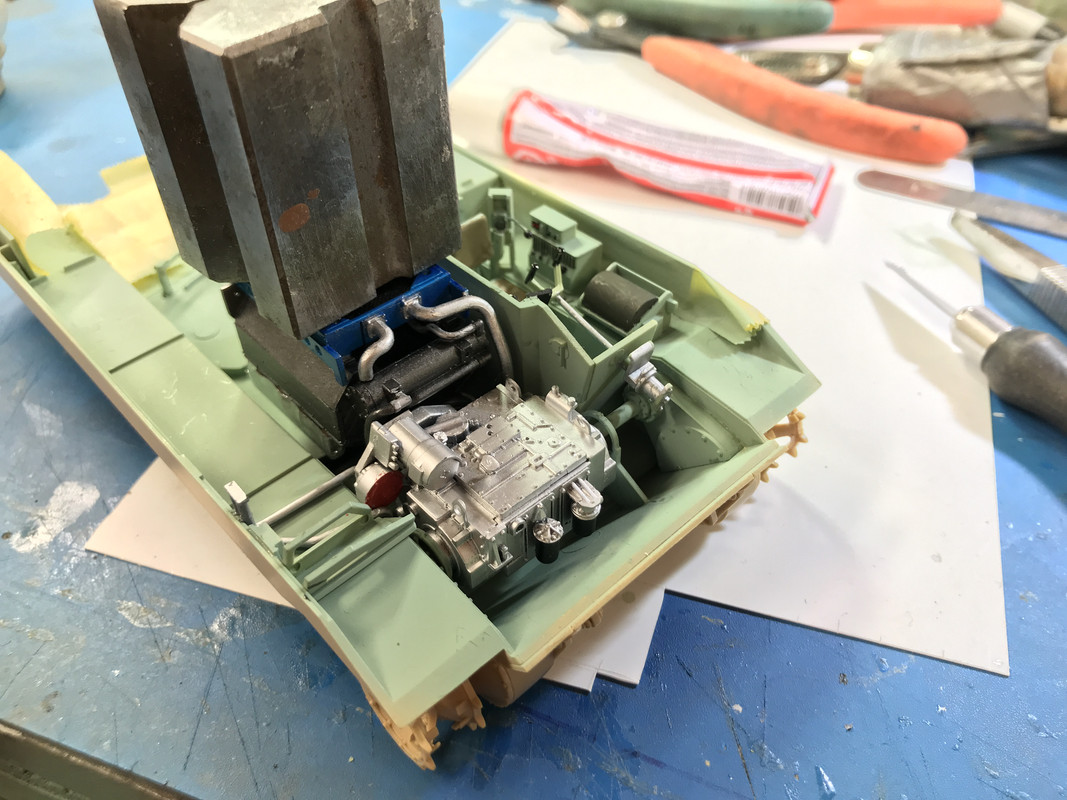
I left the job today with the engine and trans fully installed. The tank can now move under it's own power. It must be a hoot to drive one of these babies. They have lots of horsepower (600+), automatic transmission and a 'normal' acting steering wheel instead of pulling levers.
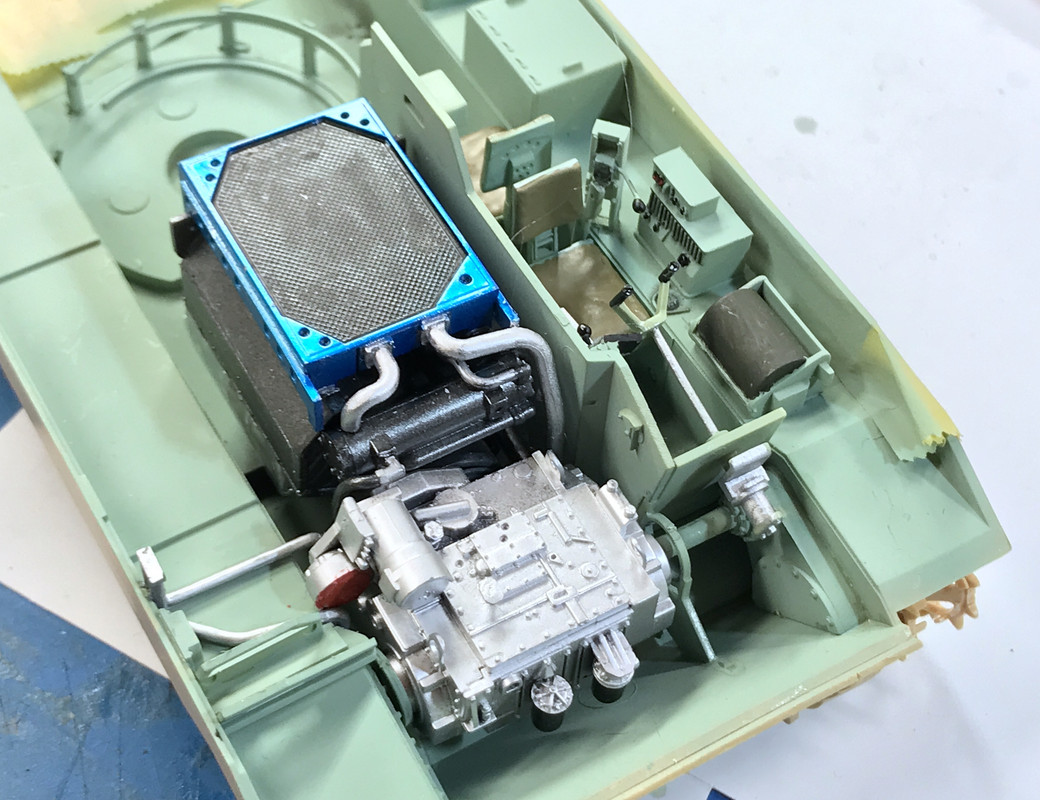
Oil filters are easy to change... There are some more links that get attached to the trans from the steering mechanism.
Have a great weekend!