SEARCH FINESCALE.COM

Enter keywords or a search phrase below:

My KW done!!!!

1156 views
9 replies
1 rating 2 rating 3 rating 4 rating 5 rating
  • Member since
    February 2005
  • From: springfield
My KW done!!!!
Posted by prowannab on Sunday, December 14, 2008 8:03 AM

I started with the project about a week ago matbe longer, can't really remenber. I have the first installment of progress pics. I started out with this by strecthing the frame 1" , then I strecthed the cab by 1.5". I also added the front drive axle which is actually a pusher axle not a powered axle. Then I added some chrome and what not to the little goodies under the cab. I also added a chrome catwalk behind the cab on the framae rails. Then I just finished one of the wheel fenders. As for now that's all I have.


Thanks for looking, and havae a good one.

Patriae Fidus (FAITHFUL TO MY COUNTRY)
  • Member since
    January 2007
Posted by the doog on Sunday, December 14, 2008 9:20 AM
Very cool! Is that a paint job already, or is the kit molded in two different colors of plastic?
  • Member since
    February 2005
  • From: springfield
Posted by prowannab on Sunday, December 14, 2008 10:50 AM

Thanks Doog, That is the paint job, I tried to do a marble look on the white. It didn't turn out that well, but I already had to strip the paint off the cab once ( due to the cold,or bad paint)so it's staying. Here is a closer pic.

Patriae Fidus (FAITHFUL TO MY COUNTRY)
  • Member since
    January 2005
  • From: Portland, Oregon
Posted by fantacmet on Sunday, December 21, 2008 3:00 AM

Two good ways to get a marble type effect.

 One on the wet paint crumple up, and stick some saran wrap to it.  This is used on fullscale lowriders, before it's oversprayed with a candy color.

Aother great way which lends more of a tiedie or psychadelic effect is after you have your base color sprayed, spray a couple of different colors on top of a container full of water.  Swirl the paint around a little bit, while it's sitting on top of the water.  Then dip the model in, and pull it out.  Presto a cool and different effect.


  • Member since
    January 2008
  • From: Woodbine, MD
Posted by 666Irish on Monday, December 22, 2008 6:32 AM
 prowannab wrote:

Thanks Doog, That is the paint job, I tried to do a marble look on the white. It didn't turn out that well, but I already had to strip the paint off the cab once ( due to the cold,or bad paint)so it's staying. Here is a closer pic.


I don't have any photograph, and the model is long gone, but a method I used to great effect was a sponge.

Start with exactly what you have (it will look great underneath!) and mask it off. Mix a 10:1 ratio of white and tan. dip your sponge in it and blot it on some scrap. Now use the sponge to dab the paint over the base. Make sure that you turn the sponge after every dab, so that there is no uniformity to the paint that you are putting down. Repeat til you get the desired effect.

After that you can add the dark lines that you find in marble with a fine tip brush, and a mix of 50:50 Panzer gray and tan.


Practice on some scrap til you get the hang of it.

She was only a whiskey maker, but he loved her still.

  • Member since
    February 2005
  • From: springfield
Posted by prowannab on Monday, December 22, 2008 5:03 PM
Thanks yall for the advice, I'll have to try that in the future. I did try the saran wrap, but the thing I didn't pay attention to, was the paint was the kind that dries in fifteen minutes or less so I really didn't have that much work time. I think that on the rest of the sruff i need to do that to on this project I'll get some regular dry time paint.
Patriae Fidus (FAITHFUL TO MY COUNTRY)
  • Member since
    February 2005
  • From: springfield
Posted by prowannab on Saturday, January 10, 2009 4:50 PM

Well, this is were i'm at right now with the truck,not actually I do have some more work done than what's in the pics, my daughter took the camera with her to her mothers house last week and couldn't uplaod anything, so here is what I had done up to tuesday last week.

Patriae Fidus (FAITHFUL TO MY COUNTRY)
  • Member since
    August 2003
  • From: Camp Leatherneck, Afghanistan
Posted by bilbirk on Wednesday, January 14, 2009 8:01 AM
Now all you need is some CB antennas and some airlines on  the back and you are ready for the road.Cowboy [C):-)]
  • Member since
    February 2005
  • From: springfield
Posted by prowannab on Wednesday, January 28, 2009 4:00 PM

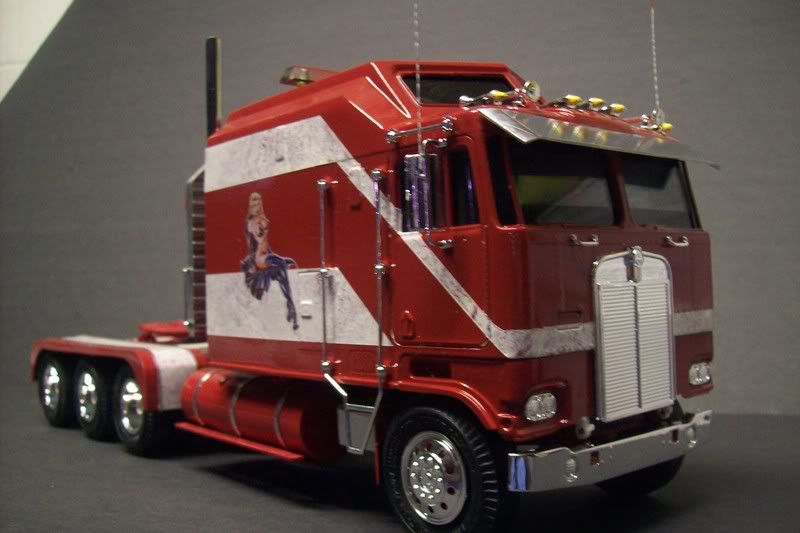
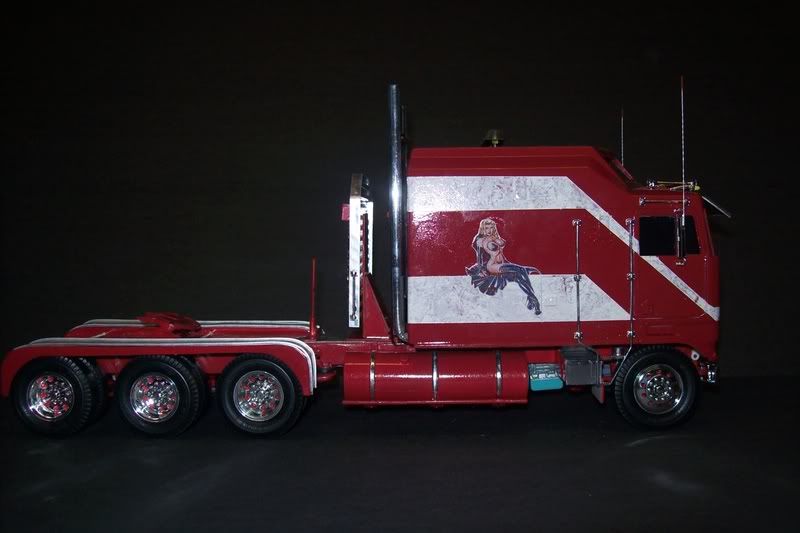
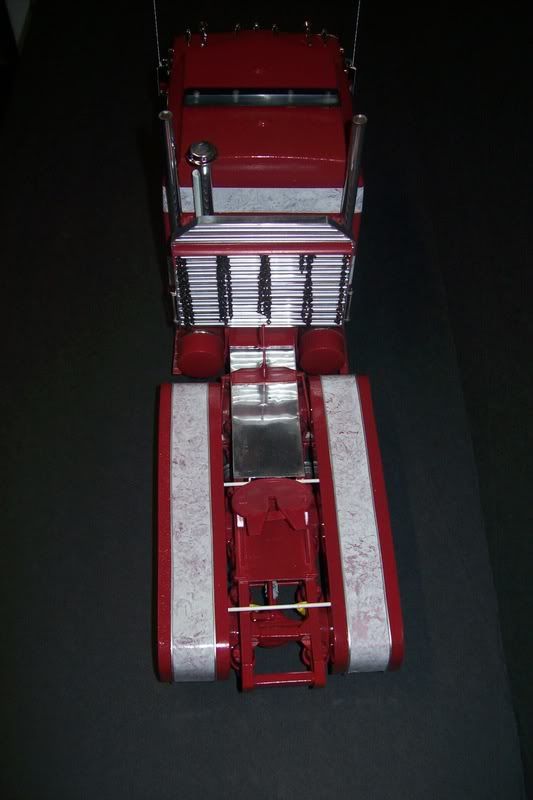
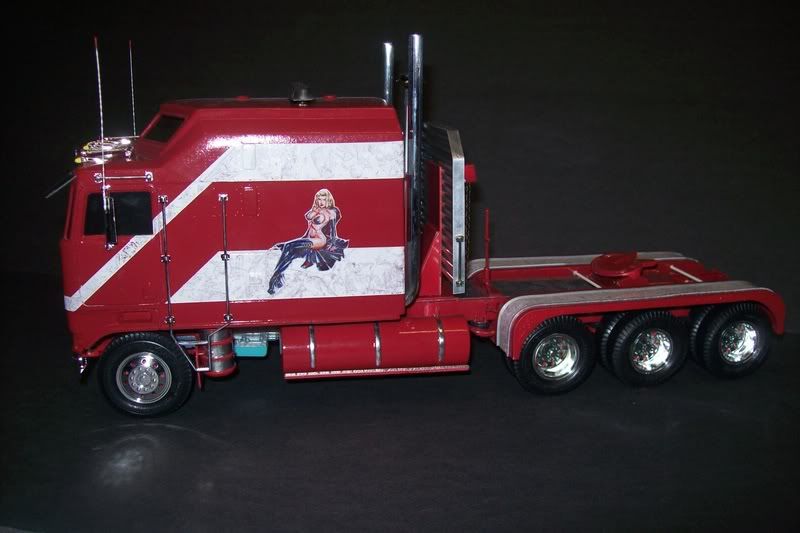
Well, this one is pretty close to being done, just a few loose ends to tie up and I can put this one to bed. It has been a pretty nice build all together, except for the crap paint that I decided to use. DON'T GO WITH DUPLICOLOR PAINT, IT SUCKS!!!!!! In my opion! But everything else went along pretty good. This is the first time I'm going to do this , but I've compiled an extra work list, it is as follows.

1-stretched the cab 1.5"

2-stretched the frame by 1"

3-added a forward axle and all neccessary equipment

4-stretched fuel tanks by 75%

5-scratch built chain rack

6-scratch built light bar

7-added door windows

8-added antenna wips

9- scratch built windsheild visor

10-addded chrome catwalk

11- made chrome drive shaft

12- made custom exhaust pipes

13- made custom air intake pipe

14- scratch built drive axle fenders

15- added extra chrome to various positions

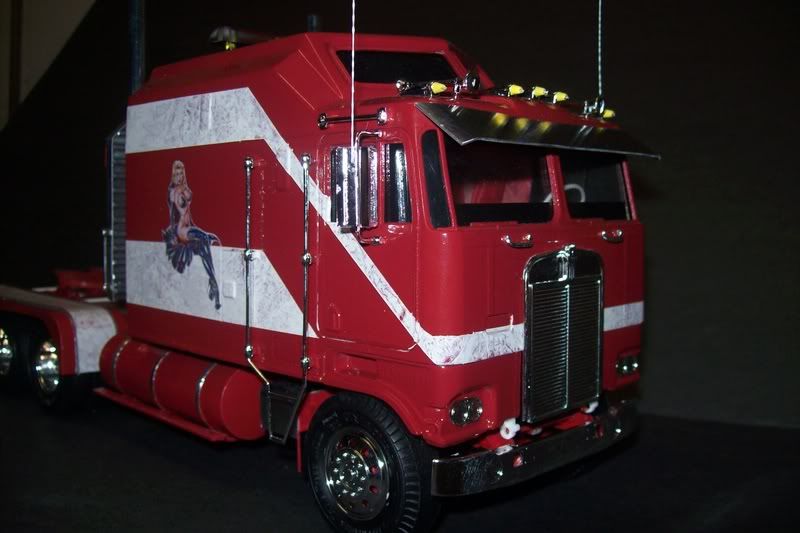
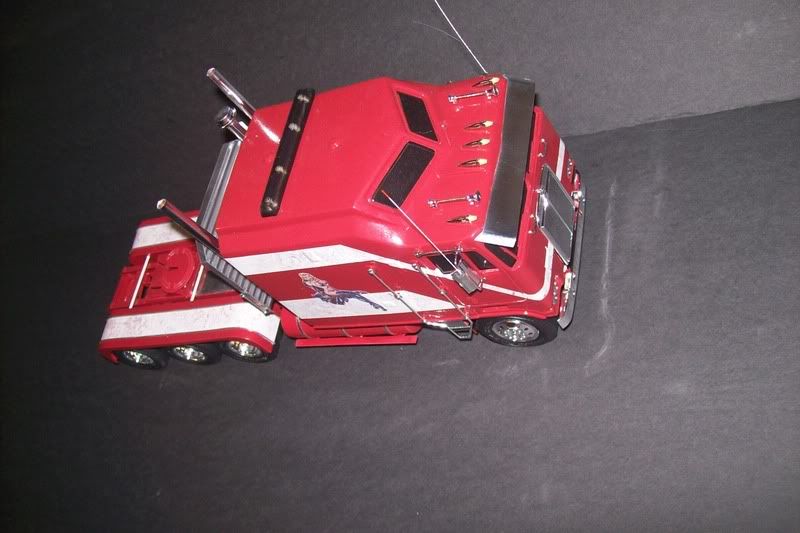
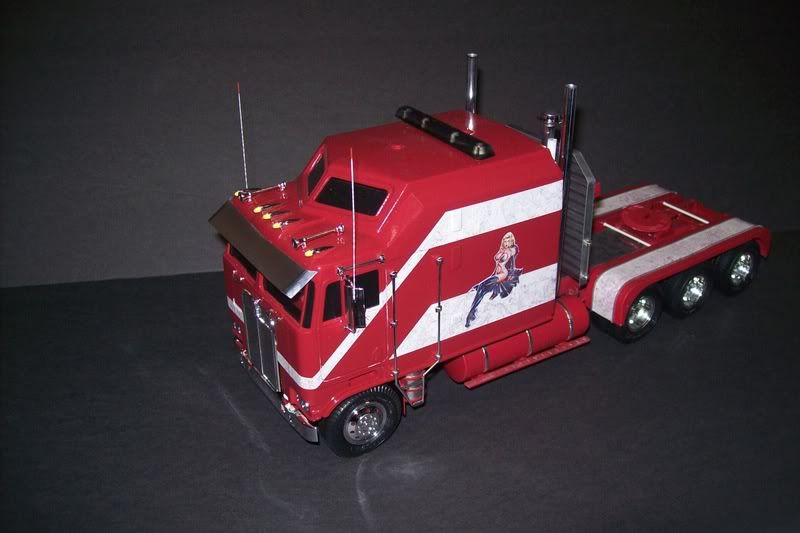
and finally here are the pics, please feel free to tell me what you think, good,bad or indifferentand thanks for looking.

Patriae Fidus (FAITHFUL TO MY COUNTRY)
  • Member since
    June 2008
  • From: Amarillo Texas
Posted by Mckay on Thursday, January 29, 2009 9:34 AM

Great looking model you have built and all the extras you did to it really adds to it. I am no expert on truck models but I like it.

MckayCowboy [C):-)]

JOIN OUR COMMUNITY!

Our community is FREE to join. To participate you must either login or register for an account.

SEARCH FORUMS
FREE NEWSLETTER
By signing up you may also receive reader surveys and occasional special offers. We do not sell, rent or trade our email lists. View our Privacy Policy.