 Well I'm really kinda out of my depth over here. Now the story goes like this. I was working on a couple of armour pieces and involved in a GB happily pottering along, now I'm burnt out. I don't know when I will get back to armour.
A couple of months back I seen this subject in a magazine but it was the Hiro Boy kit or some other resin kit that usually cost a living fortune. I love weathering and when I was in the local model shop getting paint for my tank I seen theh box art of this Airfix kit and said "COOL" I asked the guy could I see the kit parts as I do remember the old Airfix kits in 1/32 and that quality was not what I was after.
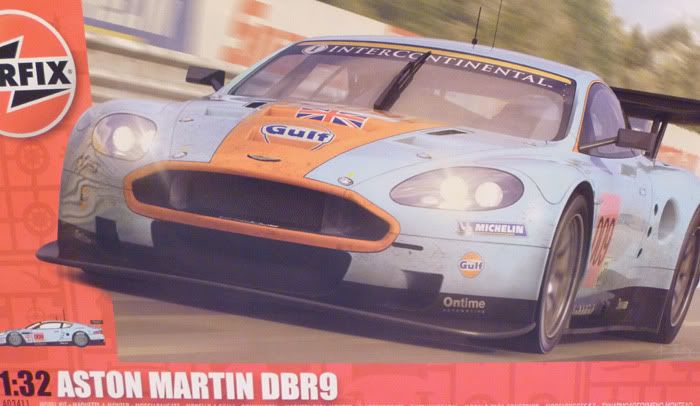
The box art is super cool, well I think so.
I was out with a friend having a few beers and mentioned that I had committed a mortal sin and purchased a car kit. When I told him which one he reckoned that the kit may have tooling in common with scalextric slot cars as Airfix and Scalextric are both owned by Hornby. Well theh main body of the kit is superb with the minimum of clean up.
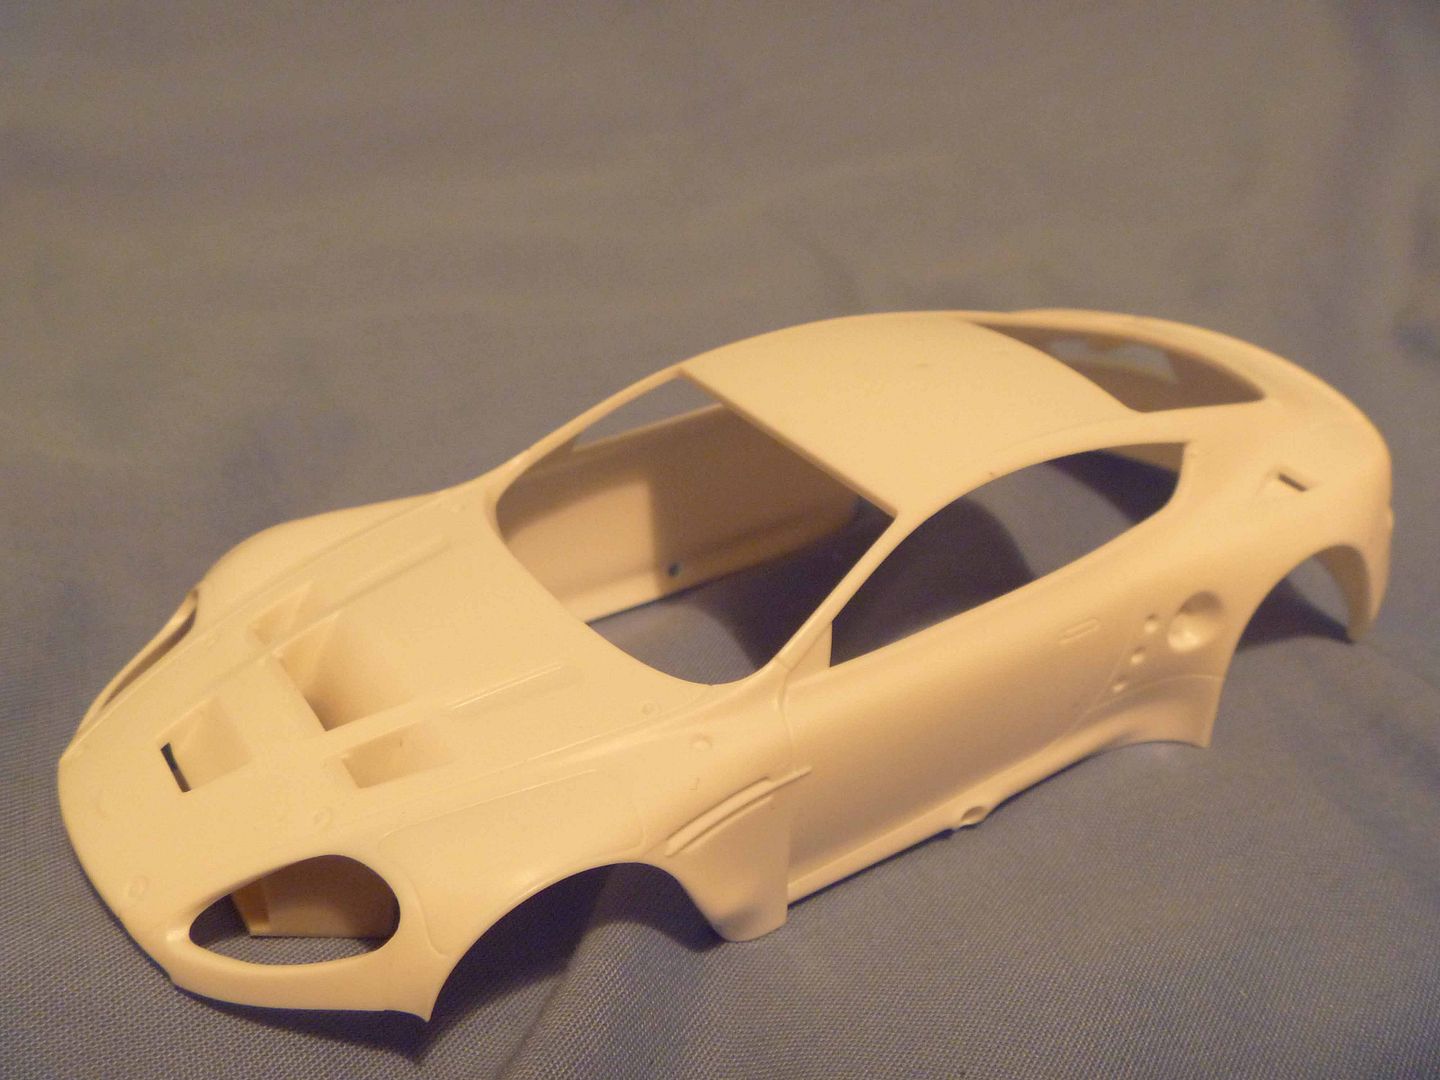
The kit overall only has 3 sprues including glazing in total and the body separate.
The kit built up easily over an evening.
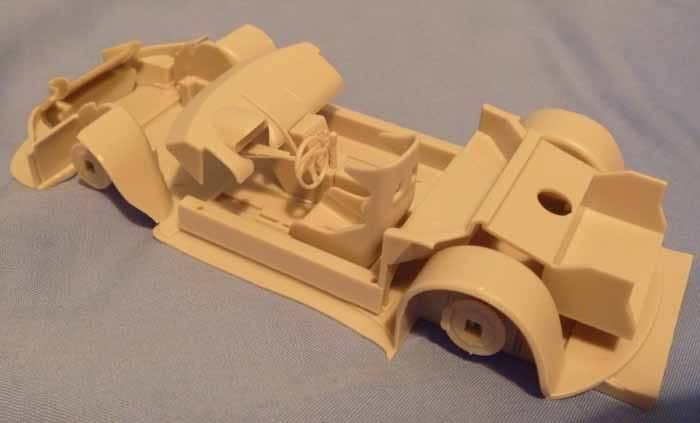
The lower chassis went together easily enough, and detail is not too bad.
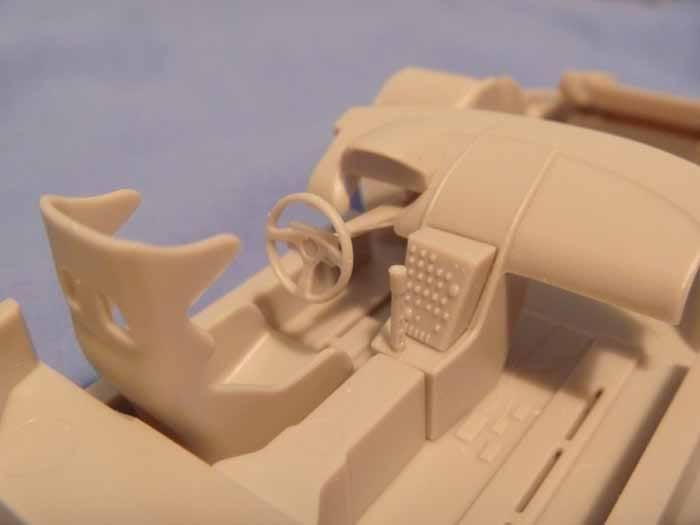
The Roll cage builds up from 4 parts and looks O.K.
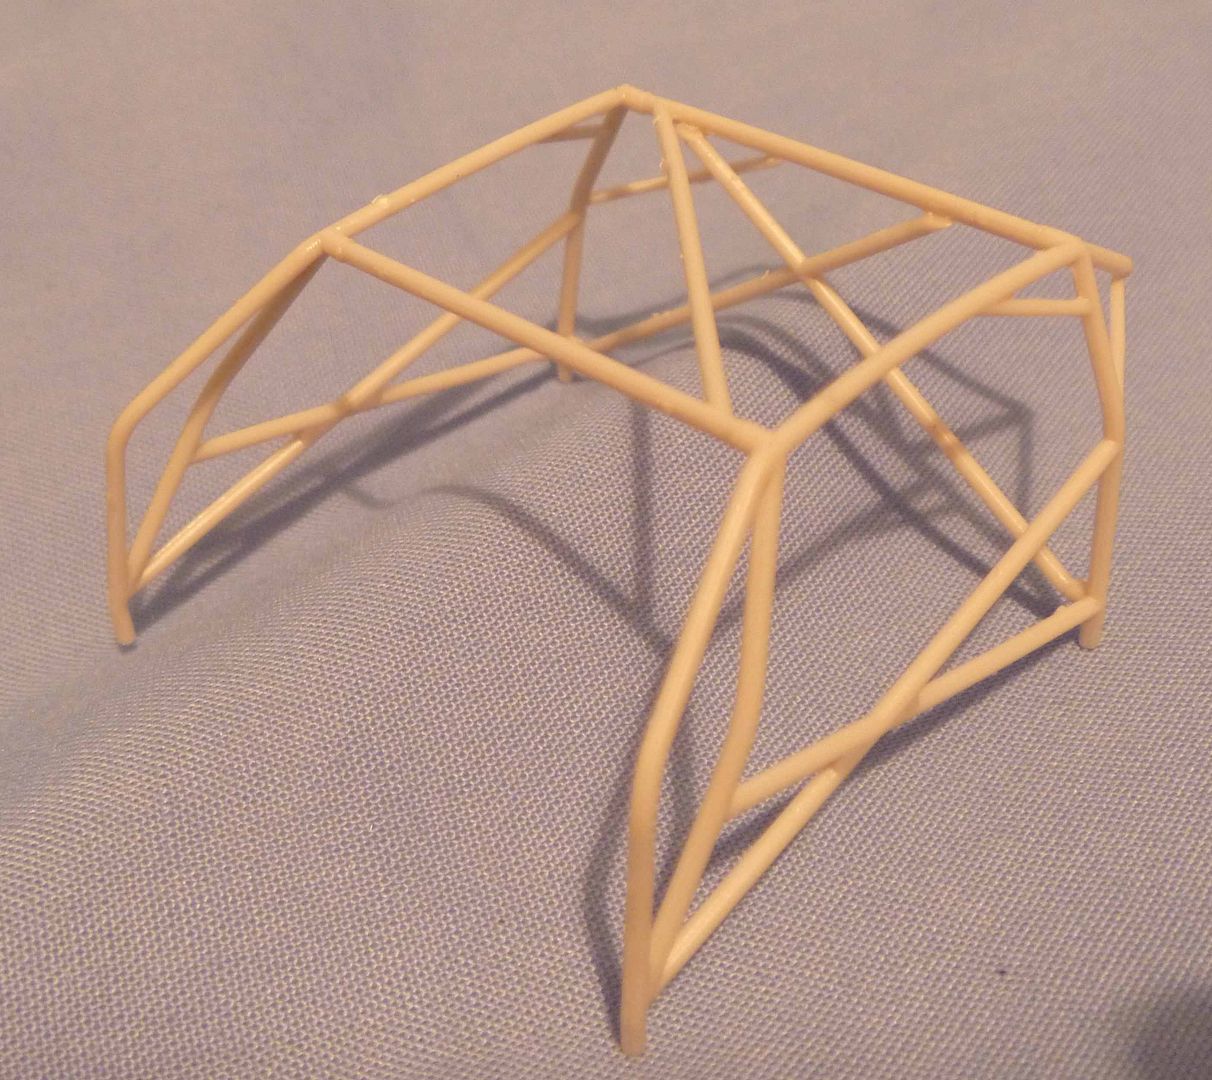
This is just clipped together here it will all be broken down for painting.
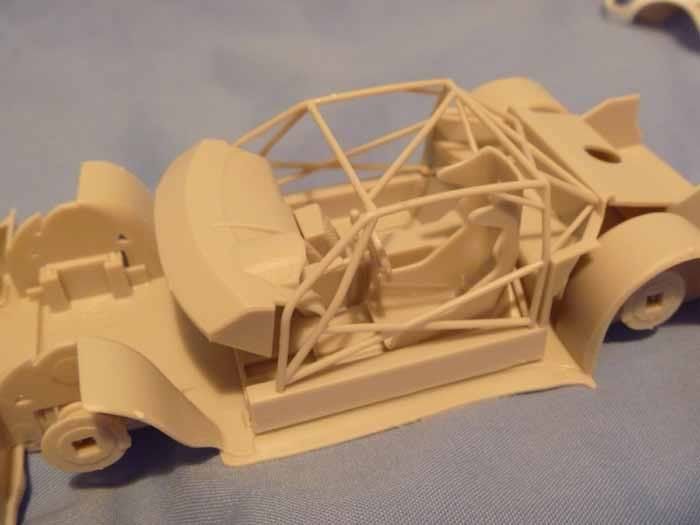
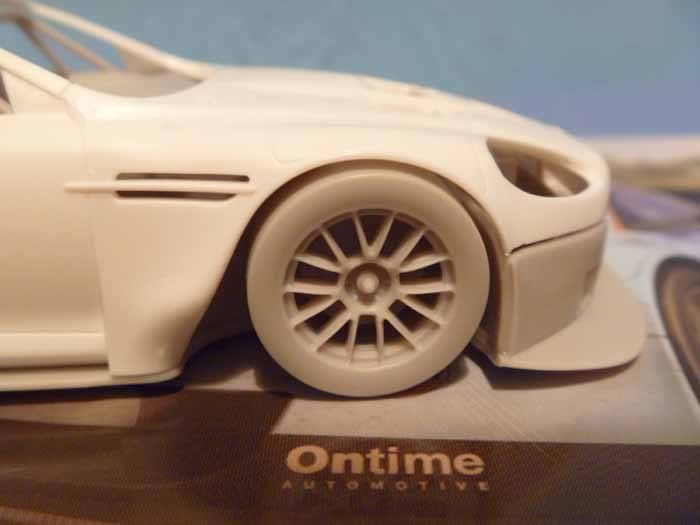
The wheels are made up from an outer single piece and theh inner is fitted with a backing piece for the tires.
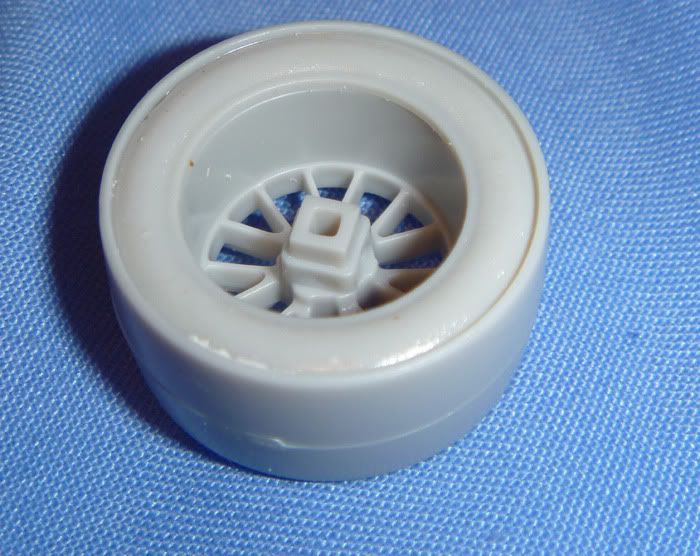
The rim left from the bad fit is easily removed and its on the back so its not a problem.
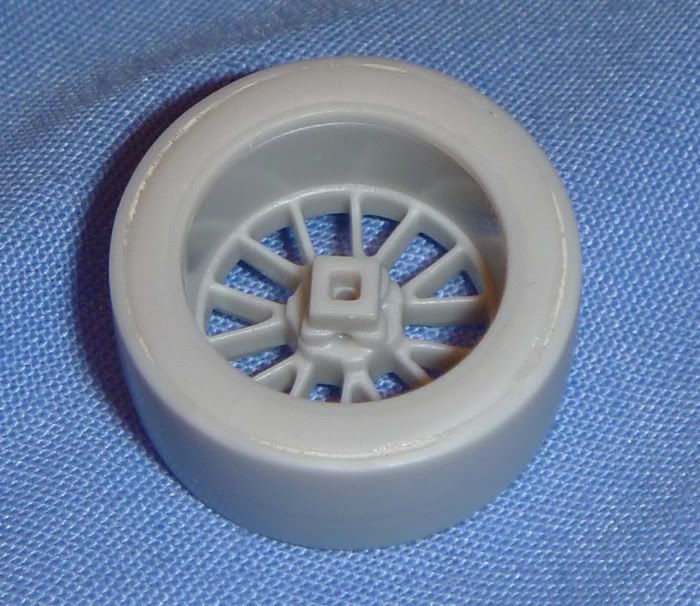
These are just shots of the test fitting.
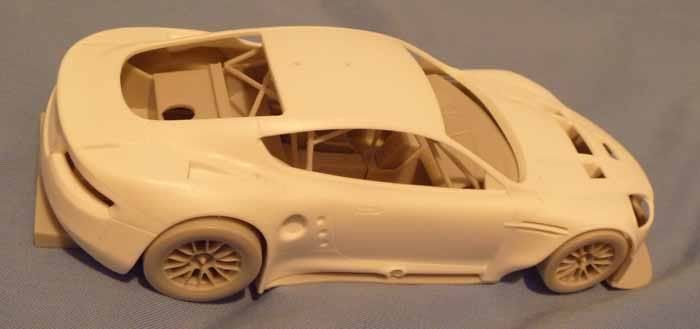
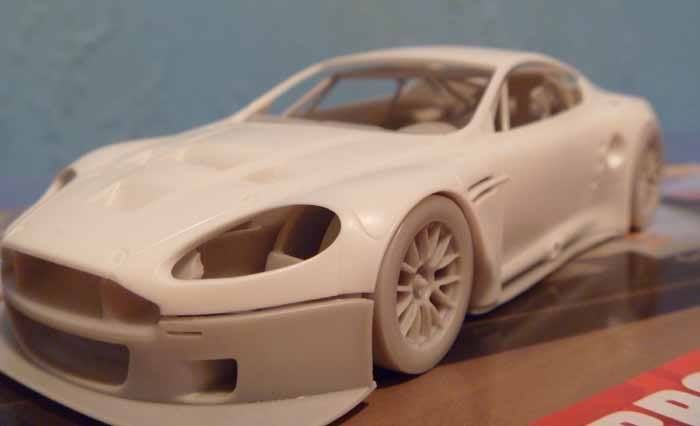
I painted the body with a Revell paint through the airbrush and followed with a gloss coat. The decals are workable but I did use copious amounts of micro sol to get them to sit down. After the Decalling I sprayed another gloss coat as this car would be displayed after finishing 24 hours of Le Mans where it was photographed in a scruffy and sorry but victorious state.
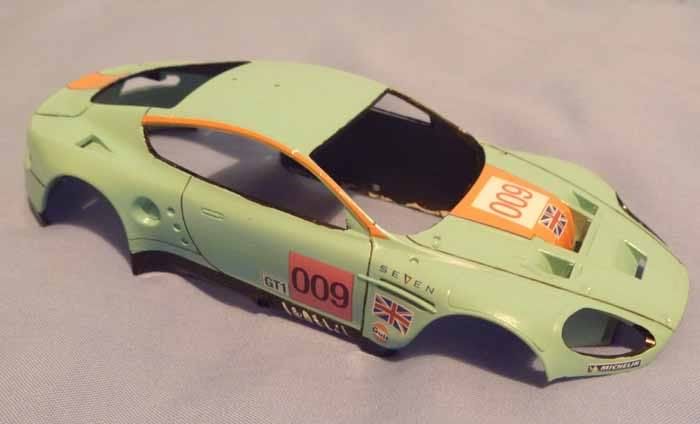
This is just another mock up prior to weathering.

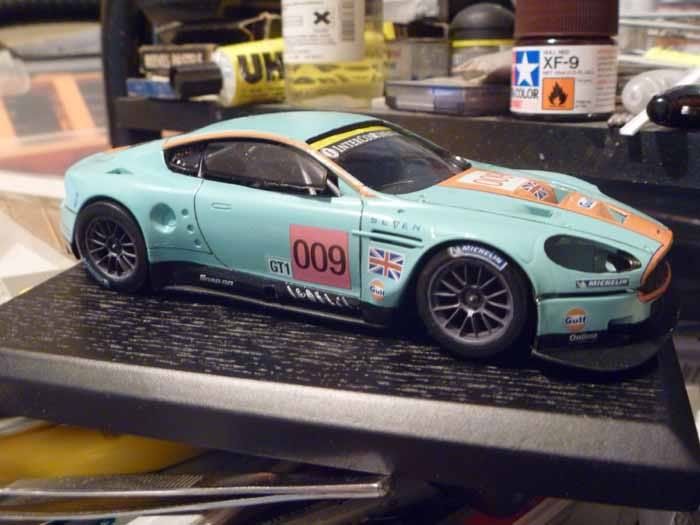
The first coat of weathering was achieved with a very dilute Vallejo black mixed with a dust/buff colour.
As the paint dried a pencil eraser was used to remove the paint in parts to show the very distinctive patterns of clean paint from handling etc.
The tissue in the cockpit is just to stop overspray into the inside.
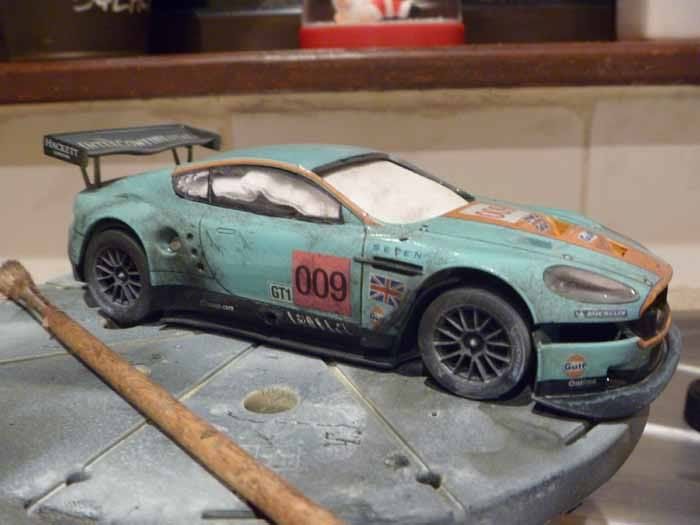
Dirty little Aston Martin.......
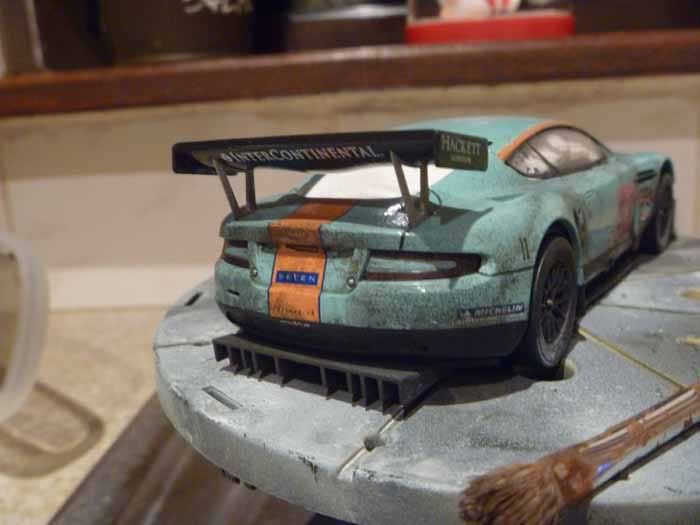
Thanks for dropping into look at my first car kit in about fourteen years. In the next post I will just run through the finished car.
All comments welcome.
Forgot to mention the kit cost €12.99
Terry.