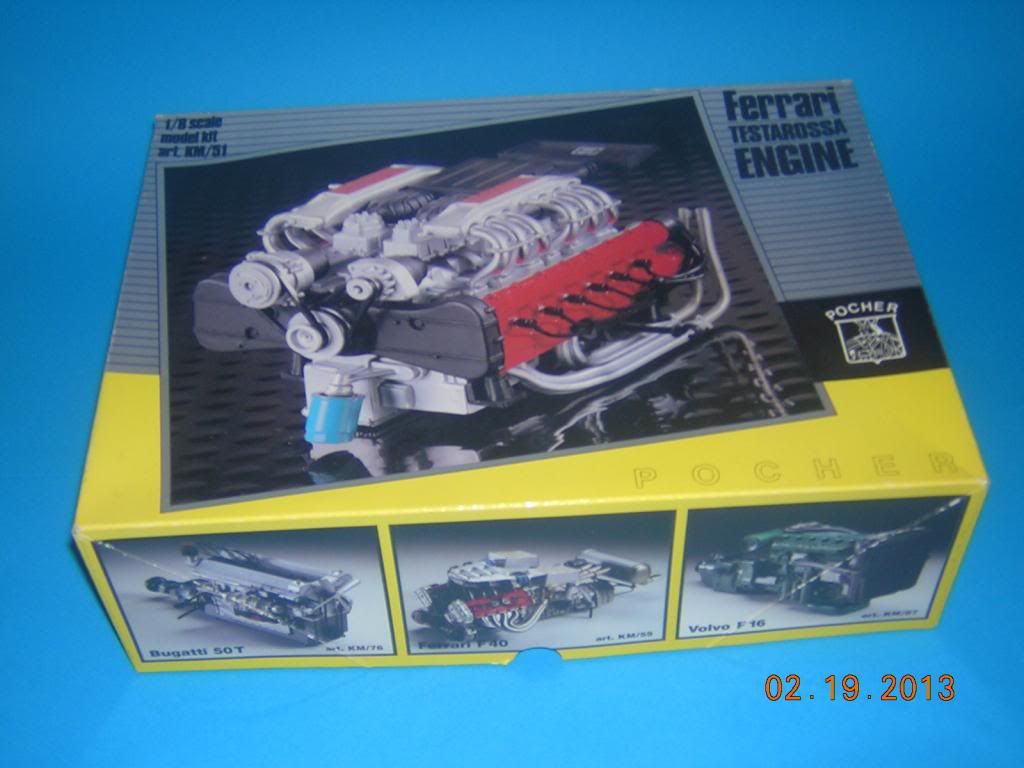
OK, I've started work on this project and will post what pics I have. I went through the instructions, what there was of them, and removed the parts from the trees that I would need, and left the rest of them on the trees. You can see just how many parts were not going to be used. All the parts were washed and dried as usual. I thought that I would need the engine block when I started to put the frame together to locate just where the engine mounts would go, so I put the two halves of the block together and filled the seams where they would be seen. Some of the seams would be hidden by other parts so they were not filled. As per the instructions, I then tried to assemble the transaxle. It was supposed to be mounted to the block with three screws. Well, the holes didn't match up, so I did a little filing and sanding and finally got them to match up and fit in place. I think I'll put some of the pics in now to catch up. Pic #1 is the kit.
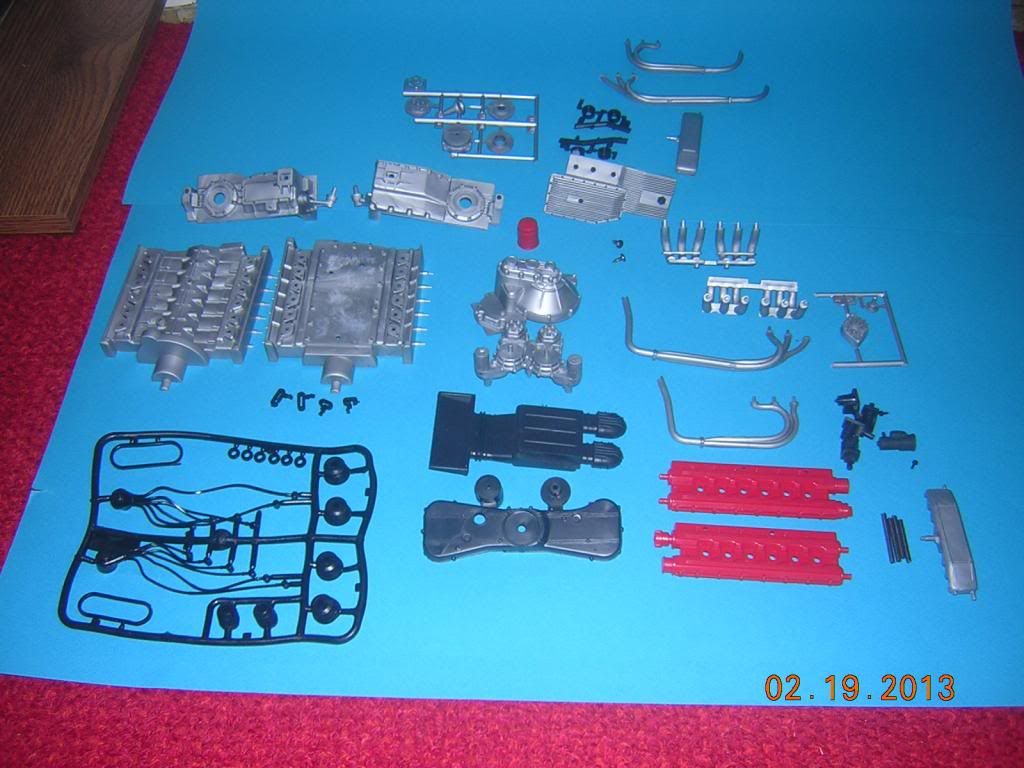
Pic #2 shows the parts needed to build the engine.
Pic #3 shows all the parts that were not needed.

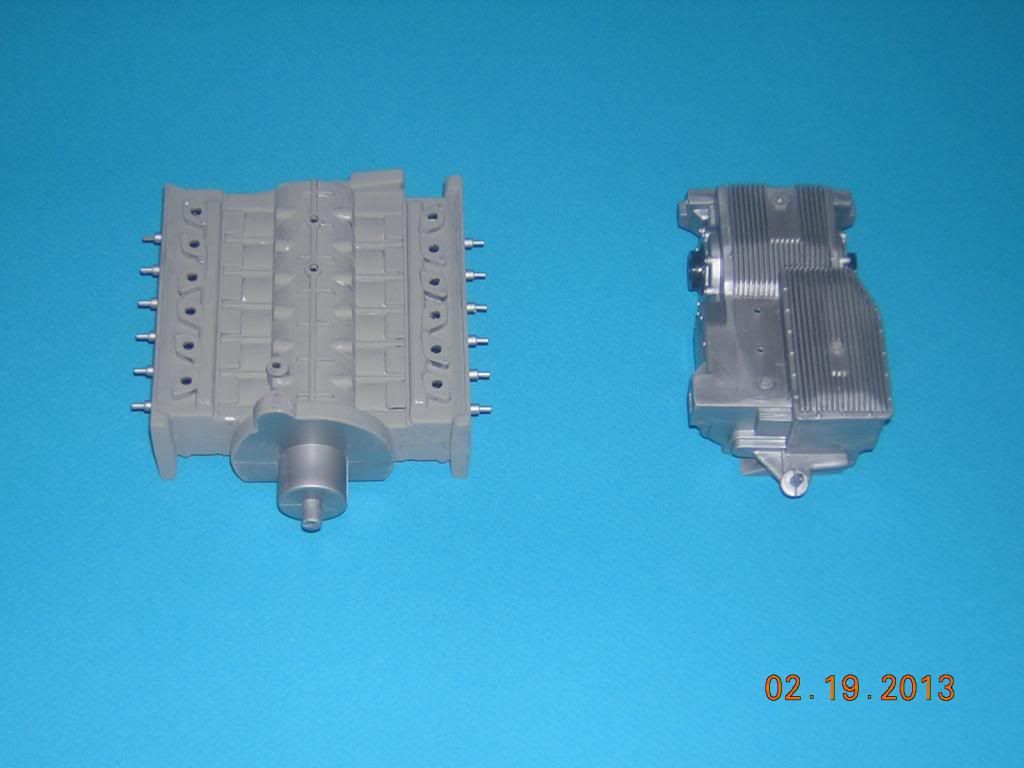
Pic #4 shows the engine block and the transaxle housing. The block and the transaxle housing were primered and I shot a quick coat of MM Chrome Silver FS17178 just to see what it would look like.
Pic #5 shows the block, transaxle and flywheel cover primered and painted with a craft acrylic "Metallic Gunmetal Gray". I had used this color for another project and thought it would make a good block color for a street rod.
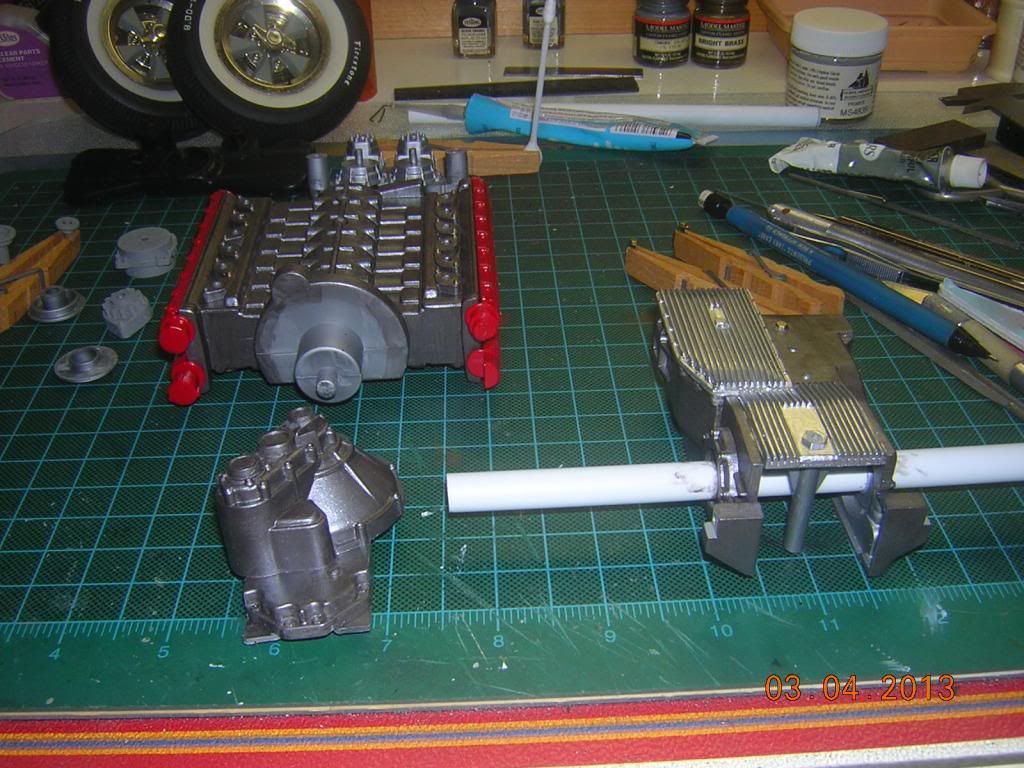
Pic #6 shows the belt driven parts with primer. The bowtie shaped part is the front cover. The two attached parts are (I believe) the alternator and the A/C compressor. I'm not a mechanic so I may be wrong. If so, please correct me. Both parts had a lot of flash that had to be removed.
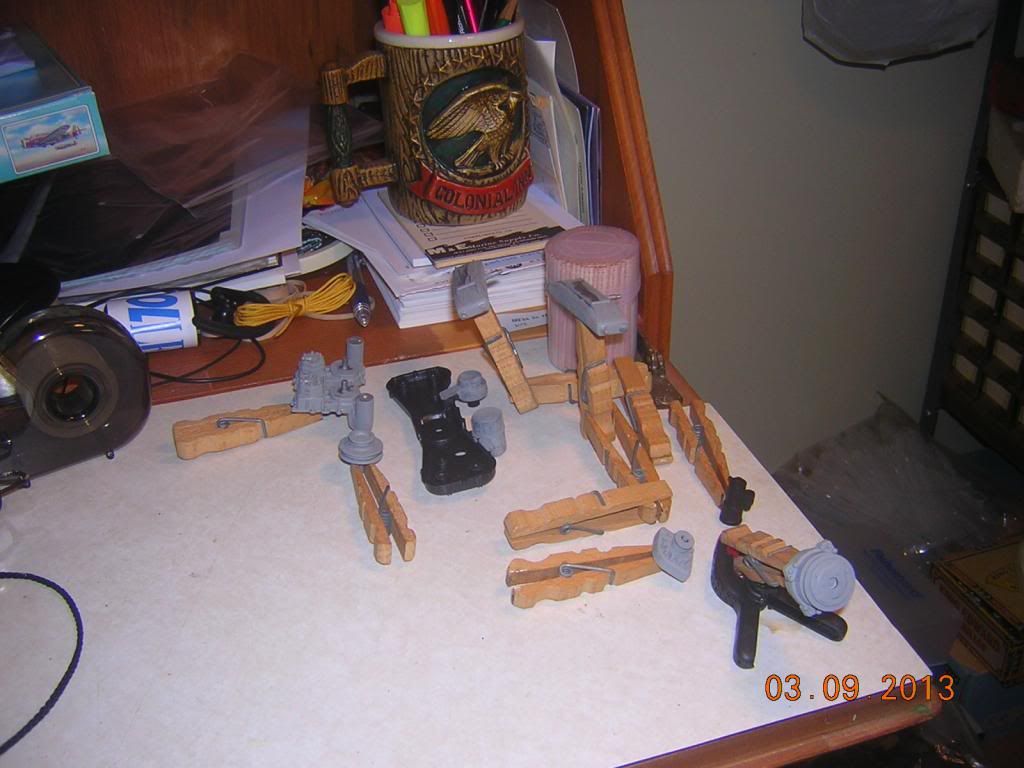
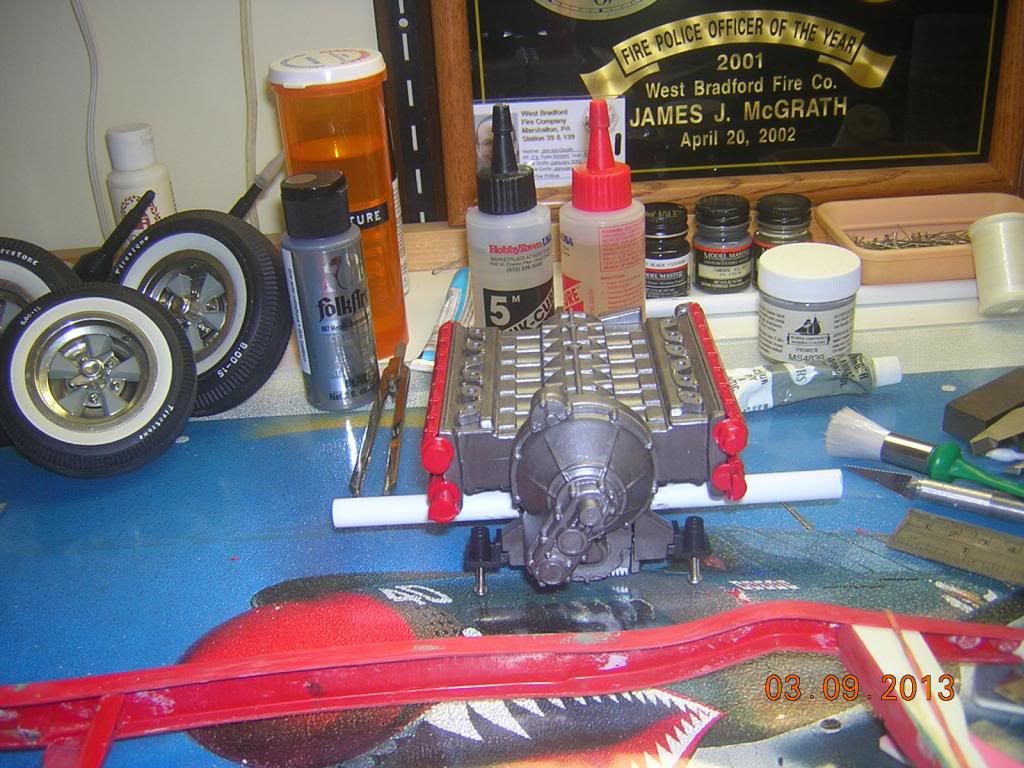
Pic #7 is the block with the flywheel cover and the motor mounts attached. In some of the pics, the metallic gray shows up better because of the lights.
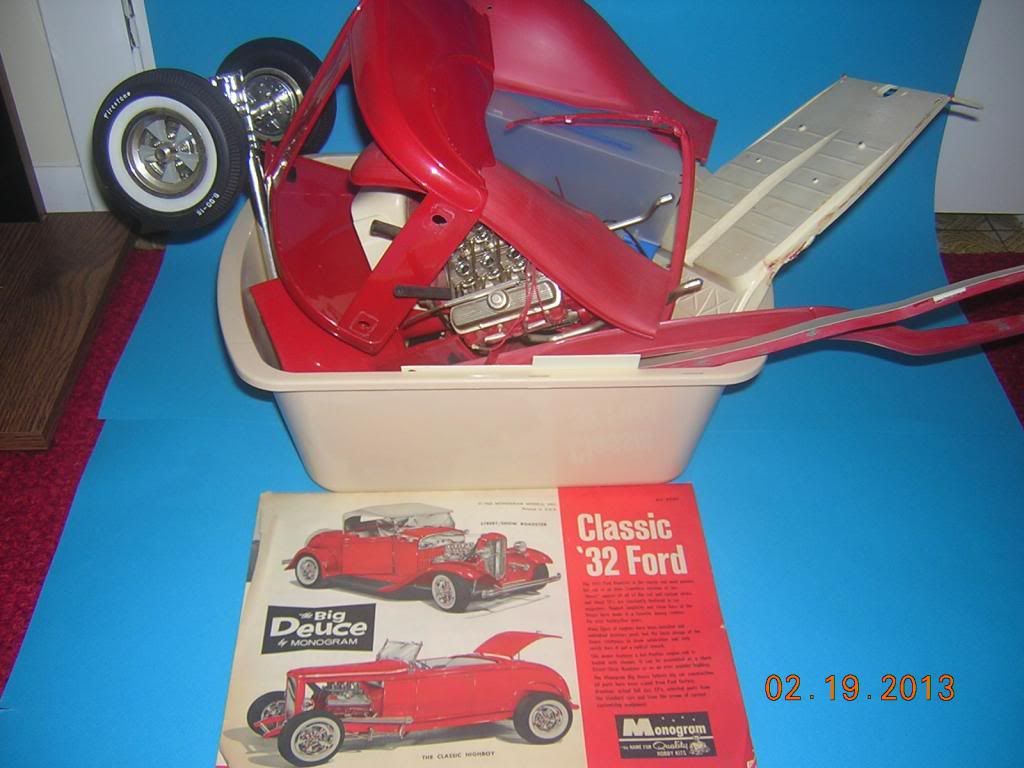
Pic #8 is what was left after taking the '32 Ford apart the rest of the way. Most of the parts came apart cleanly with little cleanup needed. Good thing I wasn't using the glues I use today or it wouldn't have been so easy to take apart.
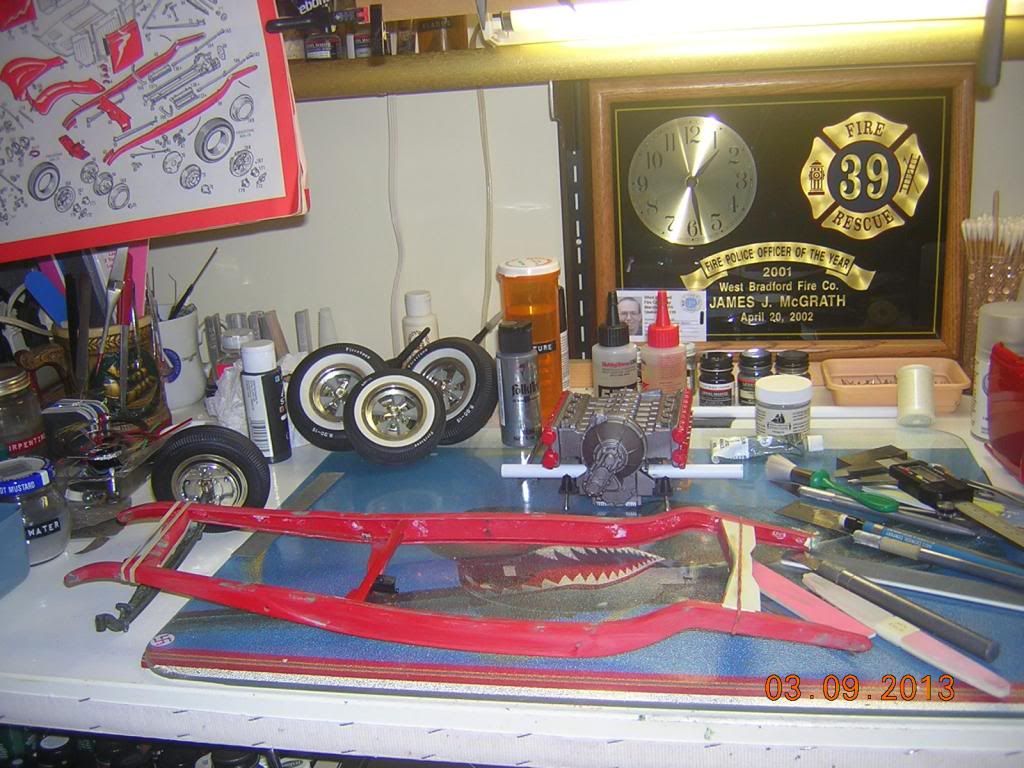
Pic #9 is the start of getting the frame up to snuff. Earlier tonight I built a jig to get the frame lined up correctly. I can use the original front crosspiece with the axle attached. The center and rear braces will have to be completely scratchbuilt. I don't need the hole in the brace for the driveshaft in the center brace. The rear brace has to go under the engine and has to include the motor mounts. I think I should include more cross bracing as I have increased the power from a V-8 to a V-12. I am also going to box the frame.
As I said before, I am not a mechanic by any means. If I call parts incorrectly, or am doing something wrong, please feel free to correct me. I think this is going to be a lot of work but I am looking forward to it.
Thanks for looking and all criticism is greatly appreciated.
Jim 