SEARCH FINESCALE.COM

Enter keywords or a search phrase below:

Pocher 1/8 scale Ferrari Testarossa V-12 Engine

4076 views
3 replies
1 rating 2 rating 3 rating 4 rating 5 rating
  • Member since
    March 2007
  • From: Atlanta, Ga.
Posted by MrSquid2U on Monday, March 11, 2013 12:48 AM

I'll be watching this build with great interest. Best of luck with it.Cool


fox
  • Member since
    January 2007
  • From: Narvon, Pa.
Posted by fox on Sunday, March 10, 2013 10:22 PM

Sorry that one of the pics did not show up. I'll try again. Sorry about that. This is the one that shows the parts that were not to be used.

Looks like it's OK.

Jim Captain

Sorry guys, it didn't work. Don't know why. It's not really that important anyway. Embarrassed

 Main WIP: 

   On the Bench: Artesania Latina  (aka) Artists in the Latrine 1/75 Bluenose II

I keep hitting "escape", but I'm still here.

fox
  • Member since
    January 2007
  • From: Narvon, Pa.
Posted by fox on Sunday, March 10, 2013 10:13 PM

OK, I've started work on this project and will post what pics I have. I went through the instructions, what there was of them, and removed the parts from the trees that I would need, and left the rest of them on the trees. You can see just how many parts were not going to be used. All the parts were washed and dried as usual. I thought that I would need the engine block when I started to put the frame together to locate just where the engine mounts would go, so I put the two halves of the block together and filled the seams where they would be seen. Some of the seams would be hidden by other parts so they were not filled. As per the instructions, I then tried to assemble the transaxle. It was supposed to be mounted to the block with three screws. Well, the holes didn't match up, so I did a little filing and sanding and finally got them to match up and fit in place. I think I'll put some of the pics in now to catch up. Pic #1 is the kit.
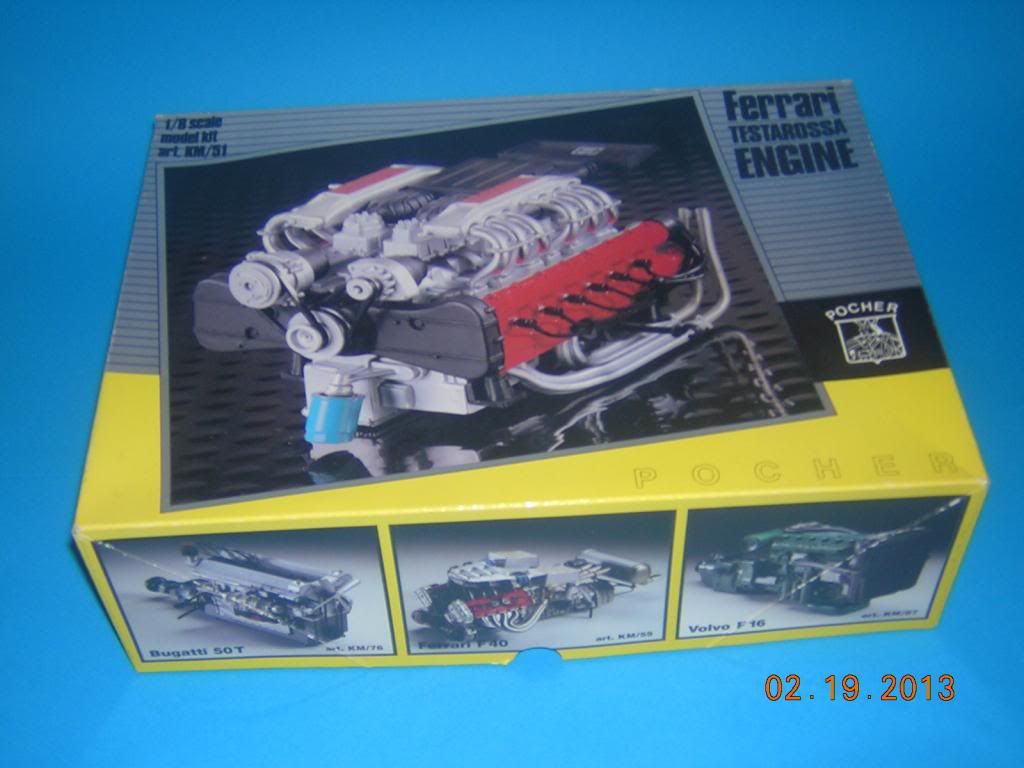
Pic #2 shows the parts needed to build the engine.
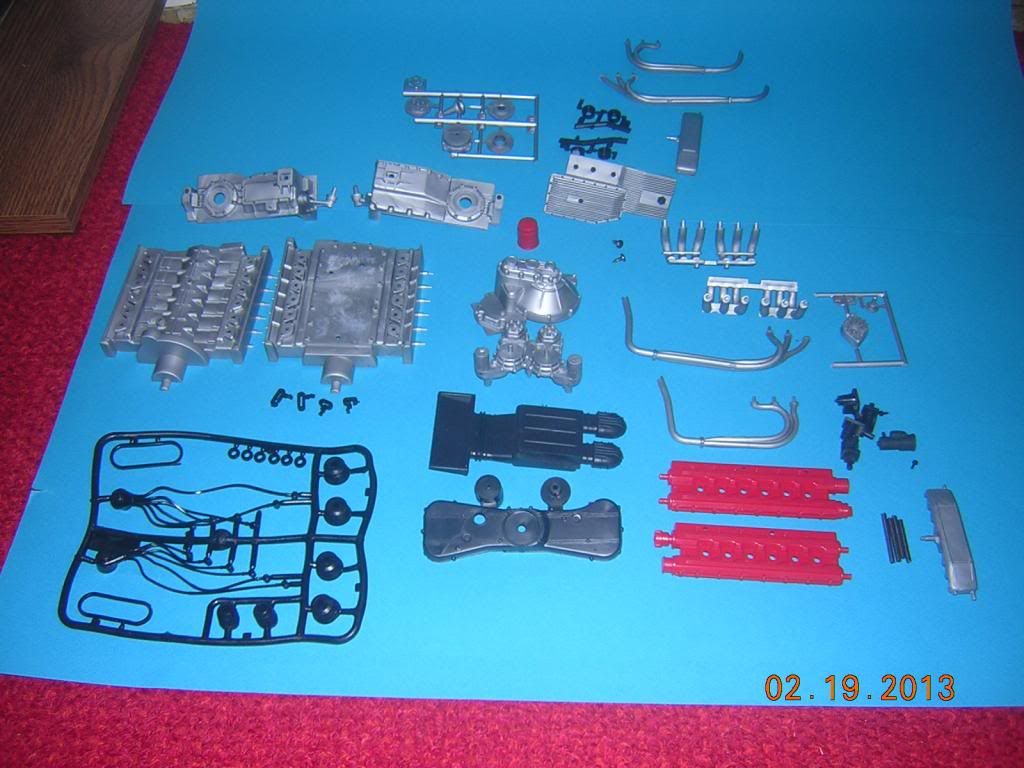
Pic #3 shows all the parts that were not needed.

Pic #4 shows the engine block and the transaxle housing. The block and the transaxle housing were primered and I shot a quick coat of MM Chrome Silver FS17178 just to see what it would look like.
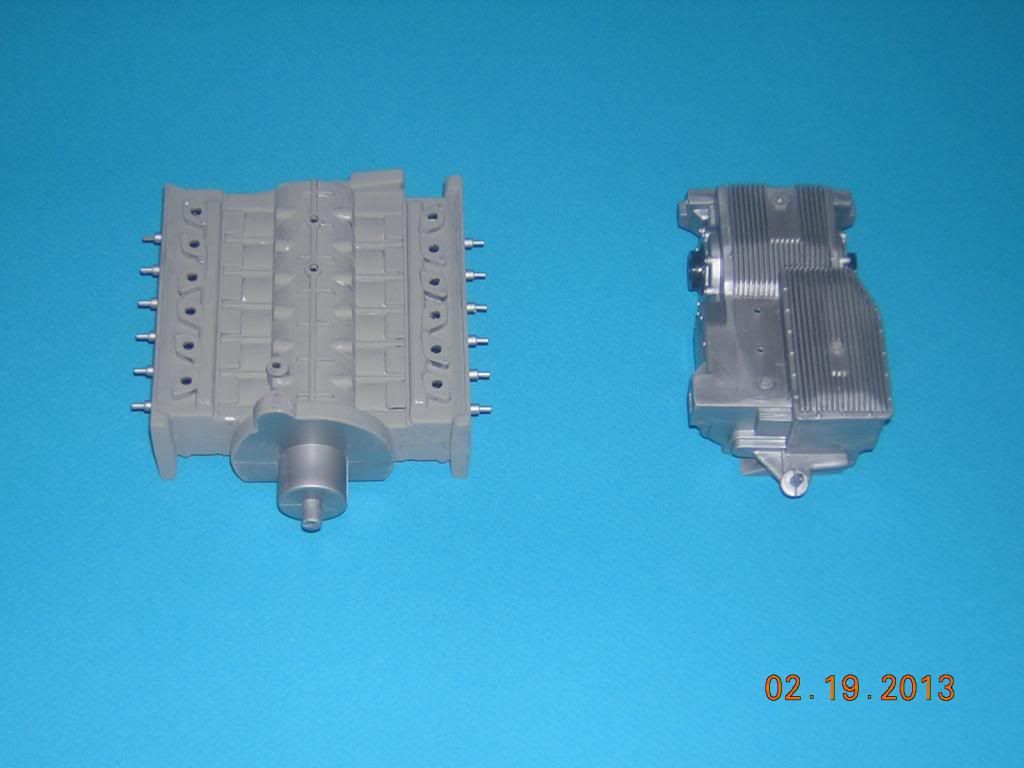
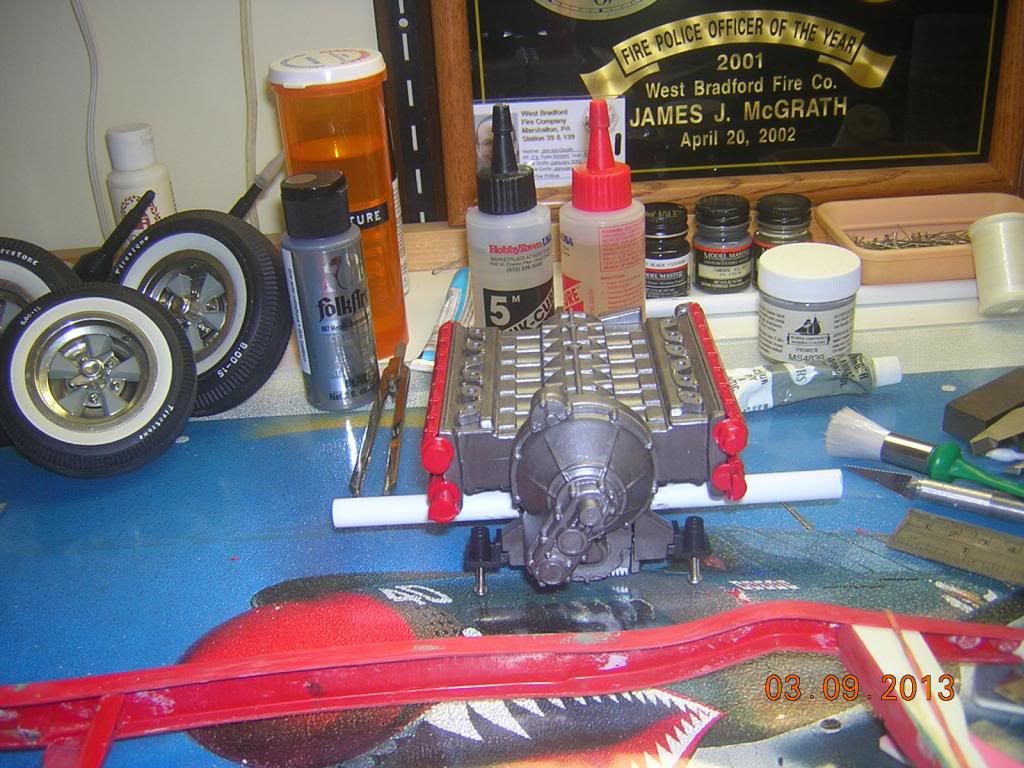
Pic #5 shows the block, transaxle and flywheel cover primered and painted with a craft acrylic "Metallic Gunmetal Gray". I had used this color for another project and thought it would make a good block color for a street rod.
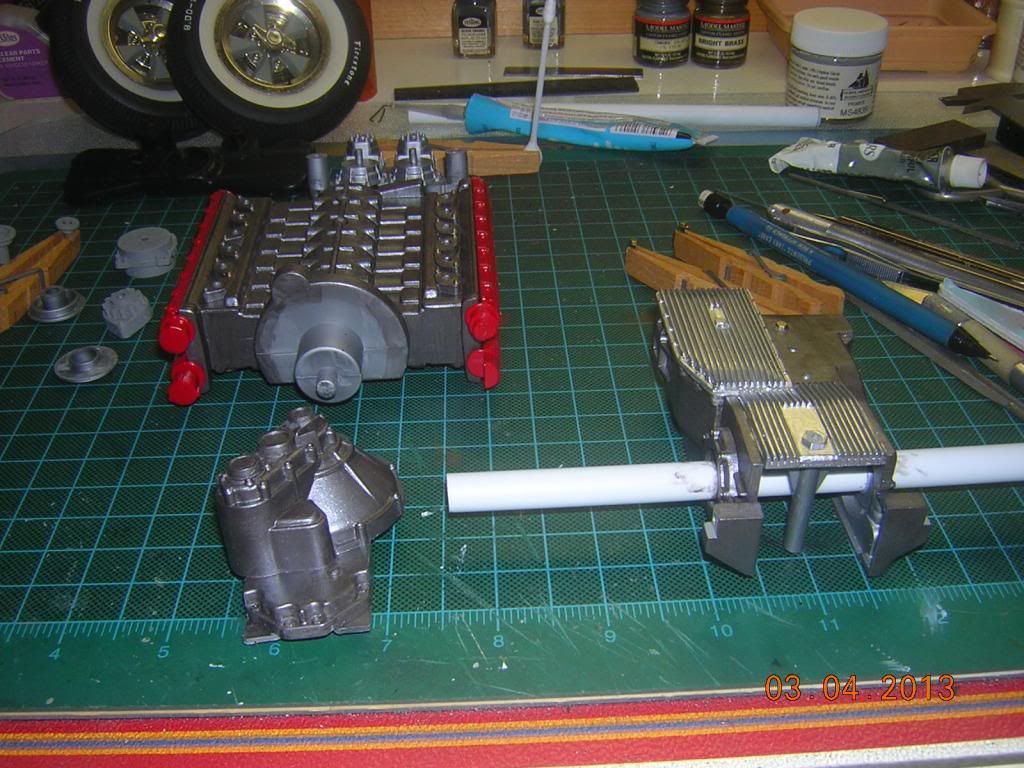
Pic #6 shows the belt driven parts with primer. The bowtie shaped part is the front cover. The two attached parts are (I believe) the alternator and the A/C compressor. I'm not a mechanic so I may be wrong. If so, please correct me. Both parts had a lot of flash that had to be removed.
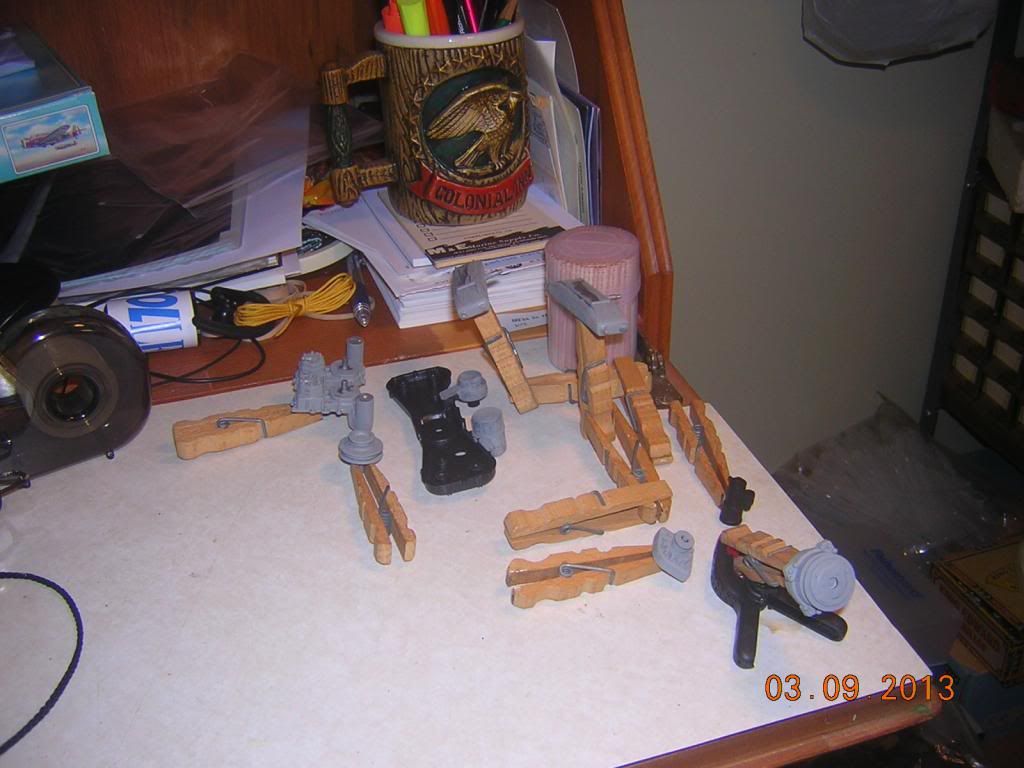
Pic #7 is the block with the flywheel cover and the motor mounts attached. In some of the pics, the metallic gray shows up better because of the lights.
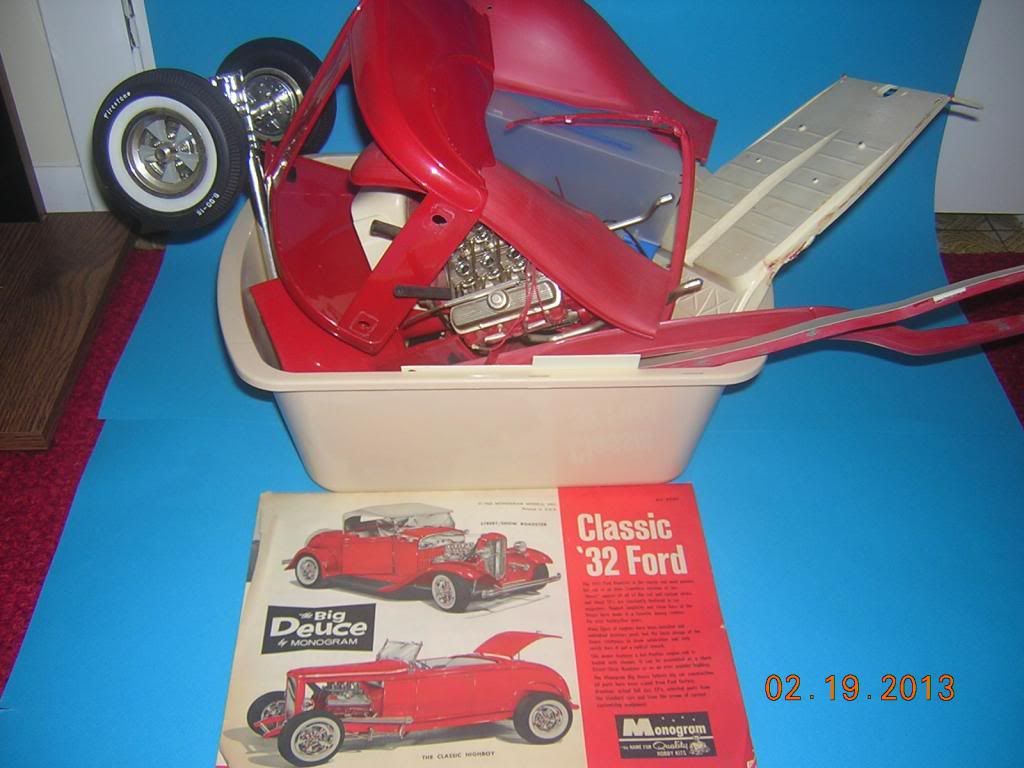
Pic #8 is what was left after taking the '32 Ford apart the rest of the way. Most of the parts came apart cleanly with little cleanup needed. Good thing I wasn't using the glues I use today or it wouldn't have been so easy to take apart.
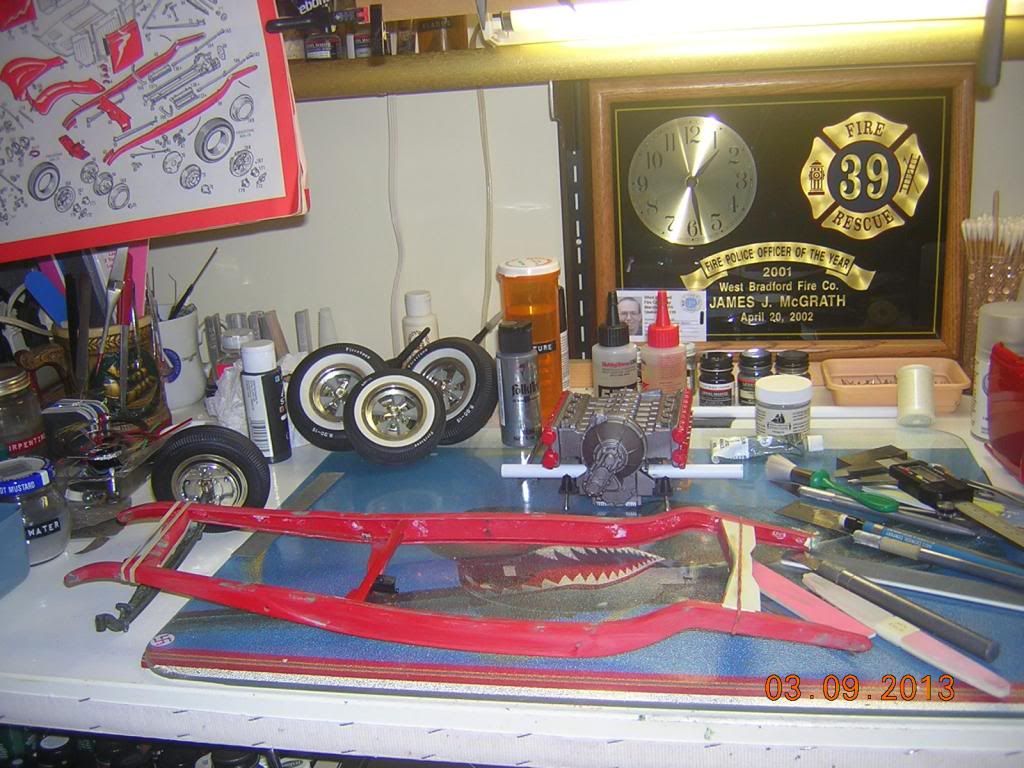
Pic #9 is the start of getting the frame up to snuff. Earlier tonight I built a jig to get the frame lined up correctly. I can use the original front crosspiece with the axle attached. The center and rear braces will have to be completely scratchbuilt. I don't need the hole in the brace for the driveshaft in the center brace. The rear brace has to go under the engine and has to include the motor mounts. I think I should include more cross bracing as I have increased the power from a V-8 to a V-12. I am also going to box the frame.
As I said before, I am not a mechanic by any means. If I call parts incorrectly, or am doing something wrong, please feel free to correct me. I think this is going to be a lot of work but I am looking forward to it.

Thanks for looking and all criticism is greatly appreciated.

Jim Captain

 Main WIP: 

   On the Bench: Artesania Latina  (aka) Artists in the Latrine 1/75 Bluenose II

I keep hitting "escape", but I'm still here.

fox
  • Member since
    January 2007
  • From: Narvon, Pa.
Pocher 1/8 scale Ferrari Testarossa V-12 Engine
Posted by fox on Sunday, February 10, 2013 5:27 PM

A long time ago, I acquired a Pocher 1/8 scale (art. KM/51) kit and placed it in the stash for a future project. Well, the future is here and I have decided to work on a project that has been lurking in the back of my mind for a long time.

Basicly, here is the project. Rebuild an old Monogram "Big Deuce" '32 Ford as a street rod and have it powered by the Ferrari V-12 engine. The '32 has been sitting on the shelf quietly falling apart over the years. Luckily, the old glue I used is easily coming apart and I didn't paint the build back then so it's practically falling apart. As I have been doing this on and off over the last couple of months while building 2 aircraft, it suddenly dawned on me that maybe the engine wouldn't fit the frame. So, I started putting together the parts of the engine that I need to determine if it will indeed fit. Here starts the questions. In the Pocher box, there are lots of parts that are not needed for the engine. There are suspension parts, parts not shown on the instruction sheet, and other small parts that would be for a car build, like windshield wipers. Has anyone out there built this engine and run across the extra parts? Also, the plastic seems to be very soft and the rubber spark plug wires have some kind of sticky substance on them. Can this be just washed off or are they starting to break down and not usable? The instruction sheets are not very helpful as they do not show any suspension parts at all, just the engine itself.

In the process of dry fitting the parts I need to check for size, I have found that the parts don't fit well at all. The instructions say that you need no glue or paint to build the kit. The main parts are held together with 3 small screws and the rest of the parts are force fit. From the few parts that I have dry fit, it is going to need a lot of filling and sanding and that means painting too. This isn't a problem, as I expected to do a lot of filling and sanding during this project. Has anyone else run into these problems with the kit or did I just get a couple of bad kits?

I would like to do the project as a WIP, if you would like to see it. I've got tons of research on the engine but I will probably need a lot of help along the way and your input will be greatly appreciated.

Jim Captain

 Main WIP: 

   On the Bench: Artesania Latina  (aka) Artists in the Latrine 1/75 Bluenose II

I keep hitting "escape", but I'm still here.

JOIN OUR COMMUNITY!

Our community is FREE to join. To participate you must either login or register for an account.

SEARCH FORUMS
FREE NEWSLETTER
By signing up you may also receive reader surveys and occasional special offers. We do not sell, rent or trade our email lists. View our Privacy Policy.