Hi Everybody!
My name is Russ, one of the R’s of R&R Modelers, a friendship and collaboration between two modelers, who “met” on this very Finescale Modeler Forum, to make realistic small scale aircraft model displays. It is nothing formal. I simply enjoy the heck out of making models using AutoCad, and Ron (the other R) is a master of making mini-model displays in 1/350 and 1/144 scales. After I finished the “A Career in Flight” display I made for my dad for Christmas, featuring the aircraft he flew during his career in the USAF (http://cs.finescale.com/fsm/modeling_subjects/f/2/t/157366.aspx), Click2Detail (C2D), who “printed” the parts for me started a service in which designers can upload their CAD models and they print them, sell them and ship them and the designer gets a percentage of the sale. I have made several models since then and they are available at:
https://click2detail.com/browse_products.php?total=146&incrementBy=9&id=&pagename_session=browse_products.php&id=&startIndex=27
Ron has provided many candidates of aircraft to make. Also, being a pilot, he is more knowledgeable about aircraft than I am, and has offered numerous suggestions on how to improve the designs. The first model that I provided the canvas for Ron to work his magic on was the 1/144 scale Luscombe 8A Silvaire that I designed on his suggestion.
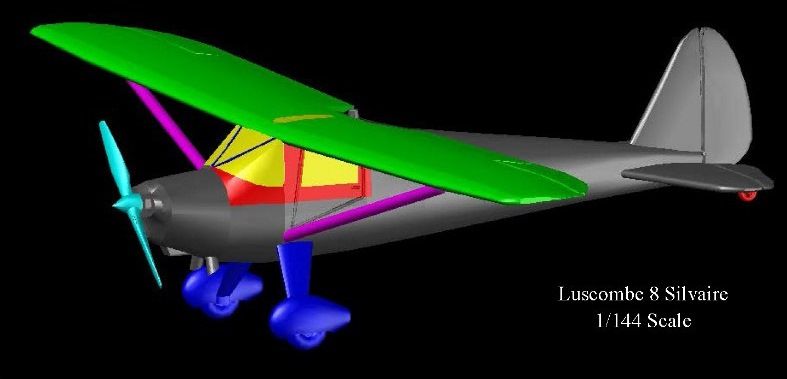
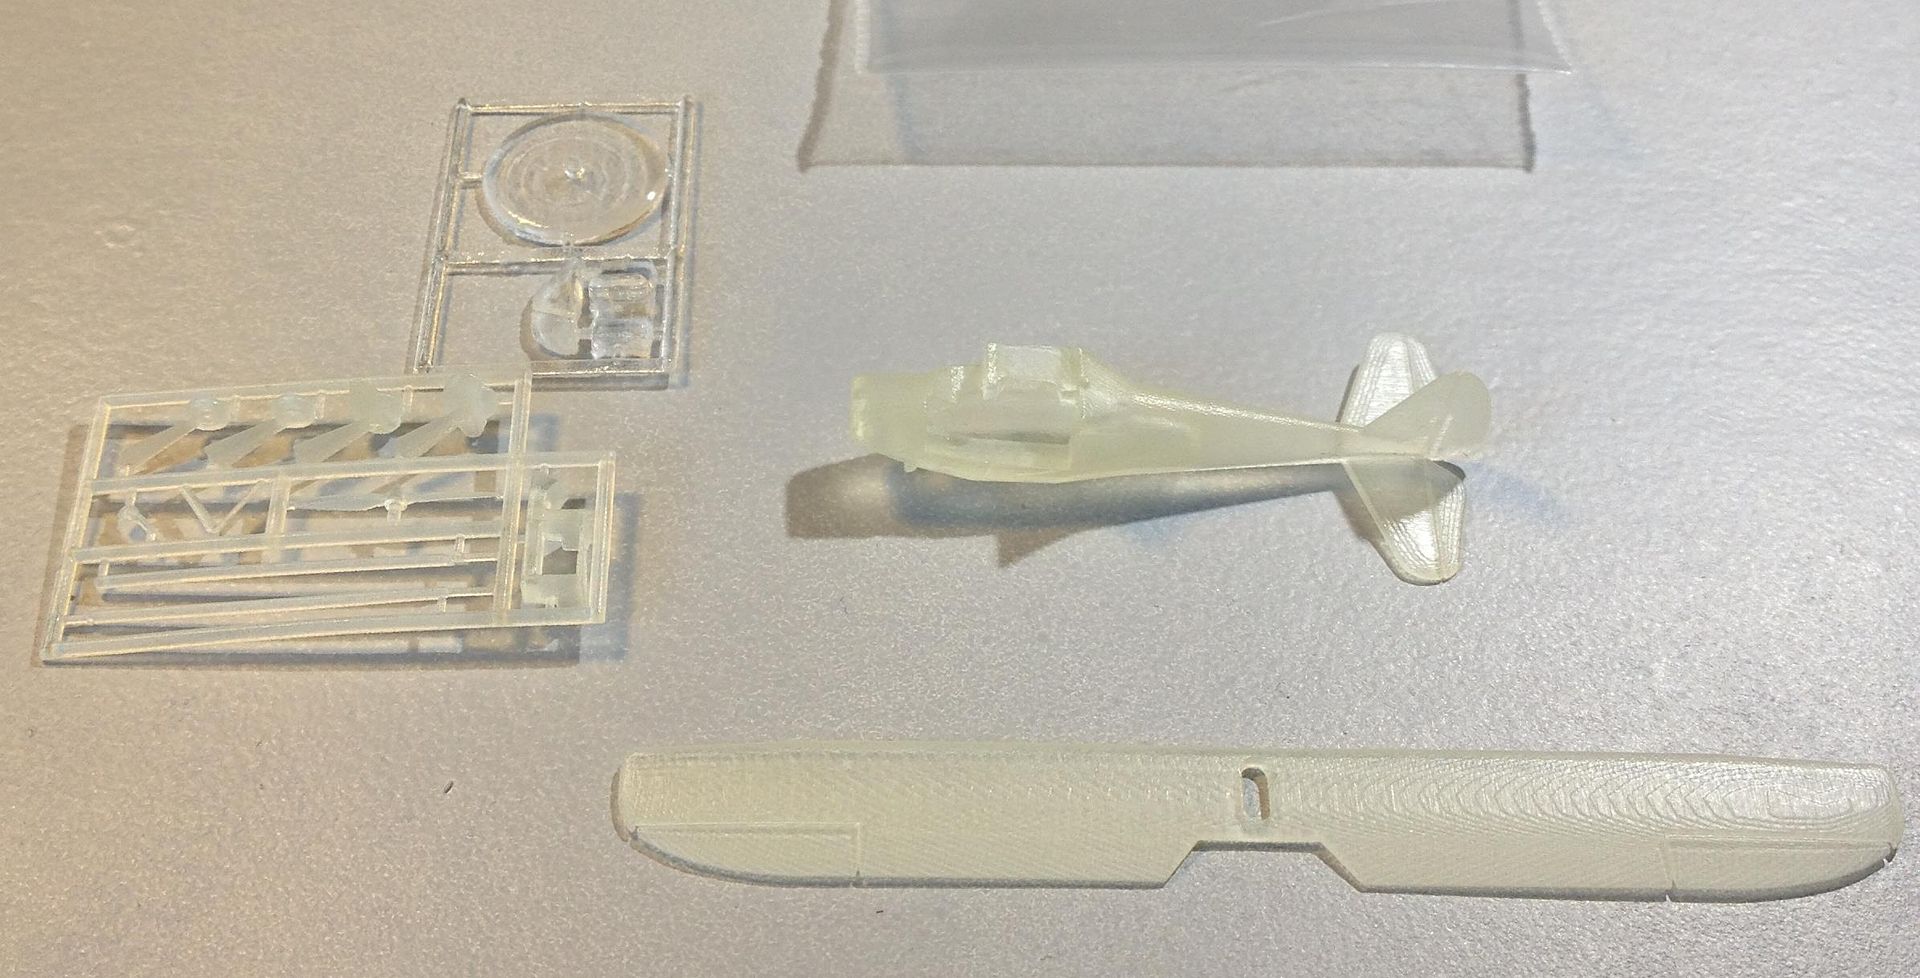
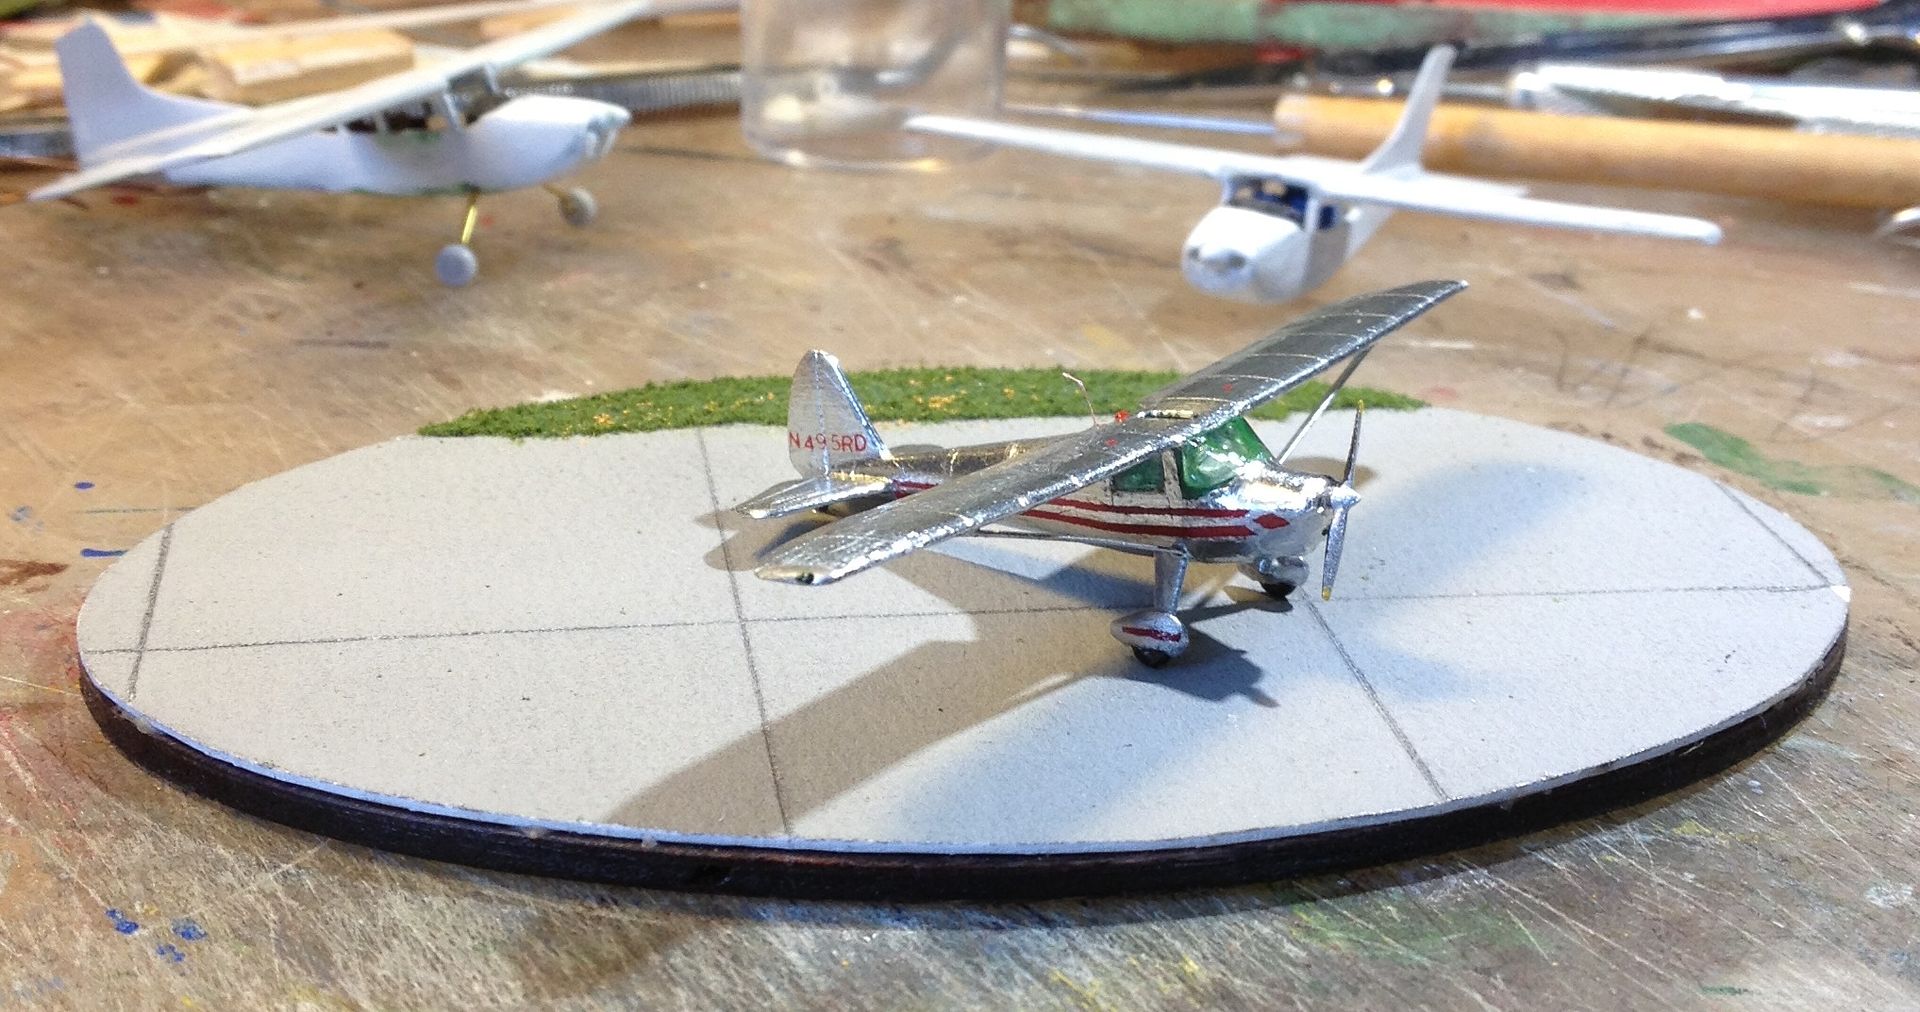
Some of the details of that endeavor are provided at:
http://cs.finescale.com/fsm/modeling_subjects/f/48/t/158982.aspx
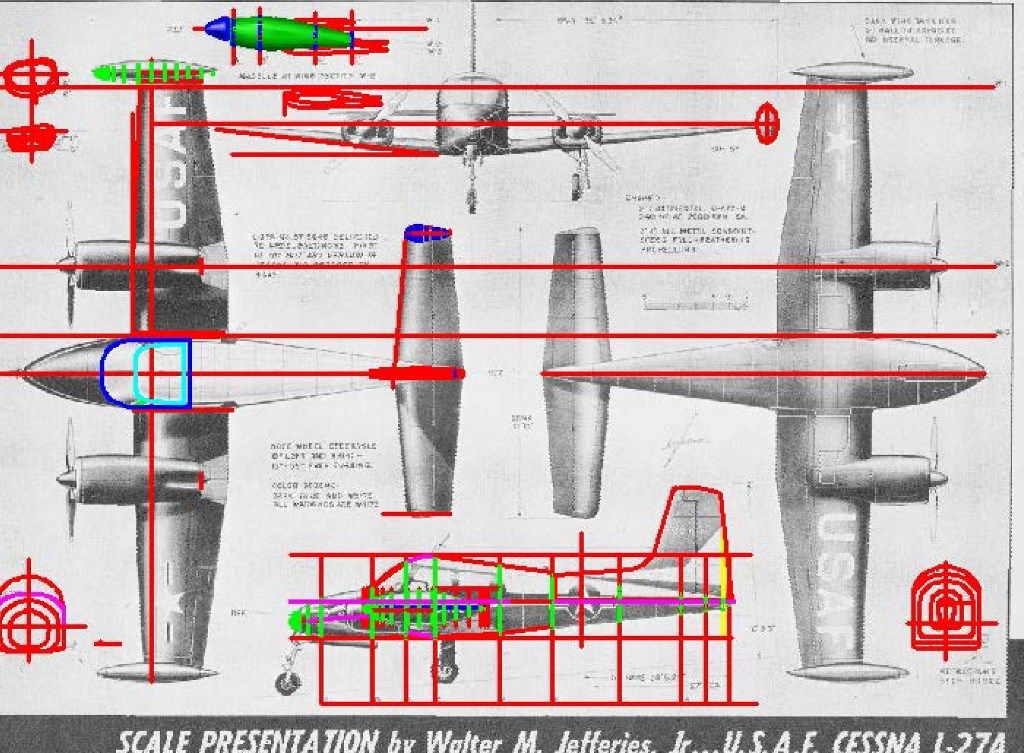
One of the Aircraft my dad flew while in the Air Force was the Cessna U-3A Blue Canoe, so it was one of the first aircraft that I designed in CAD. As usual I started by importing plans downloaded from the Internet and tracing outlines, many of which may be seen in the image below.
The next step was to use the Loft and Extrude Commands to make a solid between the traced cross-sections.
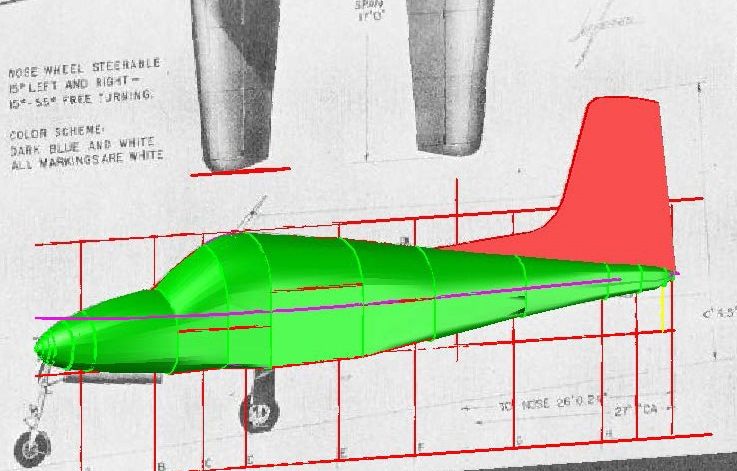
Then the various parts are moved and rotated, to position them correctly and joined together.
The propeller was done in a similar manner.
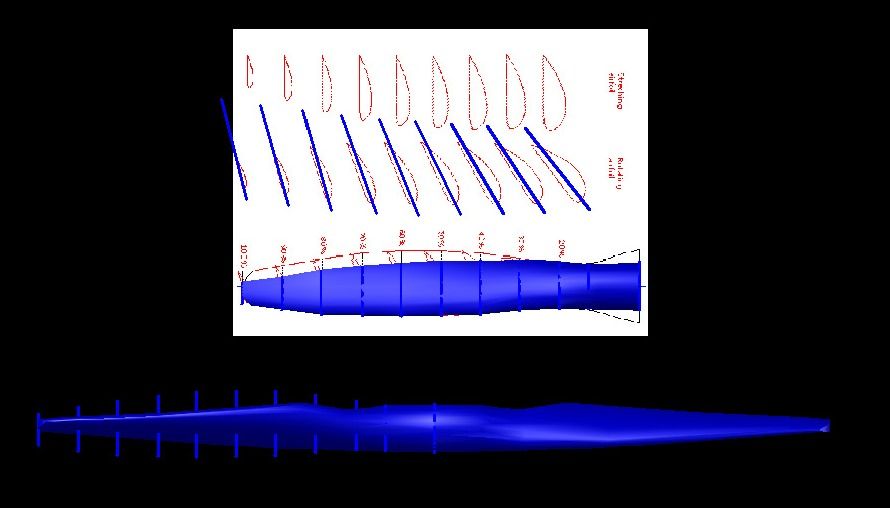
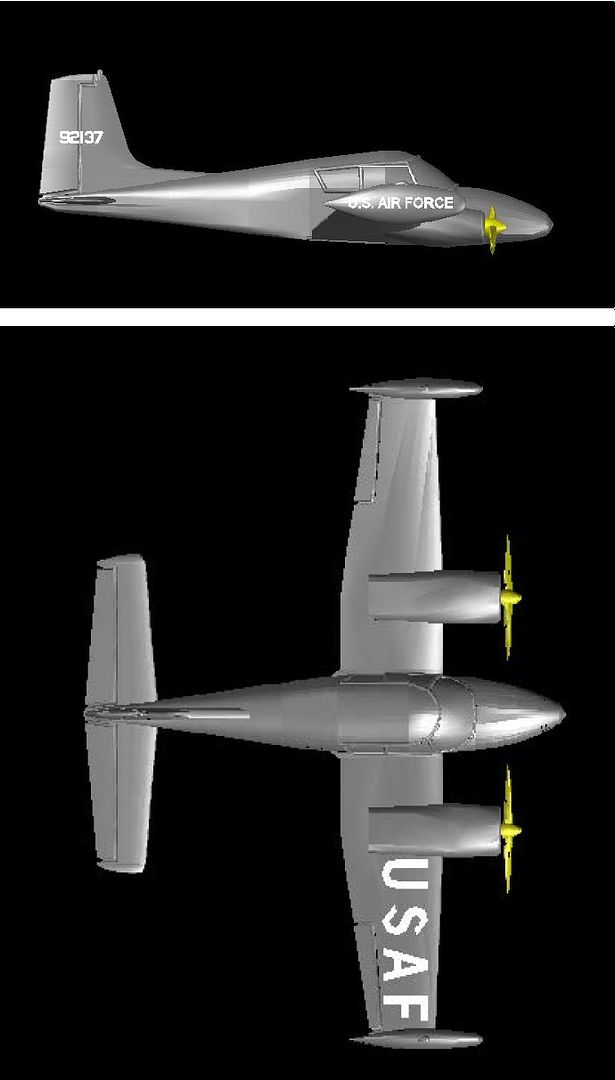
The image below shows the model, essentially as it was for dad’s display, but with the stationary props.
At Ron’s behest, I next added landing gear to the 1/350 scale model, shown below with stationary props…

…And “spinning” props.
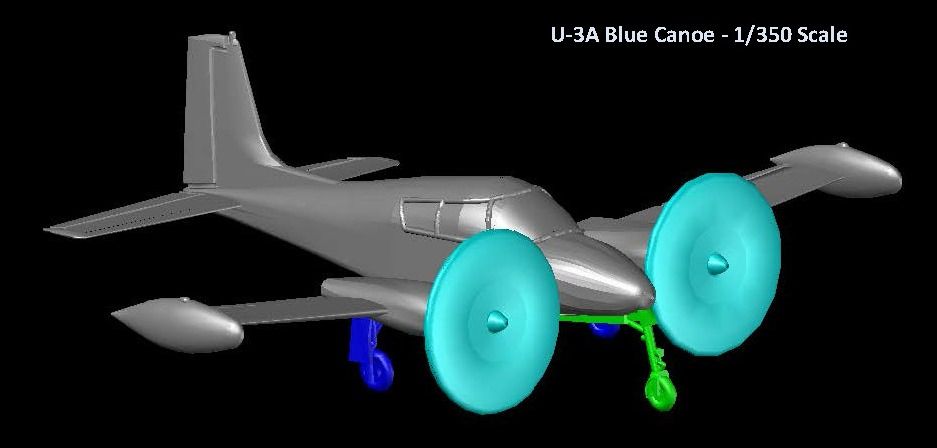
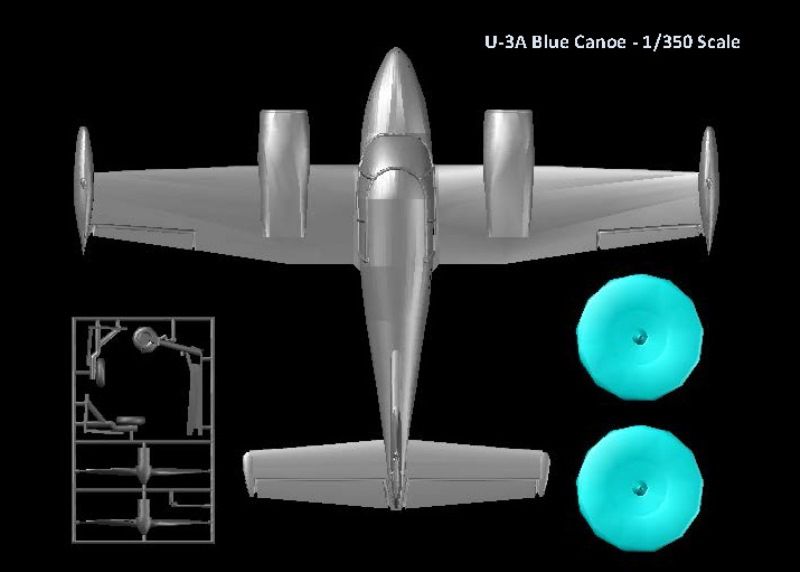
The CAD parts for this "kit" are shown below.
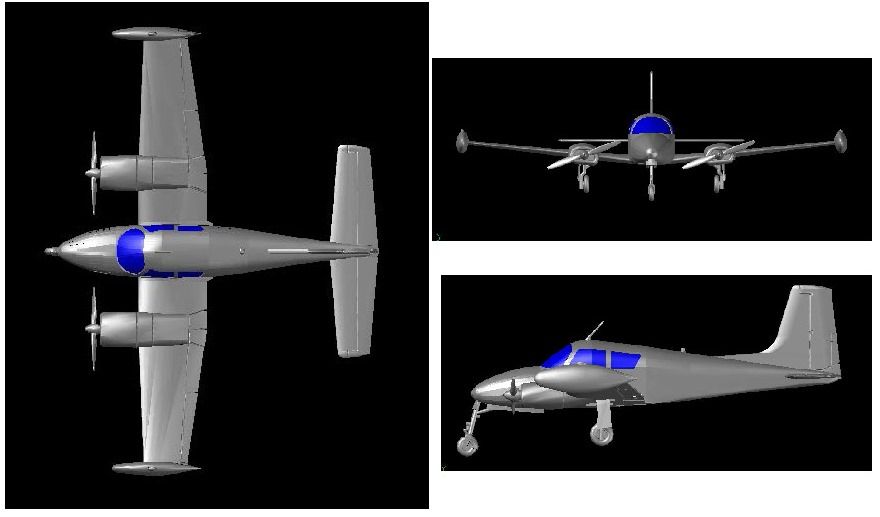
Again, at Ron’s behest, I also made the U-3A (310 B) at 1/144 scale, which required redoing almost all of it. For this model, I decided to design it so that the windshield and windows could be printed in clear plastic. Also, the larger scale allowed for additional surface detailing over the 1/350 scale model.
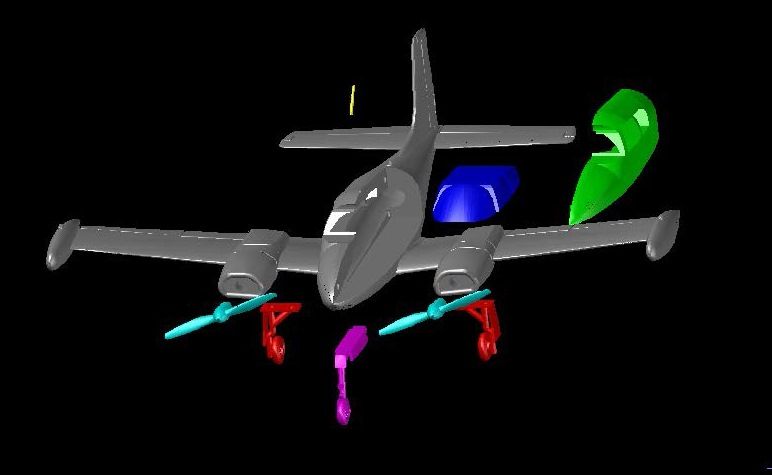
The 1/144 scale version consists of 11 parts as shown below (the “spinning props” aren’t shown).
With the canvases complete, it was time for Ron to work his art on them.