SEARCH FINESCALE.COM

Enter keywords or a search phrase below:

1/6 kanu Uncho WIP

931 views
4 replies
1 rating 2 rating 3 rating 4 rating 5 rating
  • Member since
    October 2004
1/6 kanu Uncho WIP
Posted by gamerabaenre on Monday, May 19, 2008 1:11 PM
Started a new project this weekend: http://www.gamerabaenre.com/?p=142

This kit looks very similar to Bome's 1/4 Kanu Uncho kit that I grabbed from WF Winter earlier this year.  However, having come off my recent 1/4 scale build of Yoko, I need a break from fairly large scale resin figures :D

I got this kit off Y!J from the second to last WHF event.  The kit is sculpted by 中山栄治 and interestingly, the kit came with some water slide decals, here is a picture of the kit's packaging.


Next up was the skirt piece.  The skirt comes in 4 parts, which is different from Bome's that comes in two pieces.  With four pieces, I glued the two innner parts, then drilled out holes for pinning the outside pieces.  The resin was a bit thin on the right side skirt so I placed small rare earth magnets in the corresponding areas, this way, I can have the skirt removable - which forces me to surface prep and paint the legs decently.


I spent most of the day pinning and cleaning up flash tabs, and ended with the full mock up:

And of course, the picture with Keroro G3:


The kit in comparison to Bome's seems to be separated better, as the only gap filling needs are on the robe and various hair pieces.  The skirt is cut up so that the seams between two pieces are in natural folds which helps with the removable aspect while hiding some potentially ugly seams.  The Bome kit's skirt pieces meet at a flat area so making that kit removable would require some cutting work to hide the seam.  There are aspects of each kit that I like, so it is hard to choose one over the other completely.  I hope to one day build the Bome kit too :D

Also, as I build this kit, I'm taking some time to capture some videos of various techniques I use to compete the kit to update some of my tutorials, so if there are any recommendation or suggestions on techniques that would be good to film, please let me know.
  • Member since
    October 2004
Posted by gamerabaenre on Wednesday, May 21, 2008 2:14 PM
And here's the update:
http://www.gamerabaenre.com/?p=143  <-- tutorial updates within...

Vice to press pieces together while the epoxy glue dries, very helpful in minimizing gaps for tough to fill areas.


Gap filling 101... After the parts were glued, I used epoxy glue as a filler for the gap.


Once the epoxy glue cured, I went in with tamiya expoxy putty and filled the area


And the rest of the gap plagued parts were puttied:


  • Member since
    January 2007
  • From: Iowa
Posted by IA Novice on Thursday, May 22, 2008 3:20 PM

Cool,

I'm normally a tread-head, but I'm trying to broaden the ole horizons.  I like the build!  Can't wait to see how you tackle the painting.

The definition of insanity: doing the same thing over and over and expecting different results.
  • Member since
    October 2004
Posted by gamerabaenre on Friday, June 6, 2008 12:02 PM
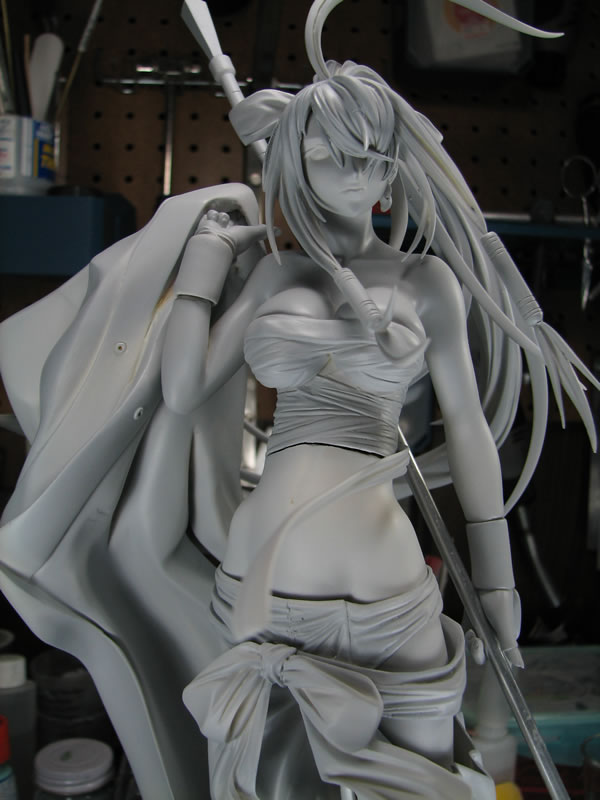
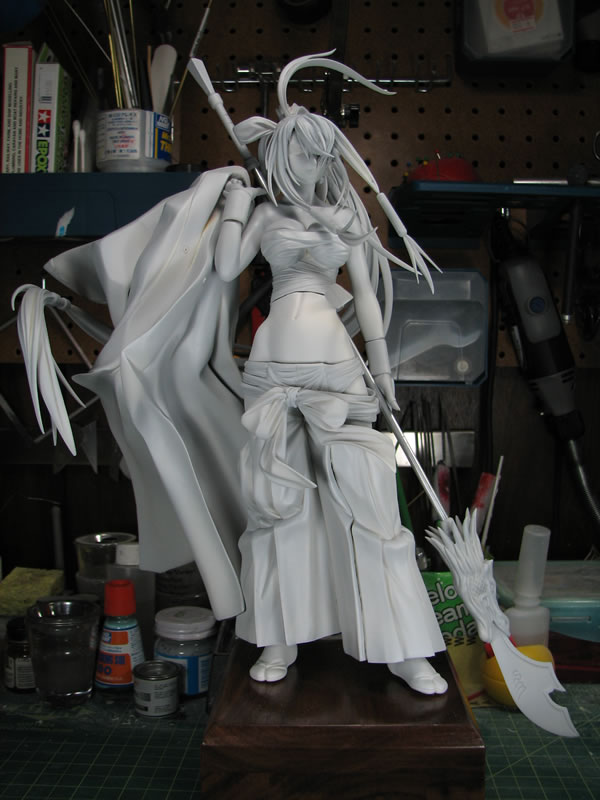
Now that I've gotten to a comfortable point with my other projects; I'm now in full concentration on Kanu.  From last night, I was able to get the initial priming session done.  I will explain the reason behind the term "initial priming" a little later.  I did a quick fit after the priming so that I can take a few snaps of her together :

Since the last update, most of my parts were glued and puttied for gap filling:
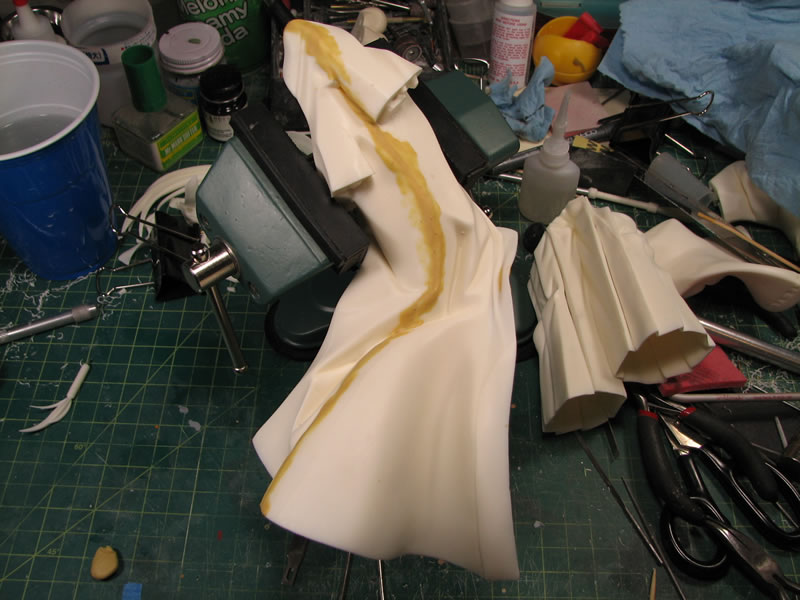
After a the putty cures, I went in with the various sanding implements I have (files, 100 grit sand paper, 100 grit sanding pads, 150 grit sanding pads, 320 grit sanding pads, the toothbrush sanders, the flexi-file sander, etc) and went to work on sanding down all excess putty as well as sanding down all the mold lines and surface defects on all the parts.
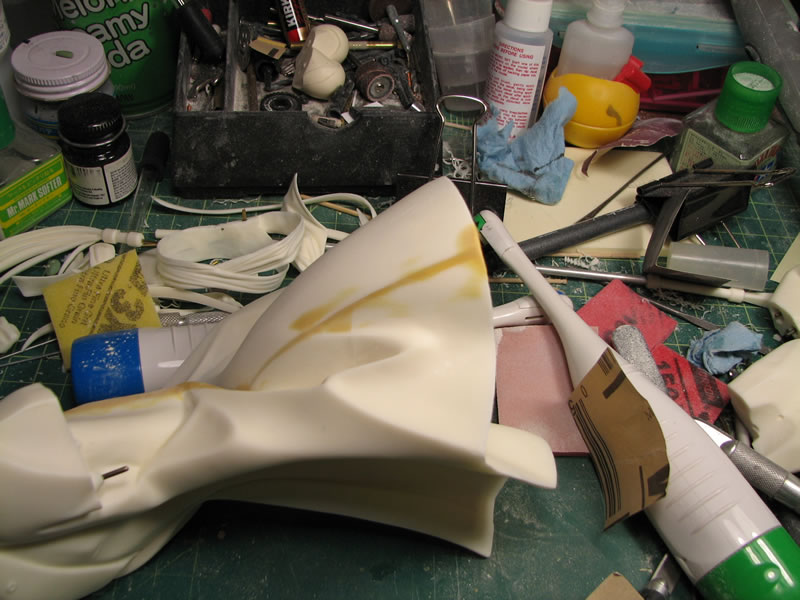
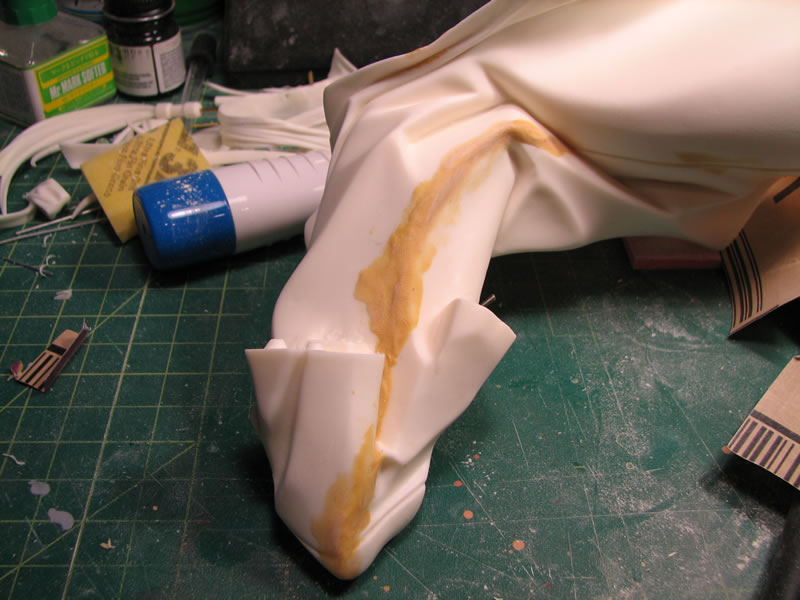
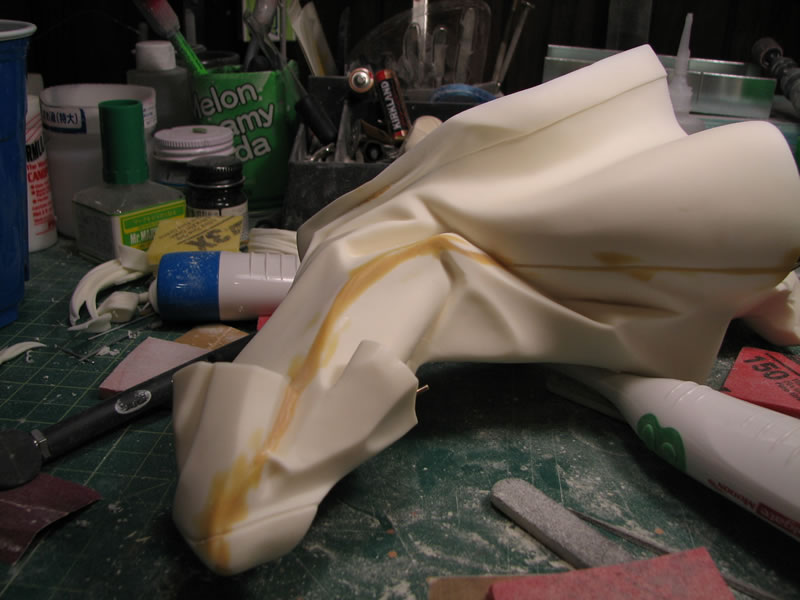
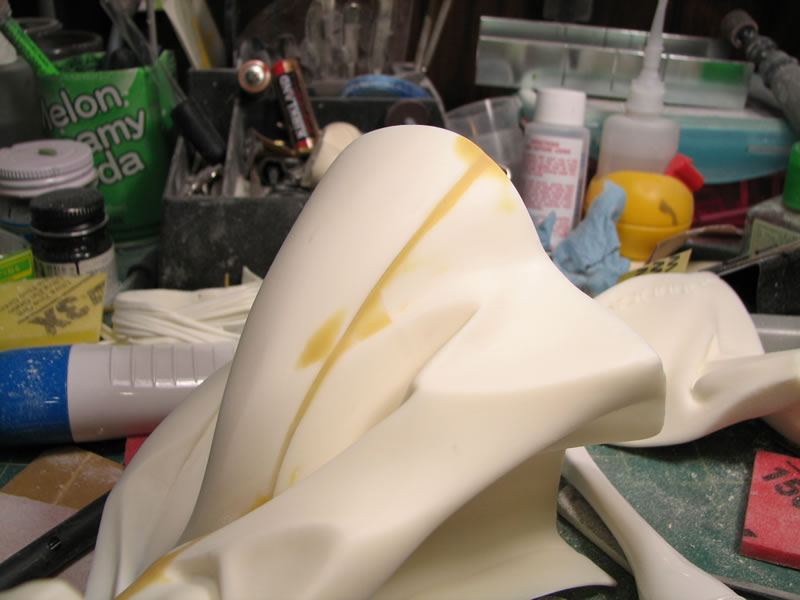
The robe is composed of 4 pieces, the 2 major halves, then two smaller pieces that attach to it.  I first glued and gap filled the major part.  Sanded that down, then sprayed on a primer to check for defects in the gap filling process.  Once I was satisfied, I then went on to glue and gap fill the smaller pieces.
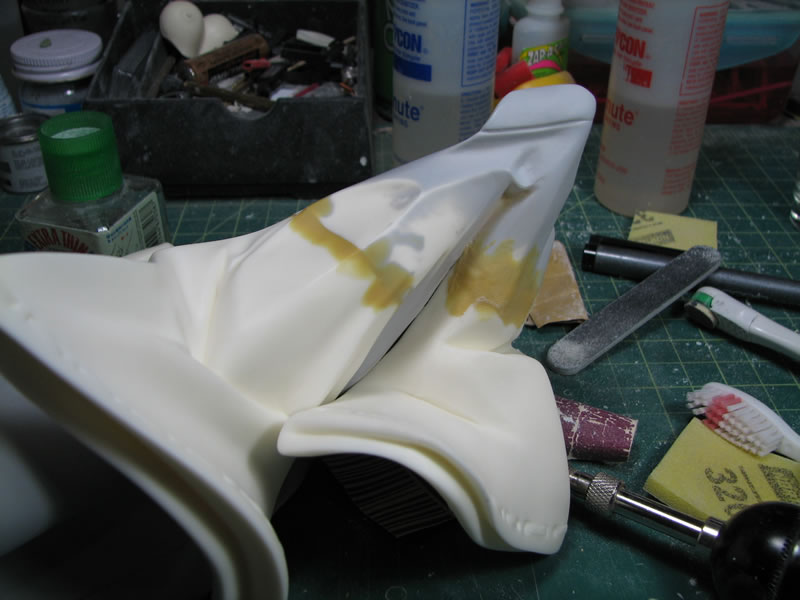
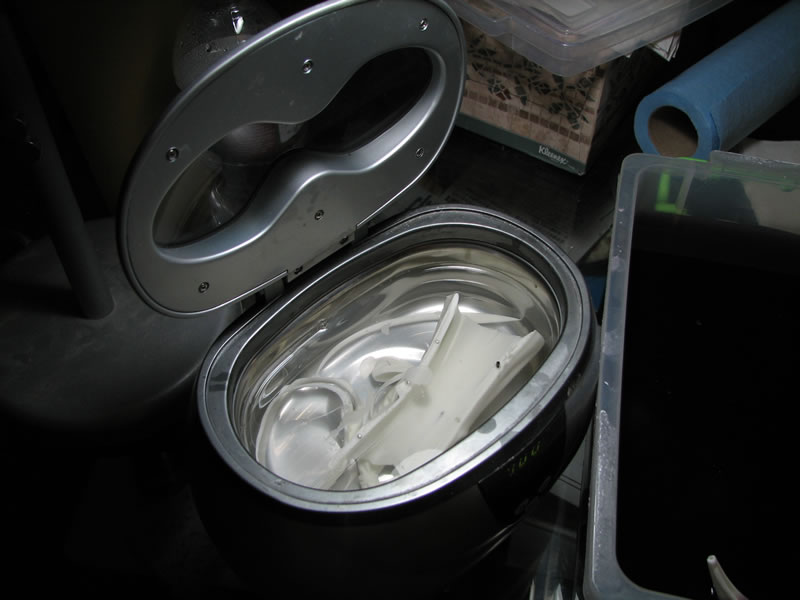
With all the parts sanded, I threw them all into a purple colored industrial strength cleaner for a couple of days.  The industrial strength cleaner will dissolve any residual mold release that may still be on the surface of the kit.  This is a very important step as all the hard work of sanding, painting, masking, more painting, will be useless if the paint and primer fail to stick to the surface.  After a couple of days in the purple cleaner bath, the parts are removed and placed in a bowl of water to help wash off the cleaning agent.  From this point, parts that fit into the ultra sonic cleaner are then placed in there with regular water and run through the cleaner.  This ensures that the parts are pristinely clean after the soaking.  The parts too big for the ultrasonic cleaner are just scrubbed with an old toothbrush.
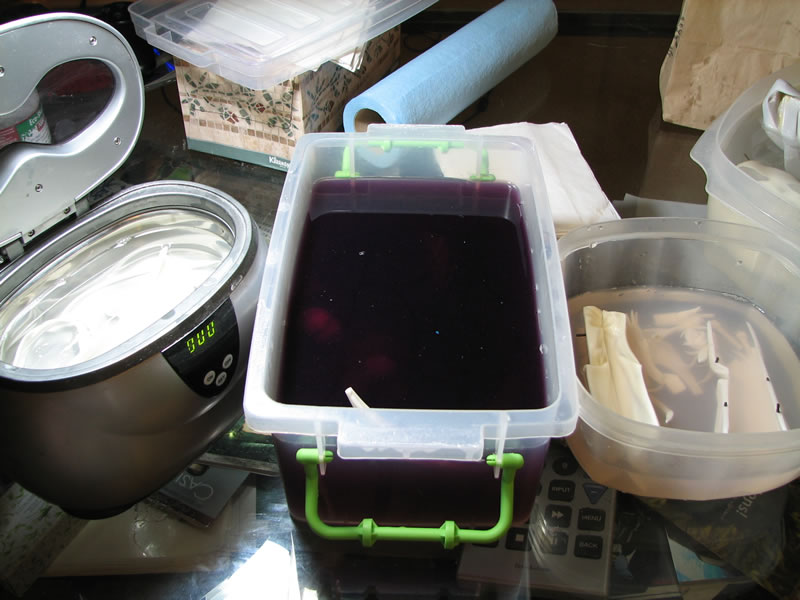
The parts are then dried and placed on skewers or alligator clip attachments and are now ready for the initial priming session.  At this point, the parts are clean and white.  It is difficult to tell if the surface was properly prepared.  Sanding marks, pinholes, tiny surface defects are very difficult to see.
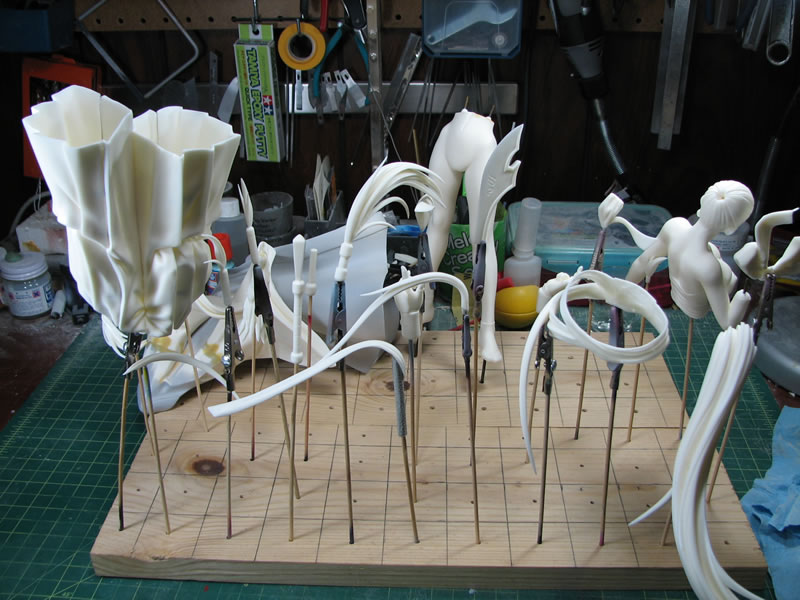
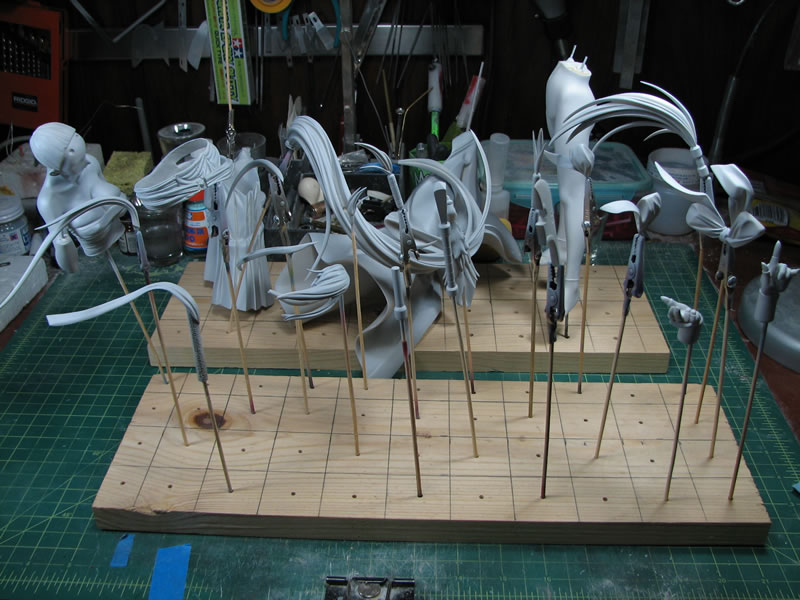
I use Mr Resin Primer by Gunze Sangyo.  The primer is gray in color and once sprayed on to the parts; the small sanding mistakes, missed surface details, pinholes, gaps, etc become very clear, and now I can get some fine tune sanding and work on problem areas with much greater attention.
And just for the sake of taking photos, I did a quick mock up:
  • Member since
    June 2006
  • From: Michigan
Posted by ps1scw on Friday, June 6, 2008 4:17 PM
Kawaii
JOIN OUR COMMUNITY!

Our community is FREE to join. To participate you must either login or register for an account.

SEARCH FORUMS
FREE NEWSLETTER
By signing up you may also receive reader surveys and occasional special offers. We do not sell, rent or trade our email lists. View our Privacy Policy.