Ok, so here's some of the work I'm doing on the engine. This is one of the most lacking of parts in the kit; after really looking at a slew of photos on the net, I was shamed into wanting to produce a more accurate representation. I am working strictly from photos from the internet sites, not from blueprints, so everything you're going to see is my own approximation of what seems to be the ductwork and tubing on these beautiful ships.
Here's what you start with in the kit.
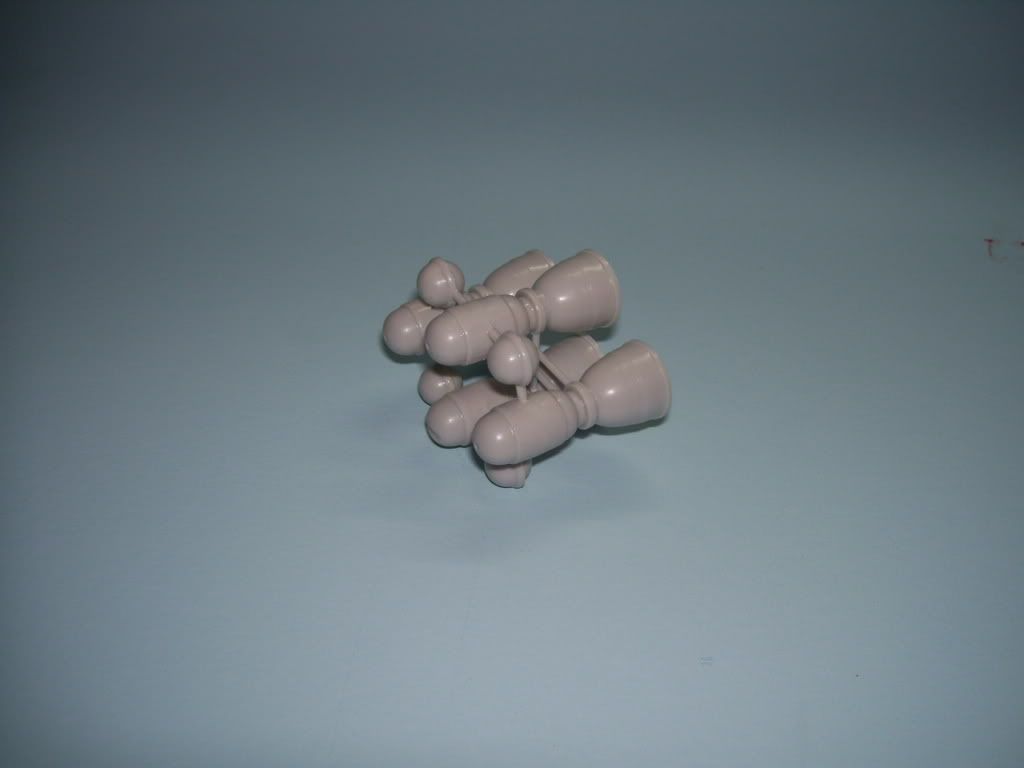
Next, I removed the incorrect joining of the smaller balls, and using some Super Styrene, wrapped a .080 tube around the exterior of the engine nacelles (?). This stuff is fabulous for scratchbuilding; ordinary styrene, but it bends like solder without breaking! I picked up a small stash of it a year or so ago; alas, they've discontinued it, but I'm glad I had the perfect size for this application!
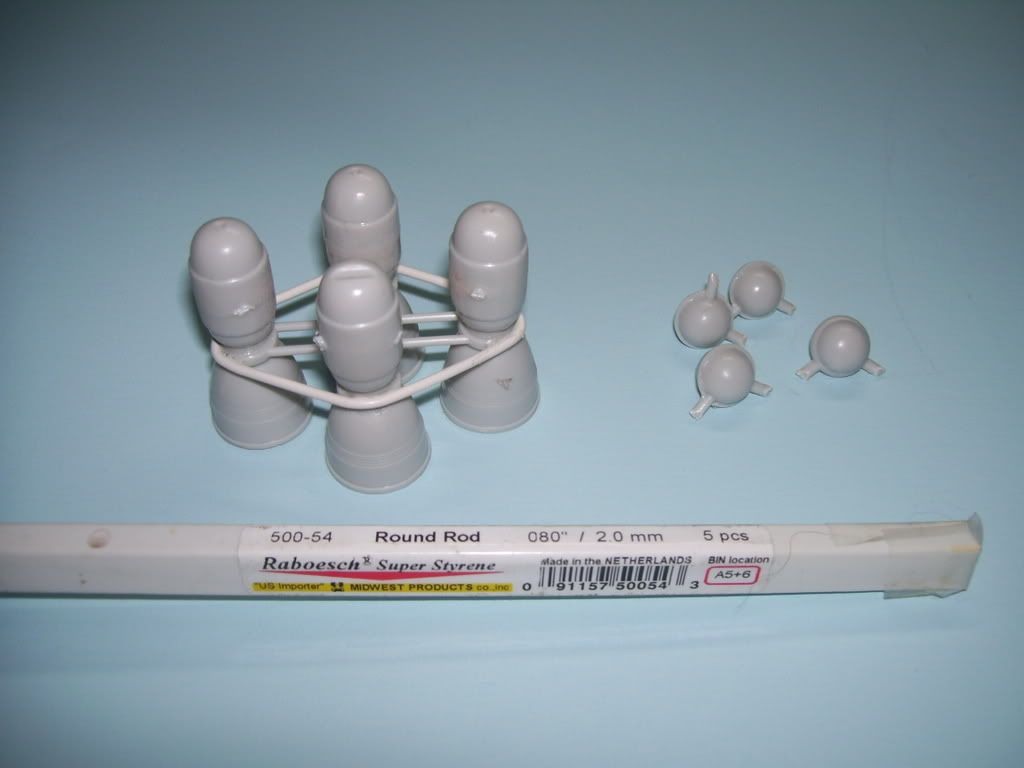
I mounted the engine to the body, and using regular .080 styrene, started adding the bracing to the interior of the engines, I also connnected the two little--I'm going to call them fuel cells(?)--with tubing.
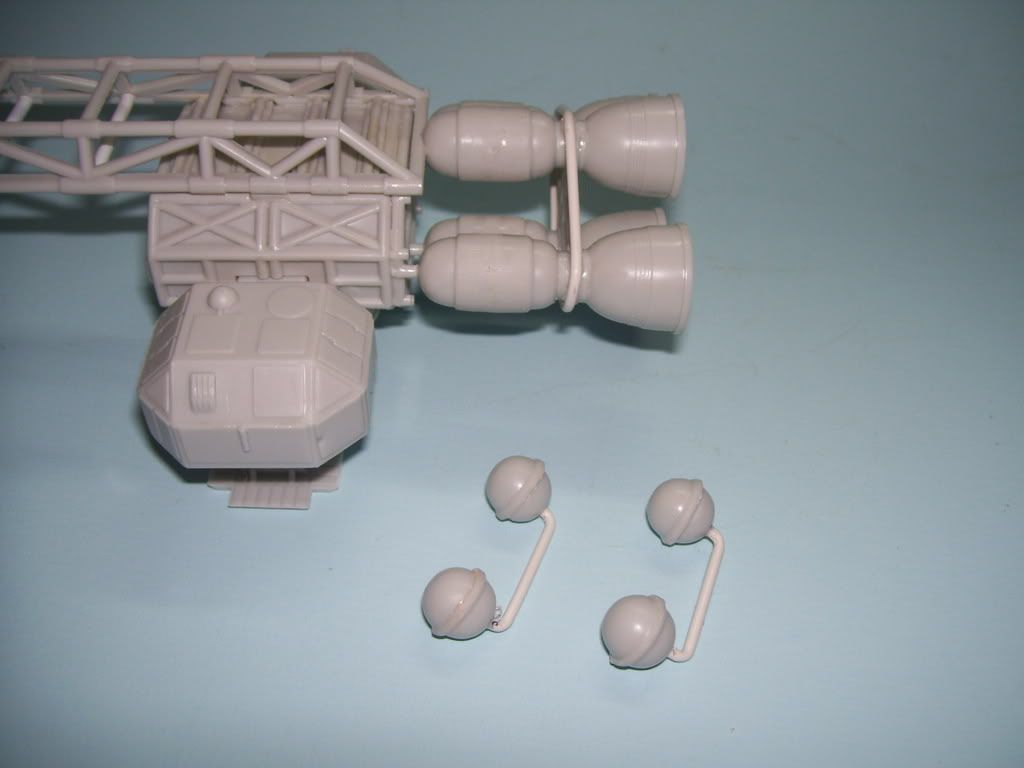
Next, added some inner braces. Thankfully, I have a good colllection of tweezer! This was all very tedious cut, insert, measure, file one millimetre, check fit, insert, glue....VERY tedious! You'll notice that the fuel cells had to be inserted and draped over the engine nacelles while I added the bracing; otherwise I wouldn't have been able to get them in later.
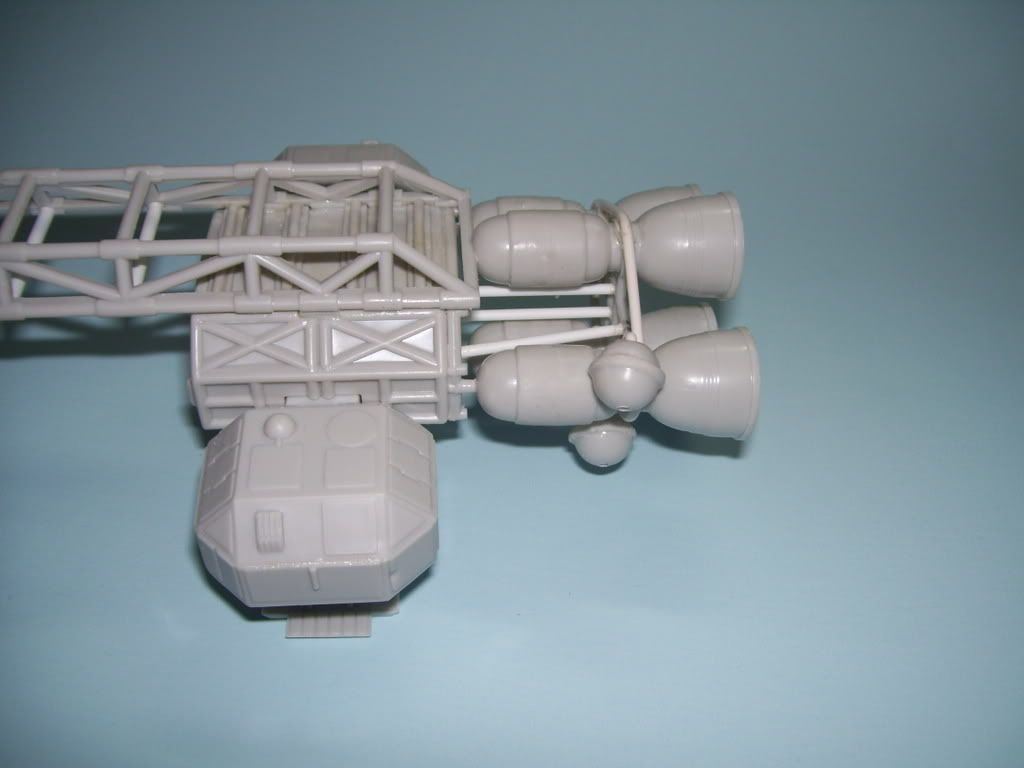
Next, the step that almost drove me crazy--I had to fix the tubing that cnnected the fuel cells to the two inner braces that I'd added. In this shot, you can see the cross bars that served as the mounting points.
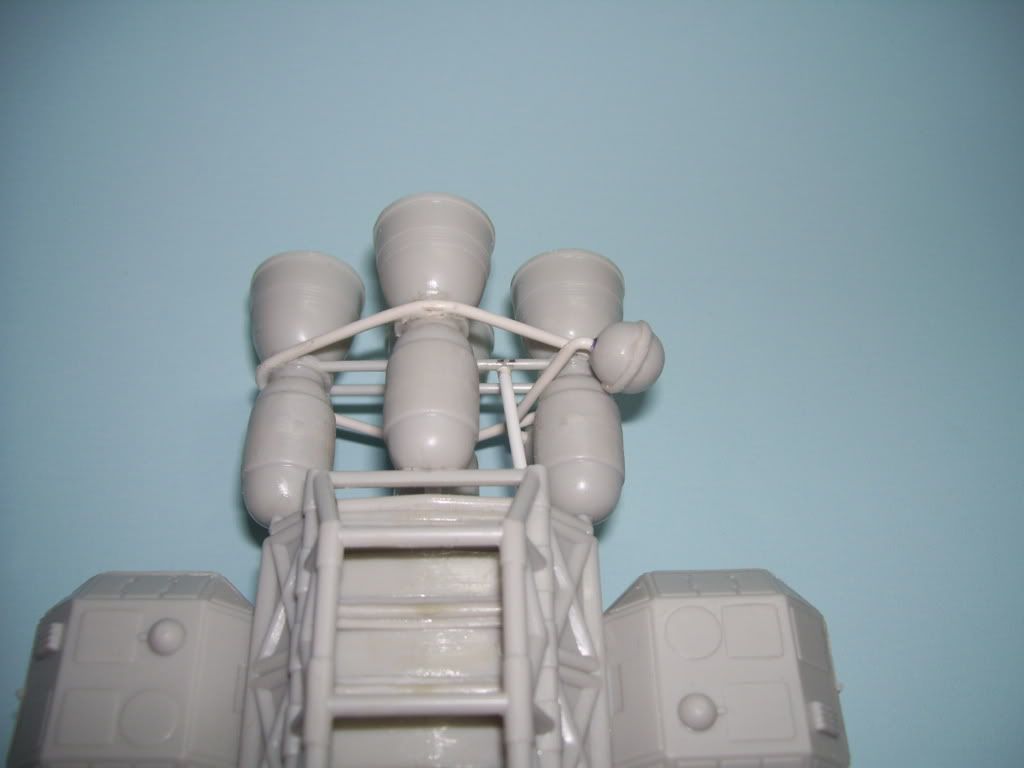
Here you can see them mounted and another set of tubes added above and below the fuel cells.
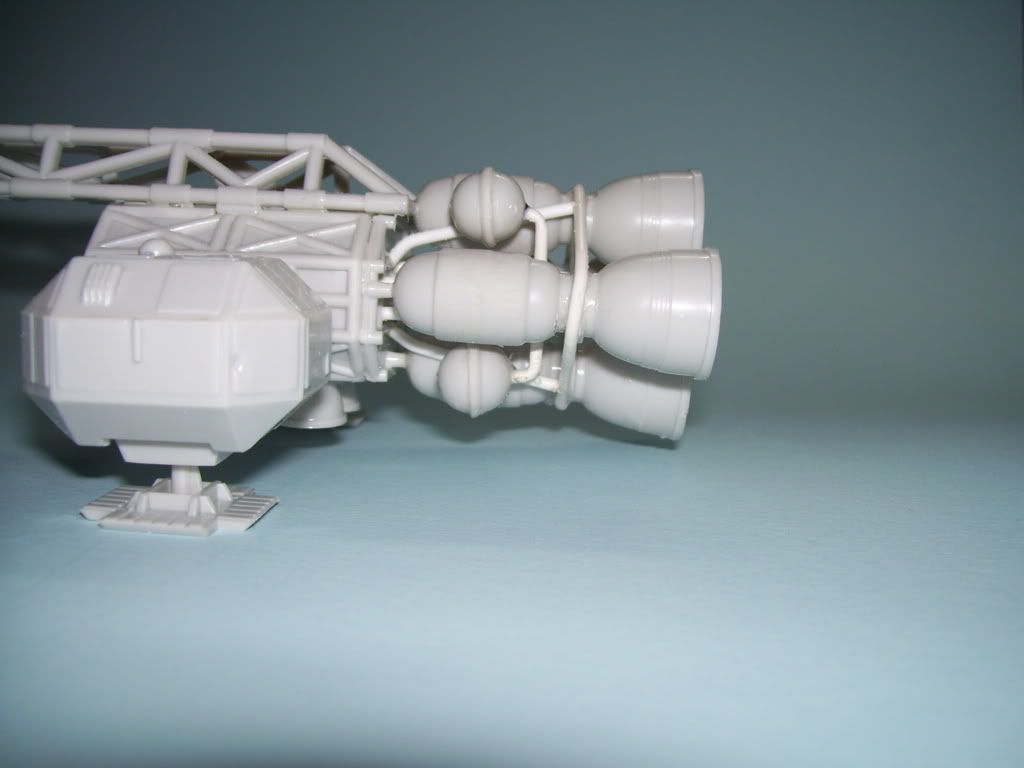
You can see theprogress so far. Additional "caging: was added; some more braces above and below, forming a "U" around the interior. There's still some more tubes and ducts to be added, plus smaller details on the engine nacelles themselves.
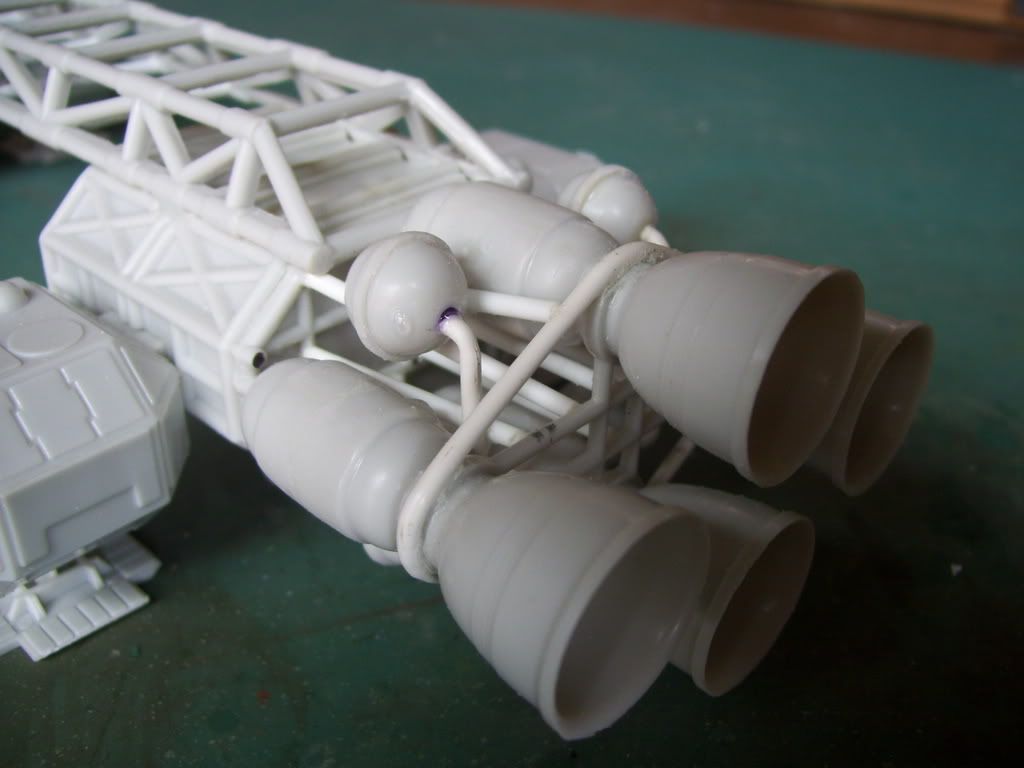
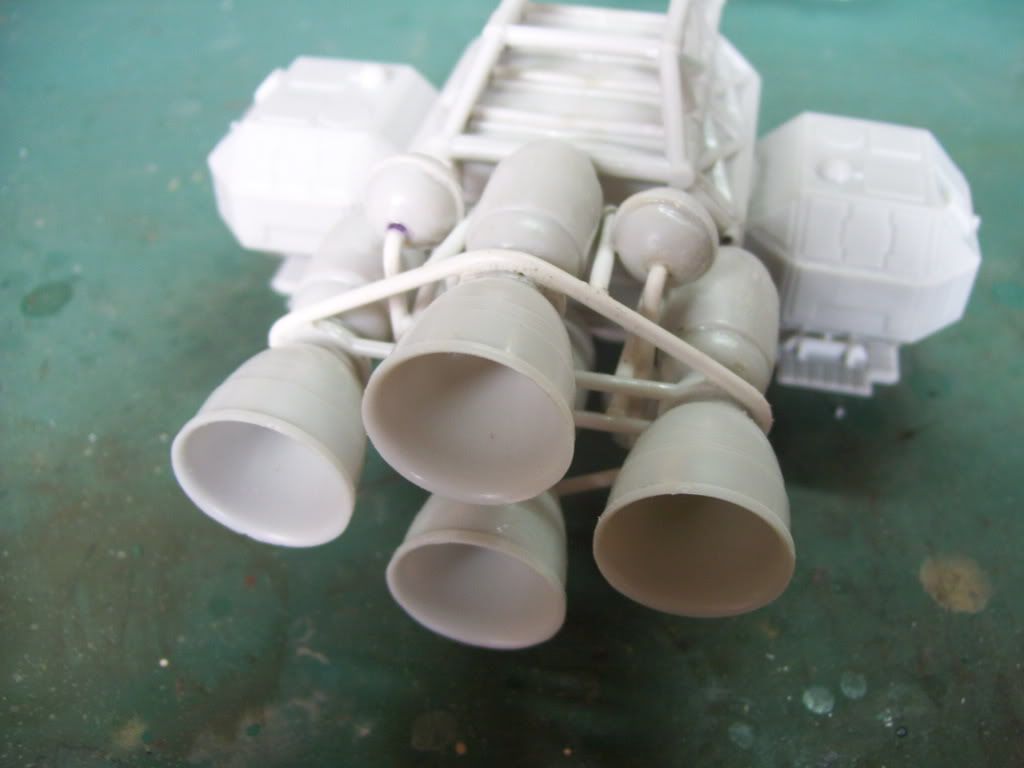
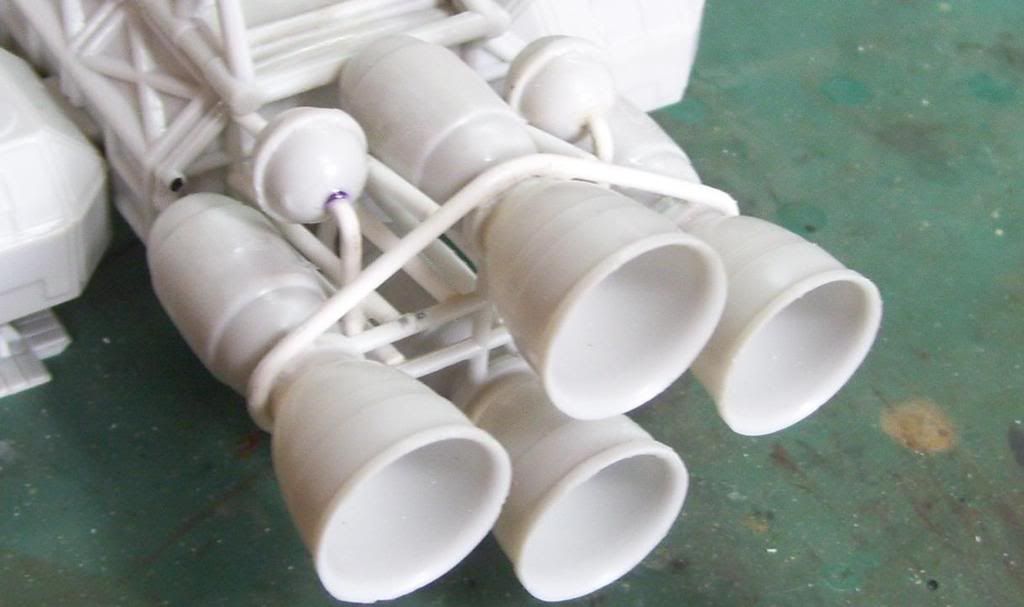
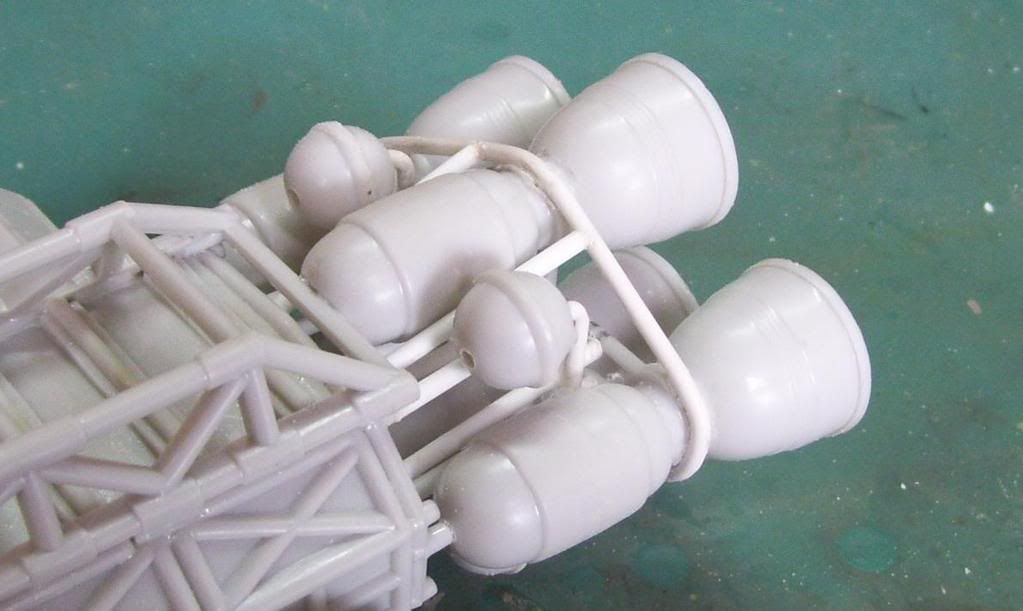
I'm satisfied that, while maybe not 100% "correct", it at least addresses and dresses up one of the weakest parts of the kit.
Now, I'm kicking myself for not having Dremeled-out those body cages....![Sigh [sigh]](/emoticons/icon_smile_sigh.gif) Oh well; like I said--the NEXT one will get the "full treatment"! By the way, I DID also add the bracing to the long fuselage brace on the top.
Oh well; like I said--the NEXT one will get the "full treatment"! By the way, I DID also add the bracing to the long fuselage brace on the top.
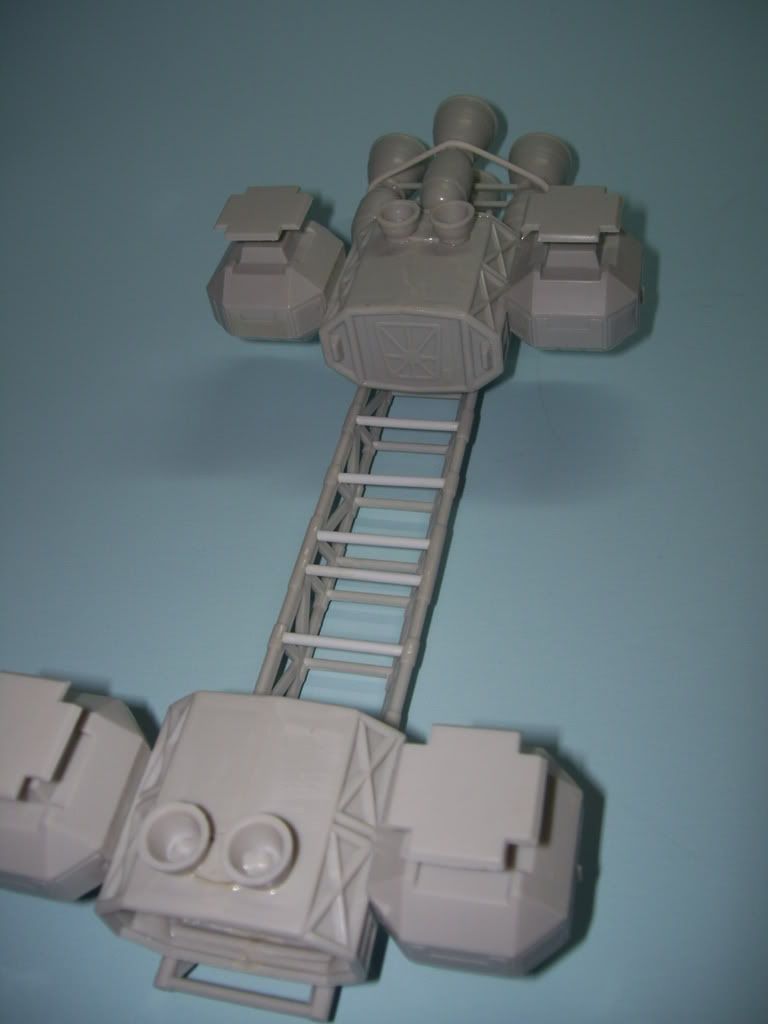
I won't be around this weekend, so there will not be an update til maybe Tuesday or so. Thanks for everyone's help and advice so far! Keep the comments and tips coming! ![Big Smile [:D]](/emoticons/icon_smile_big.gif)