Progress on the wings has reached the point I was trying to avoid: sheeting over the thin leading edges of the outer wing panels.
https://flic.kr/p/KtkFnm]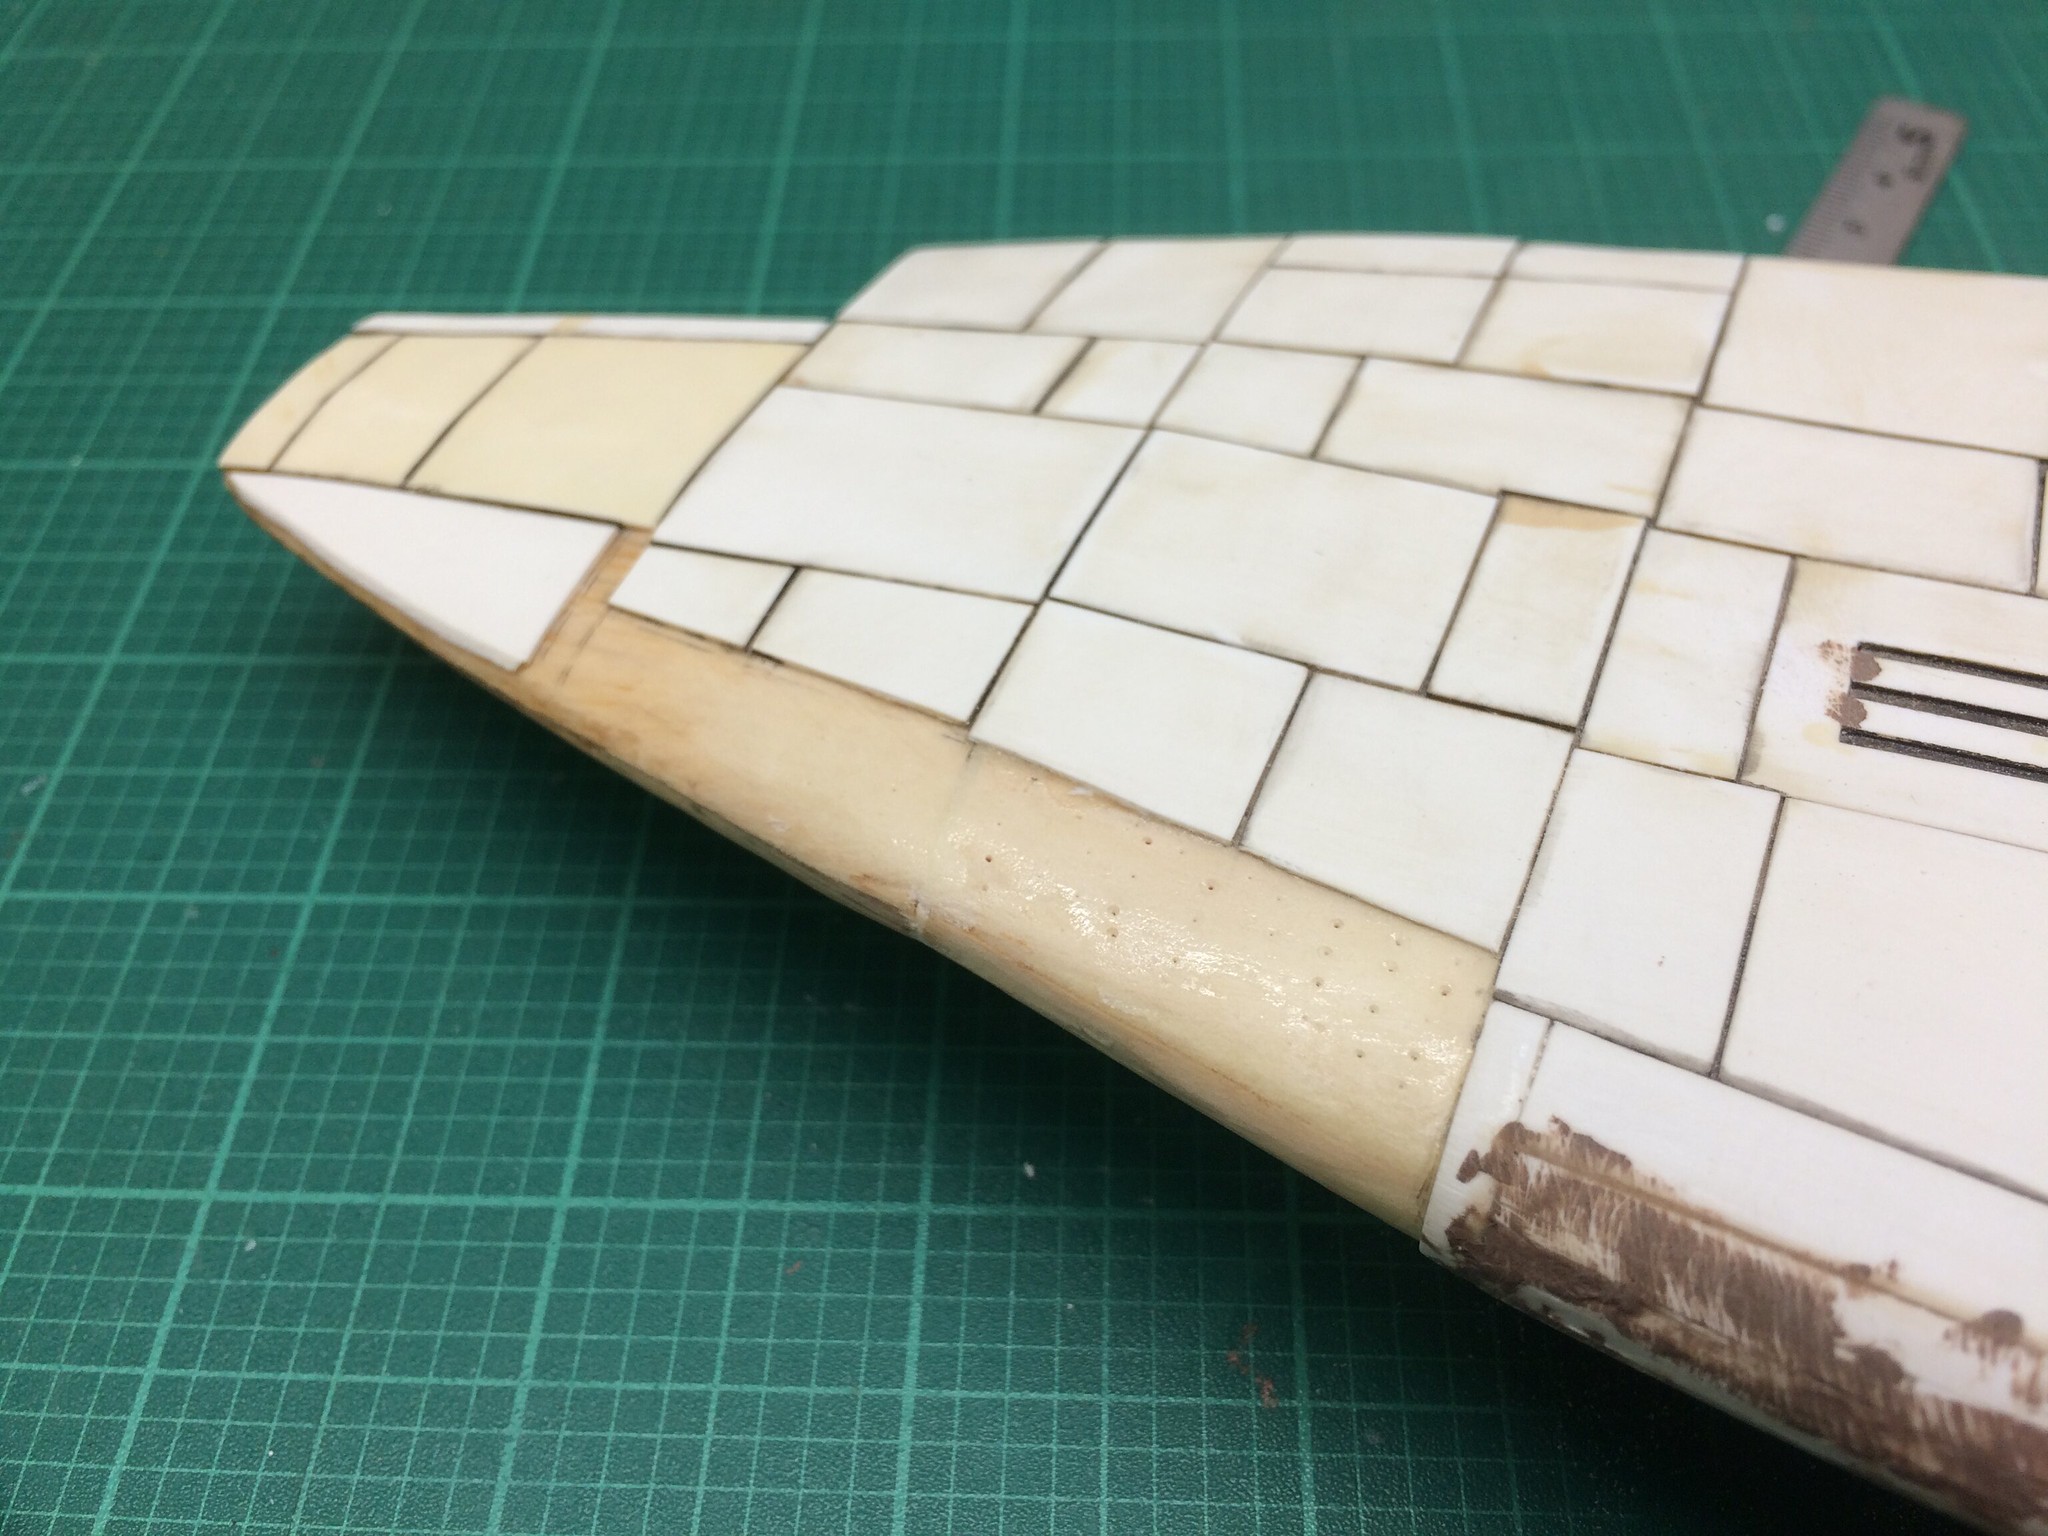 [/url]Bakagalas-76 by N.T. Izumi, on Flickr
When I started this model 30 years ago, I was using fairly wide strip plastic to "plank" the leading edges. It worked fine for the fat inboard sections, but as I neared the outer wings, I knew I had a problem... Or did I? Now that I have a box full of Plastruct/Evergreen strip in varying sizes, it was easy to see that using narrower strip would solve the problem.
https://flic.kr/p/26voynY]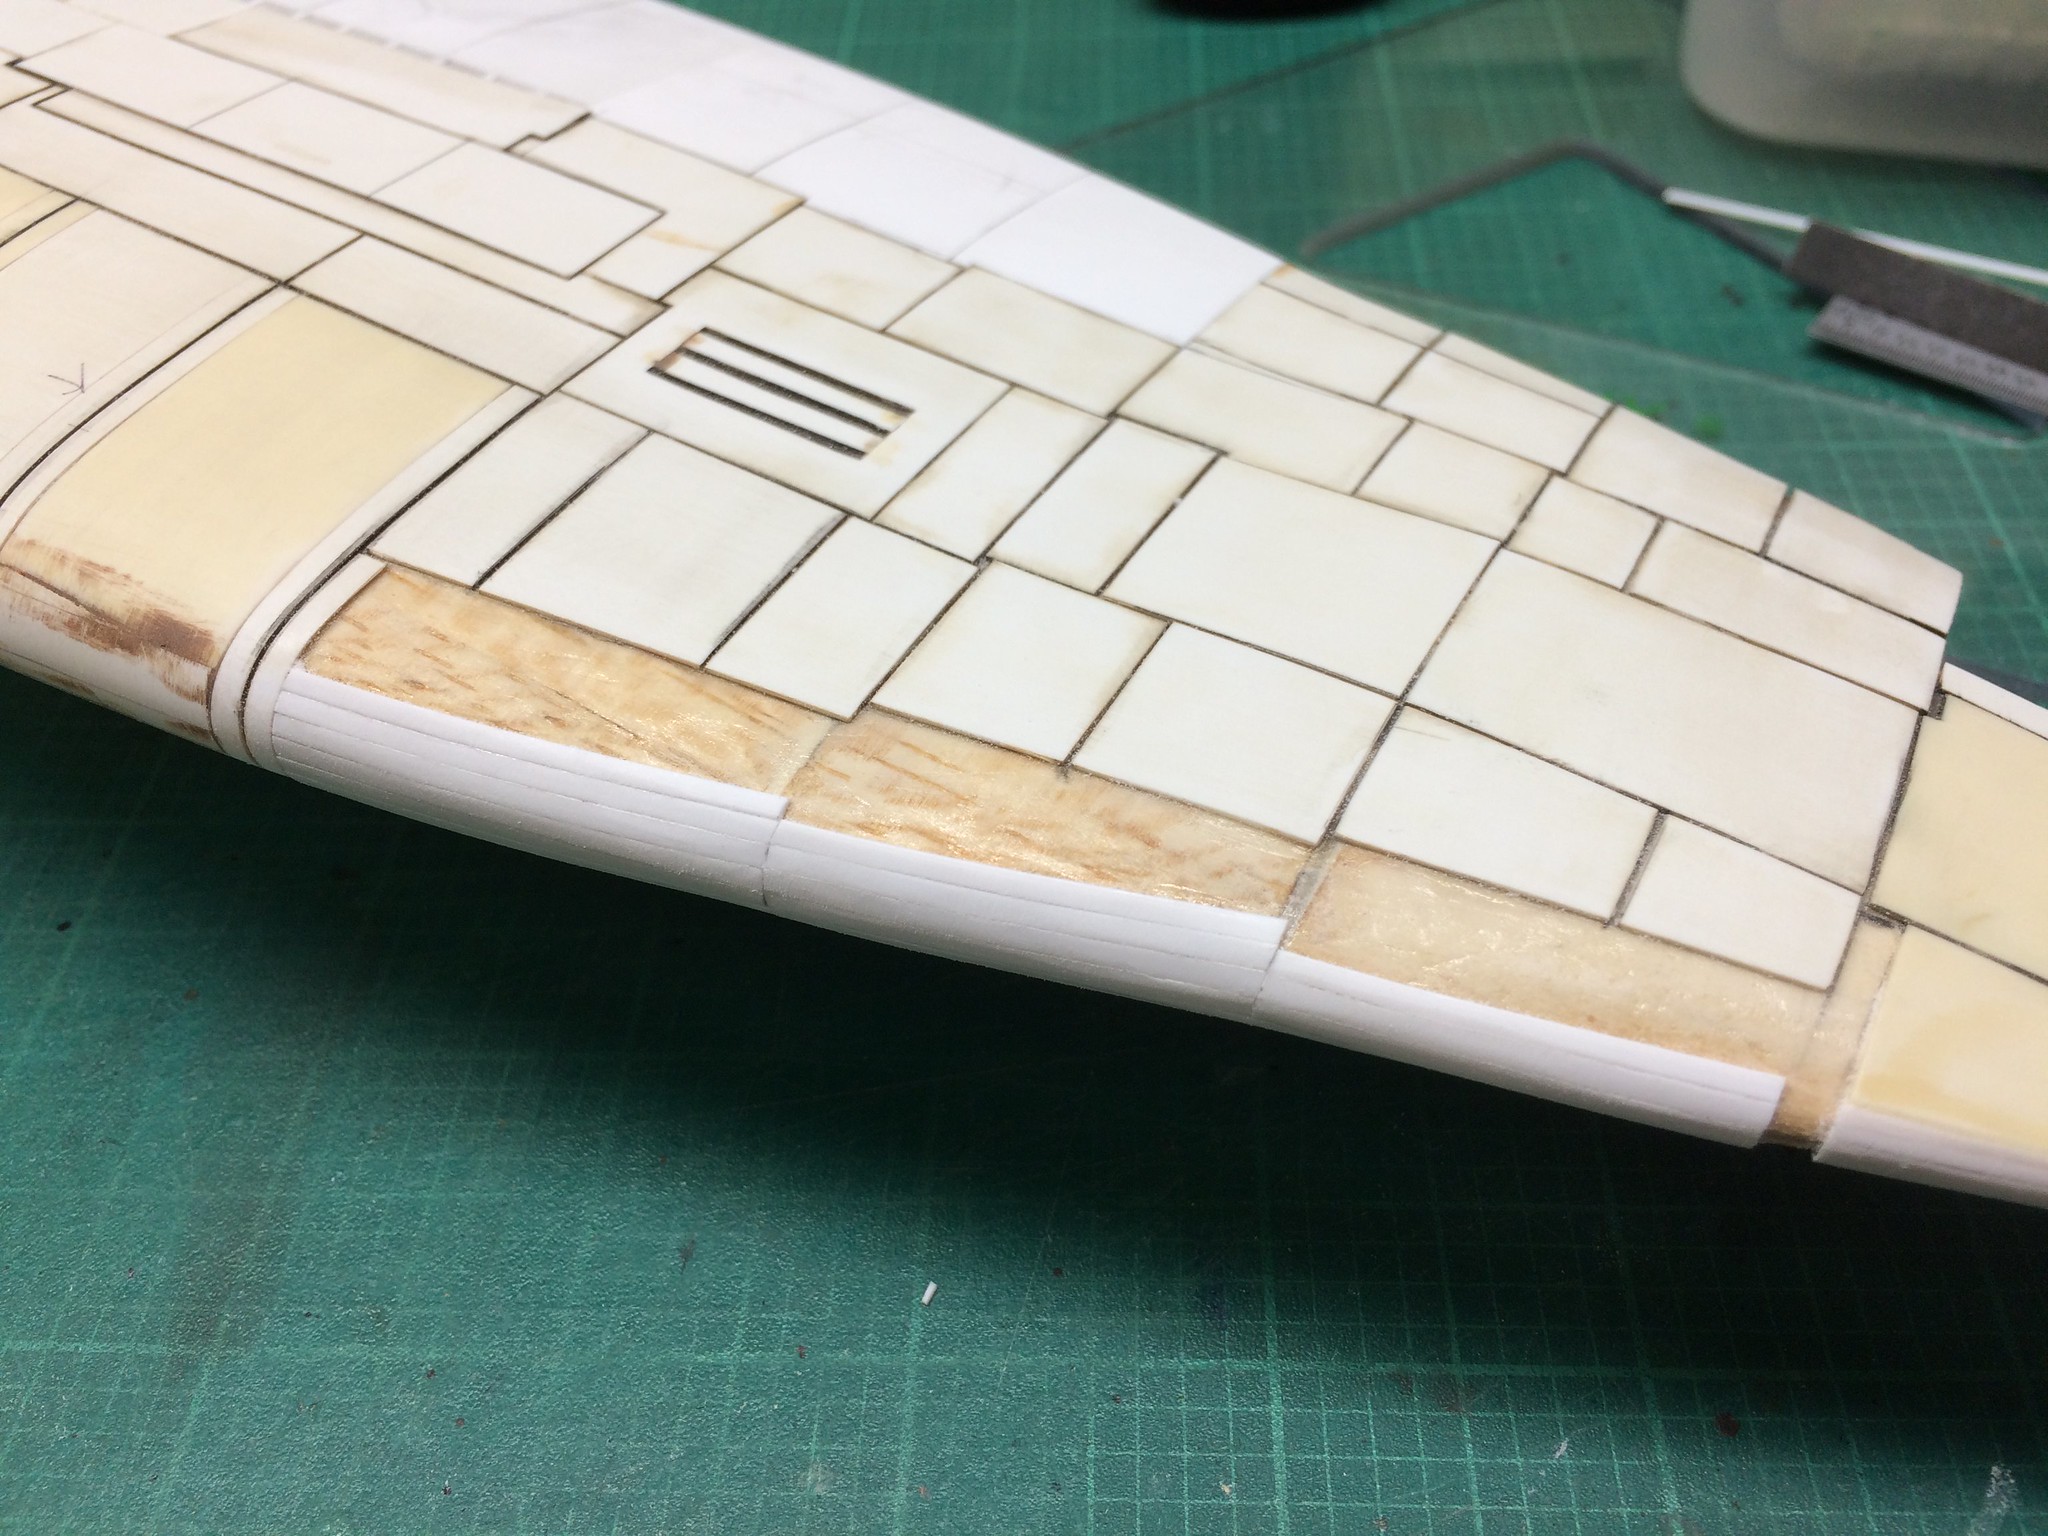 [/url]Bakagalas-77 by N.T. Izumi, on Flickr
I planked up to the point on the upper and lower wings where the airfoil curvature became relatively flat. Curled sheet plastic, trimmed to fit, filled in the rest.
https://flic.kr/p/KxjPUu]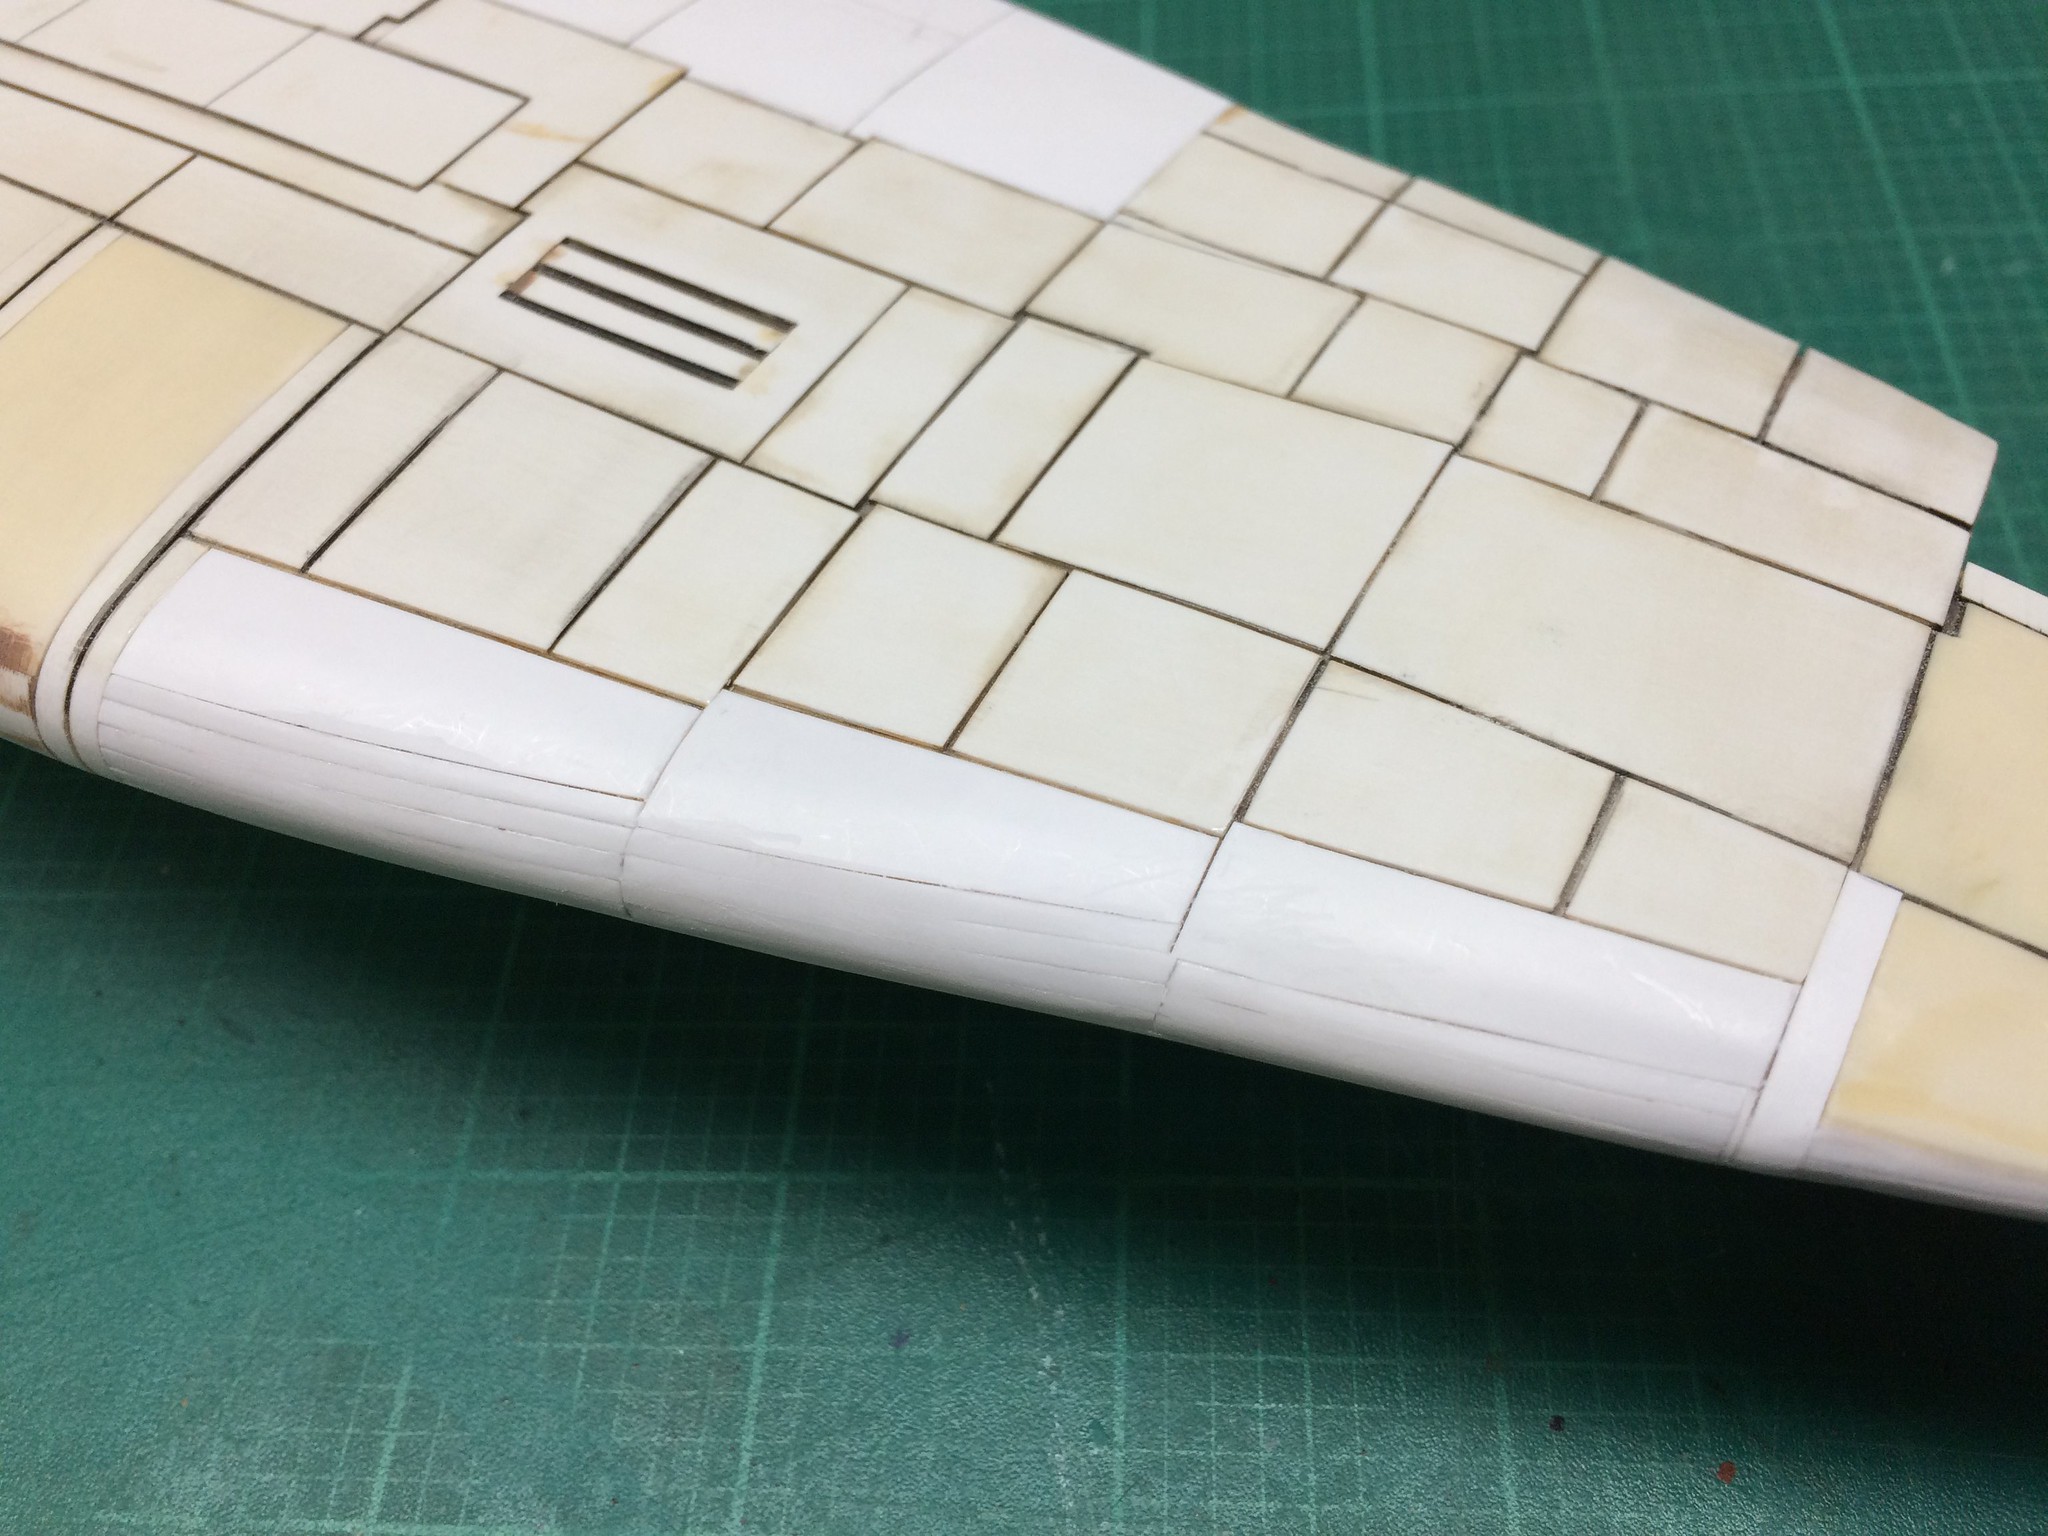 [/url]Bakagalas-81 by N.T. Izumi, on Flickr
Exact fit between the strips is not critical, as more strip and stretched sprue will be used to fill in any gaps/low spots. I had made some tape templates to gauge the size/shape of the flat sheets, but it proved to be a waste of time. Laying individual sheets on the wing and measuring/cutting one side at a time proved to be the quick and easy way. I was going to somehow (operative word is "somehow") vac-form the thin leading edges, but now that is just silly nonsense.
So as the flaps get finished and the remainder of the wings get planked, visible progress will start to be made. I had paper templates for the wing tips based on my sketches, but looking at them now they seem ridiculously stubby. Longer, pointier wing tips will be made, which better resemble the anime design.
Before:
https://flic.kr/p/KxjPMW]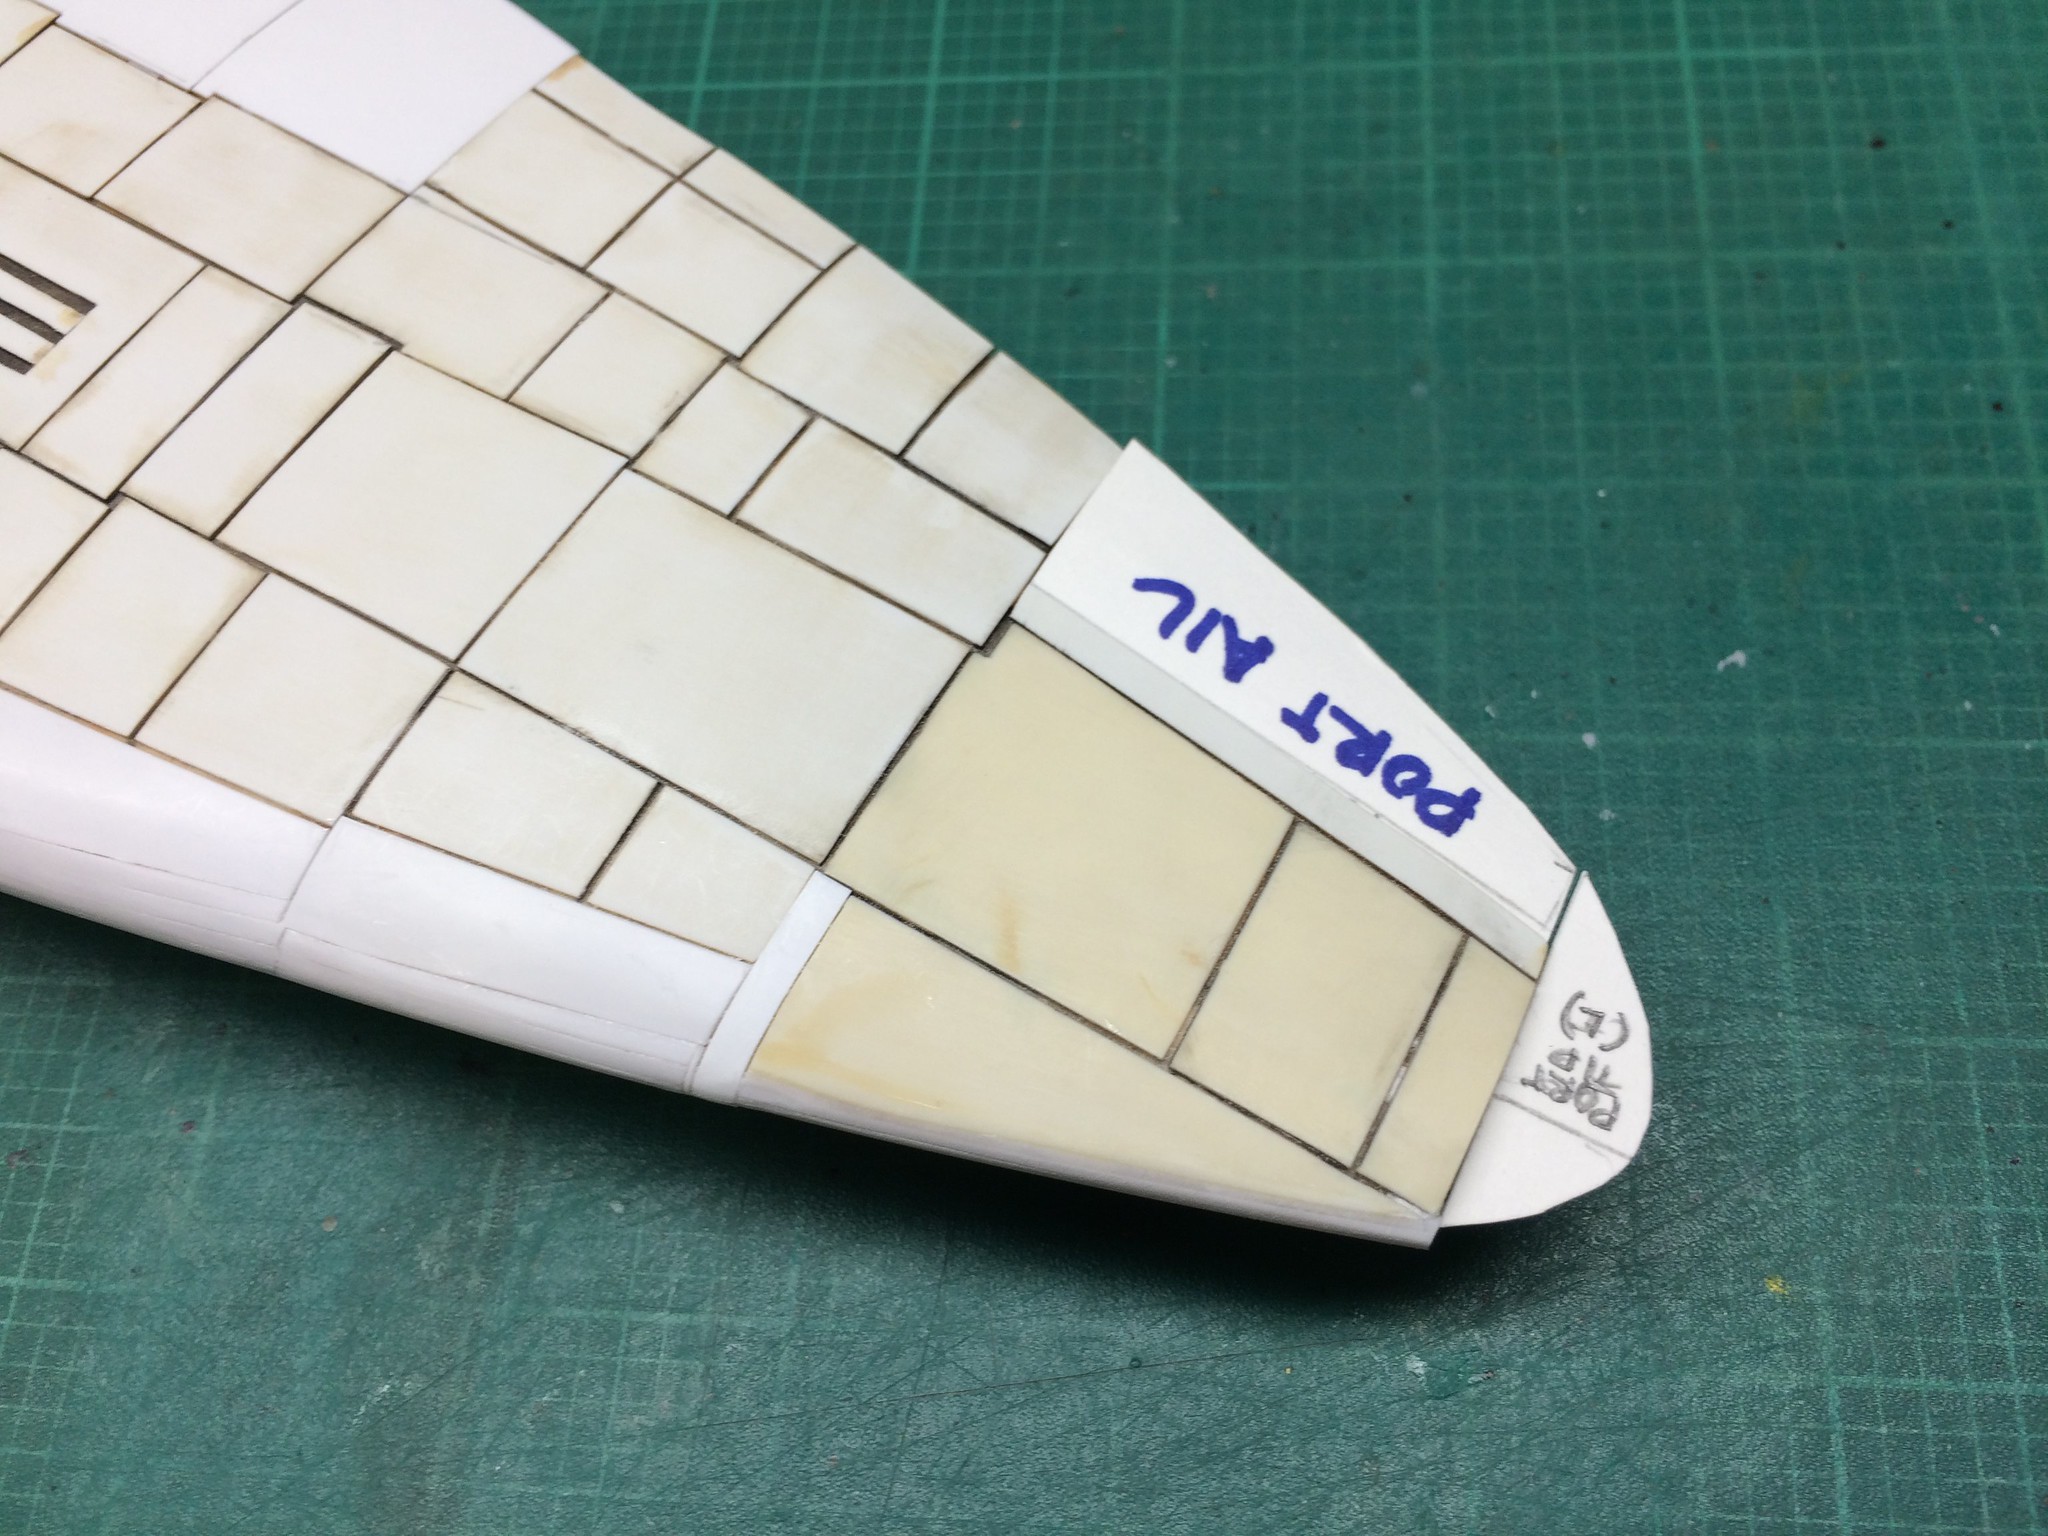 [/url]Bakagalas-82 by N.T. Izumi, on Flickr
After:
https://flic.kr/p/KxjPBL]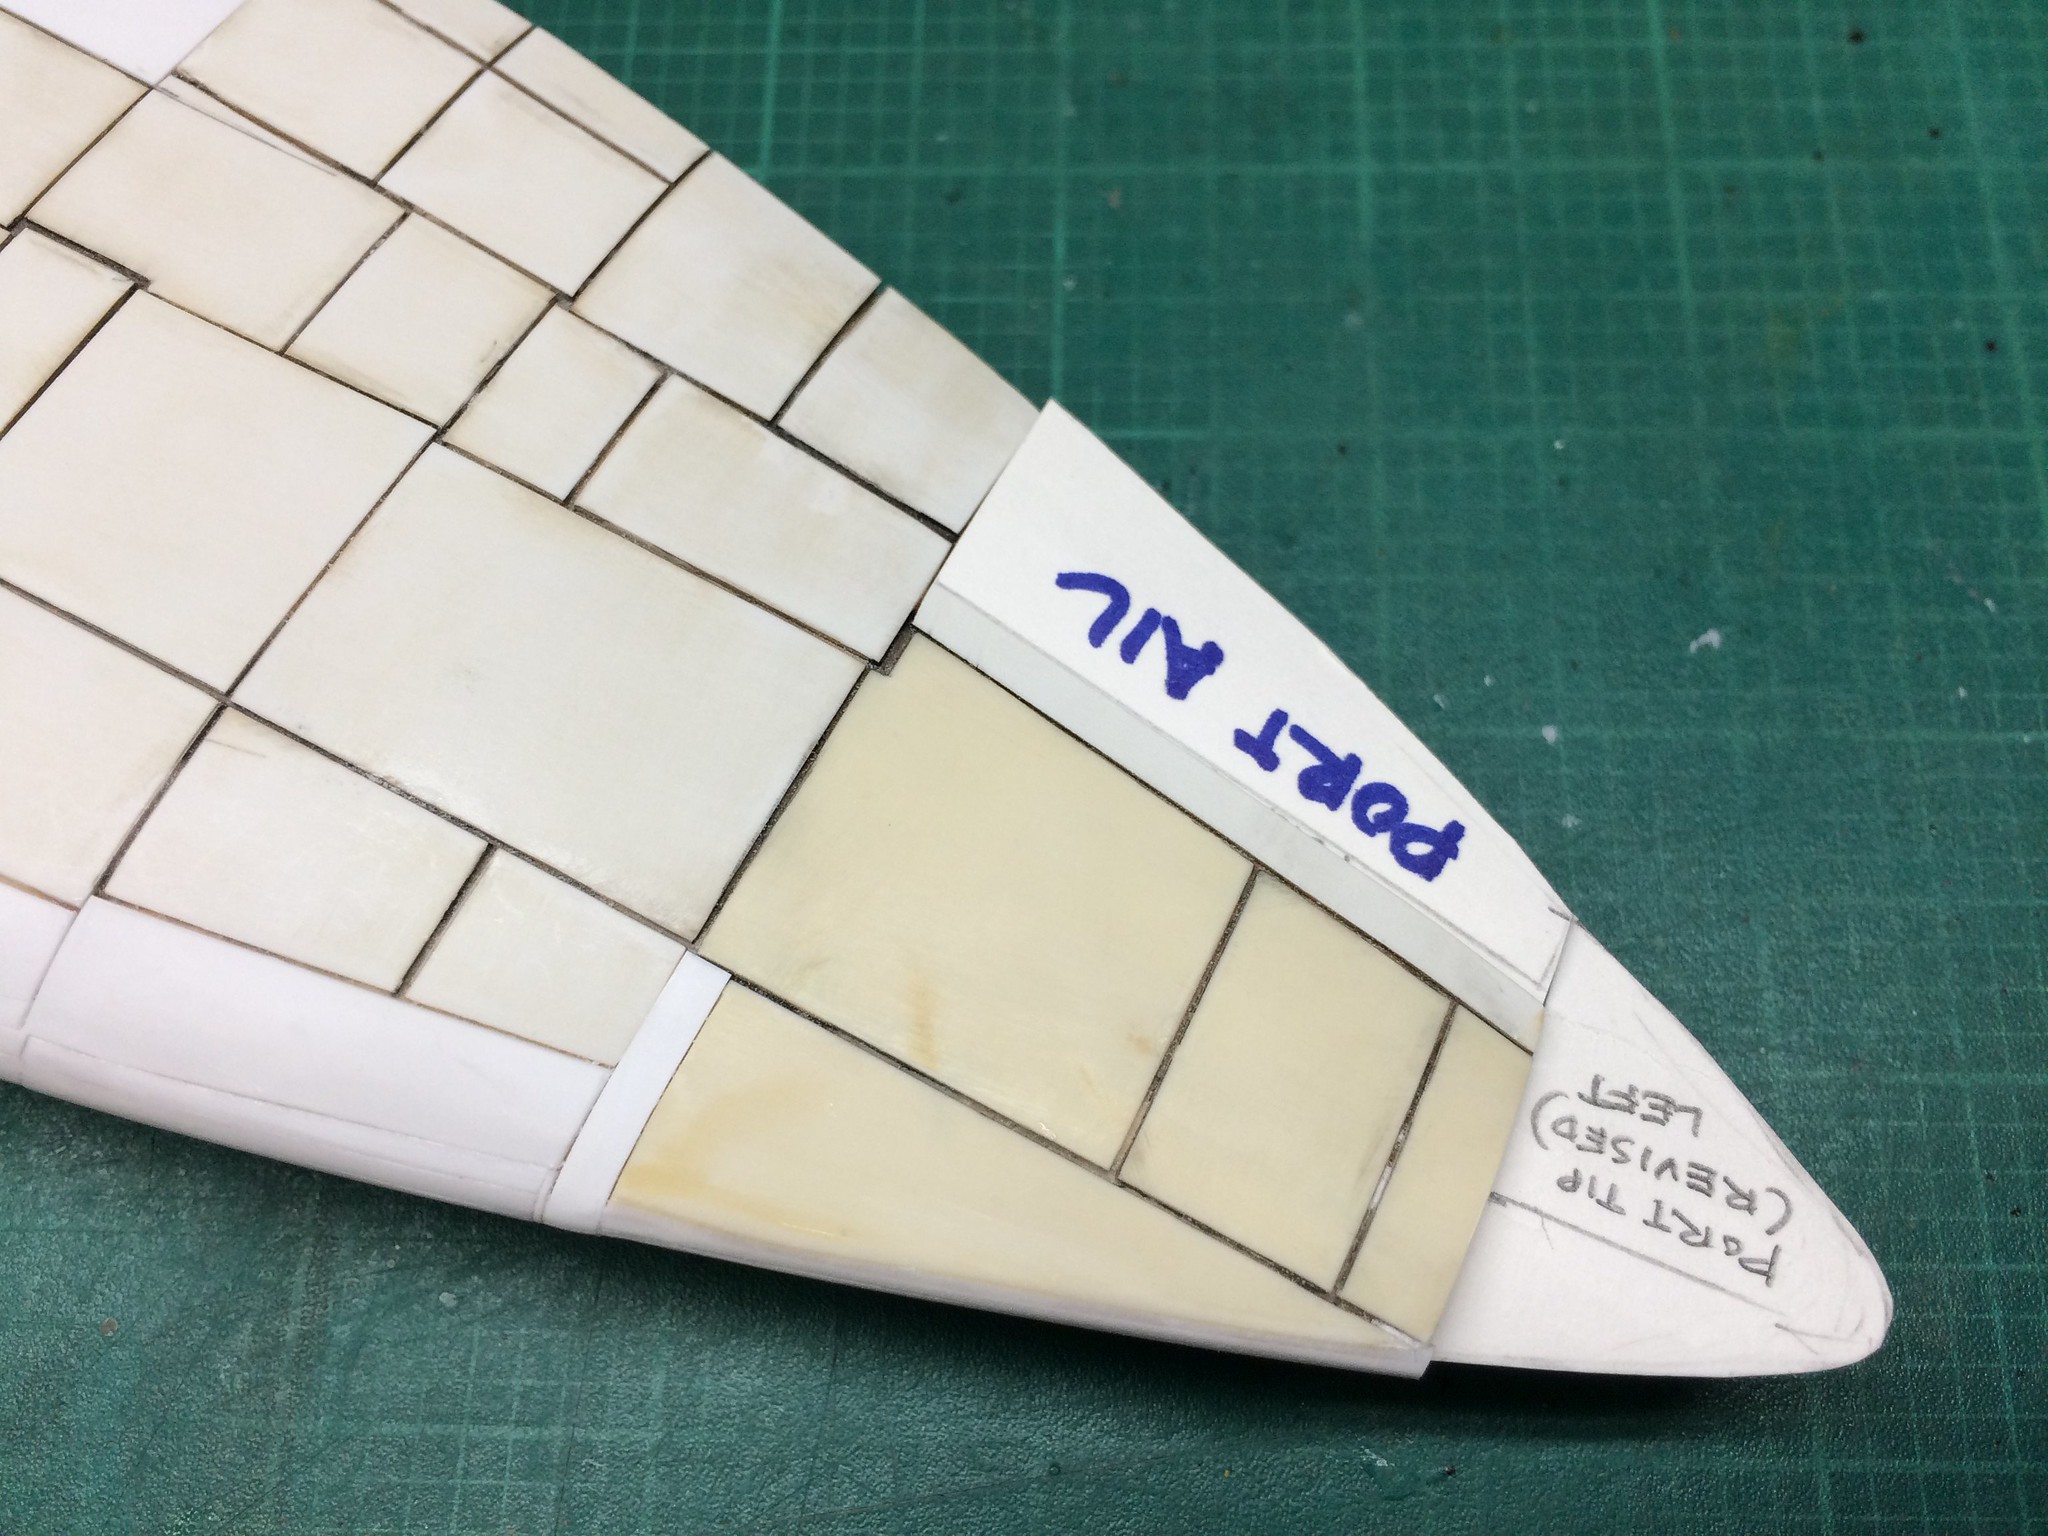 [/url]Bakagalas-83 by N.T. Izumi, on Flickr
Slowly ramping up the ju-ju levels. Non-modeling issues have kept me away from the bench for some time, but I am feeling more in the mood now.