Well... the main light box did not work out as planned. Facing two LEDs towards each other did not produce enough ambient light. I should have known this. LEDs don't behave the same way as incandescent bulbs; LEDs focus their light from the front.
But-- no worries. This snafu led me to something much much better. Ultimately--the shotgun approach is replaced with strategically placed light cans. I positioned LEDs exactly where I want the light painted.
So-- I placed one light over the organ, two over the couch (one on each side), one over the crystal globe, and one over the writing desk. All the main elements are illuminated producing a very nice effect. For the couch, I positioned the lights at angles for better coverage. Otherwise, the ceiling frame was in the way causing shadows.
Notes:
1. I am using 3mm cool light LEDs for the main parlor. I tried warm white, and I didn't like it. It was too yellow and to my eye--it muddied the details.
2. I used Evergreen tubing to help secure the LEDs, but also to help focus the light.
3. I might still use the light box I made. It might be good for light blocking. Time will tell on that.
4. For the engine room I used a 5mm fast changing RGB LED. The LED cycles colors.
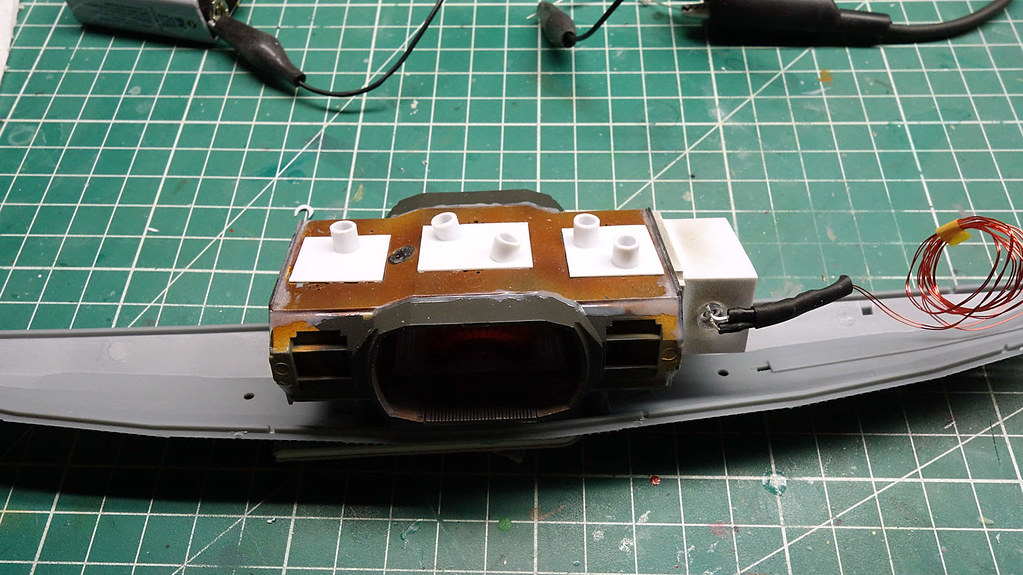
Below is an example of one LED. I still have to wire the other LEDS.

Btw. The engine room LED/assembly turned out great! I used the same tubing to focus light and you can clearly see the changing colors. Somewhere down the road I will try imaging all this so you can see.
I need to finish wiring the LEDs and from there I might start work on the main windows. Or, I might address the exterior lighting adjacent to the main windows.
Later.