- Member since
November 2005
|
StarWars : MPC Y-Wing - - COMPLETED PICS - -
Posted by Anonymous
on Sunday, April 30, 2006 4:25 AM
MPC Y-Wing
Hi all,
I’m taking a break from my usual Formula 1 kits to indulge in a little
StarWars fun. I managed to pick up an old 1984 odd MPC Y-Wing kit on
ebay for about AUS$5.00…! It was partly built already, I think by a kid
who had only half a clue, got glue everywhere, no paint, etc etc.
At first I thought it best to disect it all, but soon gave up with
the mountain of glue on the thing. So I resorted to MUCH masking and
careful painting, in the hopes of getting an eye-catching colour
scheme. It may not be technically correct, but I’m not fussed about
that, so please hold off on the “that’s not correct” comments. Just
take it for what it is please.
Anyway, first up a couple of pics of the kit as I received it.
You’ll have to excuse the F1 engine cowling in the top right corner…
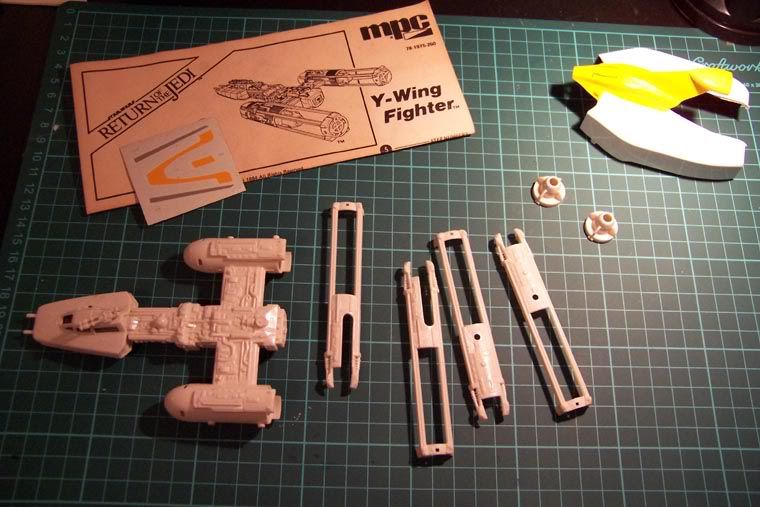
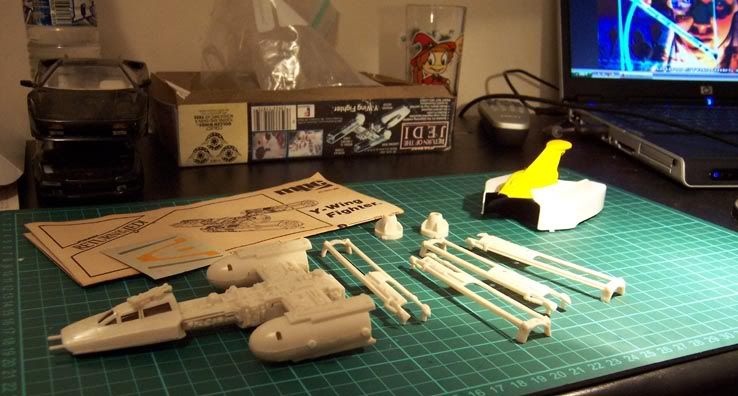
So it came time get started and first thing on the agenda was to
fix all the seam lines, of which there weren’t many overly visible ones
thankfully, and then get rid of the raised lines on the front
fuselage/cockpit. Once this was accomplished I then primed the whole
thing.
This is when the tricky stuff got started… masking. As you can see
below it was very fiddly. I had to make a template from the decal, then
lay Tamiya masking tape over the template, and cut the masking tape to
size. It was certainly an exercise in patience, although I must admit I
got it all done much quicker than expected. I think all the building is
definitely starting to result in better masking and painting skills
finally!
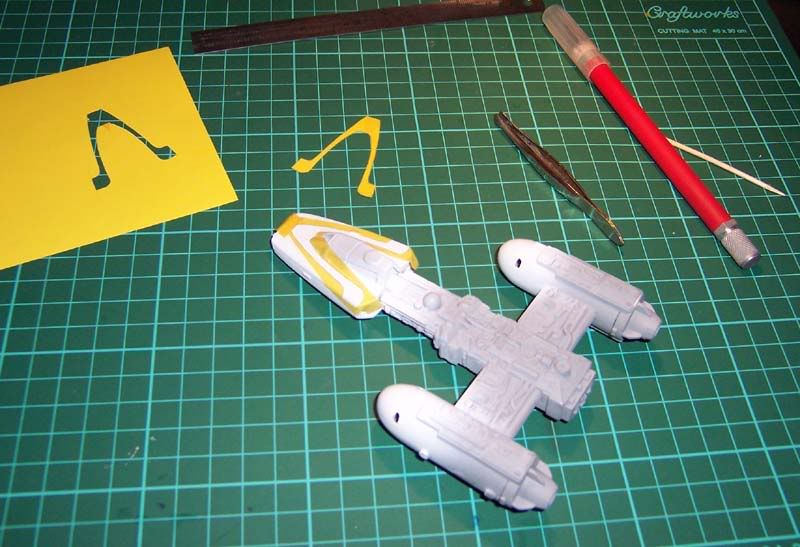
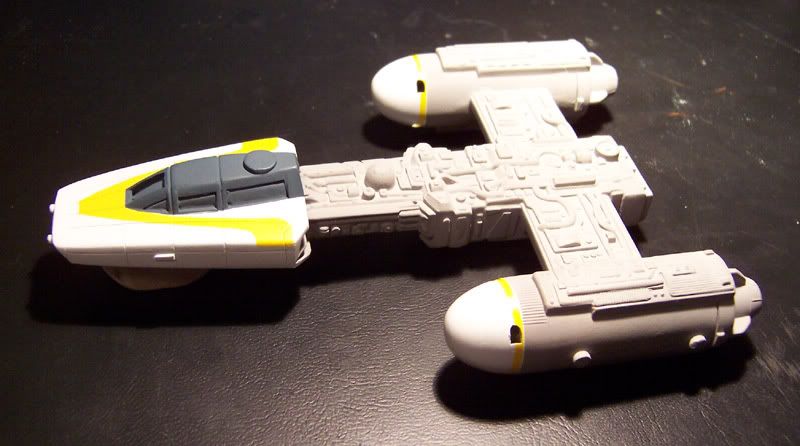
There’s a number of relevant points to make now that will hopefully be evident in the next pic.
You can see part of the scribing I did on the cockpit area once the
raised panel lines were removed. I’ve never tried this before, and I’m
amazed at the positive result I achieved! I really surprised myself –
not perfect perhaps, but good enough for a first attempt. I actually
used a VERY sharp pencil to draw the lines I wanted first, then used
Scale Race Cars photoetch scribing blades, pulled gently along a ruler
to scribe over the penciled lines.
It may not be very evident (I hope!), but there were some sections on
the engines and main fuselage behind the cockpit that had terrible fit,
or mould lines I couldn’t get to very well, so I simply covered them
up. As there’s raised parts all over the place, I just got a lid from a
butter container – the type that’s a very synthetic type of cardboard
stuff. I then cut it to various shapes and sizes and simply glued it to
the fuselage in various shapes, angles and levels. This also worked
great, and I’m sure that without another kit to compare it to it would
be hard to pick where I’ve done this. You can also see a small, easily
visible example of this on the cockpit.
In this picture the fuselage painting is about 80% complete. For
the eagle-eyed of you you’ll notice the cockpit windows are also blue.
The very last thing I’ll be doing is the windows, once all the clear
coats are done. The guy who built it half up before me put the clear
parts in with no hope of extracting them. So I covered them with liquid
mask, and just painted all over the top. When everything is done I’ll
be pulling the liquid mask off, touching up any paint flakes with
weathering (hopefully weathering is something I’ll pick up quickly as
well!), and put dark coloured overhead projector film in, cut to size.
That’s the plan anyway…
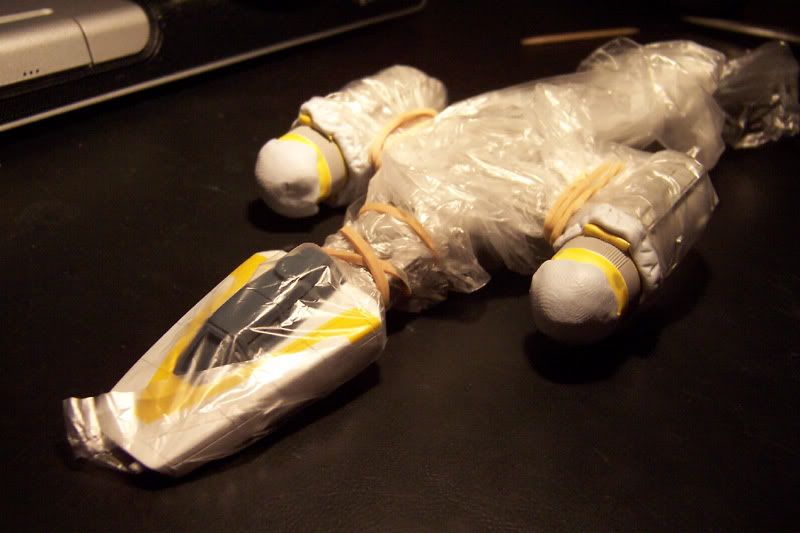
Below is just another example of the masking circus that goes on on
my work desk from time to time… I find I start out impatient with it
(one of my modeling vices), but I seem to make progress quickly, and
I’m happy to say this masking effort turned out very well!
Well that’s it for now. I’m currently working on the directional
fins, some additional piping/plumbing for the main fuselage, and then
it’s on to weathering and washes… the scary bit! And seriously… I can’t
have a clean Rebel Y-Wing can I… hehe. I’m aiming to have this one
completed in 4 - 6 weeks. Oh, and as the R2 unit is woefully devoid of
any reasonable detail, I’ve decided to take some chunks out of him,
install some broken pipes and metal, and make him all shot up. Lets see
if I can pull it off…!
Positive words and comments welcome.
Cheers all.
Mark
P.S. I'll be posting this same thread at www.starshipmodeler.com in case you notice it there too.
|