Here's a picture, which makes things look easier than they really are becuase it's sooooooooo magnified:
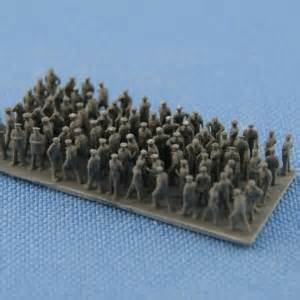
My sprue has a very noticeable inward curve to it. I'm thinking of soaking it in hot water to try and flatten it out, but I don't think there's enough room for a sawblade in there, even my ultra-thin JLC.