SEARCH FINESCALE.COM

Enter keywords or a search phrase below:

Building the HMS Fly by : Jamie build log

37183 views
34 replies
1 rating 2 rating 3 rating 4 rating 5 rating
  • Member since
    May 2009
  • From: Poland
Posted by Pawel on Thursday, October 8, 2020 5:34 PM

Hello Jamie!

Thanks a lot for sharing all those WIP pictures. The hull looks really nice and it will make for a great display. One thing that bothers me a little is the way you taper the planks on your model. Sadly it can't be corrected any more, but for the sake of your and other modellers' future projects - I read that the plank on a real ship wasn't allowed to get less wide than half of it's original width (then it would make a weak point on the hull and it would be difficult to fasten it to the frames). When the plank tended to get less wide (narrower - can you say that in English?), the adjacent plank would be notched to "accomodate" the narrow plank.

Some pictures from the web to better explain what I mean:

And another one from the incredible mr. Mondfeld:

Thanks again for sharing and good luck with your modelling projects, have a nice day!

Paweł

All comments and critique welcomed. Thanks for your honest opinions!

www.vietnam.net.pl

  • Member since
    August 2018
Posted by Jamie Dominie on Wednesday, October 14, 2020 10:52 AM

Hi Pawel,

Thank you for reading about my project. As far as the plank tapering you mentioned, I too have read about it but unfortunately it was after completing the hull. If I had known about it before I wouldve absolutely done it in that fashion. Once again thanks for reading and I hope to have you on board for the remainder of this build.

-jamie


Intermediate builder from the lakes of Canada

  • Member since
    August 2018
Posted by Jamie Dominie on Wednesday, April 28, 2021 6:00 PM

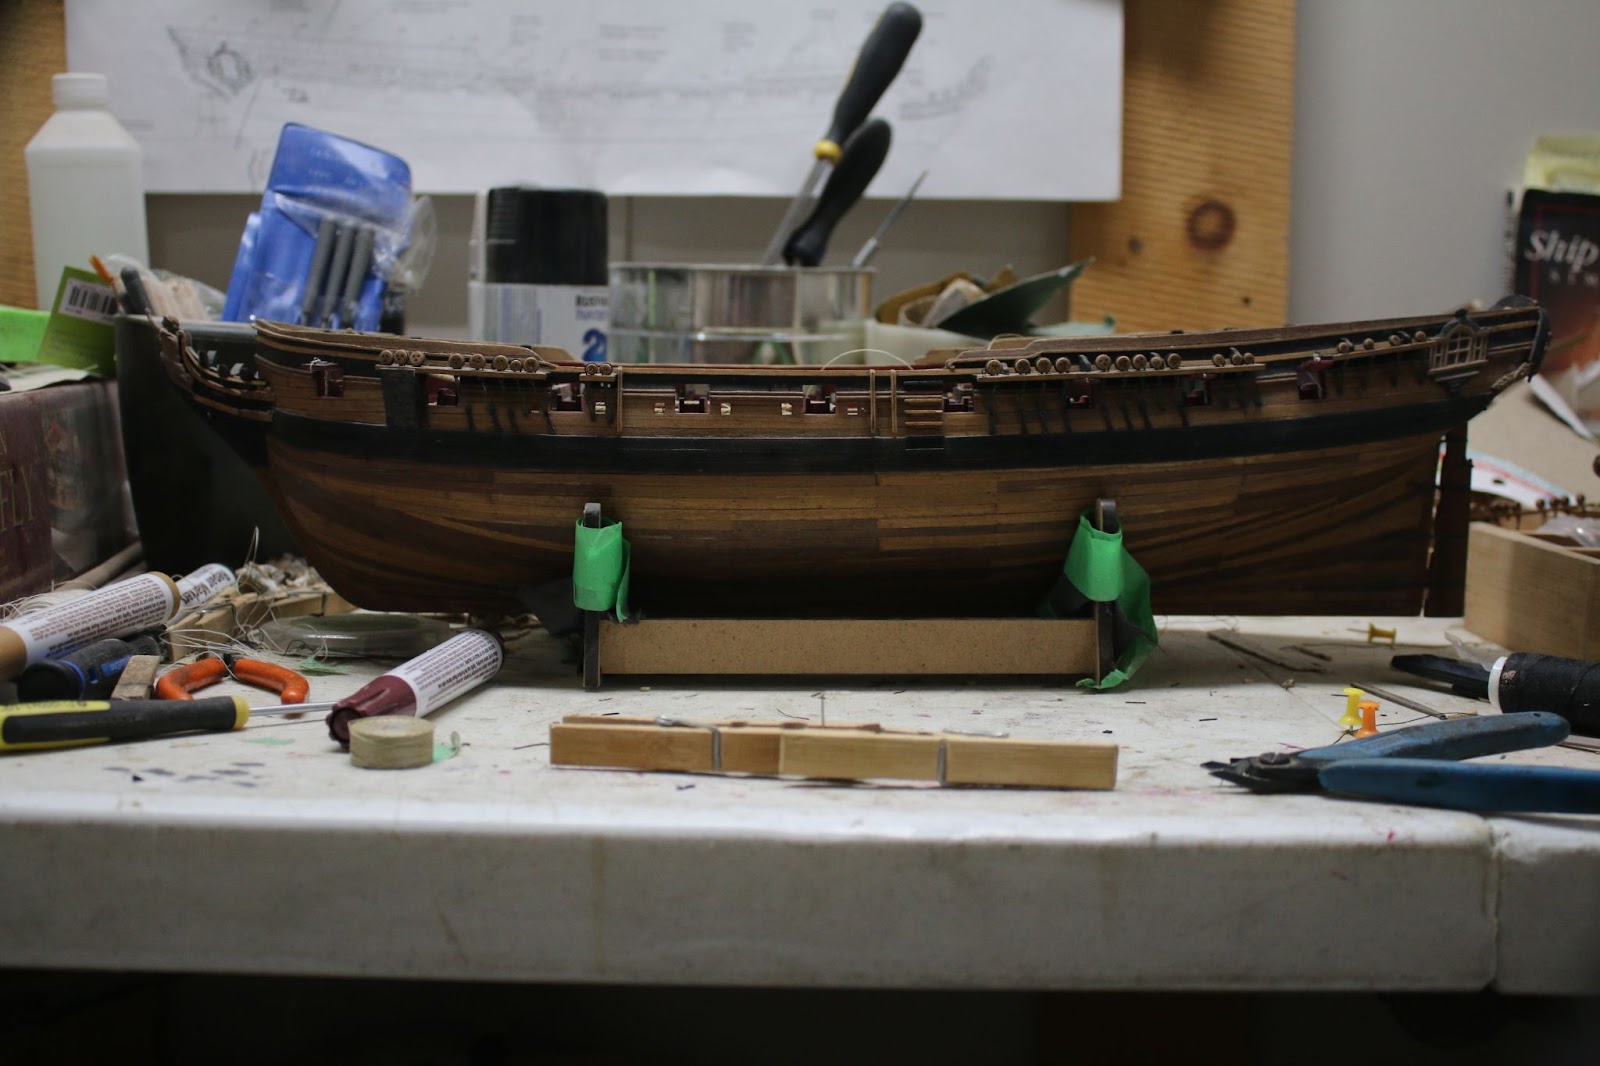
So it has been quite some time since my last post, for that, I apologize. I am a student and the year has been quite busy, but I have done work on the FLY. Hence the new post. So where we left off I had just stained the hull after completing planking.

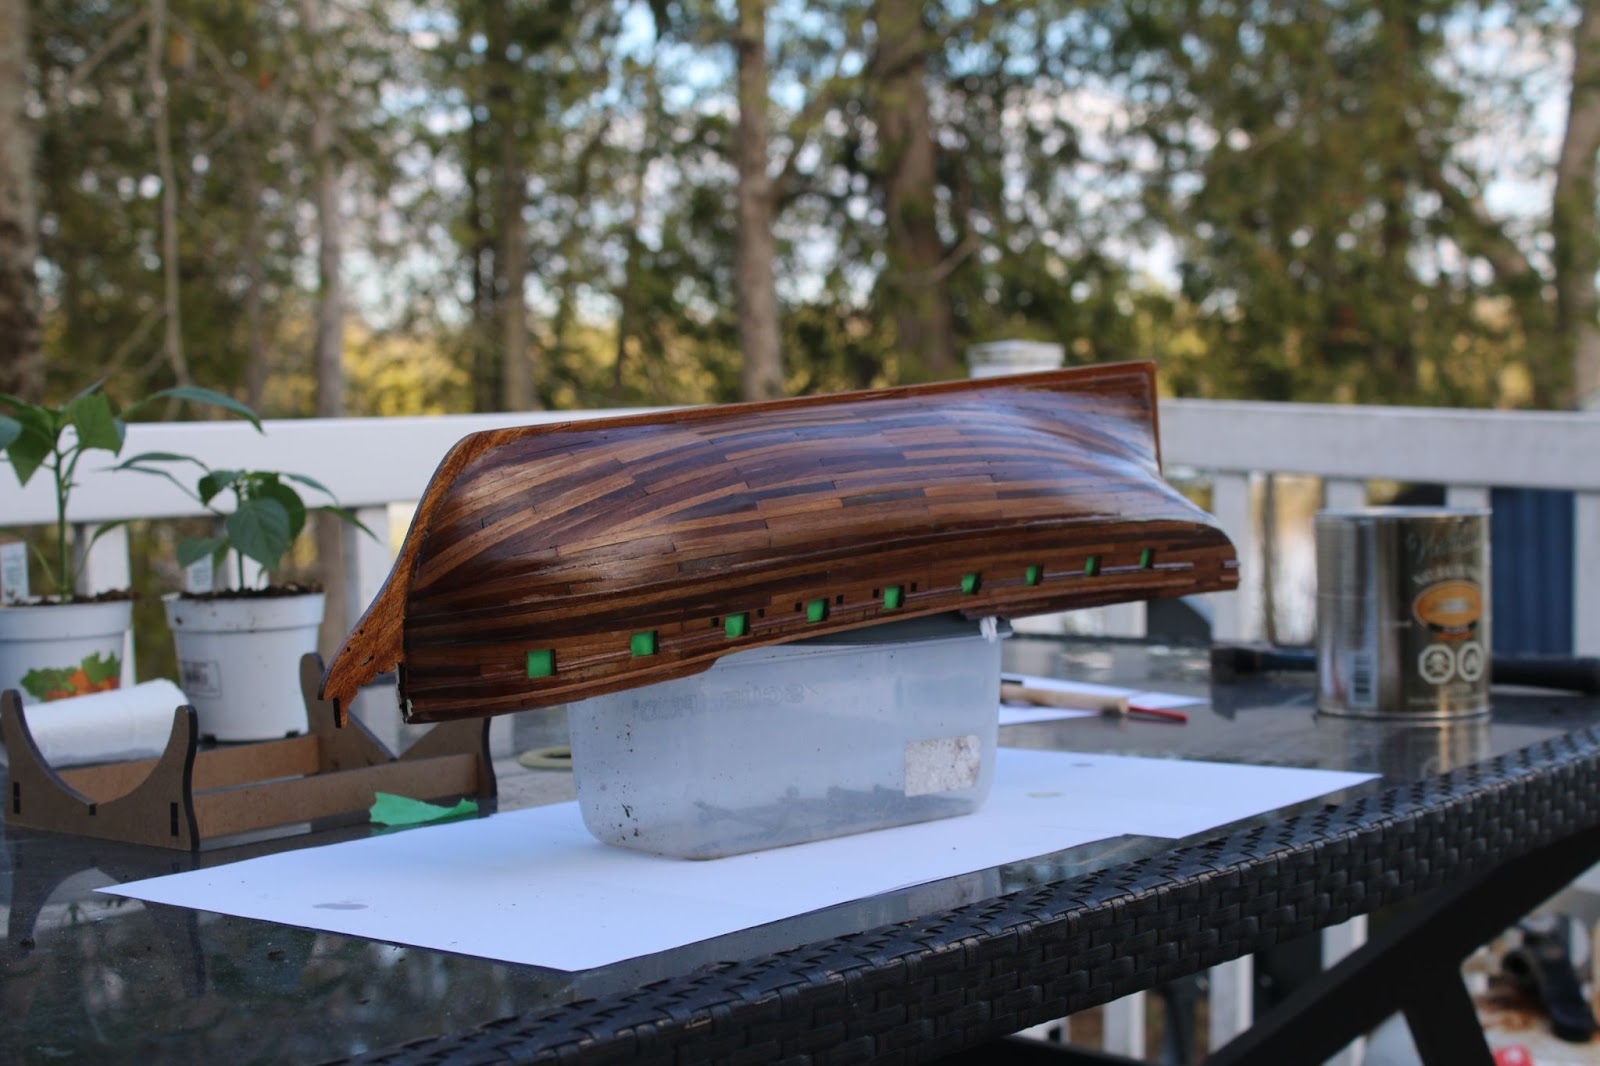
After this I let the stain dry before going ahead with staining the wales and spaces between the decorative trim. I also stained the interior planking.

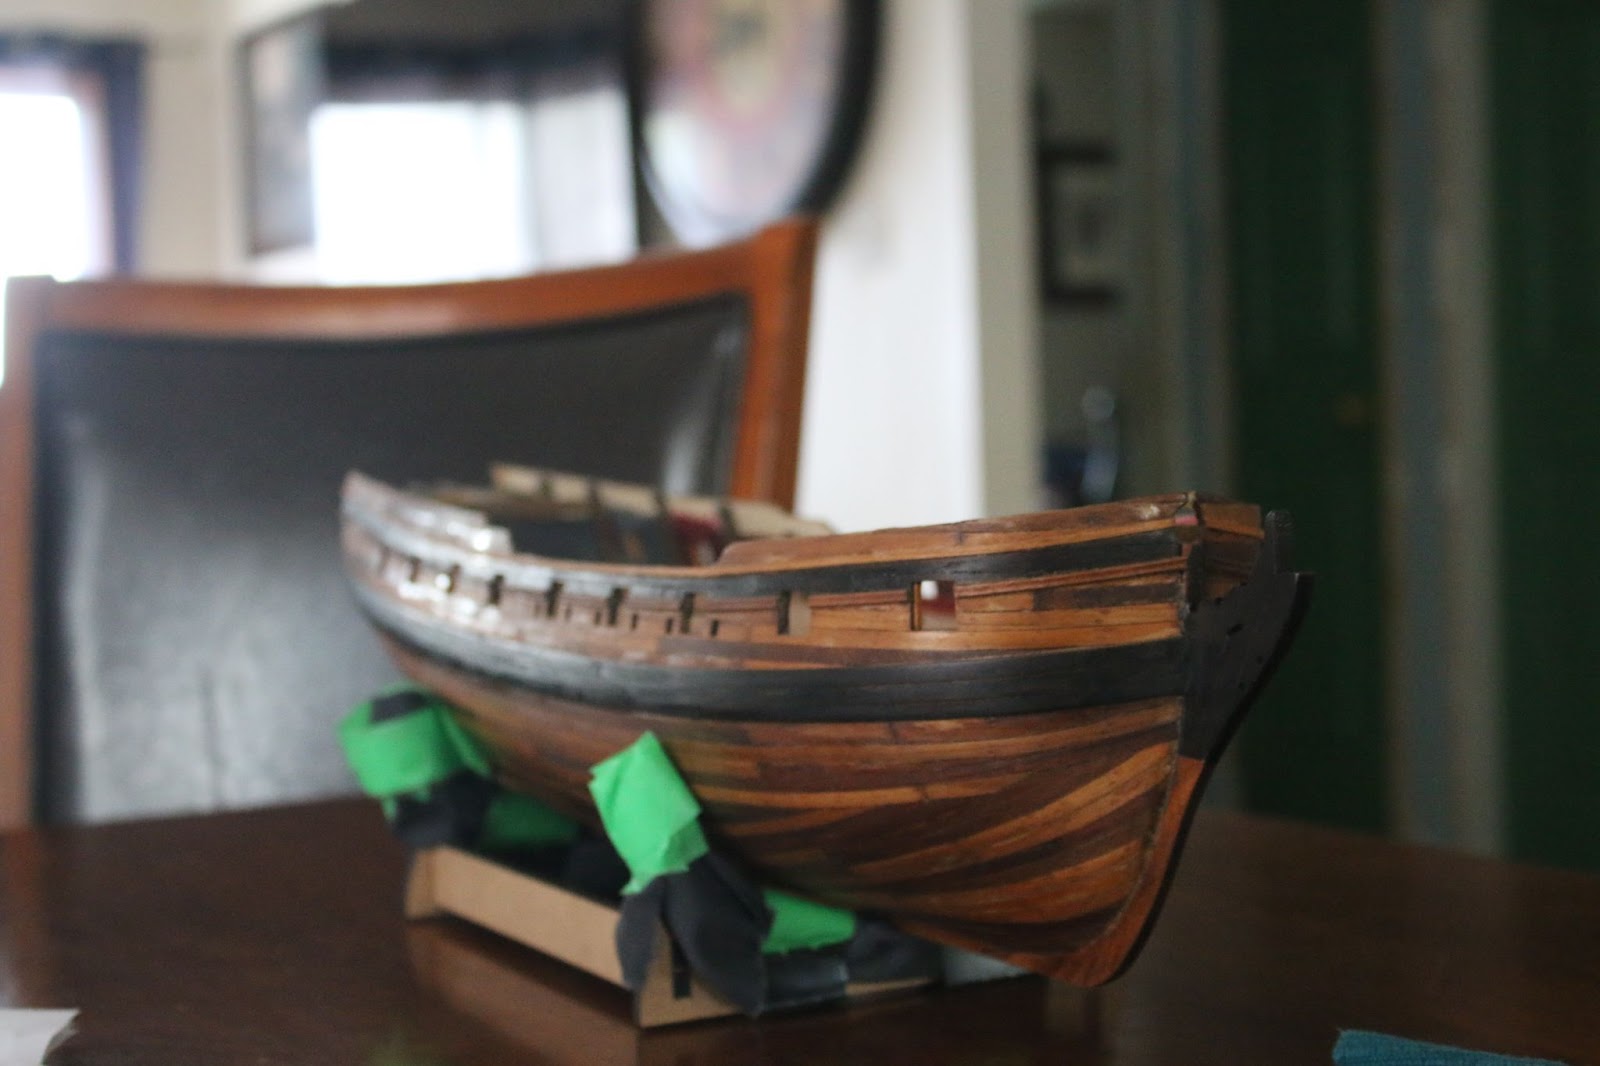
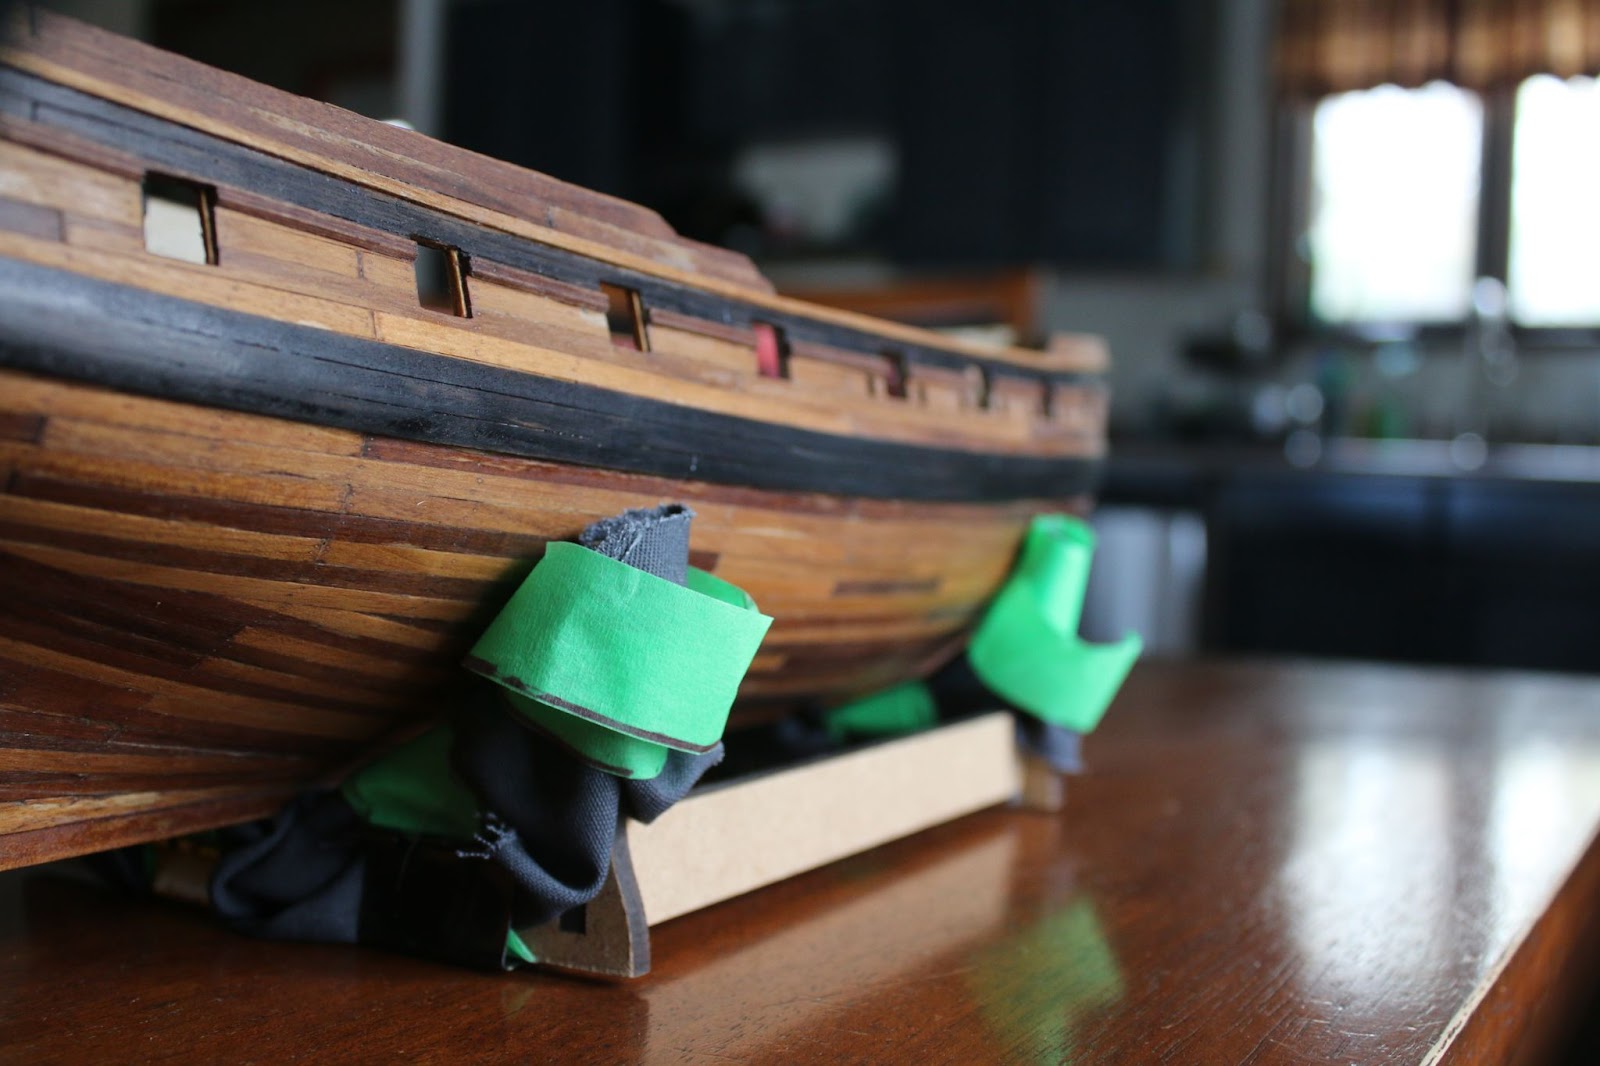
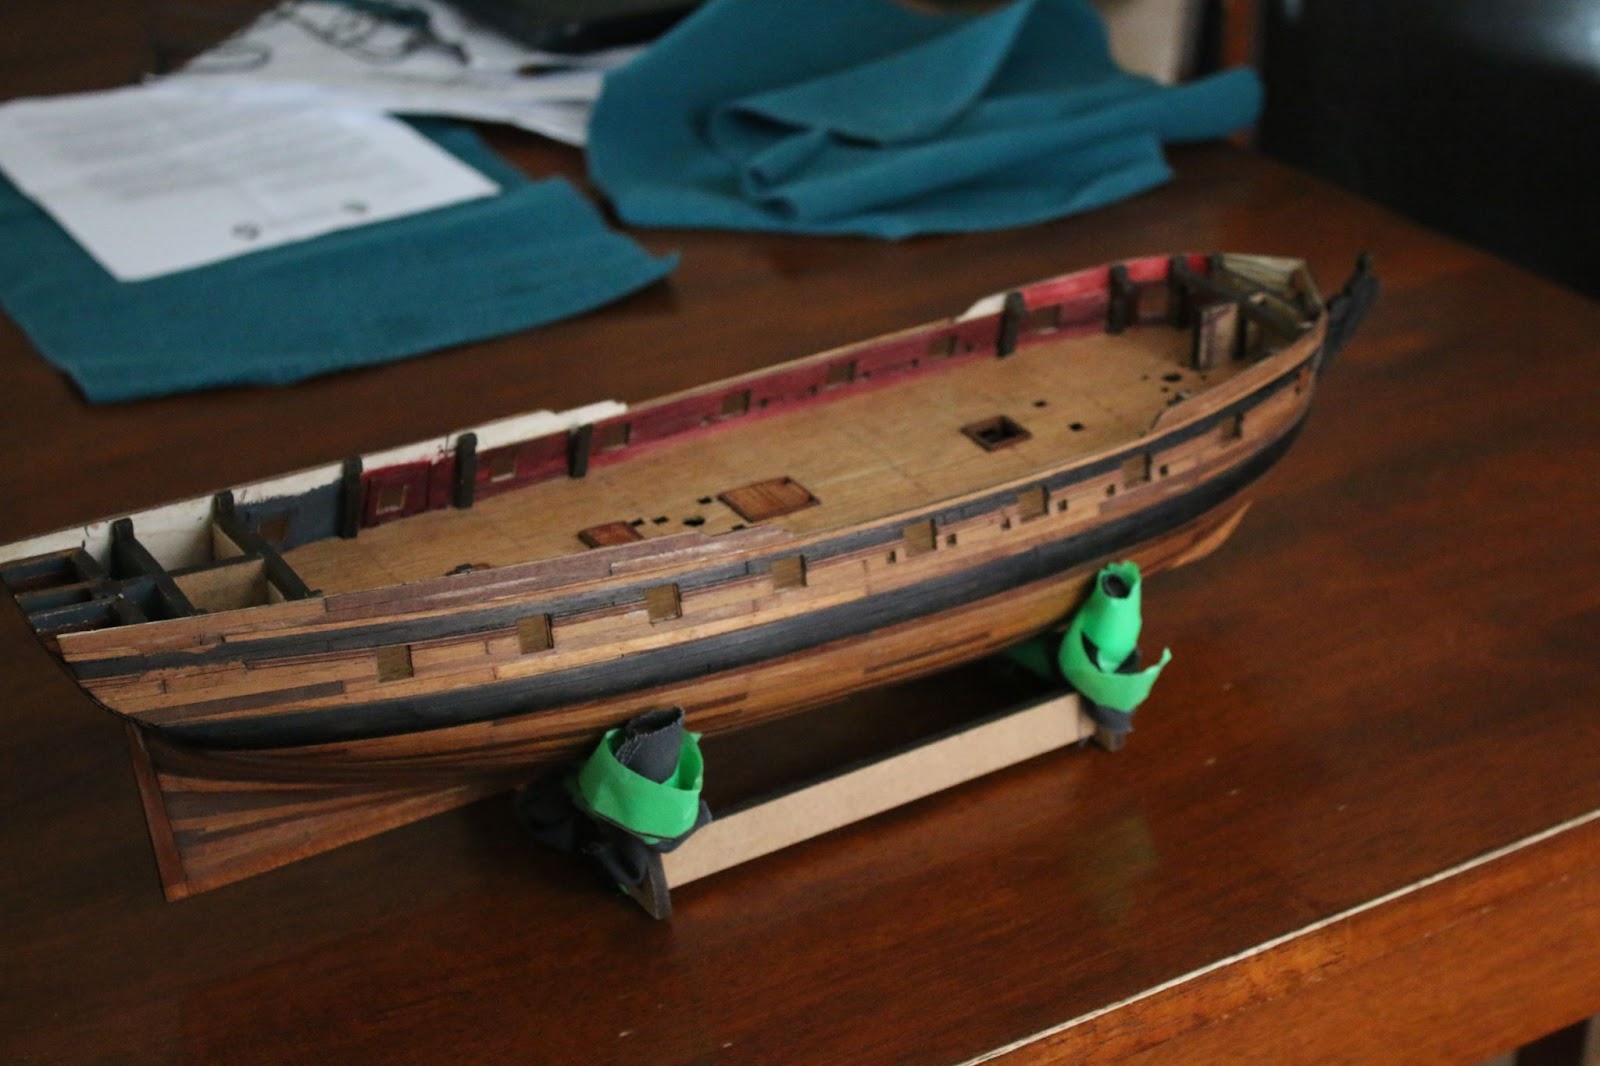
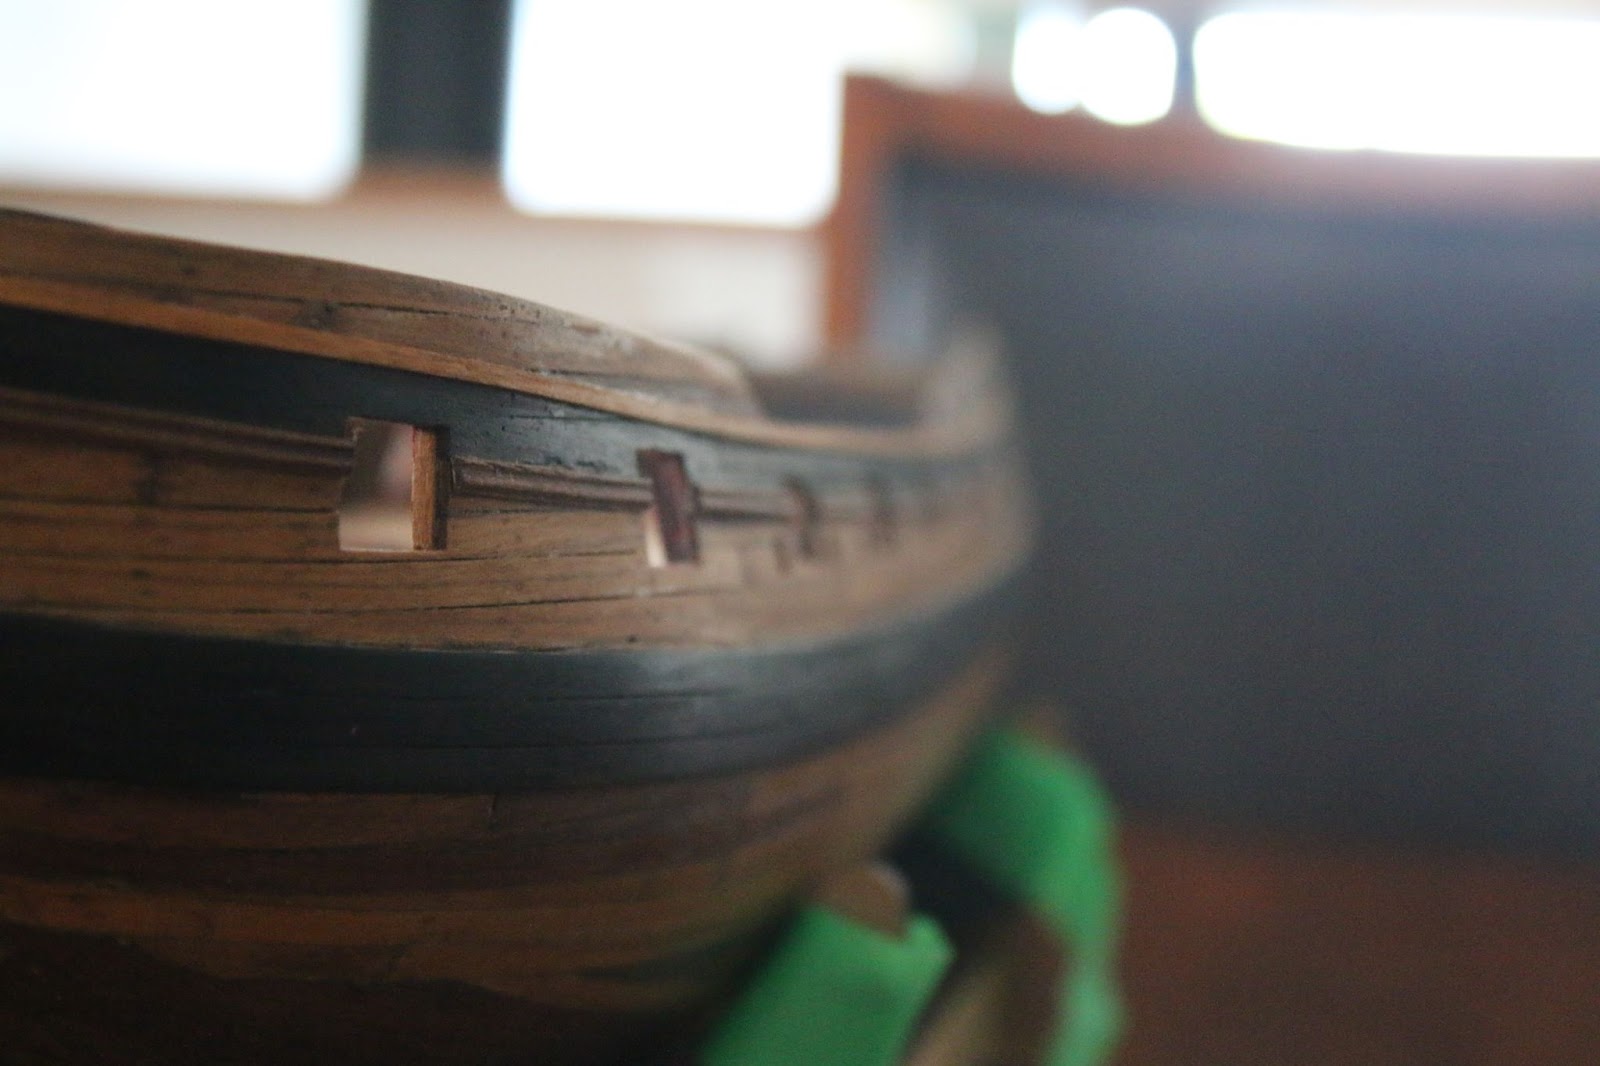
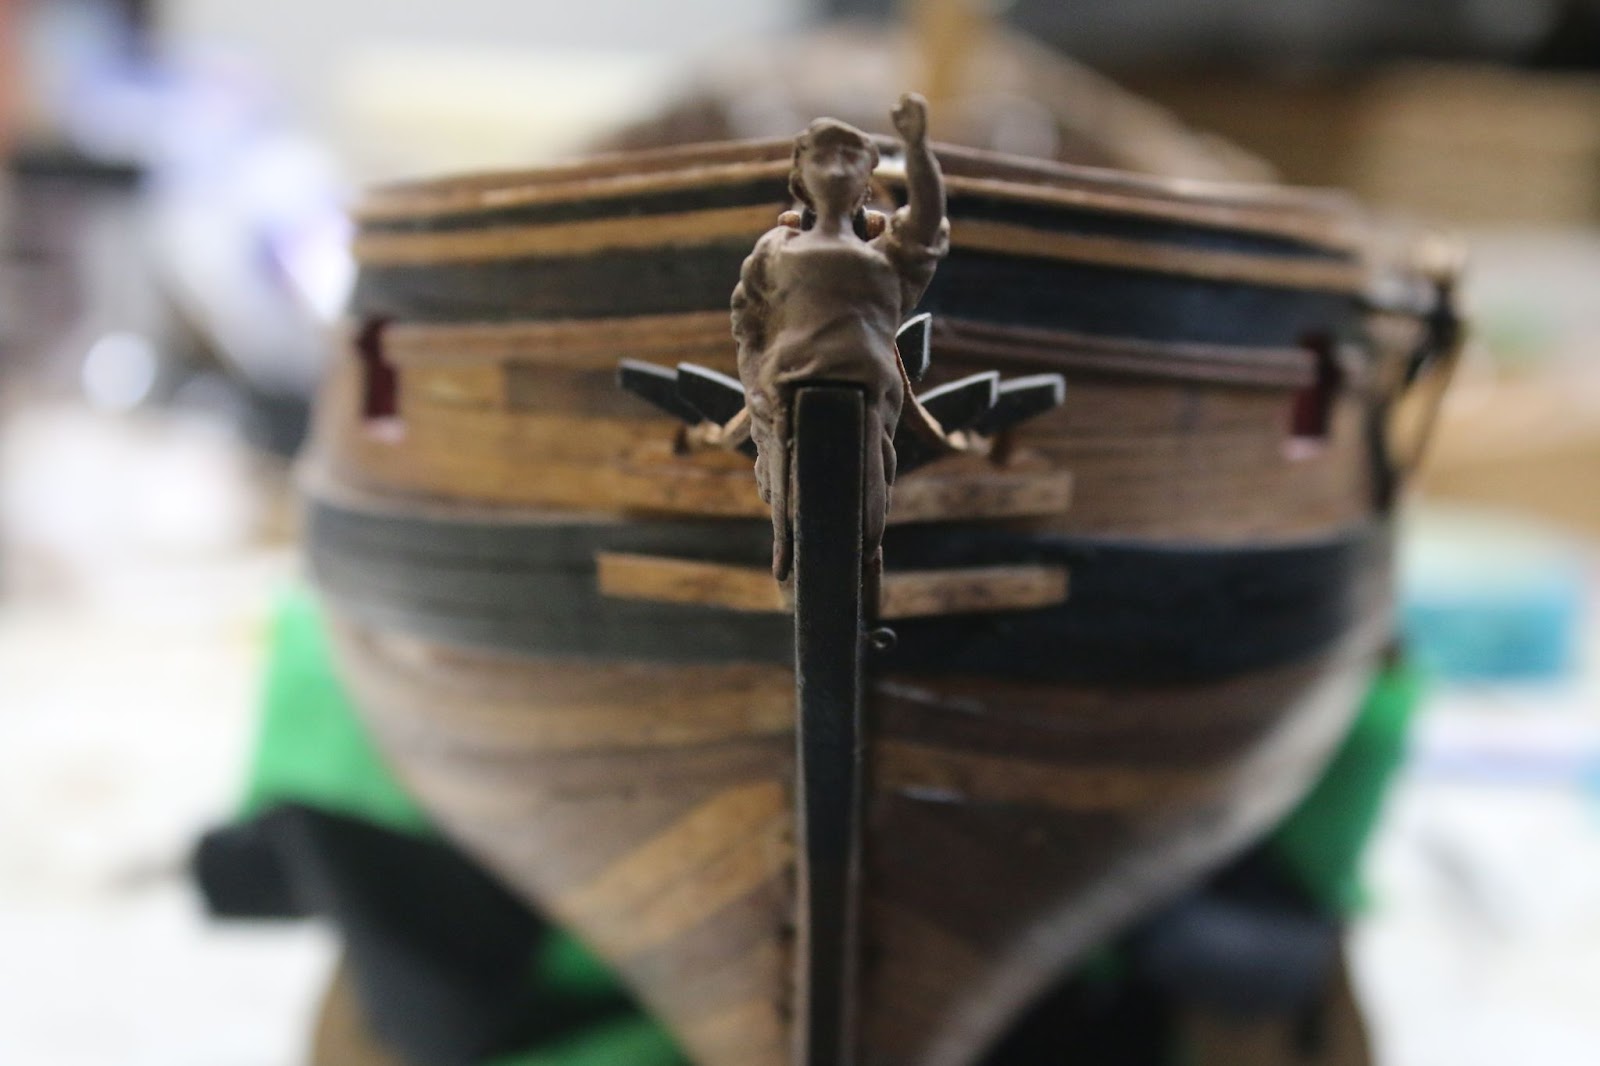
After this, it was time to install the upper trim pieces and so I went ahead and installed them.

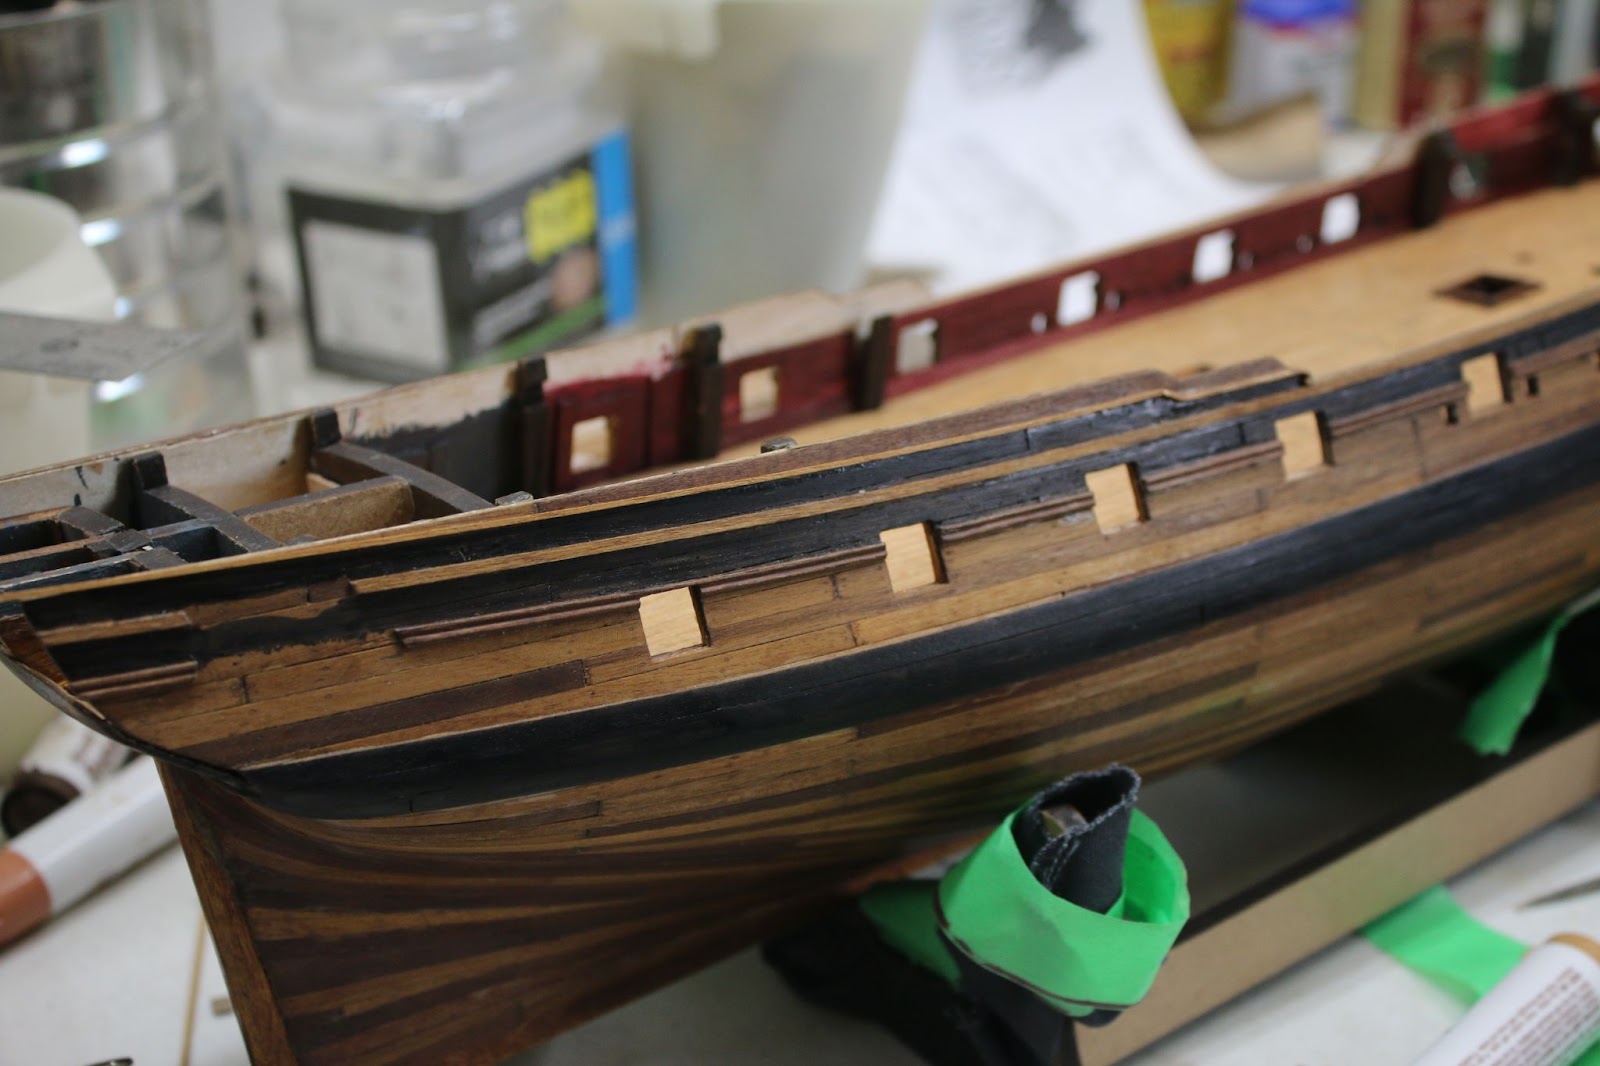
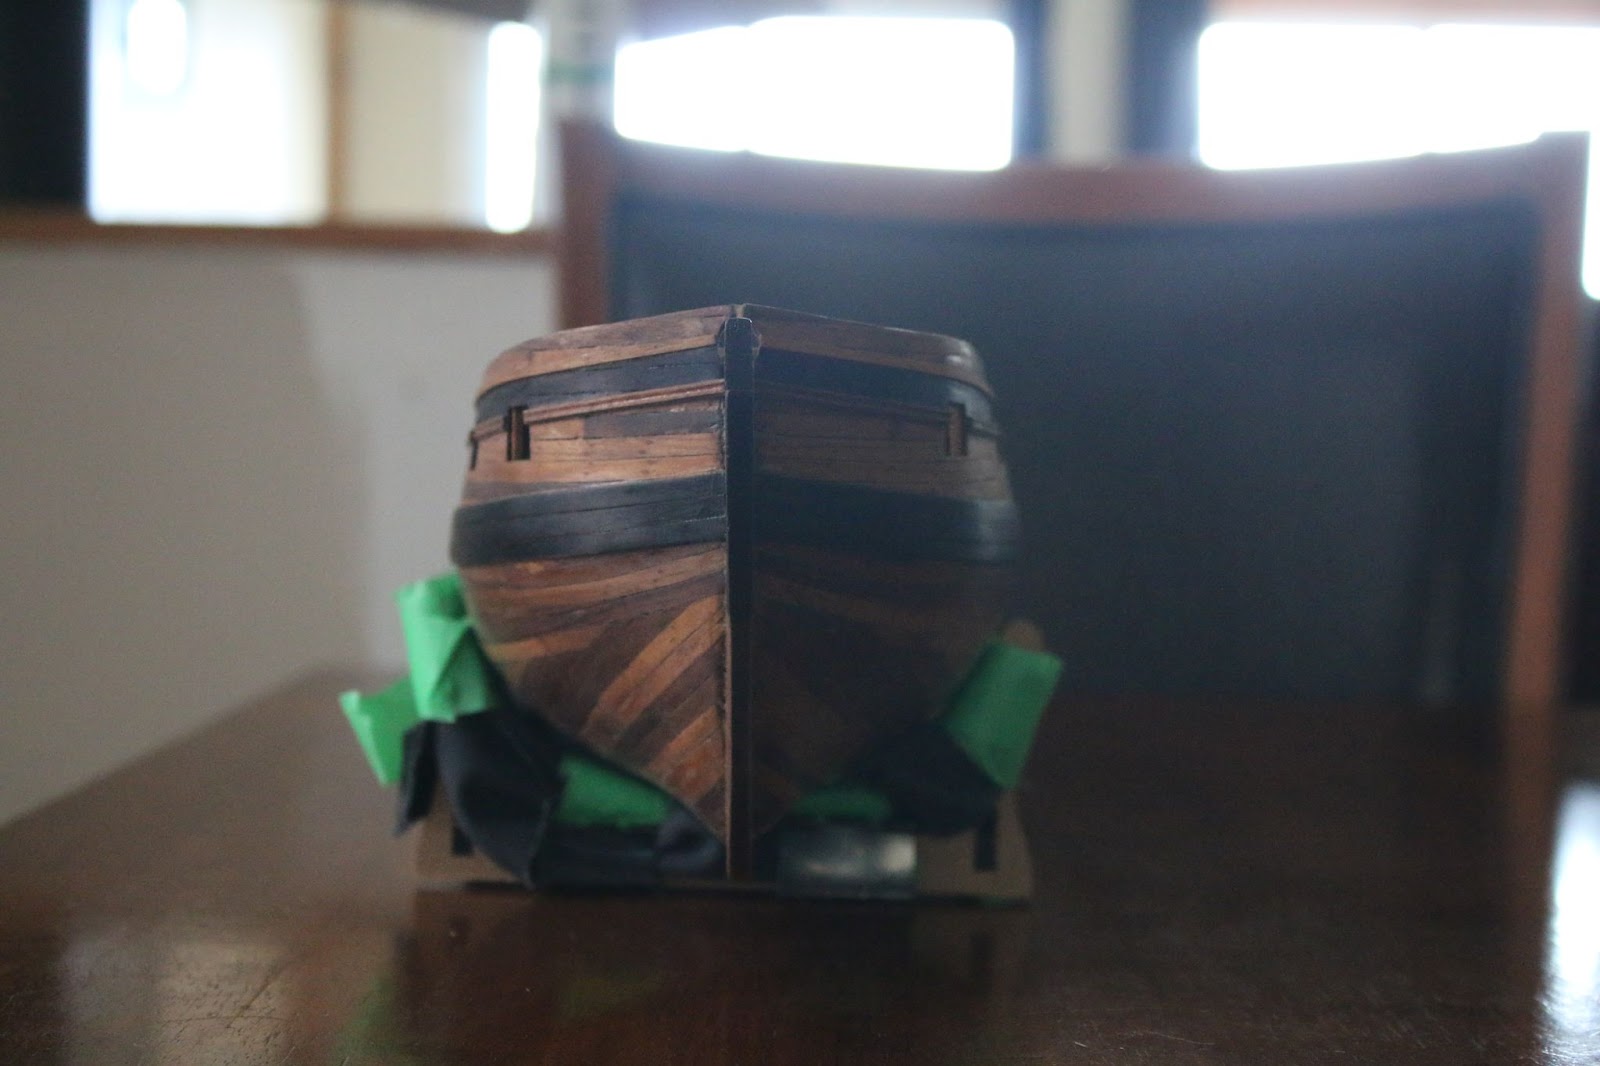
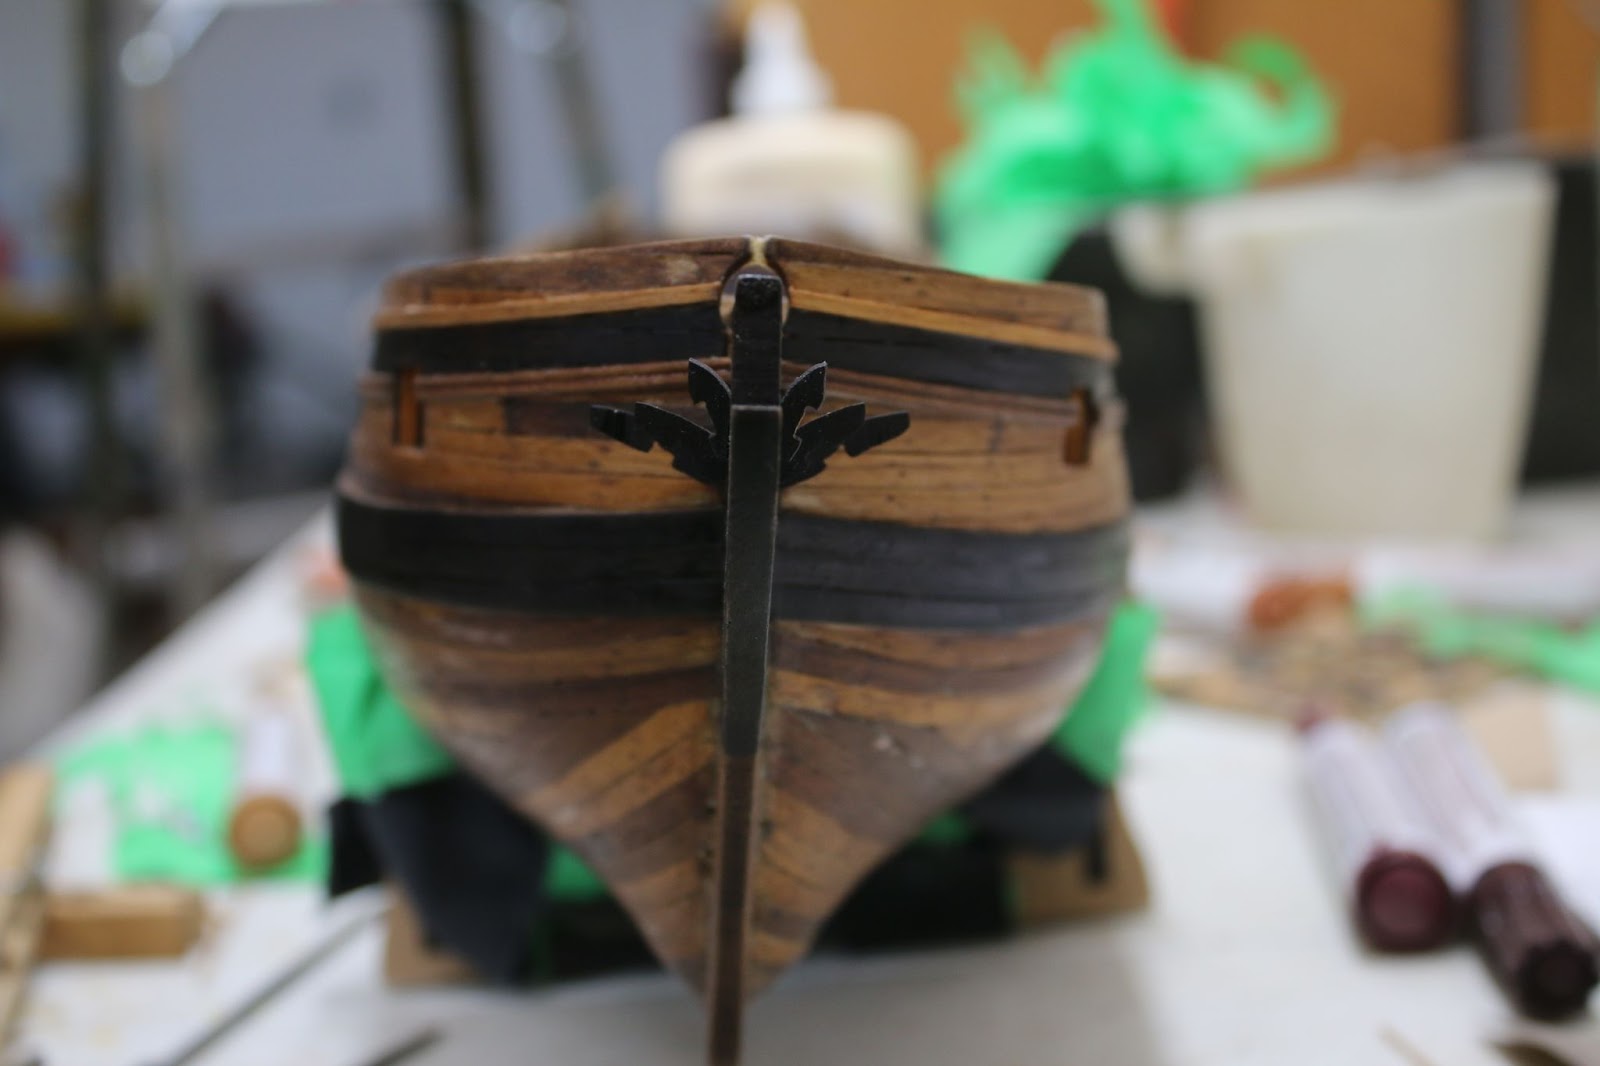
I also got to work installing the framing for the ship's beak.

It was around this time that my camera's sd card had been corrupted and as a result of this I had lost all of the progress pictures I had taken up until then so I must ask to be excused for the jump in progress between the photos. At this time of the project, I decided to take a break and attempt some larger-scale woodworking. So in a week's time, I make a wooden sword from some old flooring planks.

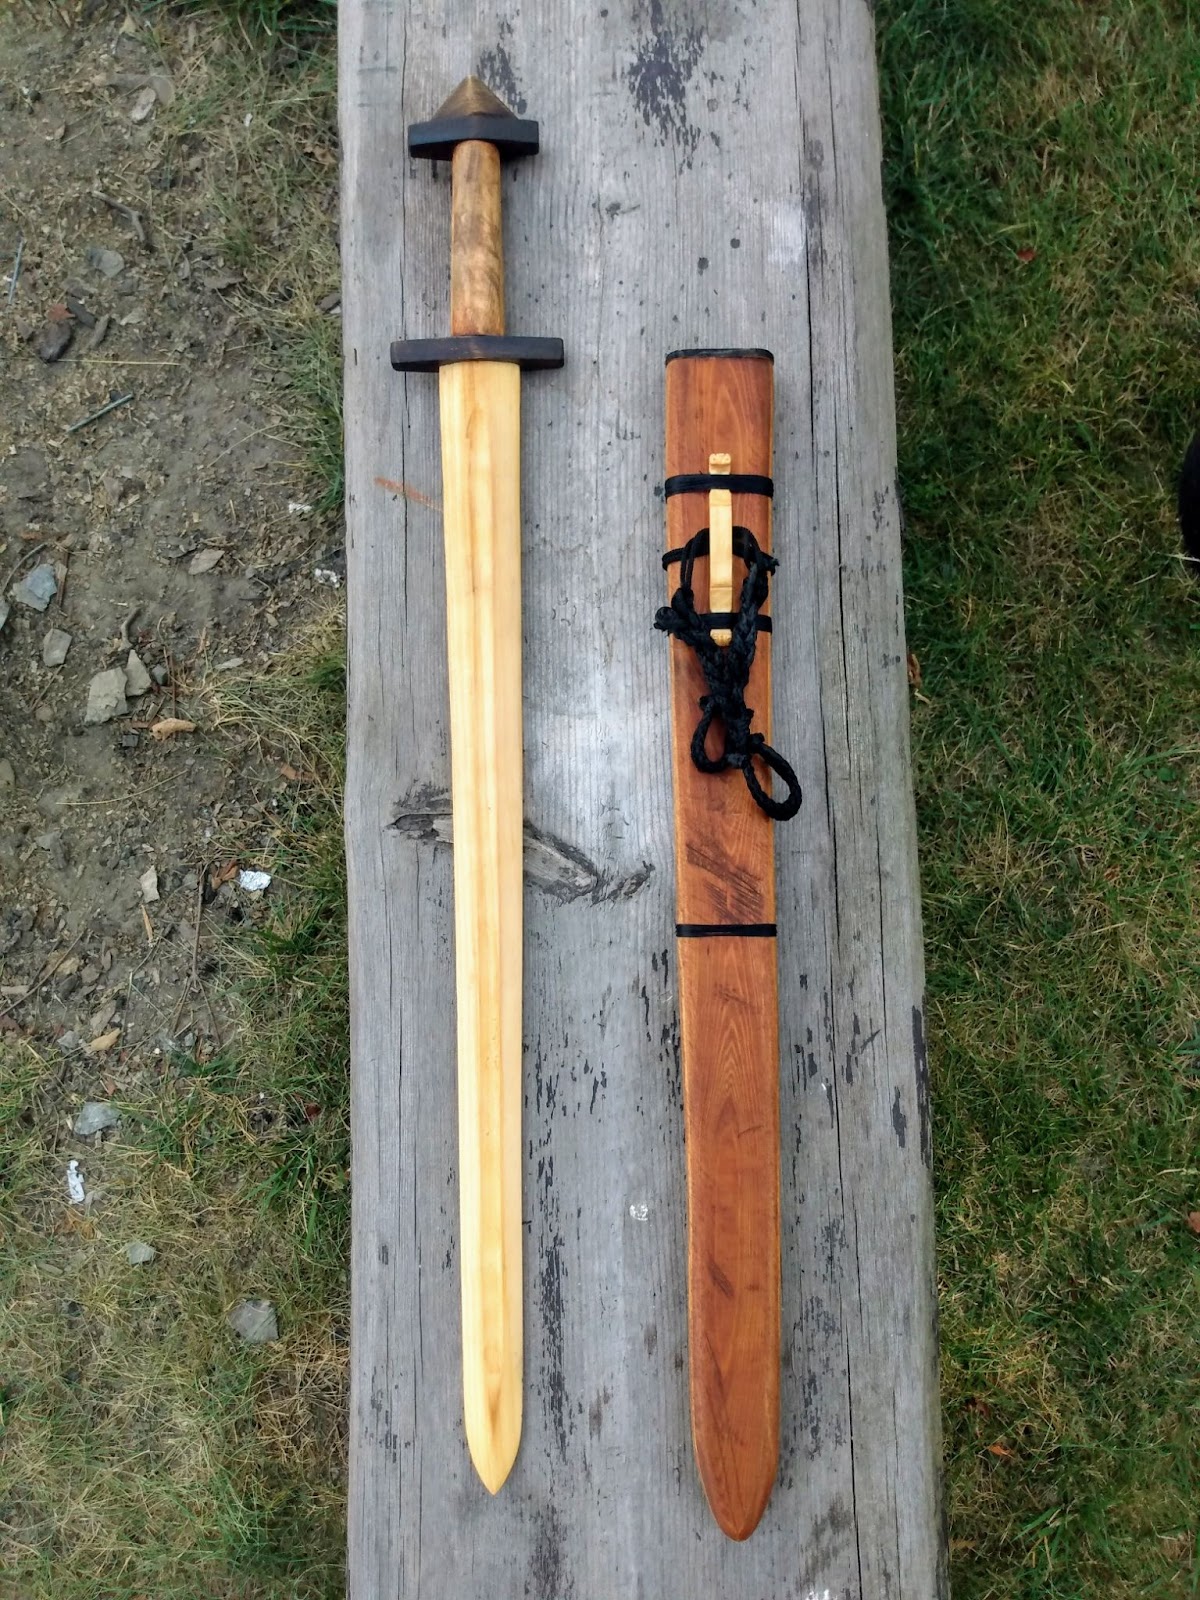
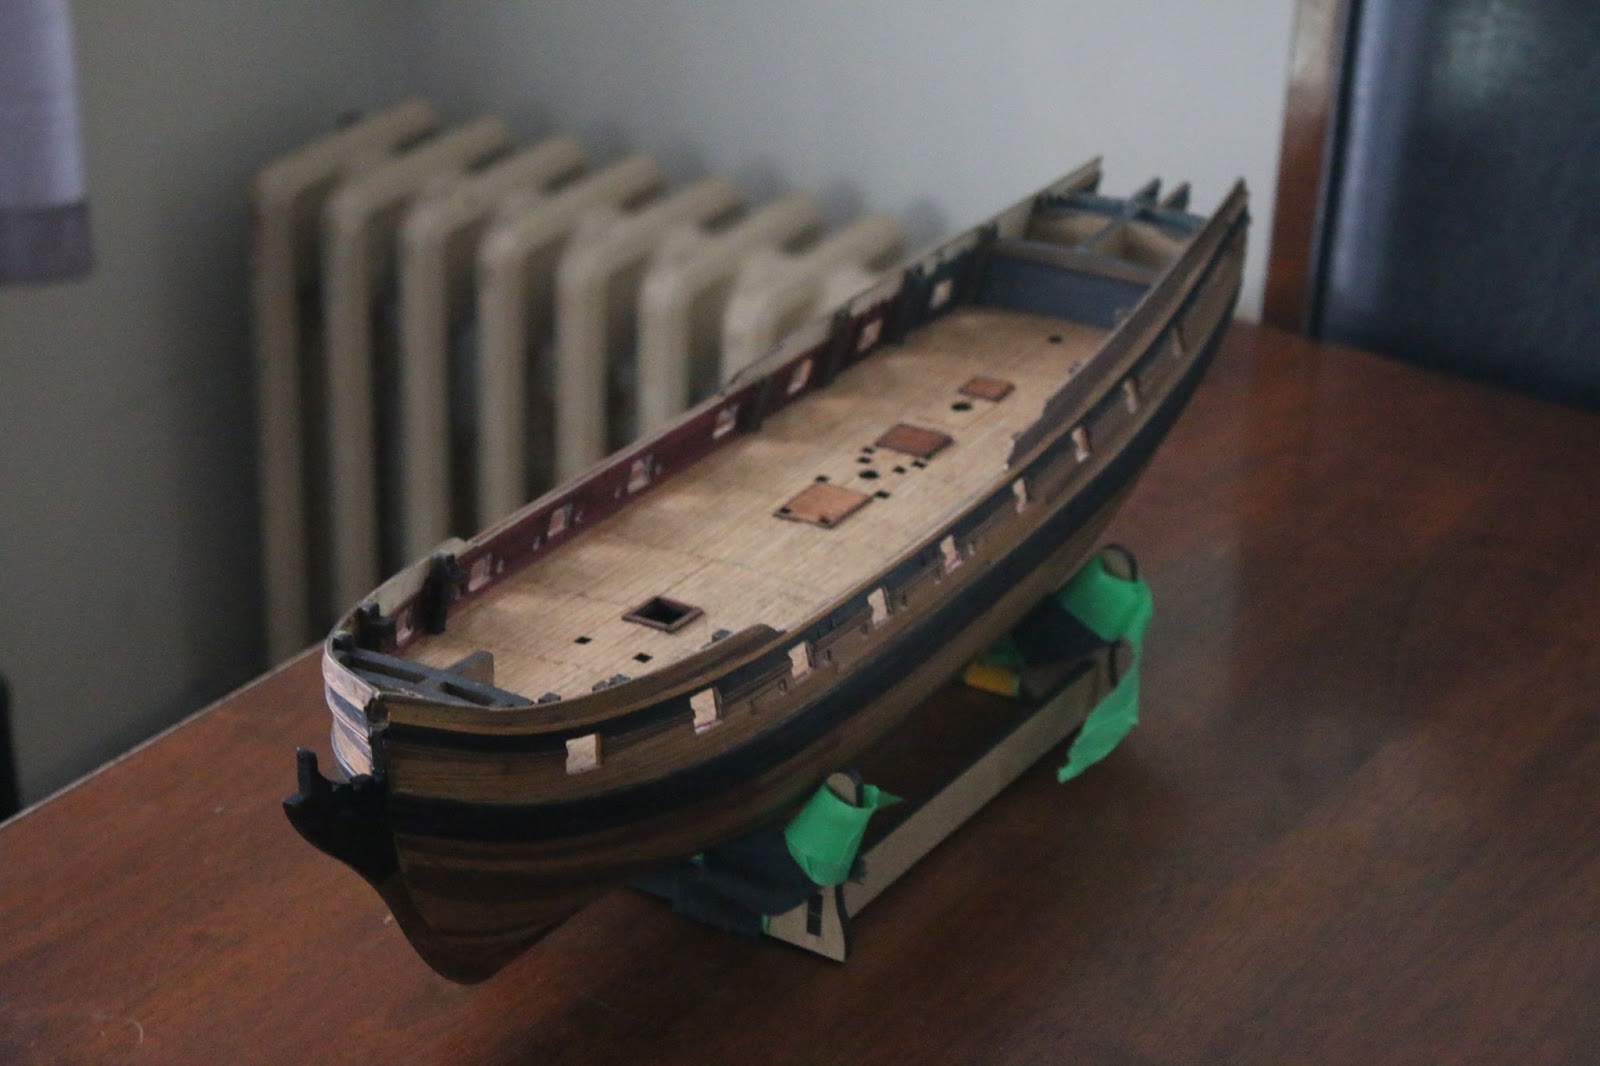
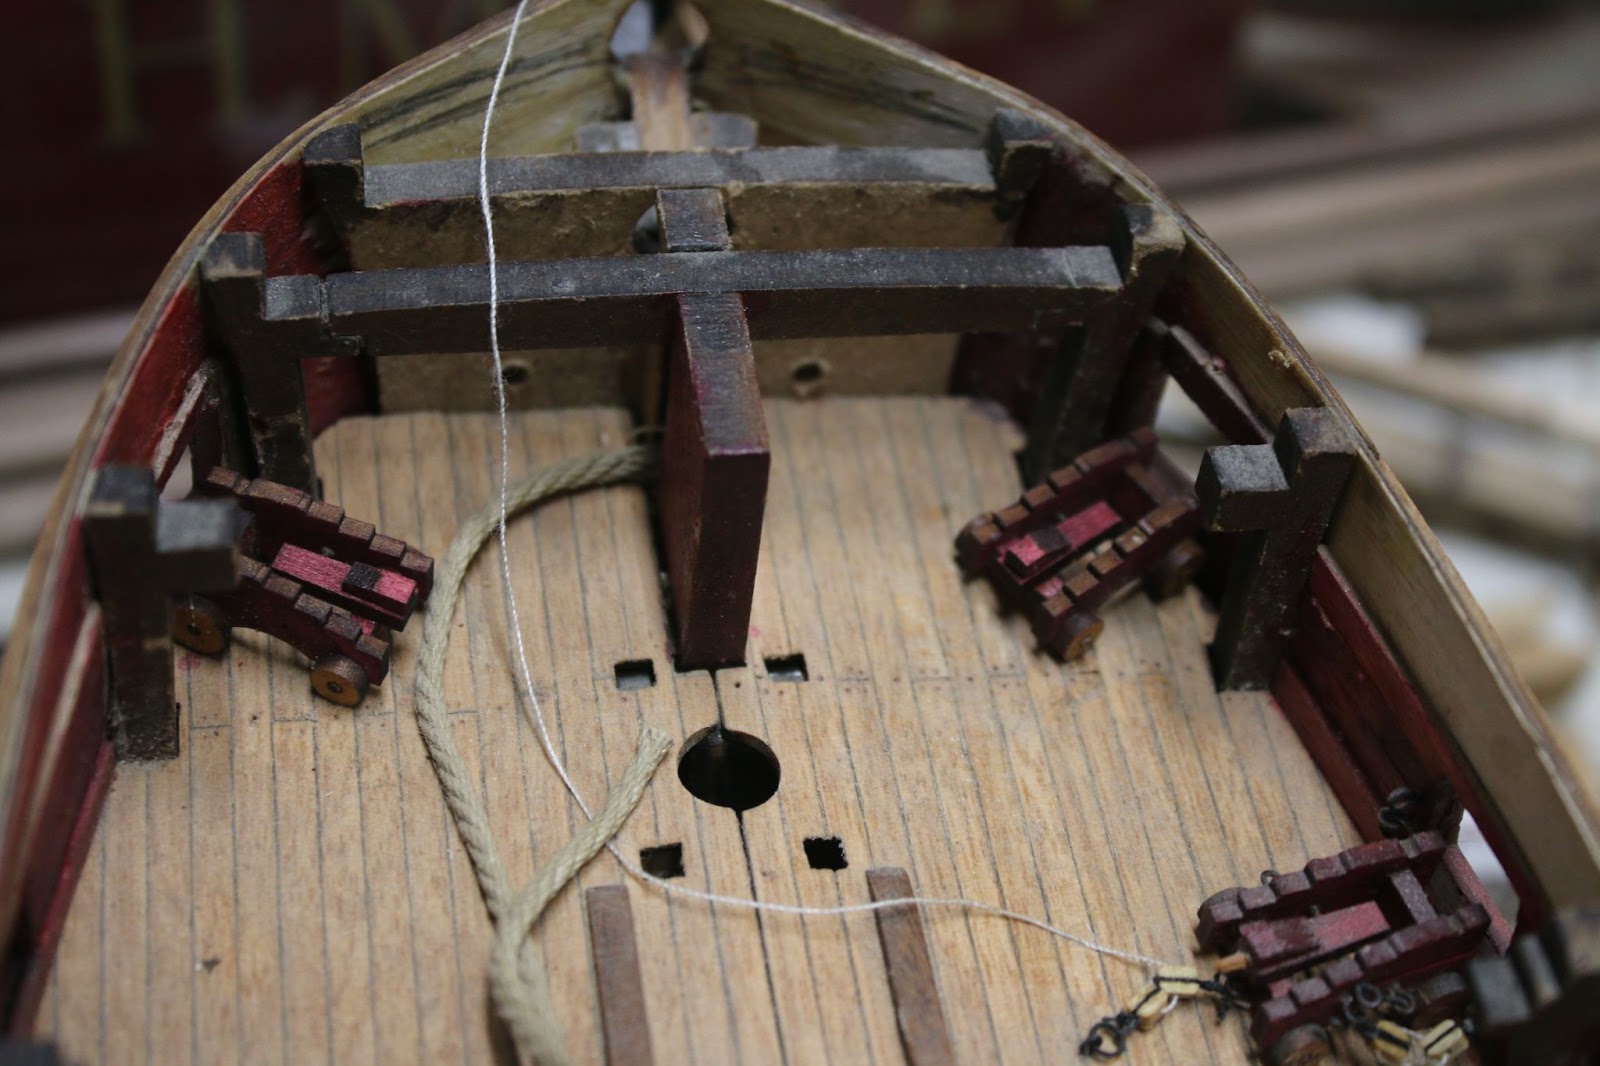
After that, I had to decide what to tackle first. Interior details or hull details. I decided that I should install some interior parts and some hull parts according to how hard they would be to install with other parts they would be in the future. So I went ahead and installed the interior eye bolts for the guns.

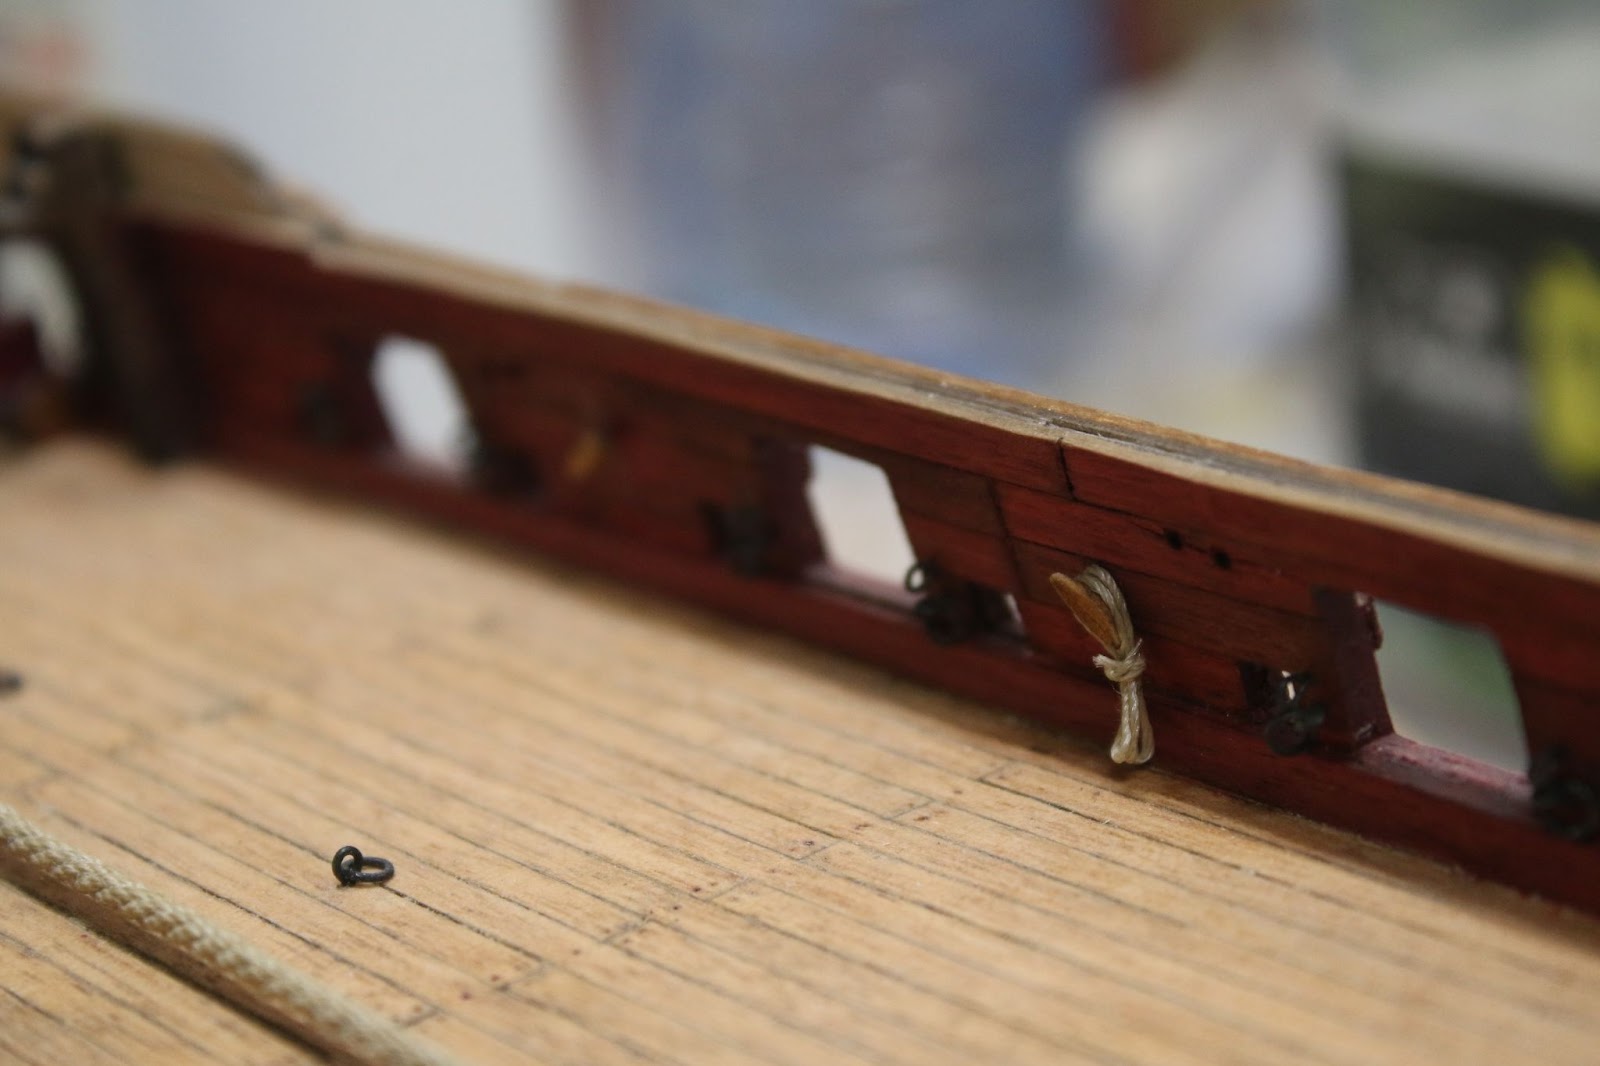
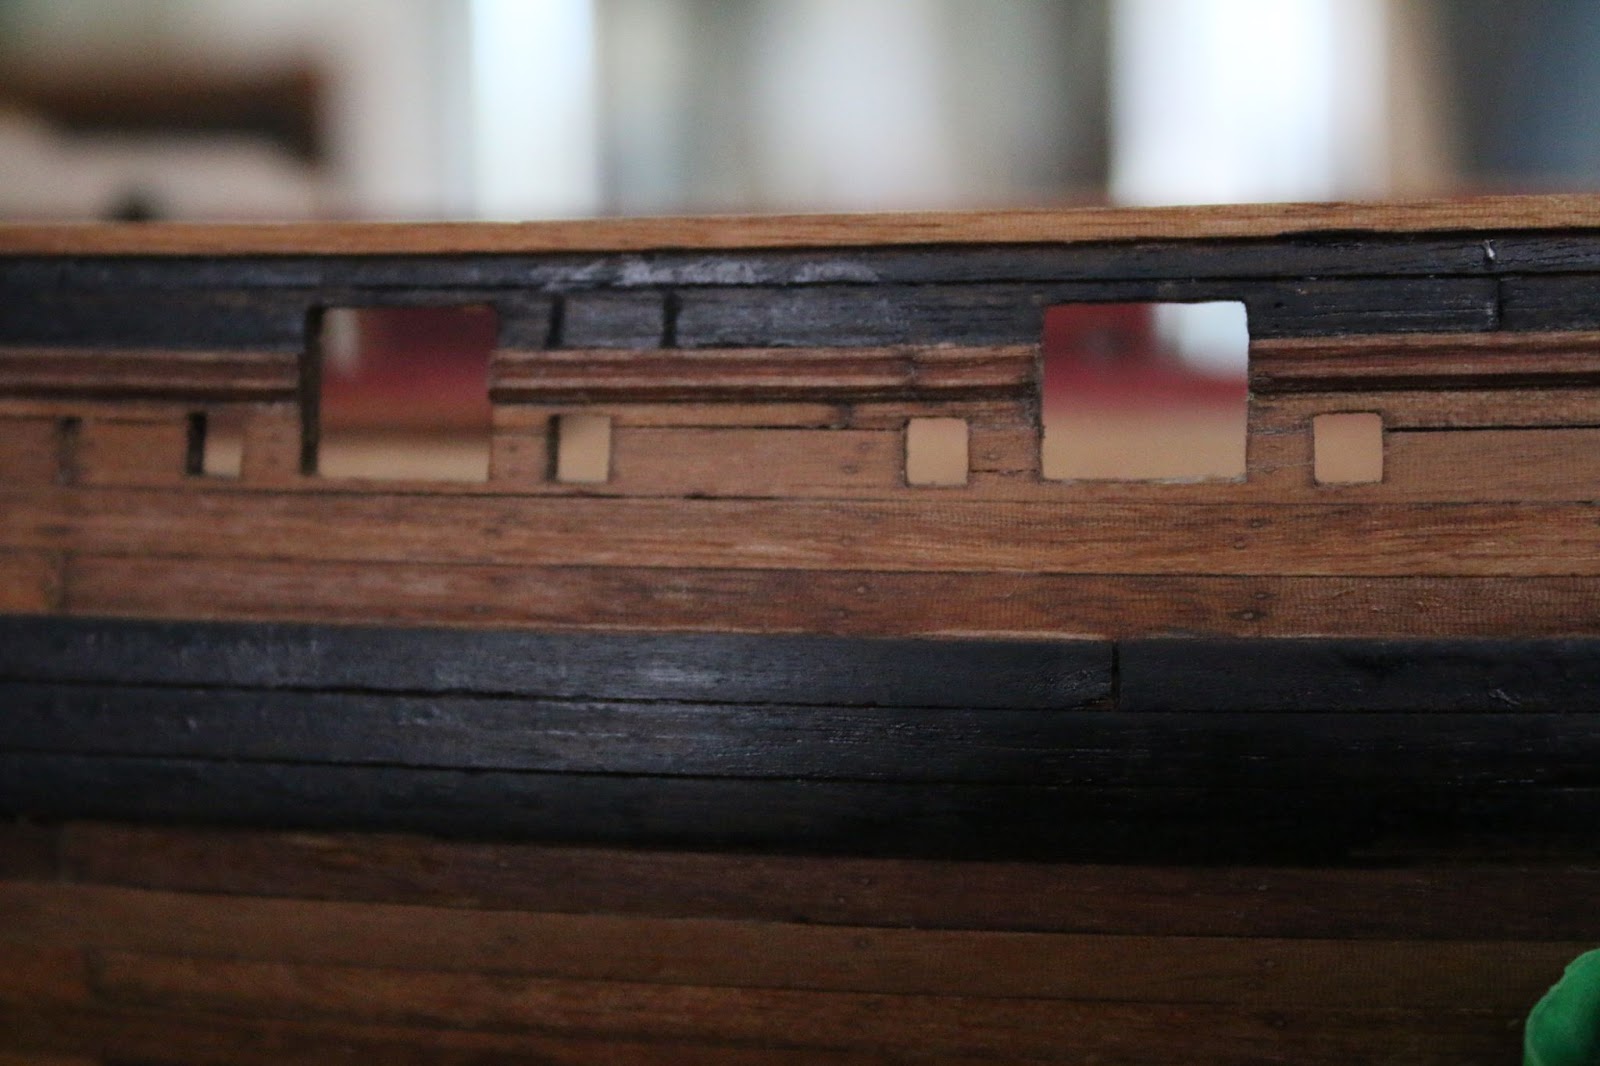
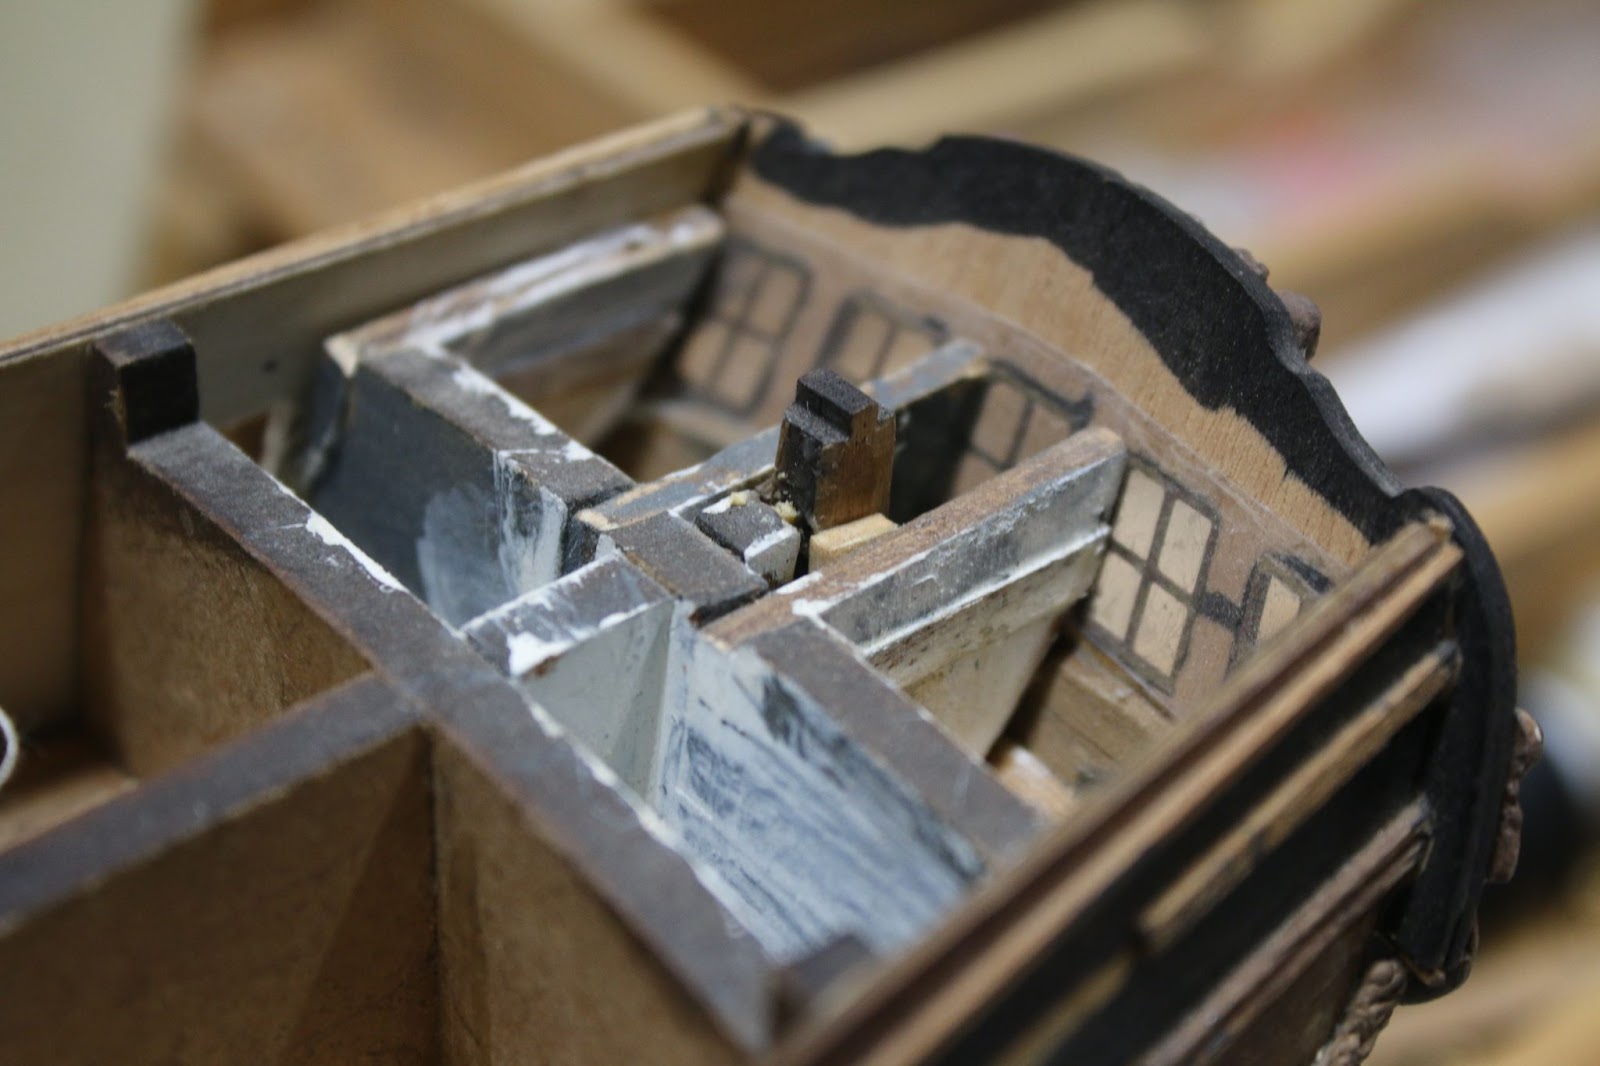
I also did various other tasks such as drill the holes the plans called for in the hull and paint the interior of the captains’ cabin white in order to reflect light.

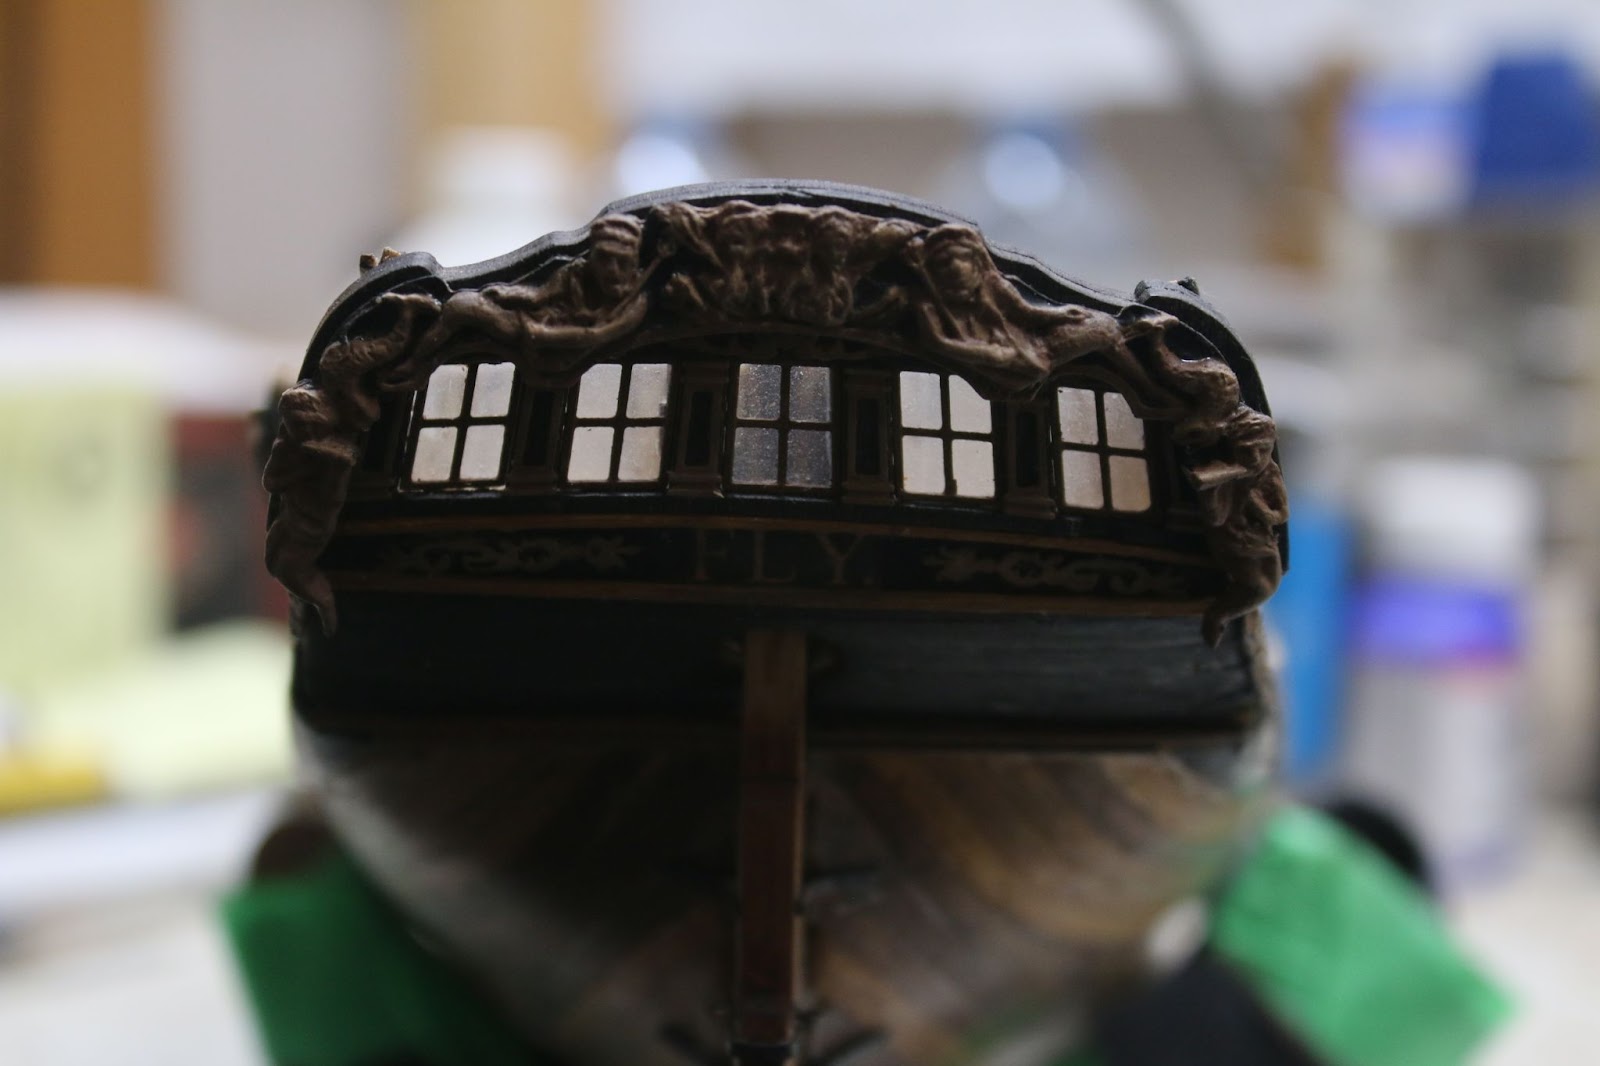
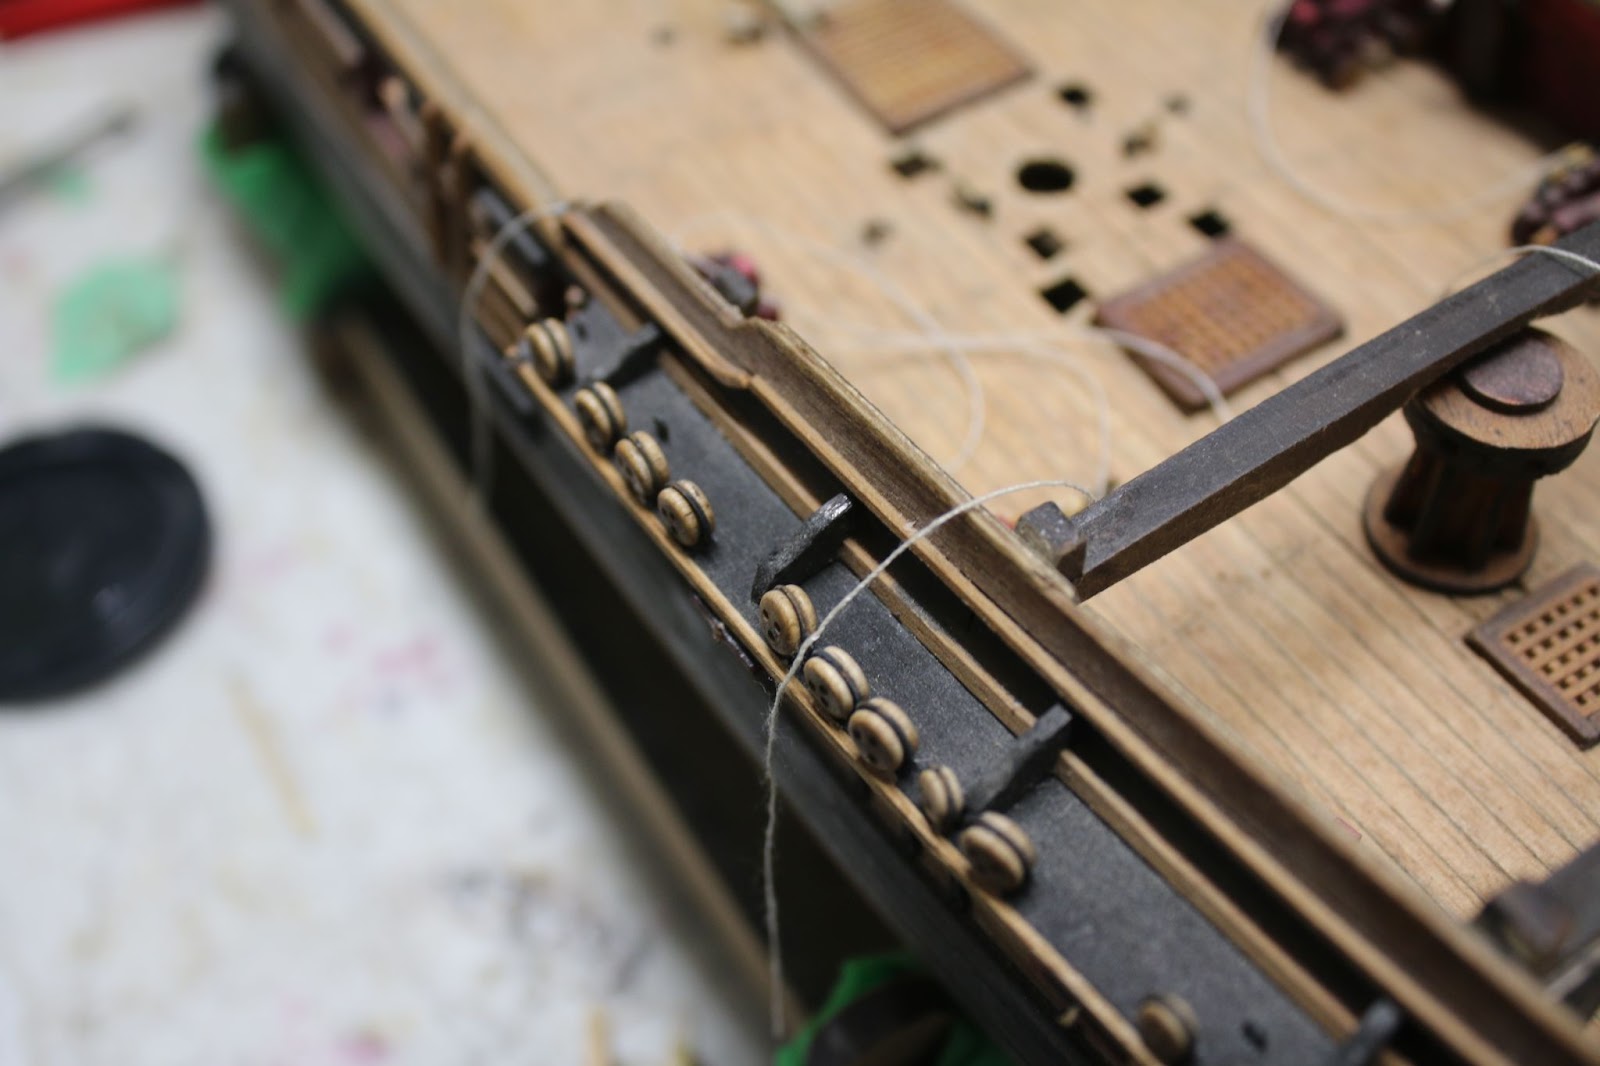
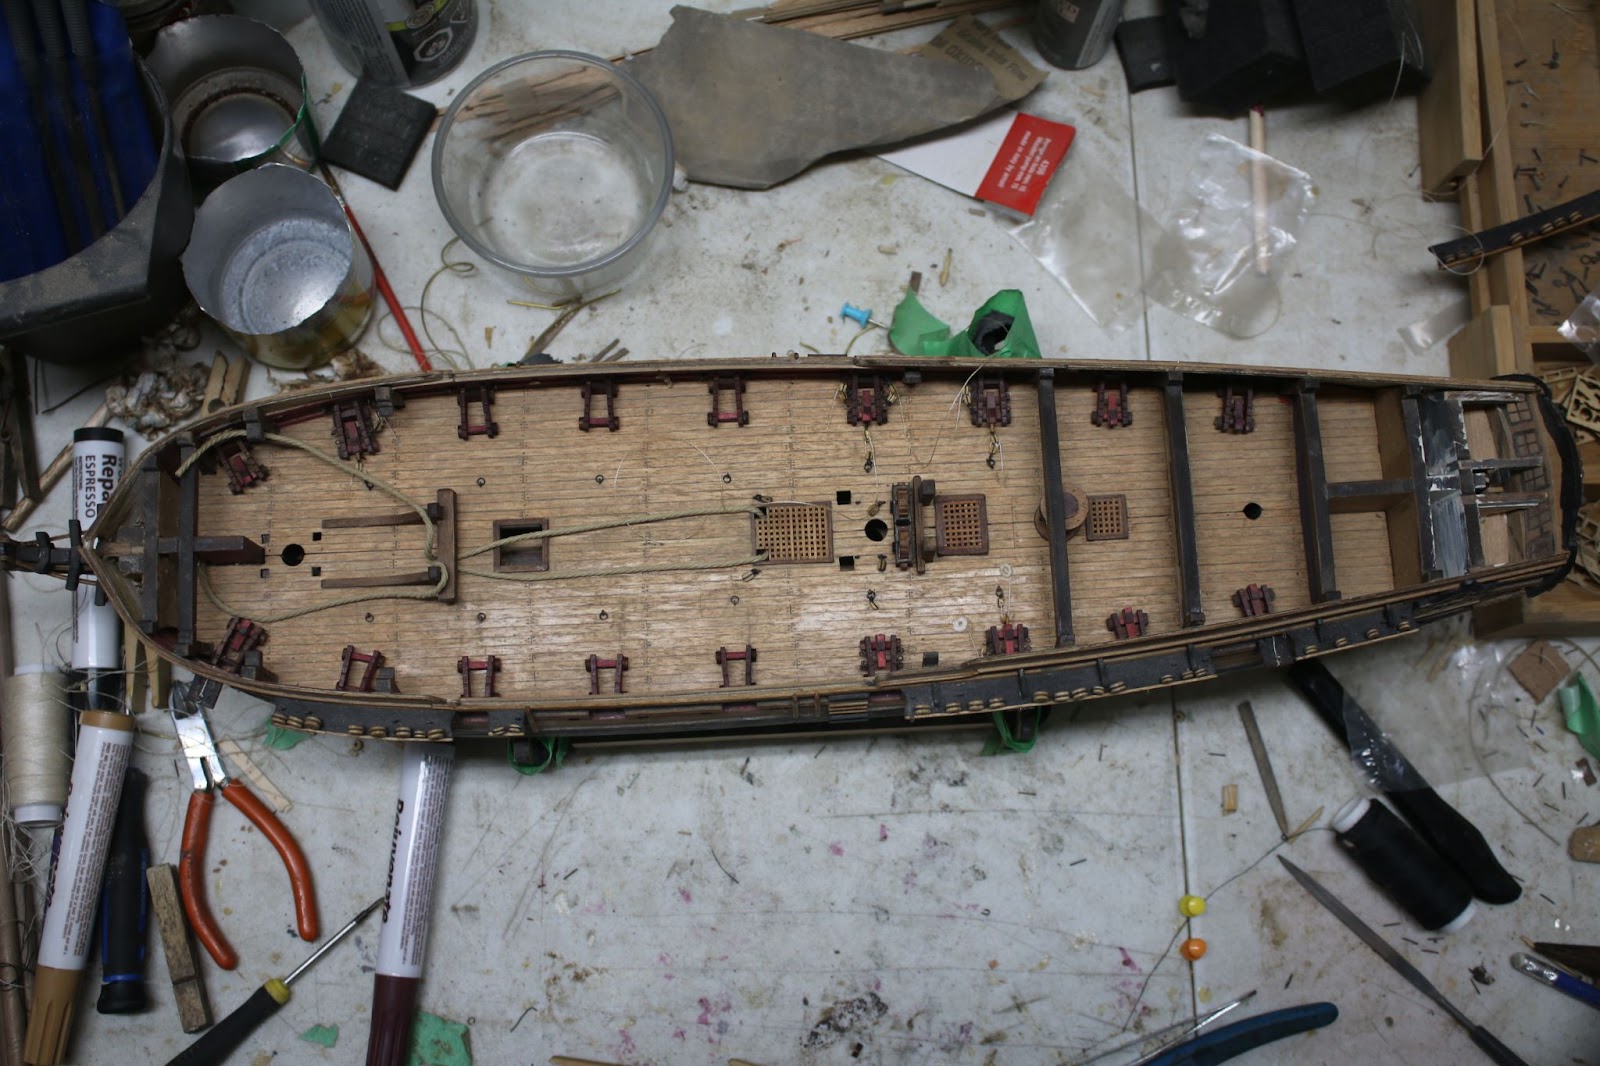
I also installed the stern decorations and the deadeyes and channels on one side of the ship.

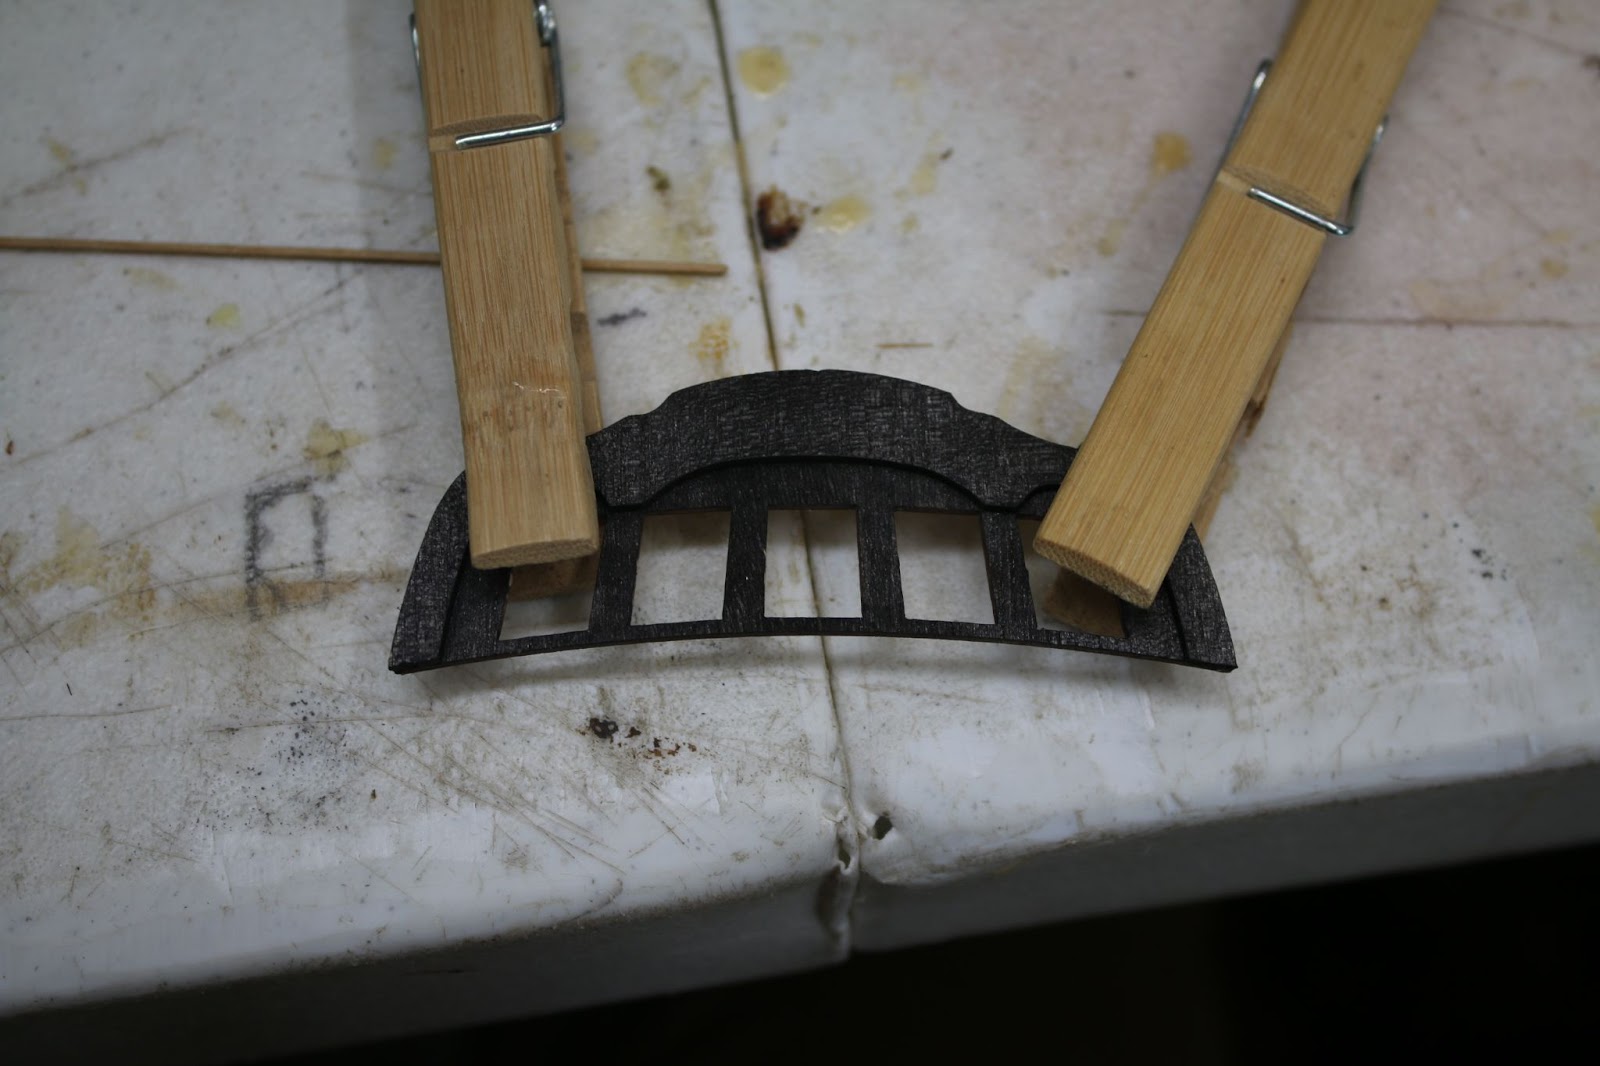
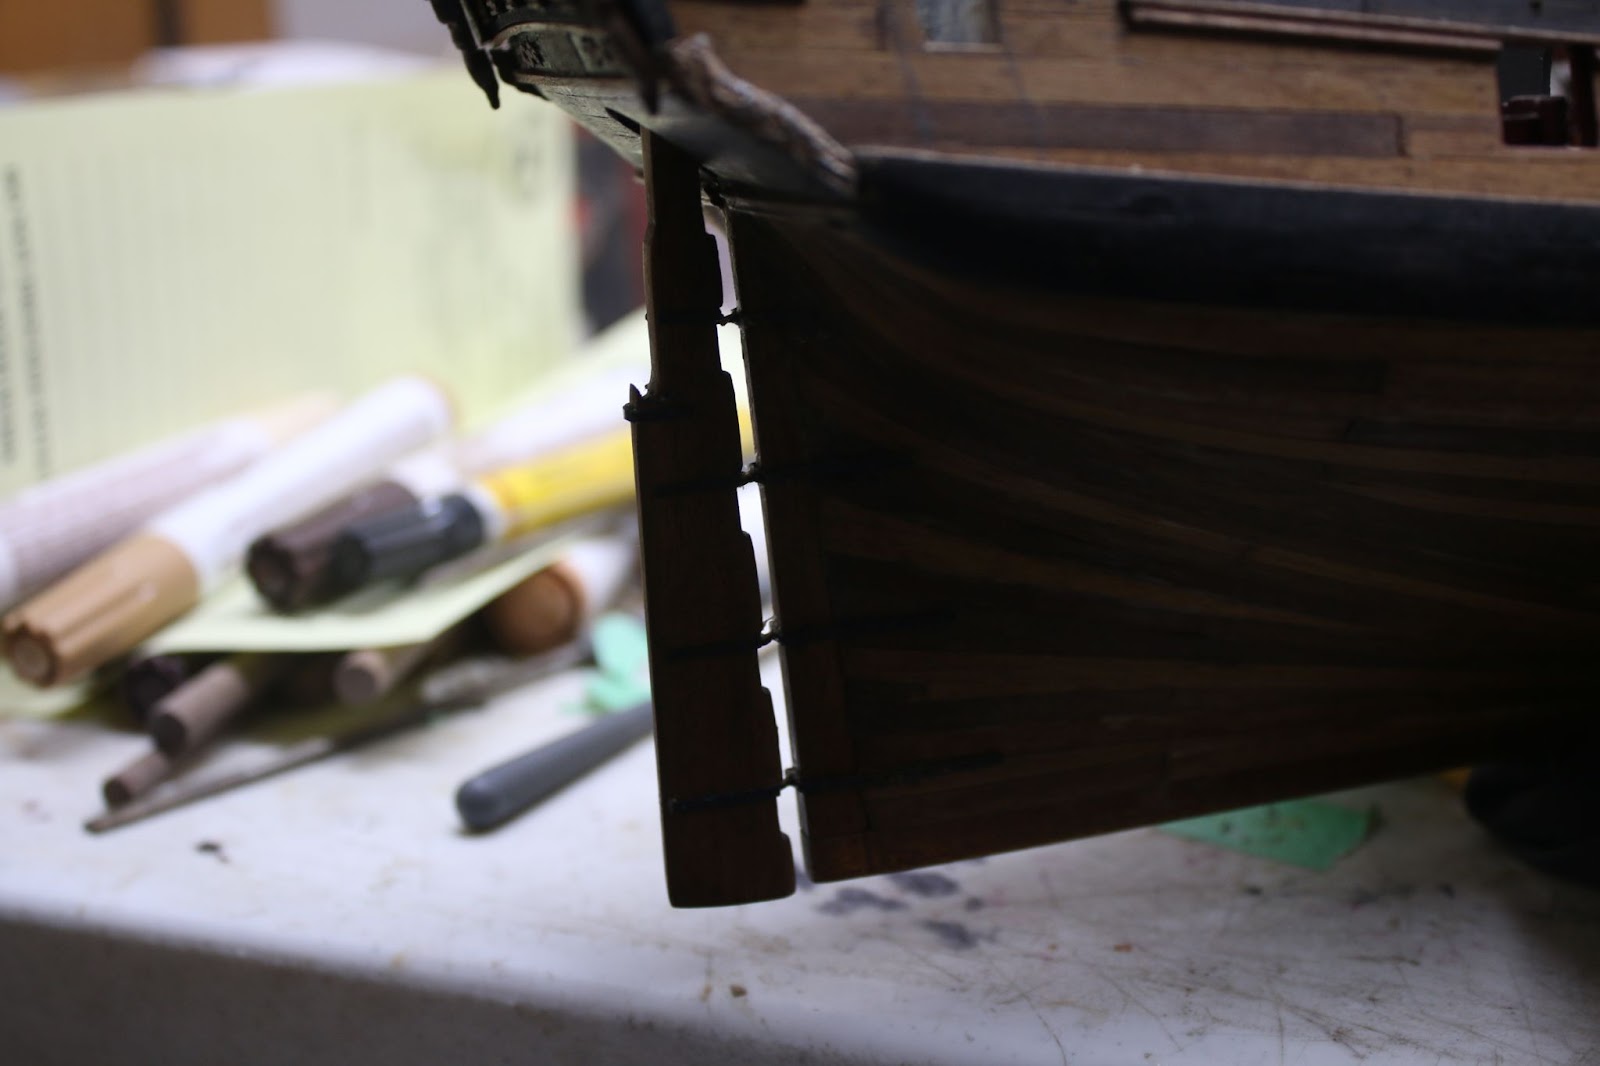
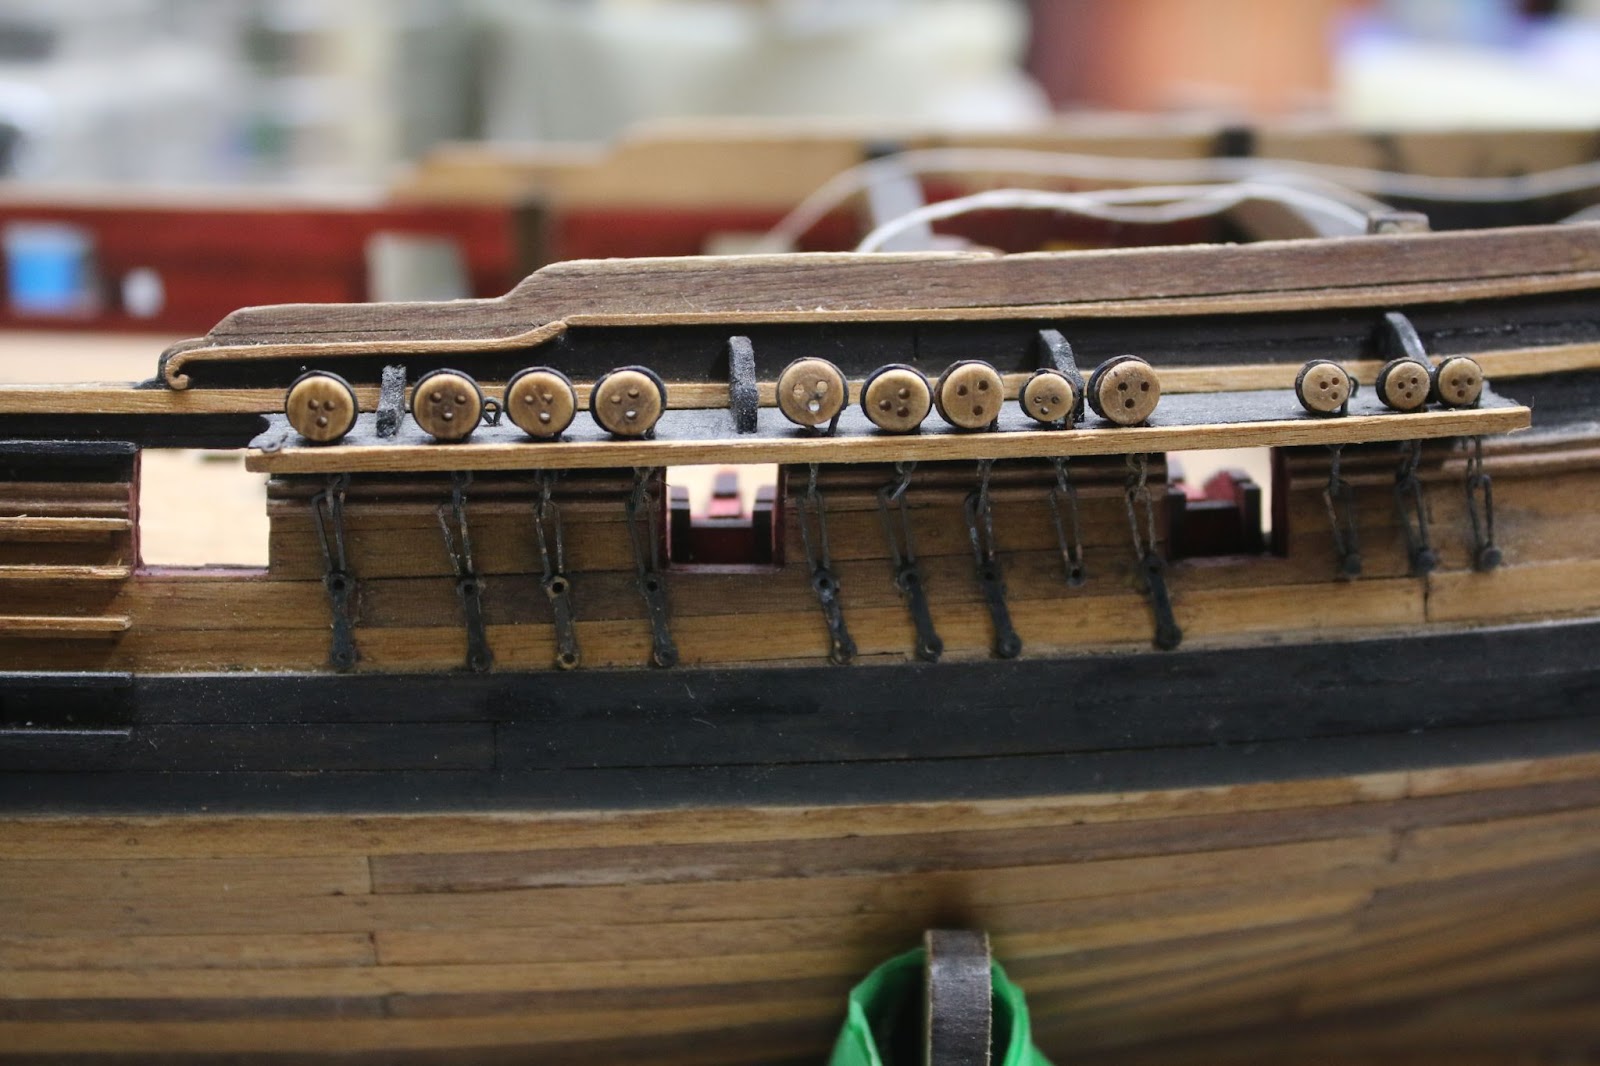
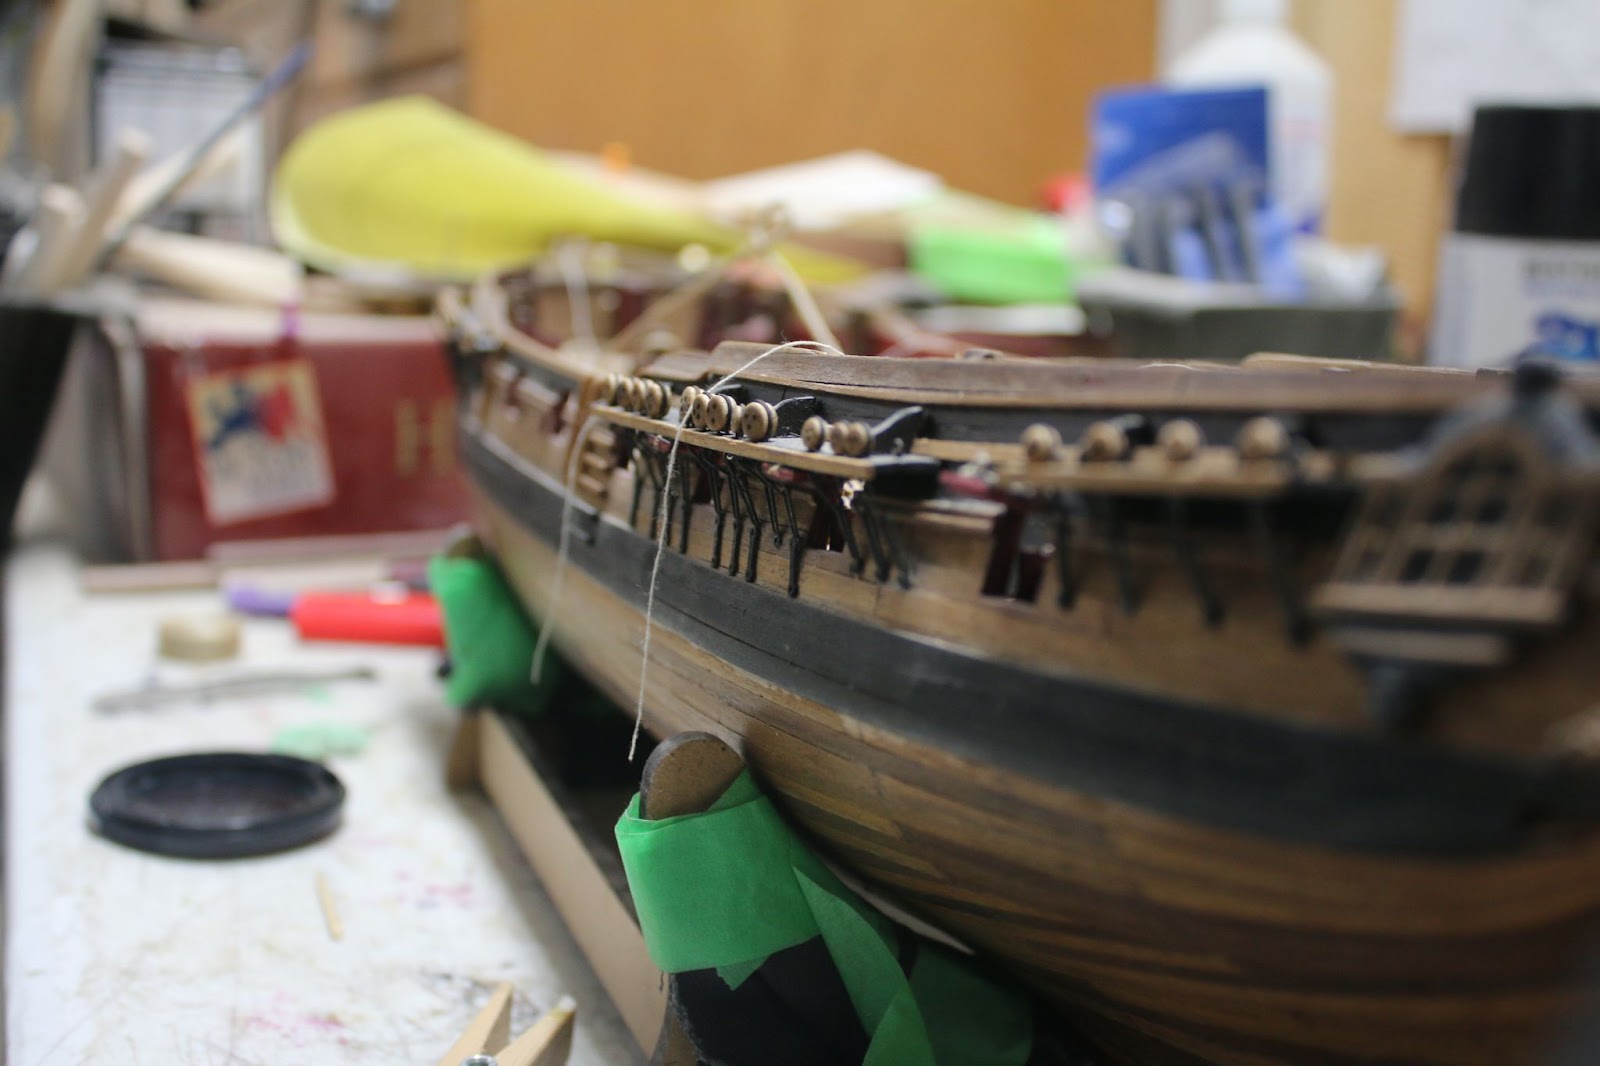
Along with more bow details and some additional details that the kit did not have.     
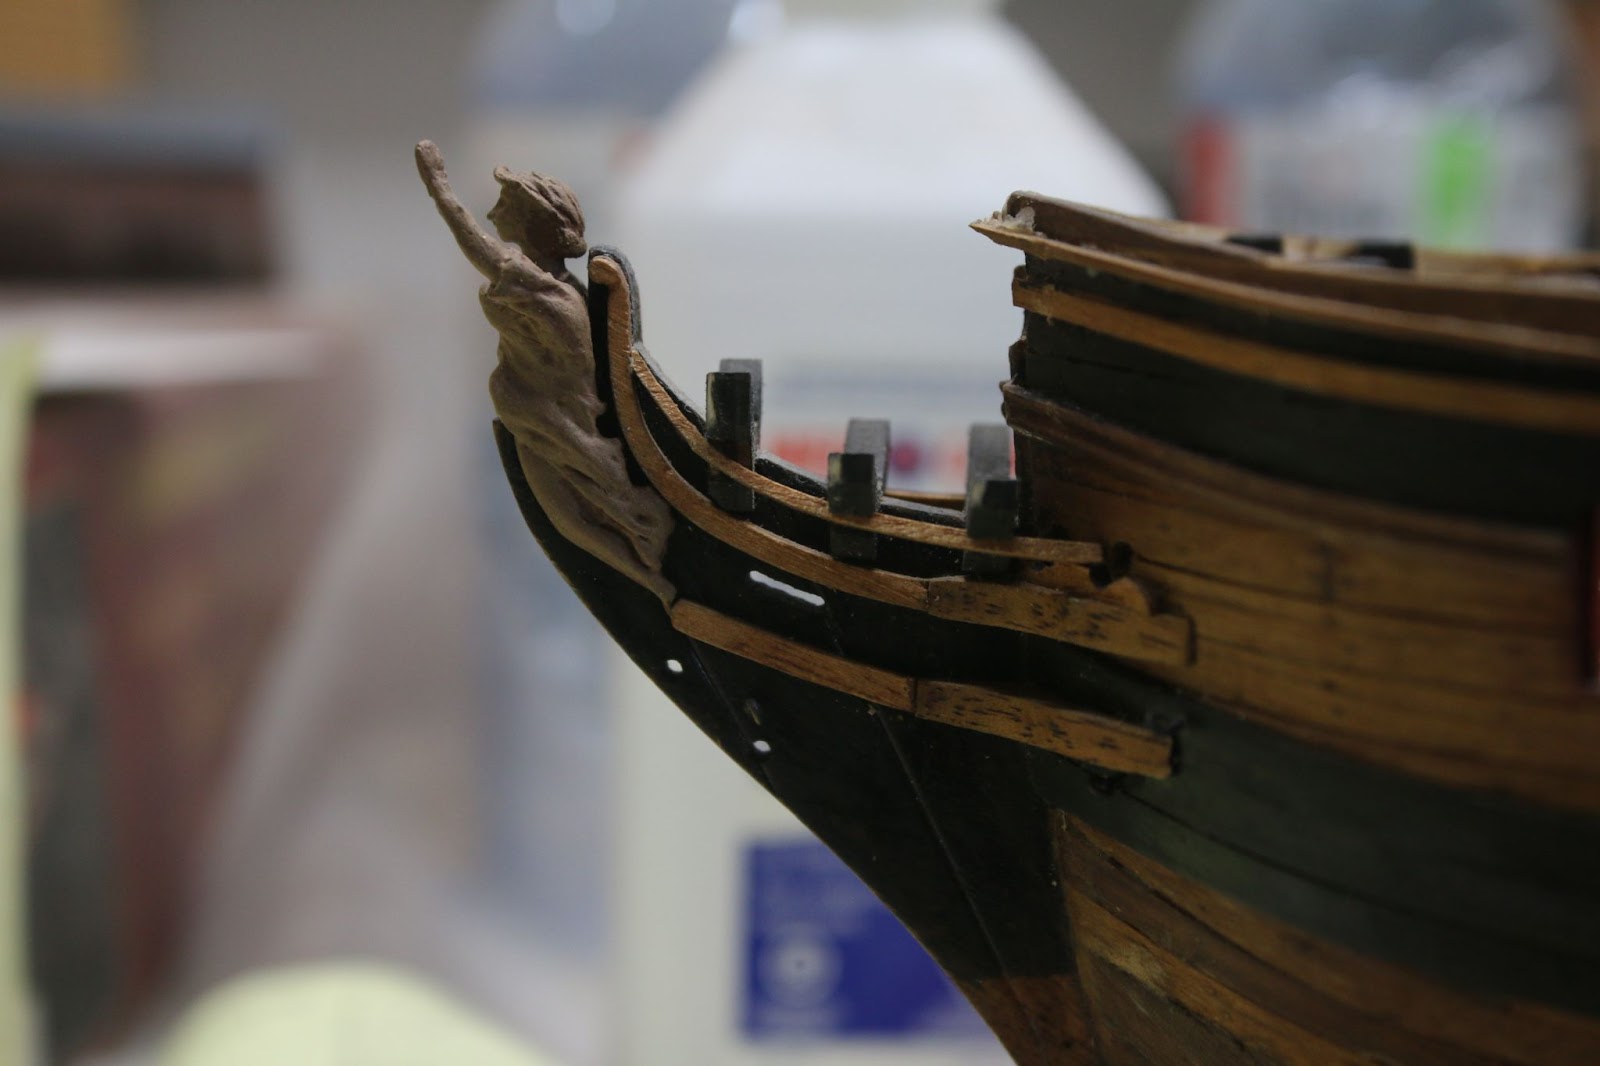
Around this time I took another break and tried my hand at another sword.

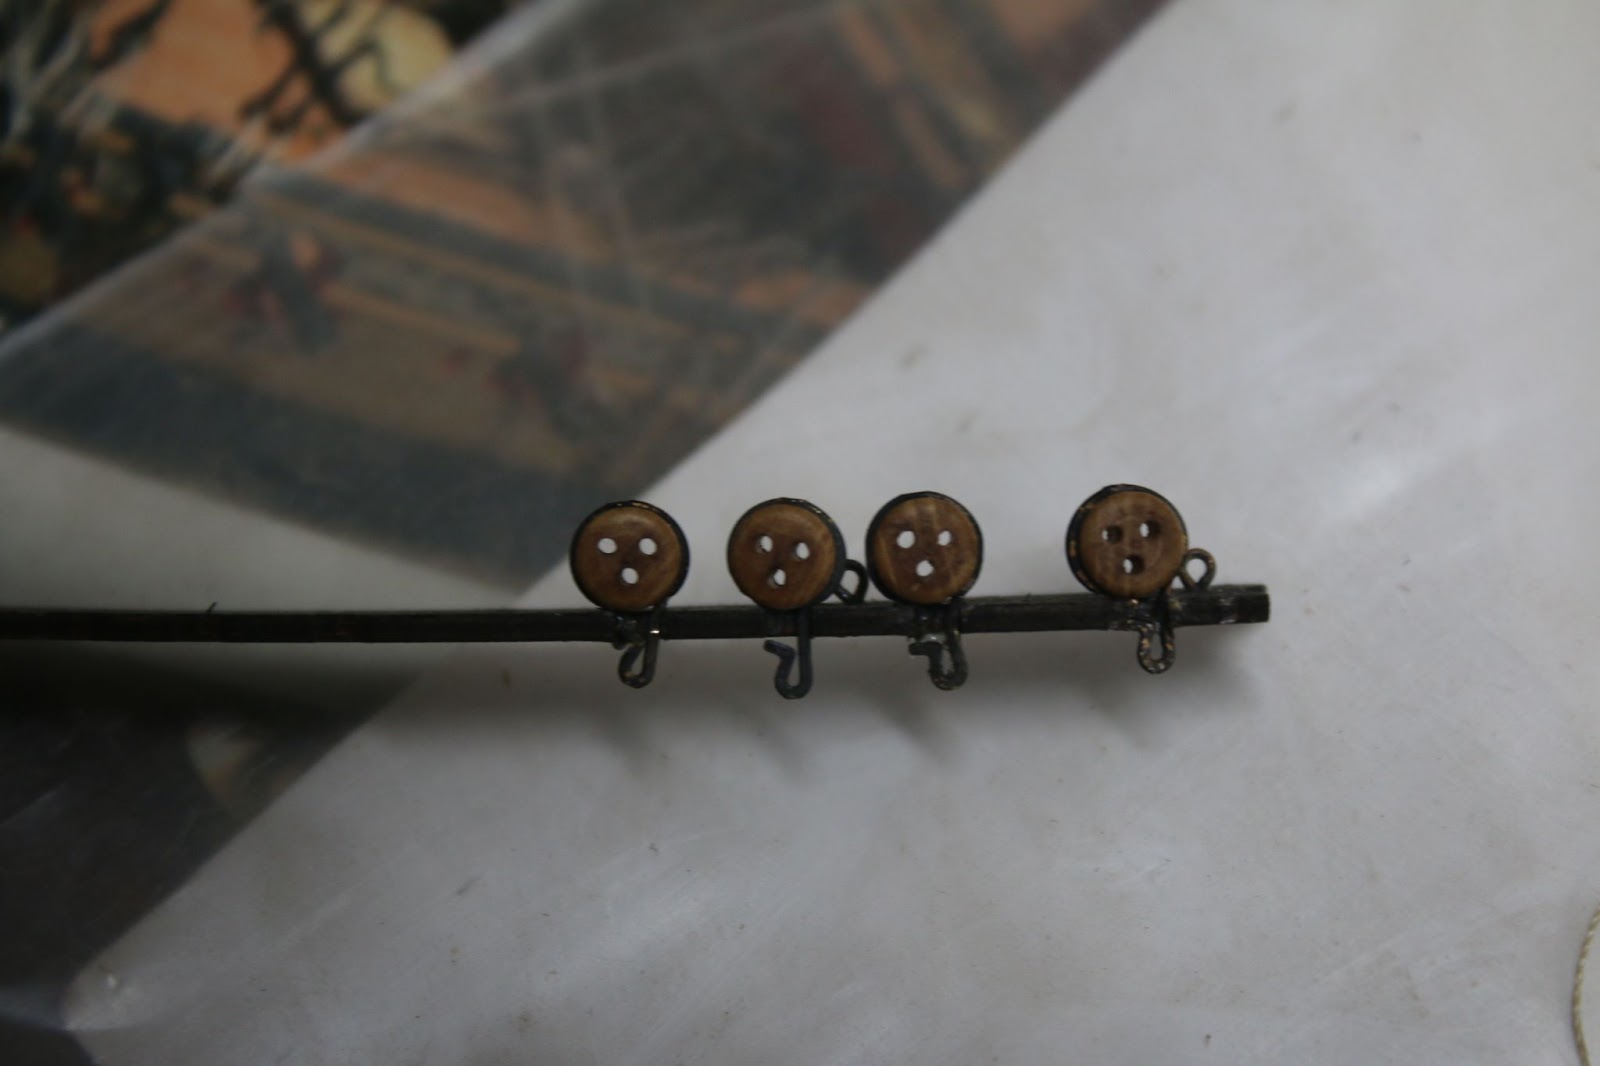
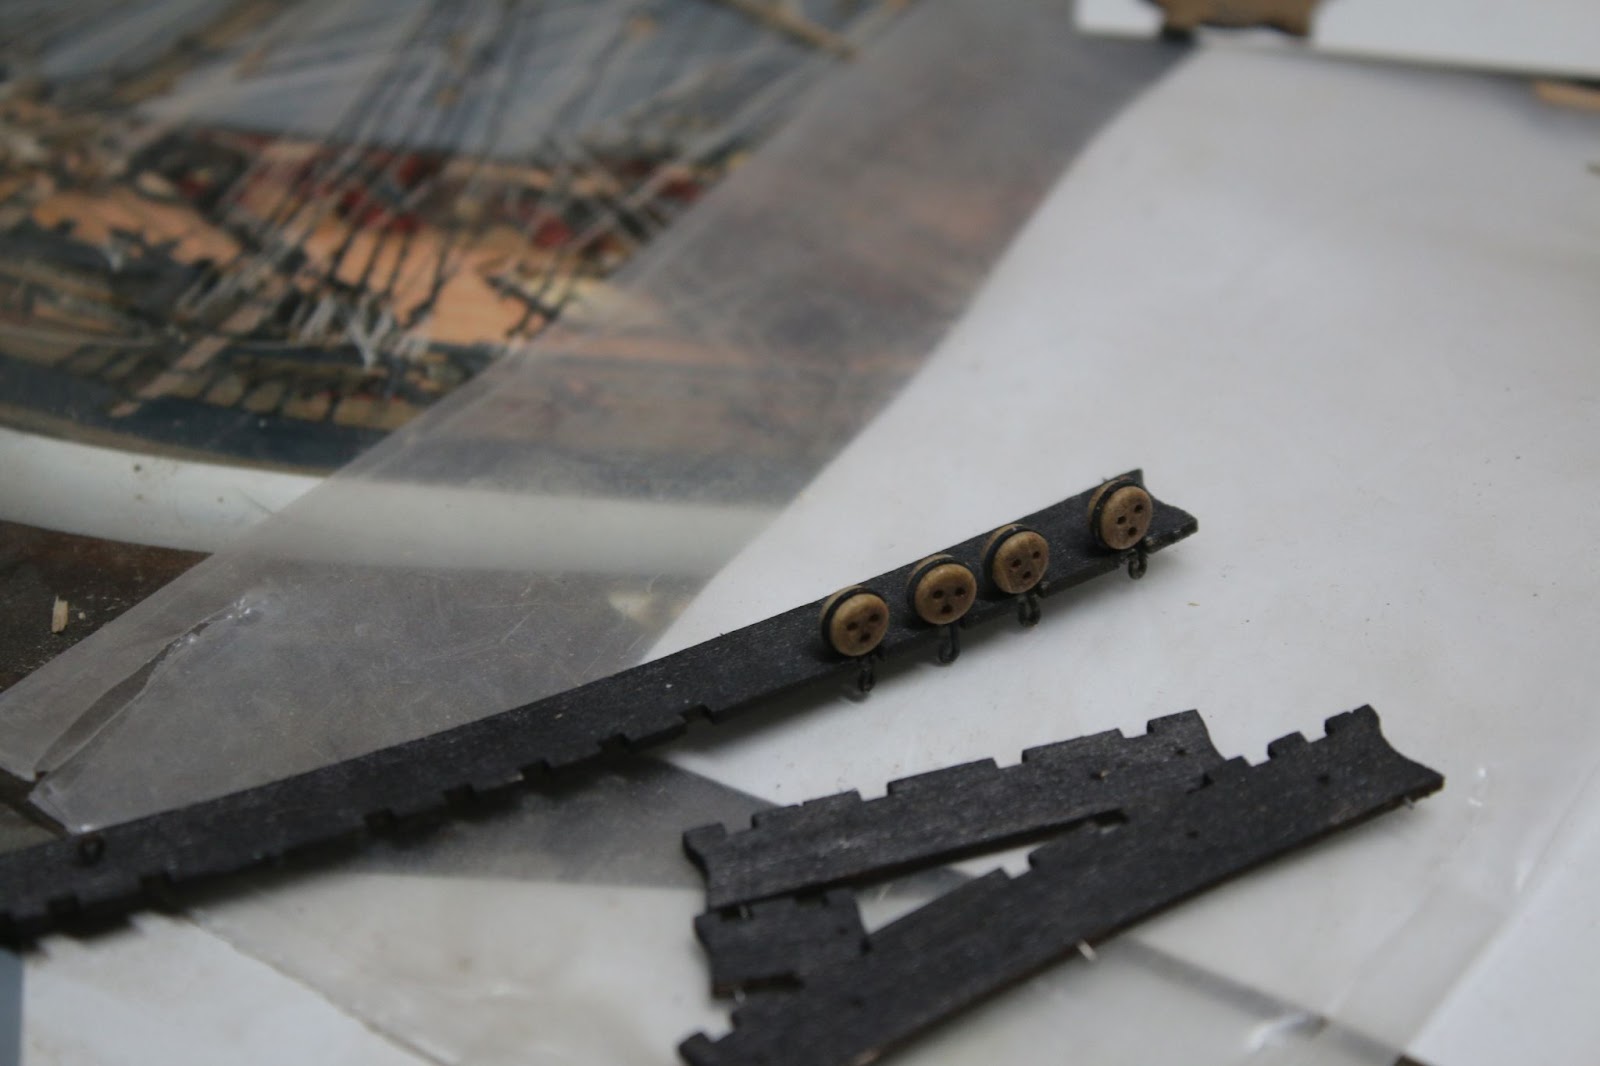
With that project done I got back into the build and started making the other channels and dead eyes as well as gun carriages.

This progress was slow and finding time during school proved to be hard. But today I relatively completed the rest of the carriages. While they still need fittings, they are built.

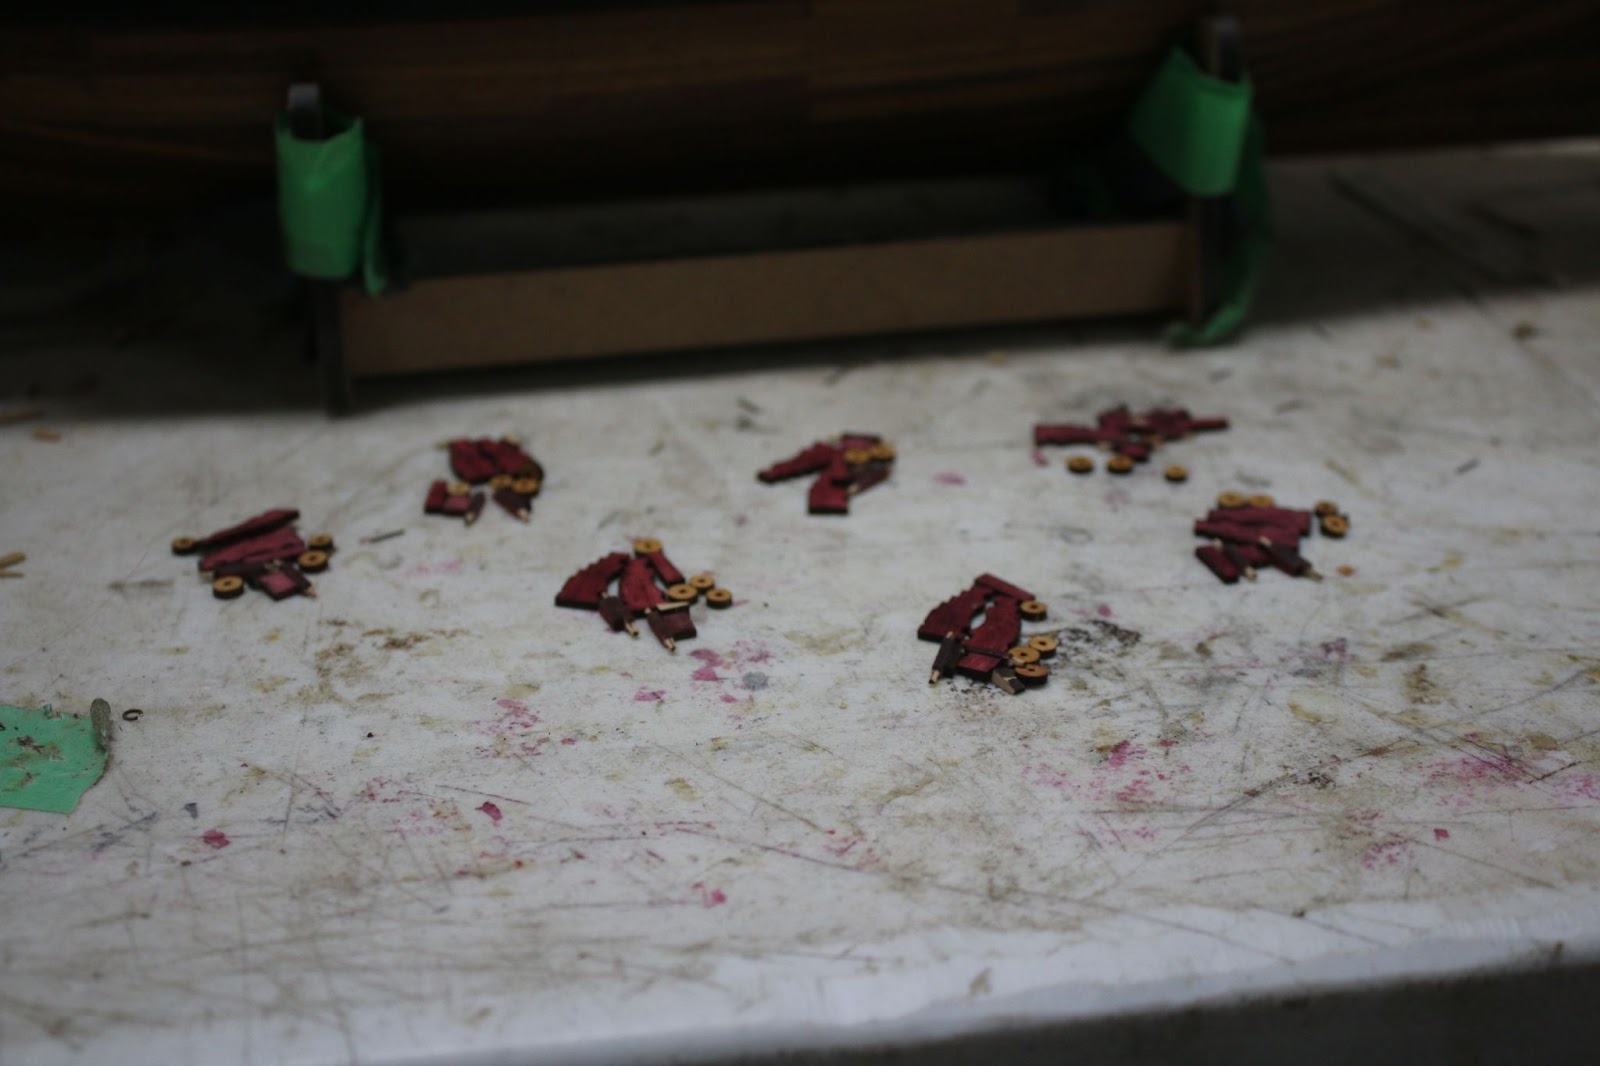
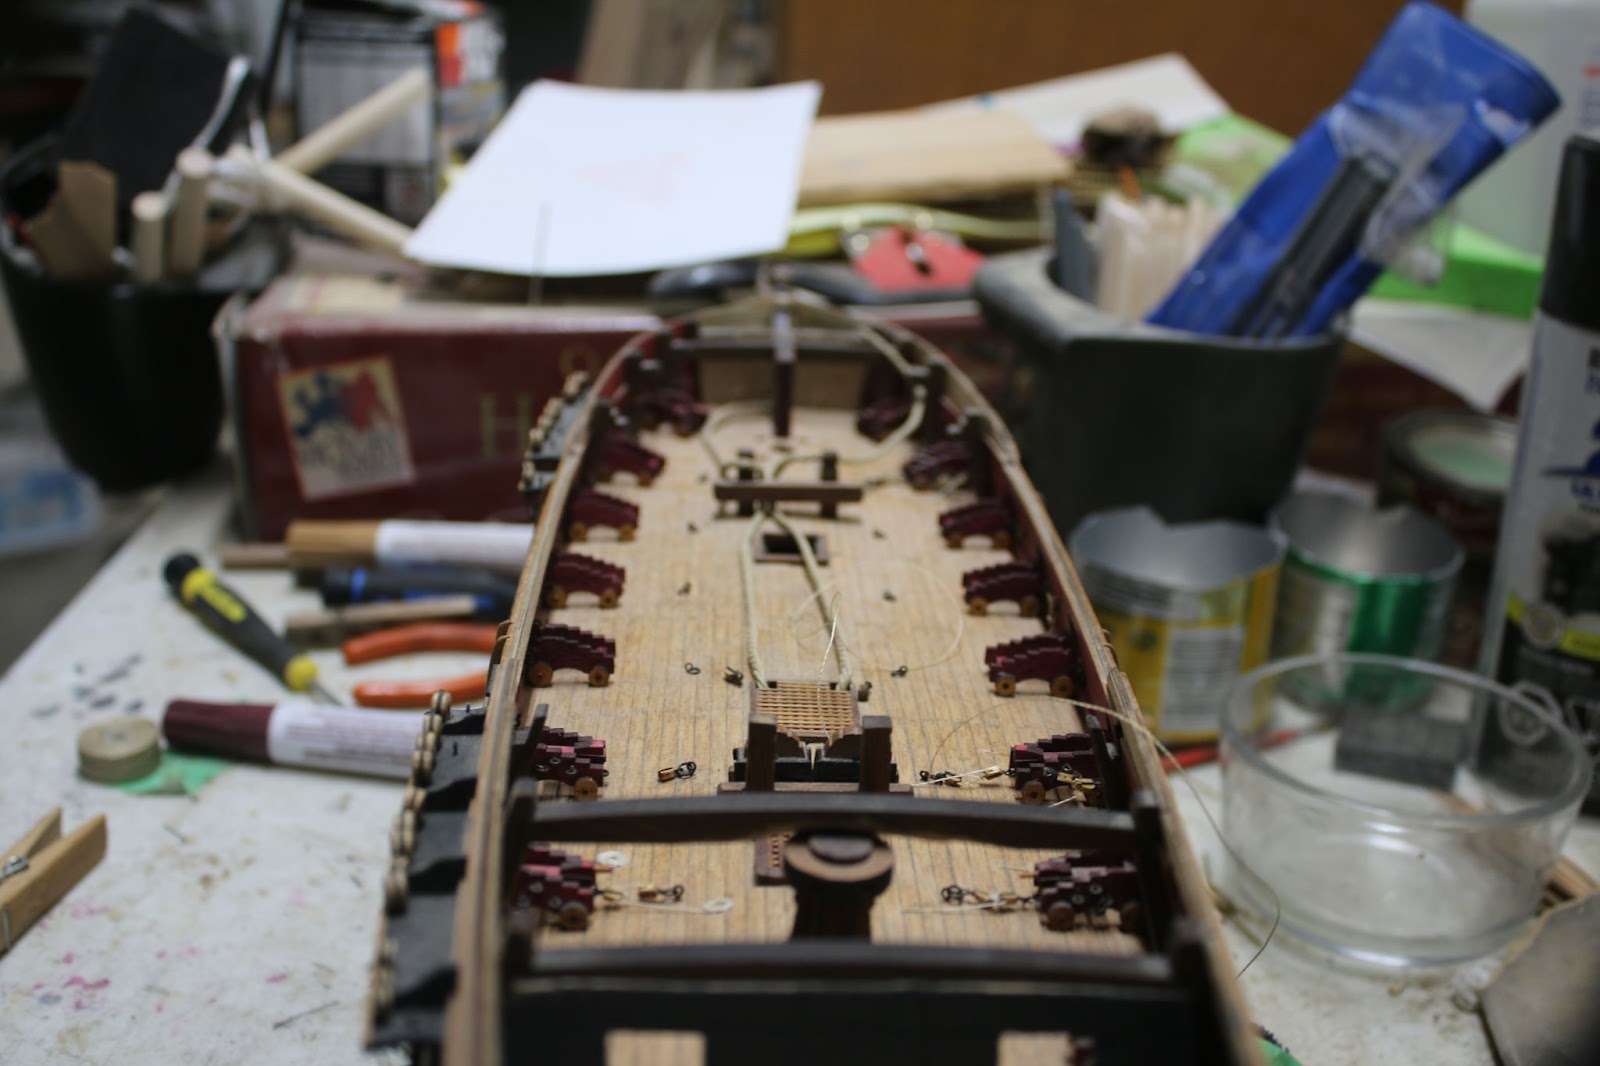
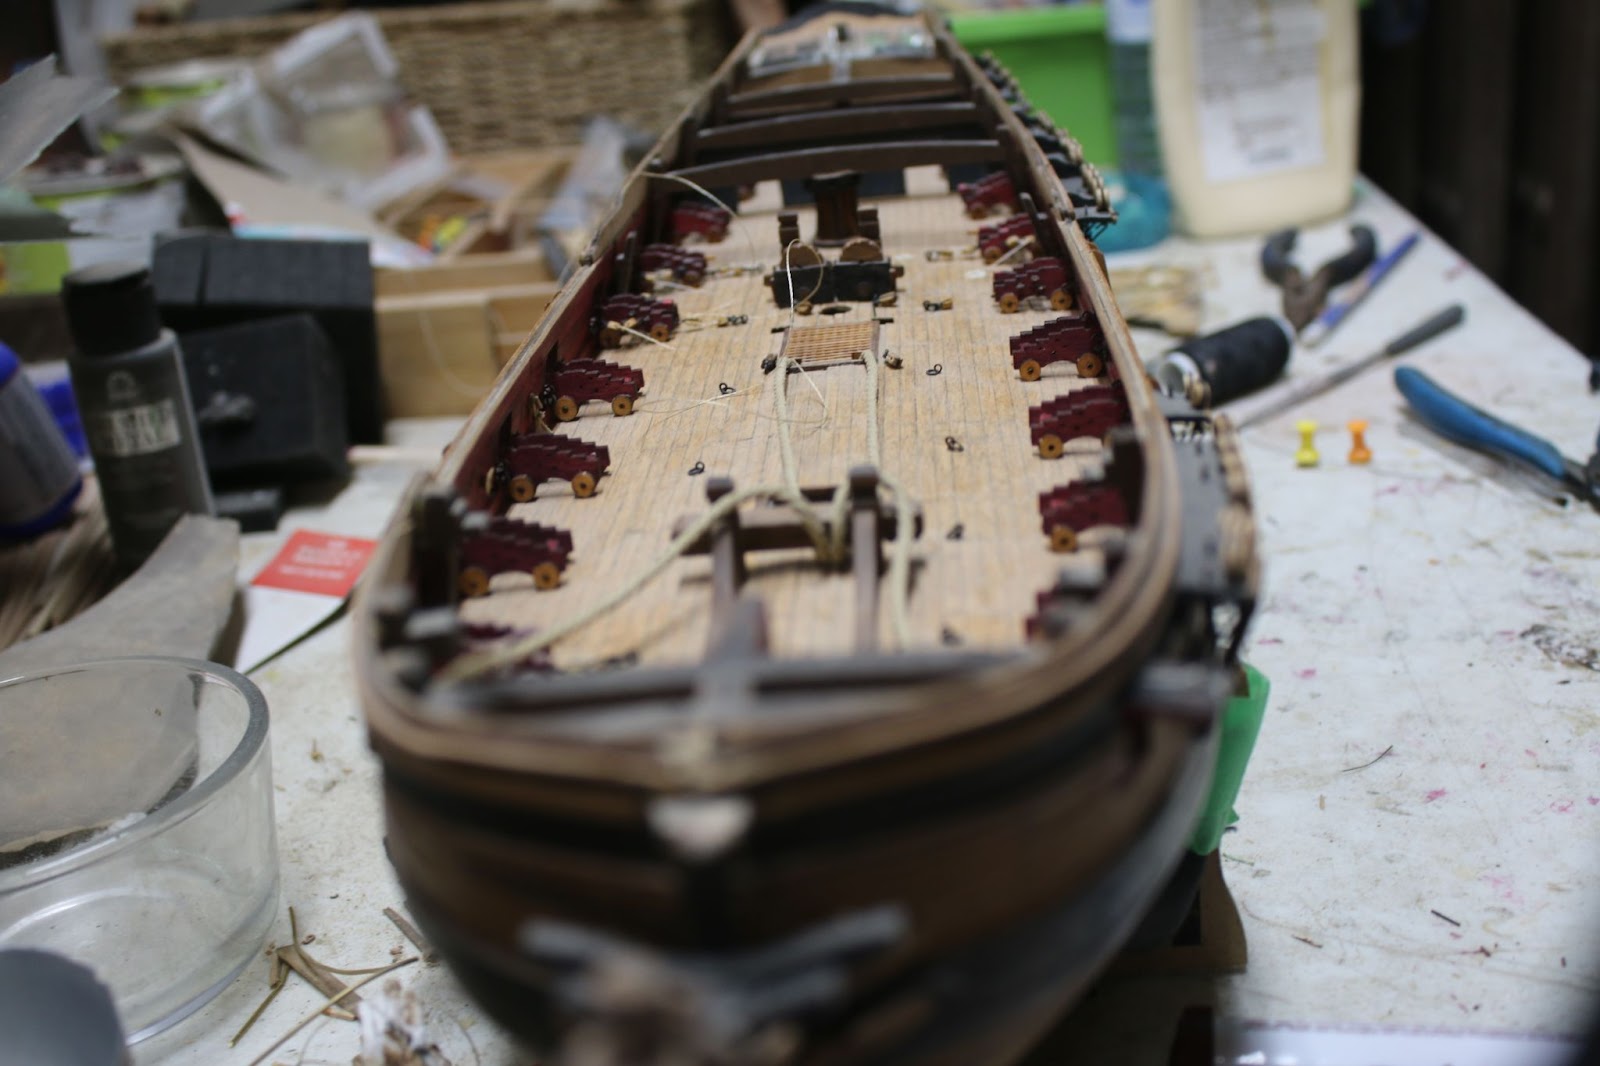
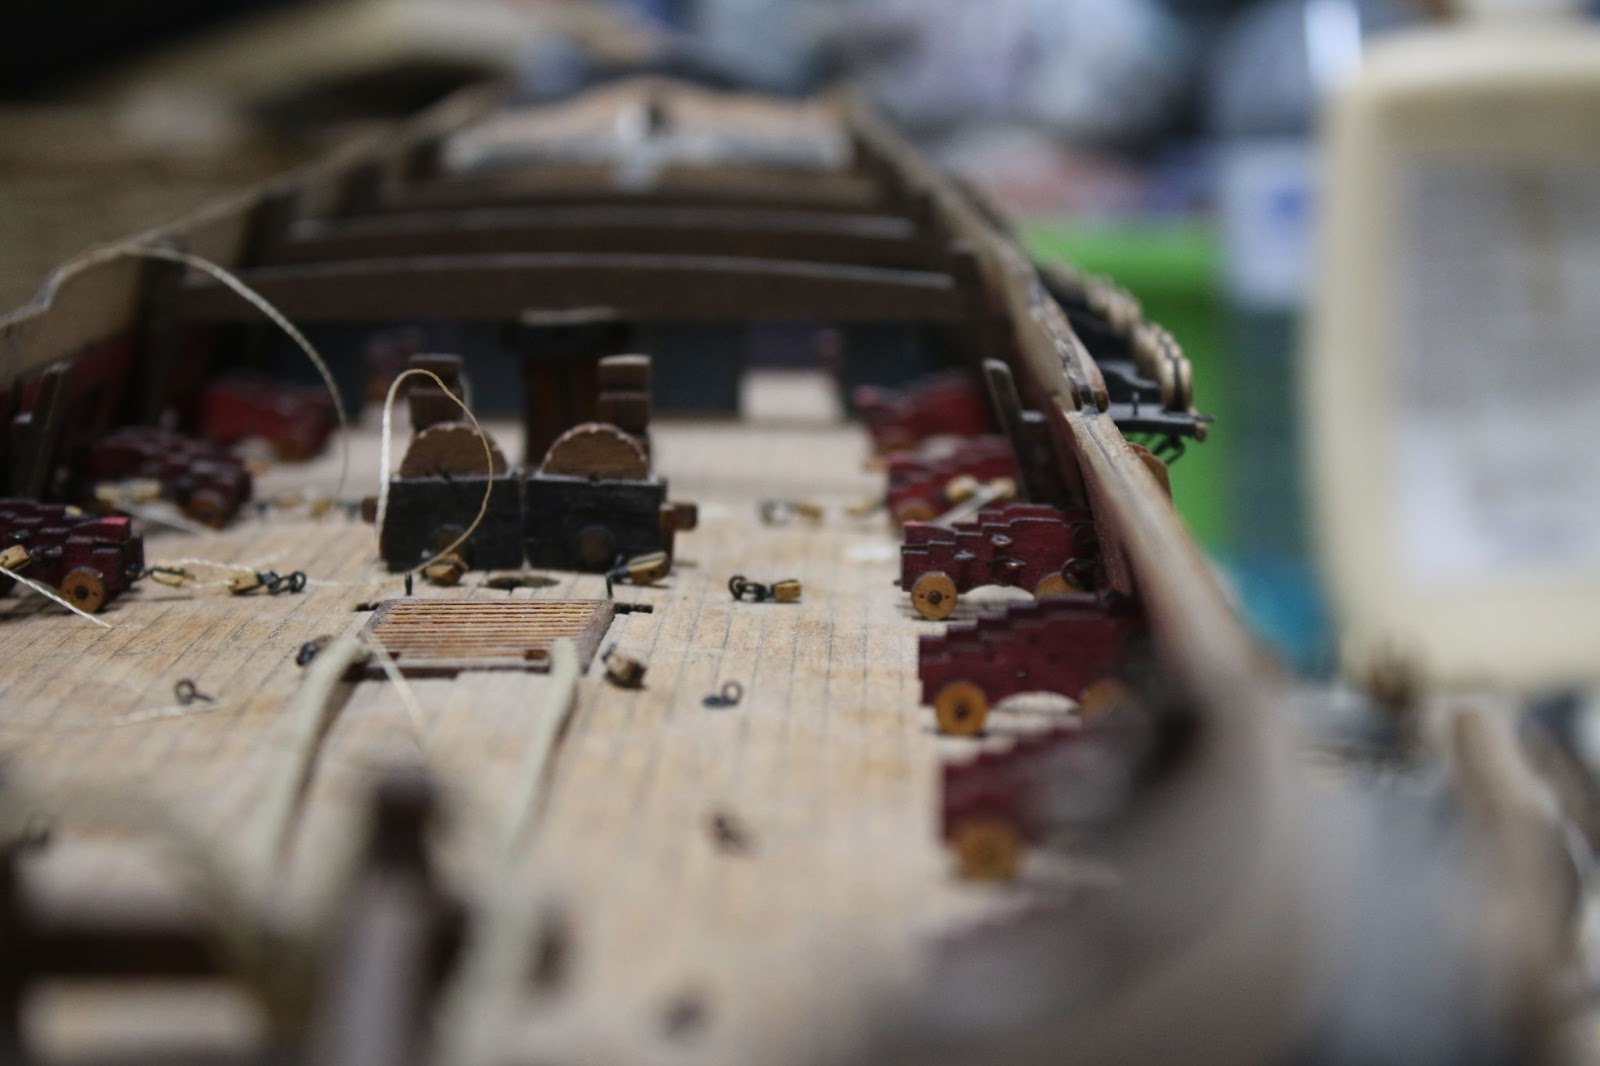
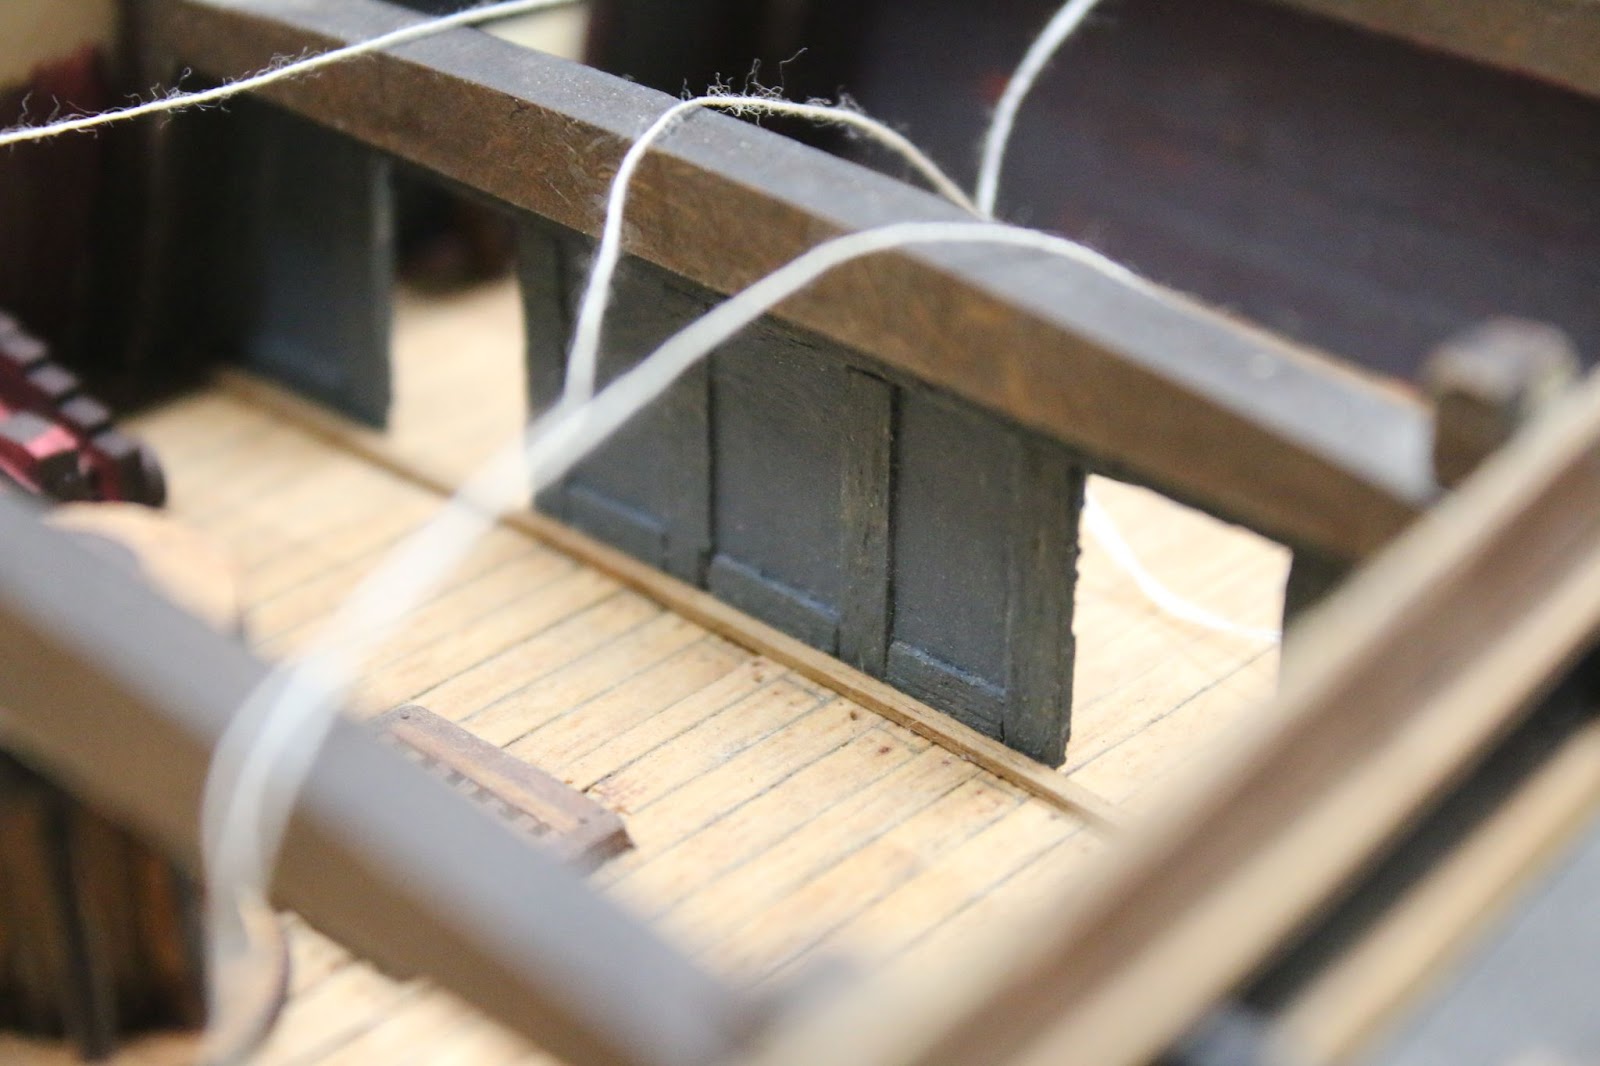
Now I'm on to rigging and fitting the carriages before they are finally installed. To do so I’ve come up with this system. Which works rather well for rigging the pulleys which are tiny.

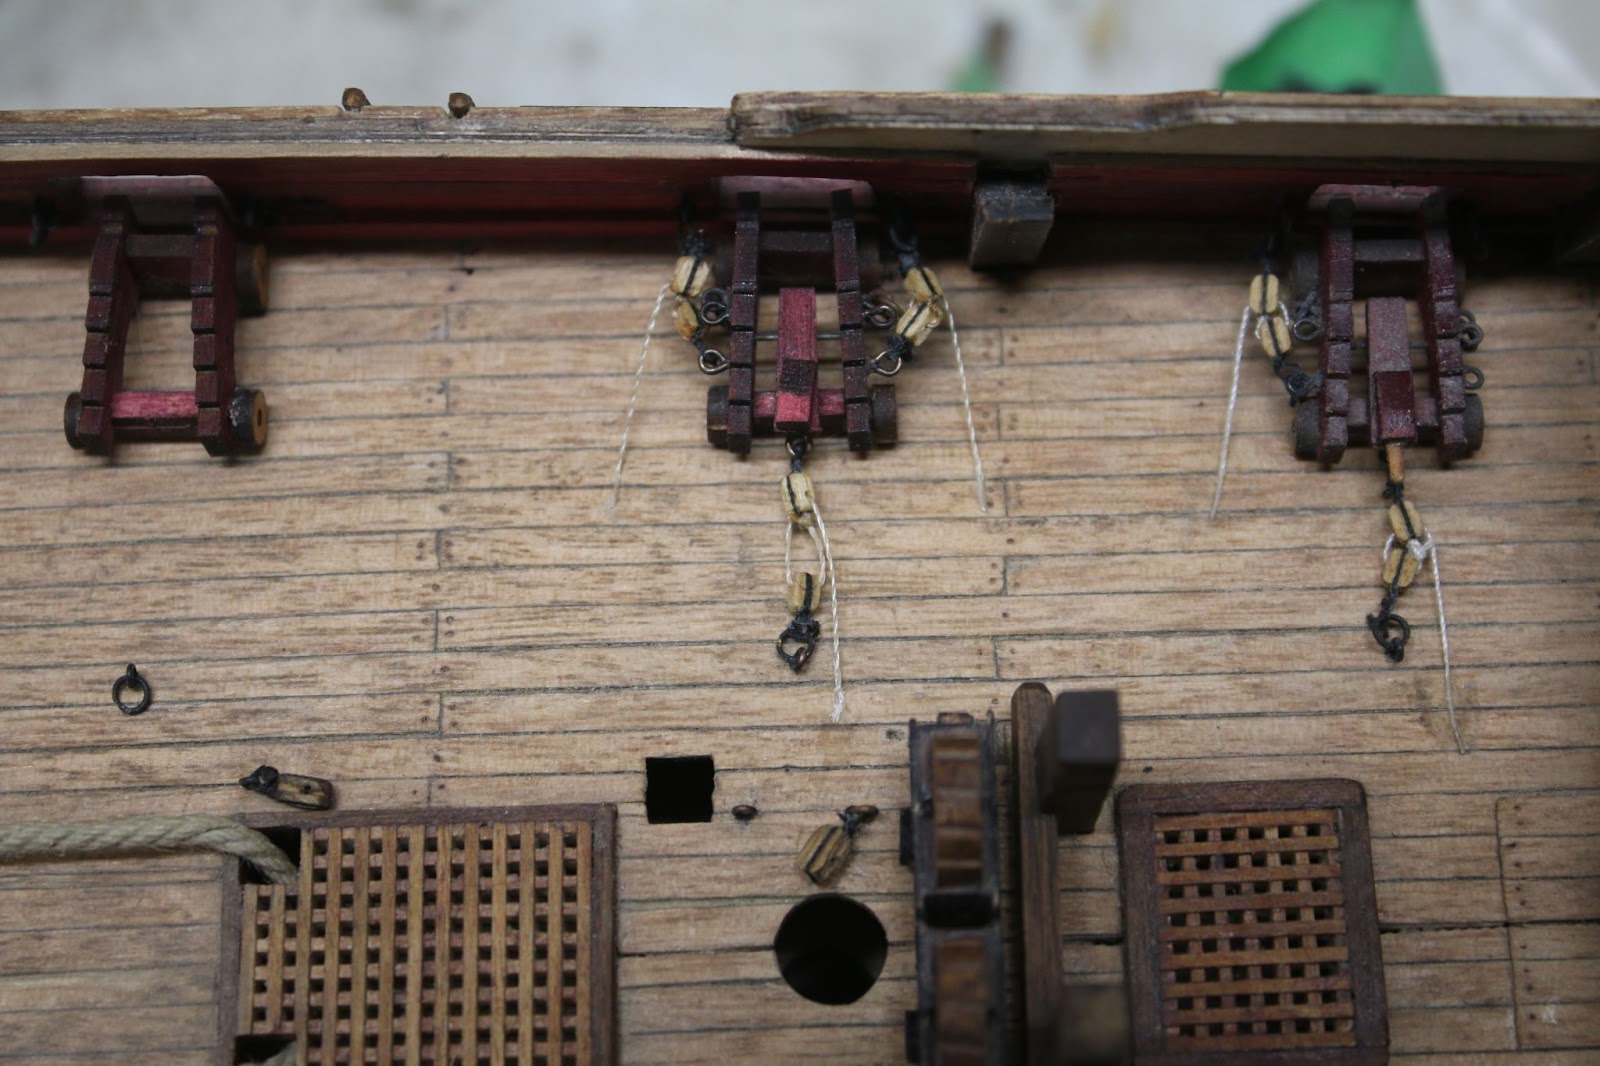
That is where I left off today. With some more time as I'm on summer holiday now, I hope to be able to progress further with this build and keep you all updated as I do. So with that, I say. Until the next post…


-Jamie

Tags: Fly , Kit , amati , wood , hms fly , Ship model

Intermediate builder from the lakes of Canada

  • Member since
    March 2018
  • From: Chicago suburbs
Posted by Luvspinball on Wednesday, April 28, 2021 10:13 PM

Jamie,

Thanks for catching us up!  Great work.  You have a real talent with wood-working.

Bob

Bob Frysztak

Luvspinball

Current builds:  Revell 1/96 USS Constitution with extensive scratch building

  • Member since
    August 2018
Posted by Jamie Dominie on Wednesday, April 28, 2021 10:18 PM

thank you, Bob!

Intermediate builder from the lakes of Canada

JOIN OUR COMMUNITY!

Our community is FREE to join. To participate you must either login or register for an account.

SEARCH FORUMS
FREE NEWSLETTER
By signing up you may also receive reader surveys and occasional special offers. We do not sell, rent or trade our email lists. View our Privacy Policy.