Finally time for an update on the U-Boat. I spent the first 2 weeks just working on the port side hull. It was just all drilling and sanding and filling. I am useing the Wolf Pack article by Dougie Martindale and Wink Grise that i downloaded from AMP a few years ago. These guys develope the U-Bras set now sold by WEM that corrects many of the errors on the Revell kit. The artcile also gives good detail on the flood holes on the U-552 along with other Tupe VII's.
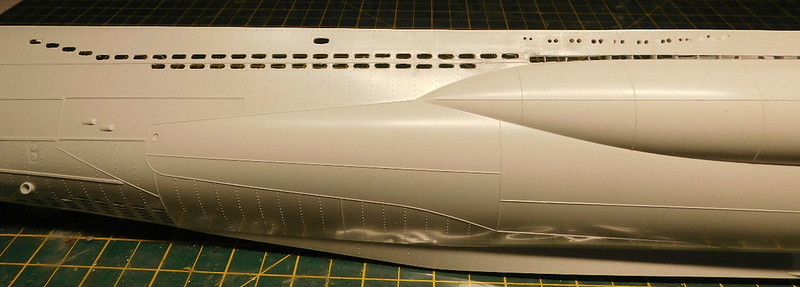
So, starting the the front, i cut out the cheack piece and replaced that with the U-Brass part. Also the row of small round holes along the top of the hull were filled and re-drilled. The Revell ones are to big and to far forward. Also filled the 3 holes at the front of the hull as these are to bag and the pattern is wrong. But i have just noticed i still need to finish re-drilling these.

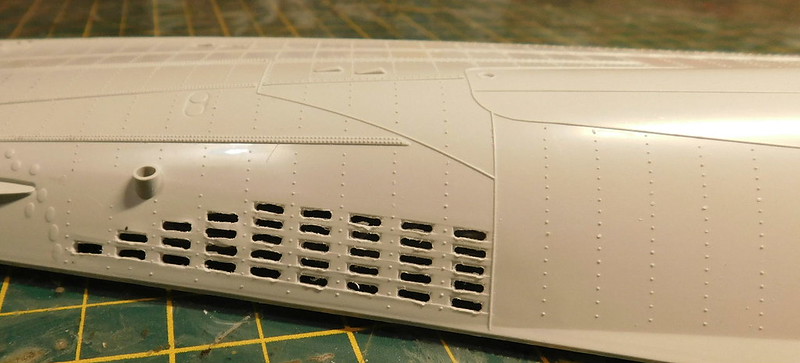
Then the forward portion of the free flooding vents. Over the whole boat, i need to fill 7 holes, drill 11 new ones and alter 2. Also filled and re-drilled the curved line of vents which drain water away from the deck gun.

In the middle, the central drainage area, the recess running along the top of the saddle tanks, was cut out and ribs added. The brass part above can either be used as a template or replace the kit area, again, some holes needed filling.

And the rear free flooing vents alng with the 3 vents above the saddle tank. These had to be done twice as i messed up first time. I have left the exhaust as i am not sure if i should drill that or just paint it in. If its drilled, it will need somthing behind it so you can't see straight through.

The holes on the underside can be corrected with a set from Model Brass. But this is pricey and i would not need the vast majority of it. So i just drilled them out and re-shapped with a round needle file. You can see where i over did the sanding and went right through. But fortunatly that will be covered by base of the propeller shaft.

And the ones at the front.

And the whole part.

One thing i learnt is that was easier to thin the plastic before drilling out the vents. I still need to do a little clean up on some of the holes. On the inside, i addd some styrene sheet to replicate the saddle tank extending into the hull. Once the hull halves are together and the ''pressure hull'' fitted, i will tidy that up.

Now i just have to repeat the whole process on the starboard side.
After 2 weeks of that, i decided i need a break so moved onto the tower. The top and bottom halves are together with the external PE added from the Eduard set. I plan to prime and paint the inside befor ethen fitting this out and getting it all together.

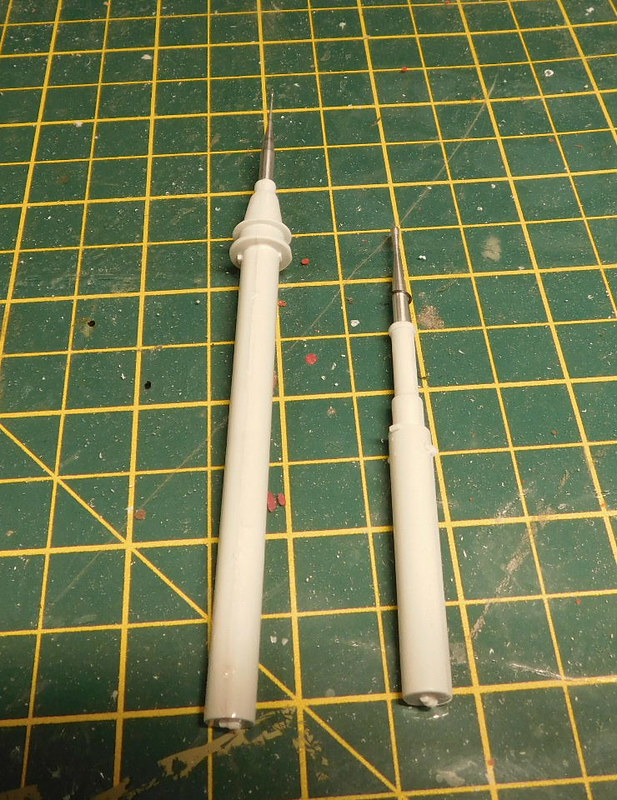
The 2 periscopes were put together including the metal parts.

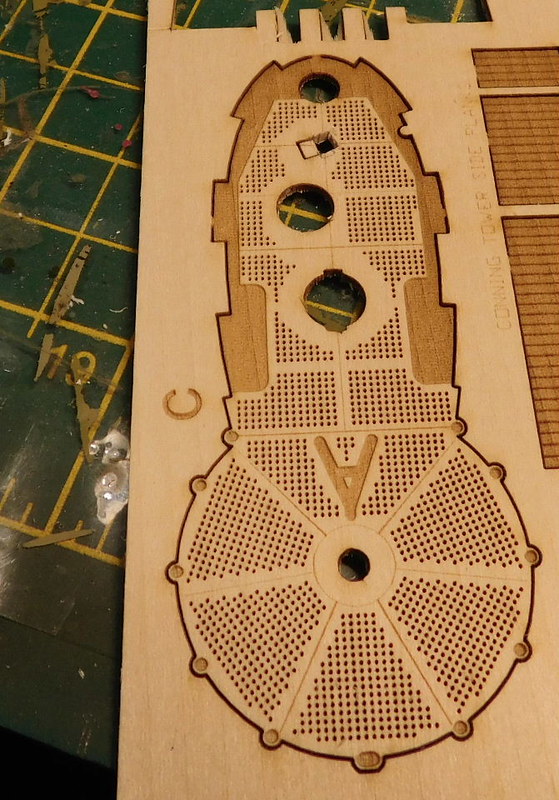
The Nautilus wood deck is based exactly on the Revell one, including errors. This includes the hole for the UZO sight. This should be in the middle, but Revell places it over the the left side.So on my piece i cut out the correct area, fortunatly the base of the UZO covers most of the area where the incorrect hole is.

And 4 more bit of AM arrived, 3D printed parts from Shapeways. Left to right, turnbuckles which i ahve kept in their little box, insulators for the antenna wire's, UZO base and sight and anchor.

Thats all for now. I plan on spending this week finishing off the tower and working on the deck gun. Then at the wekend i will start on the starboard side of the hull.
And seeing how this is going, and given i will need to take a couple of breaks to do some otehr bilds befor ethe year is out, i will deffinetly still be doing this next year. But i will certainly not be rushing this build given how long i have been waiting to build it and how much research i have put in to it.
Thanks for looking, all comments very welcome.