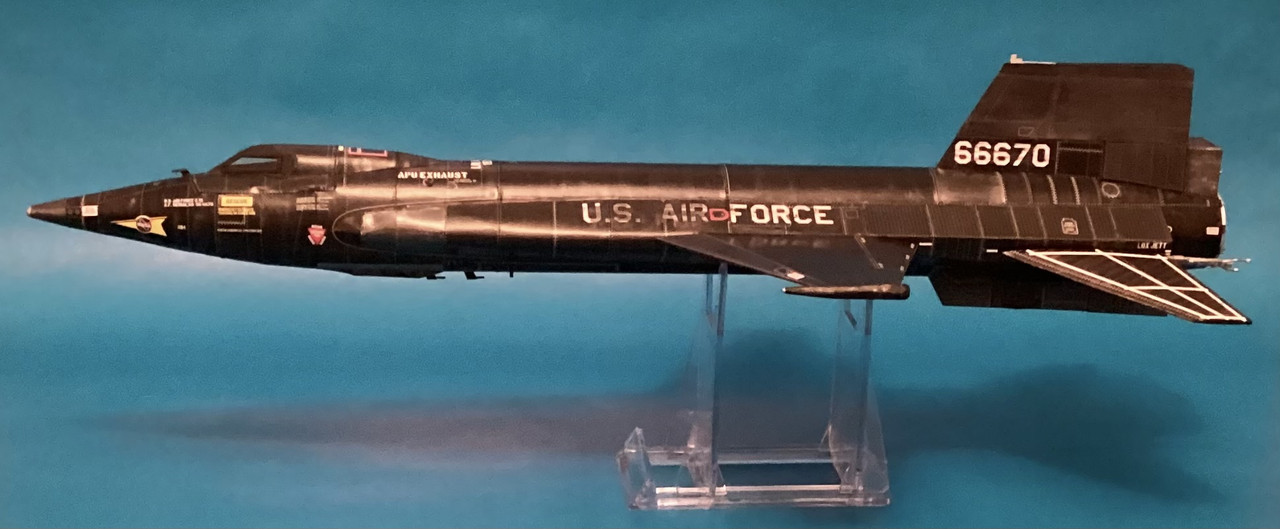
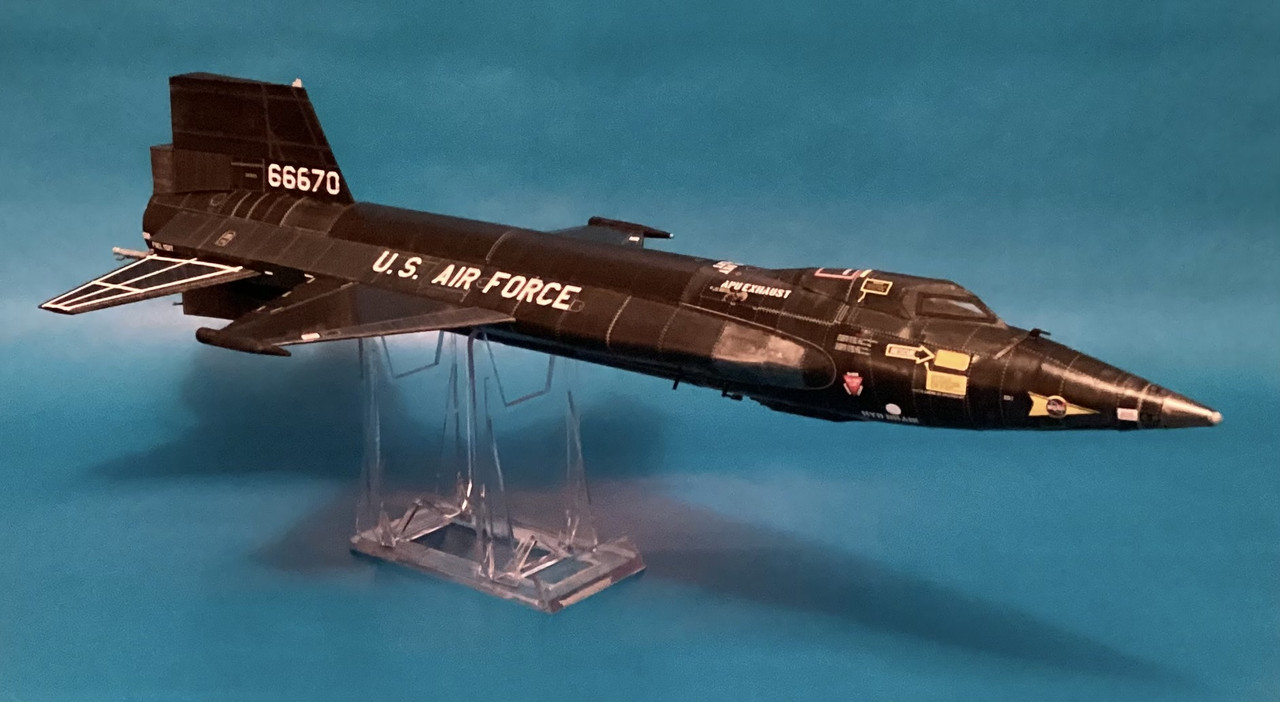
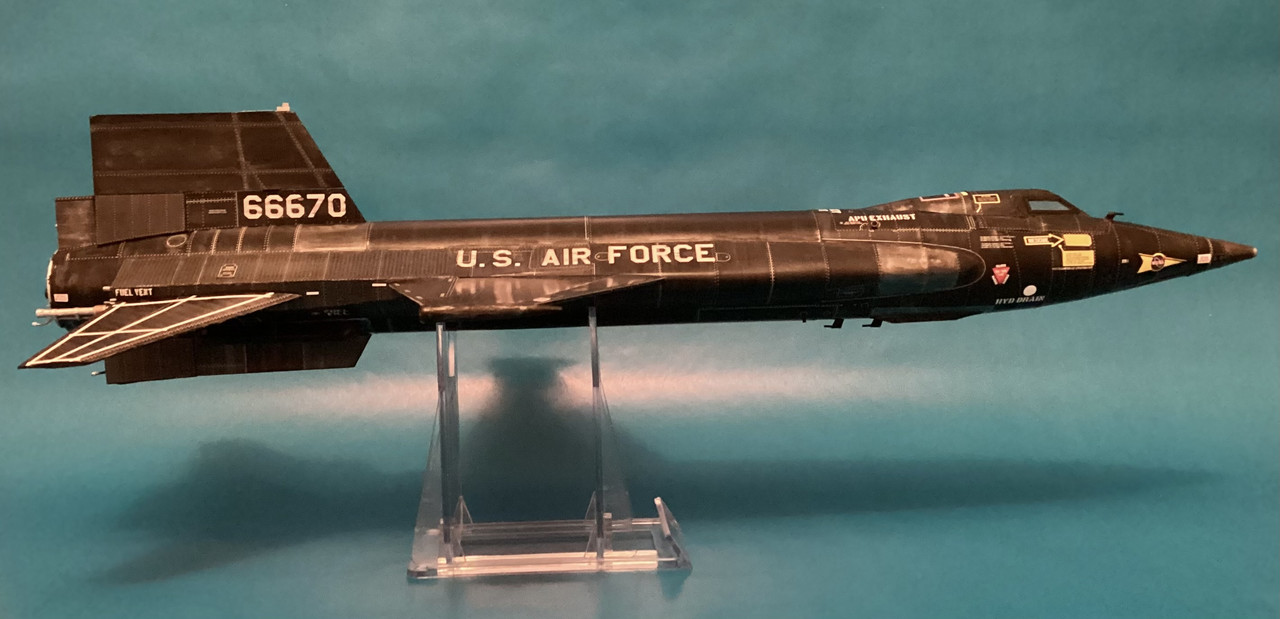
The last X-15 flight, in 1/32nd scale…..
I decided to tackle a fairly major cardmodel conversion: Building the original X-15, 66670, out of a model of the X-15A-2, 66671. The cardmodel, in 1/32nd scale, depicts 66670 as it appeared on Flight 1-81-141, flown 24 October 1968 by Bill Dana. It was the 199th and final flight of the X-15 program.
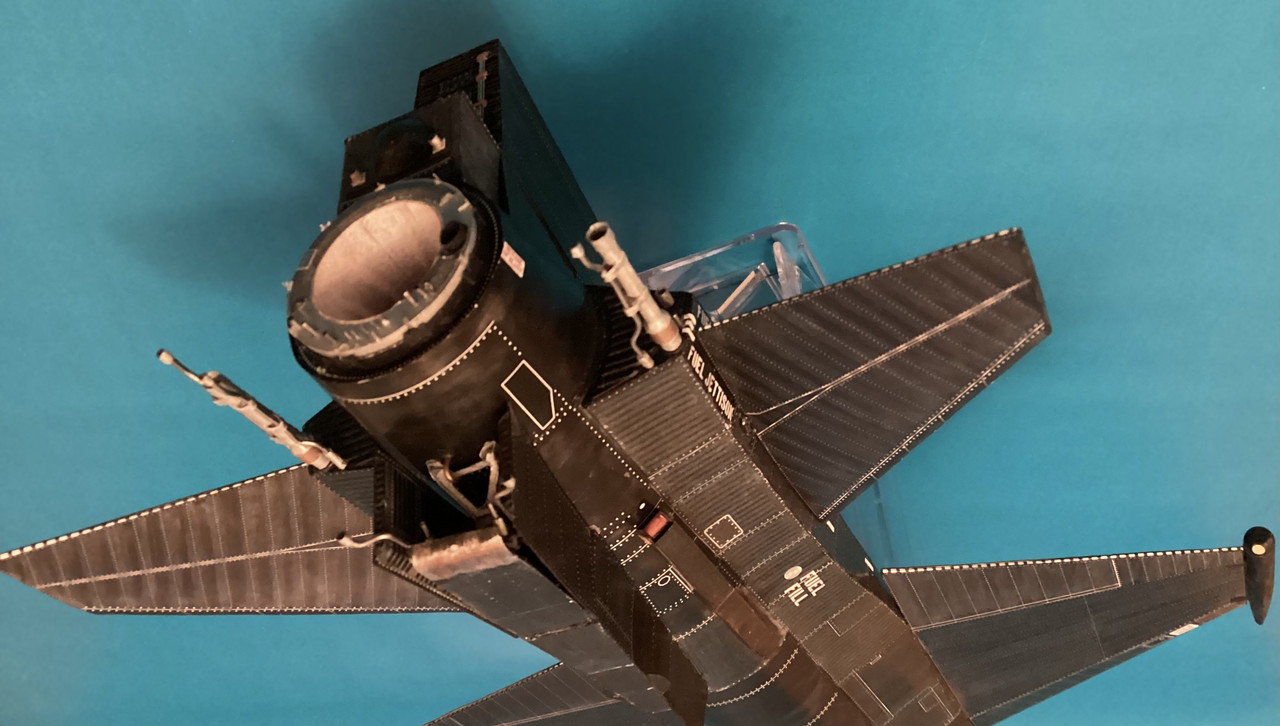
There is a nice card model of the X-15A-2 in 1/32nd scale so that’s what I used as the basis of my model. The model was printed on 170gsm glossy cardstock, and the conversion involved cutting 29 scale inches out of the fuselage and shortening the side tunnels and numerous other alterations. The model also required a lot of scratchbuilding to include the ventral camera installation, wingtip experiment pods, the Phase 2 MIT-Apollo Horizon Experiment and its box behind the dorsal fin, the corrugations and wiring added to the rudder end piece, as well as the third skid (and associated hydraulics) added inside the lower speedbrake well.
A quick example of the type of modification/accurizing involved is the XLR-99 rocket motor. The kit’s motor is made of 15 parts. Of those, I used one part as-is and used another part as a template to cut a new one out of silver paper; all the other kit parts were ditched. The finished XLR-99 is comprised of 65 scratchbuilt pieces.
A friend did the digital repainting of the kit parts to represent 66670 as it appeared on its flight. As markings go, by the autumn of 1968, 66670 looked pretty bland — it carried just the U.S. AIR FORCE legend on both sides of the fuselage (albeit staggered) and “66670” was on the fixed portions of the dorsal fin. There were white photographic stripes on the upper surfaces of the tailplanes.
Modeling the X-15 in card generally presents one big problem: the monochromatic blackness of the vehicle. In real life, the Inconel X alloy the fuselage was made of took on all sorts of different hues and shades after being exposed to the heat of high-speed flight. I wanted to replicate that in some way, and spent weeks experimenting with (and discarding) different techniques.
I finally hit on one that showed promise. I got a silver faux Sharpie from the local pound store and before I cut a kit piece from the paper, I drew a series of parallel lines on it and quickly wiped it with a cotton swab. It created a metallic gunmetal look, and I could blend and randomize the look by the amount of wiping I did. I also taped off different sections or panels to vary the effect.
By its last flight, 66670 was heavily weathered. I replicated that as best I could.
![]()
 " alt="" />
![]()
 " alt="" />


