 uctrekker wrote: uctrekker wrote: |
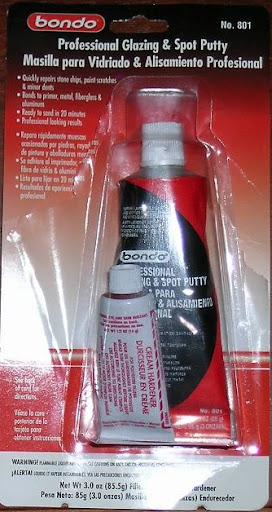
Is this the product you use?

Is it really harder to sand then Squadron putty? That's what the manager at my LHS says.
|
|
I've used the 2-part automotive putty, not Bondo, specifically, (Bondo is actually just one brand-almost every auto parts chain has its own version), and found it more difficult to sand, but that was because I hadn't mixed the putty and catalyst in the right proportions, so it was a little soft.
I've never had any problems sanding Squadron putty, at all. Did the manager at the store say any more about what kind of problems he had sanding it?
I also use the acetone trick, with the Squadron putty. I do it in one of two ways:
1. To make what I call "home-made Mr Surfacer", I squeeze a dollop of the putty into a well in a ceramic palette-though any non-reactive surface will do, like a paint bottle, or an old glass or glazed ceramic dish. Then I add acetone with an eye dropper, and stir it with a toothpick. I control the consistency by adding more liquid. I use the toothpick to spackle it on to the seam, or into the gap. I also have some dental tools with flat ends, like a spatula, and sometimes use those to apply the thinned putty.
The mixture dries quickly on the palette, because the acetone is volatile and evaporates quickly, but it can be brought back with more drops of the liquid.
2. The other method is to apply the putty to the seam, again, with a toothpick or some other tool, and then to use a cotton swab soaked in acetone to smooth out the putty and remove the excess. I don't use Q-Tips, because the shaft is plastic, and the acetone can melt it if it has enough time. I use generic cotton swabs with pressed paper shafts.
I can use the swab to pass over the seam, across it, not along the seam, just like cleaning up after applying a wash to panel lines. Going across leaves the material where I want it, going along the seam can remove it when I don't want to.
I've found that method 2 has helped cut down on the amount of sanding afterwards, since most of the excess putty is removed in the swabbing process.
It worked beautifully on a particularly bad seam on the Eduard 1/48 P-39Q kit. On the underside, where the lower wing seam meets the seam between the two fuselage halves, there can be a step, where one side of the fuselage seam is lower than the other, and lower than the trailing edge of the lower wing piece. I applied the putty using method 1, built up a layer, then used the back edge of an X-Acto knife to level the surface, by holding the edge against the high sides of the seam (the one fuselage side and the trailing edge), scraping outward from the point where the two seams met. A couple of passes filled it and levelled it.
Once the putty dried, it sanded with no problems.
Regards,
Brad