Hi Bakster,
Patrick206 has some great guidance there.
In my experience it is possible to create a very good finish with brushes.
This Airfix 1/72 Zero was done with acrylics and brushes. The varnish was done with a rattle can of Testors dull coat. It's also the last thing I fully brush painted after purchasing my first airbrush last year.
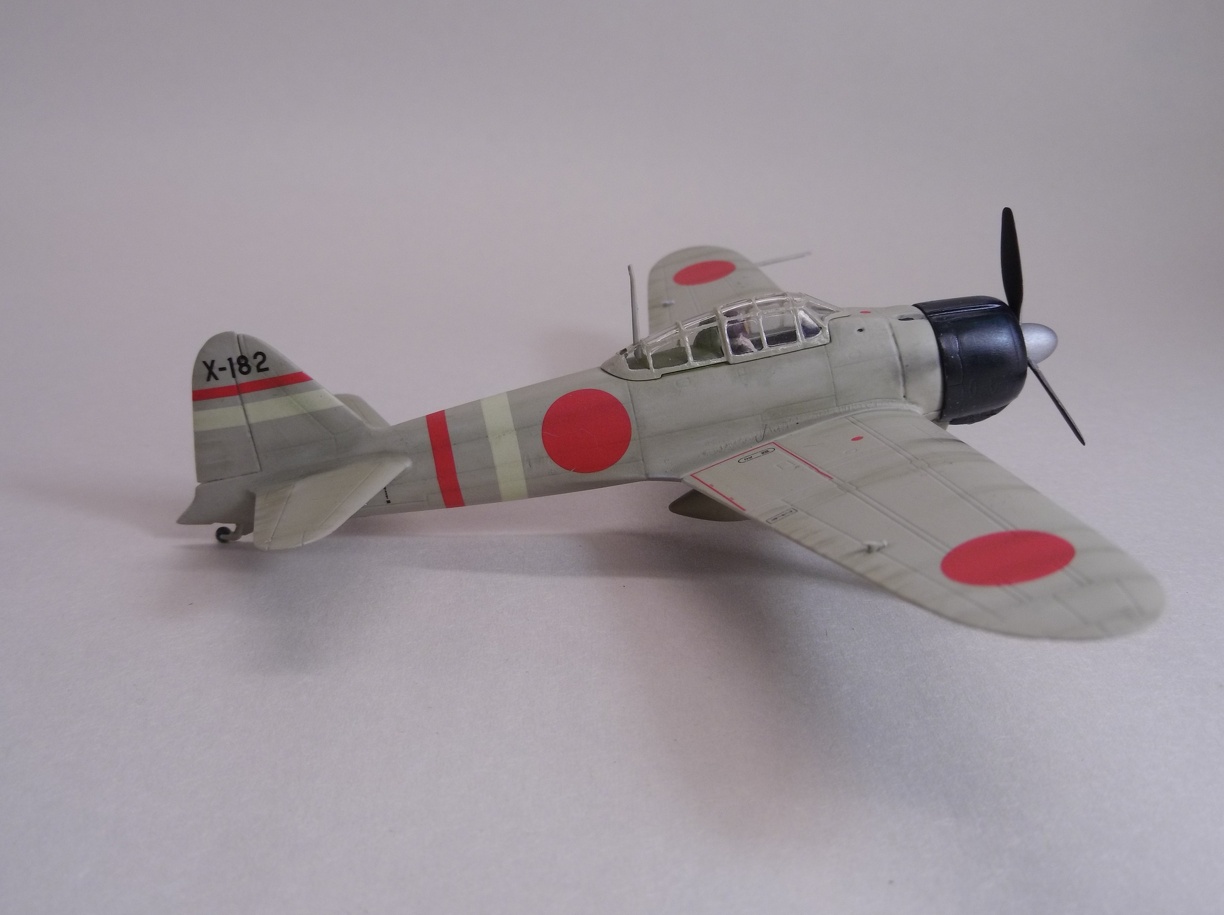
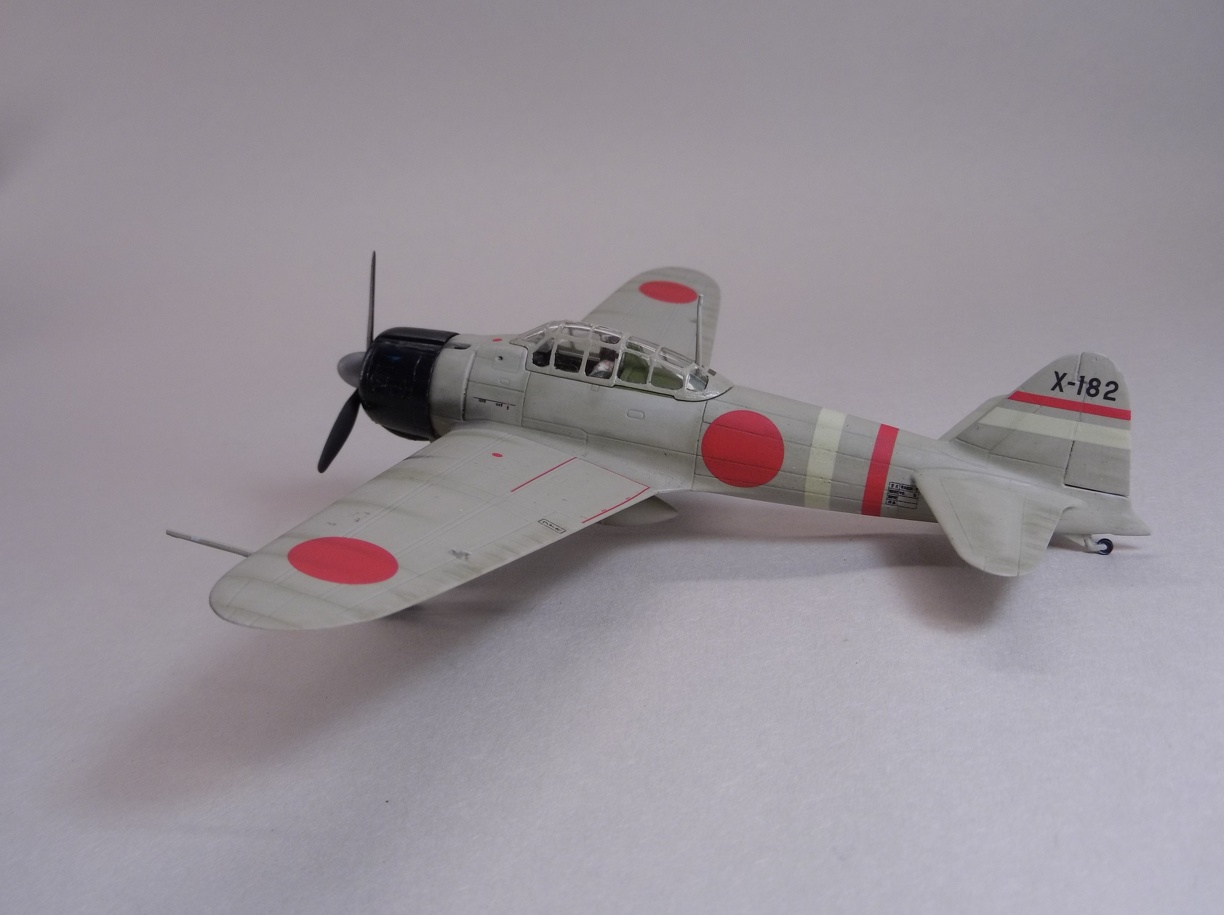
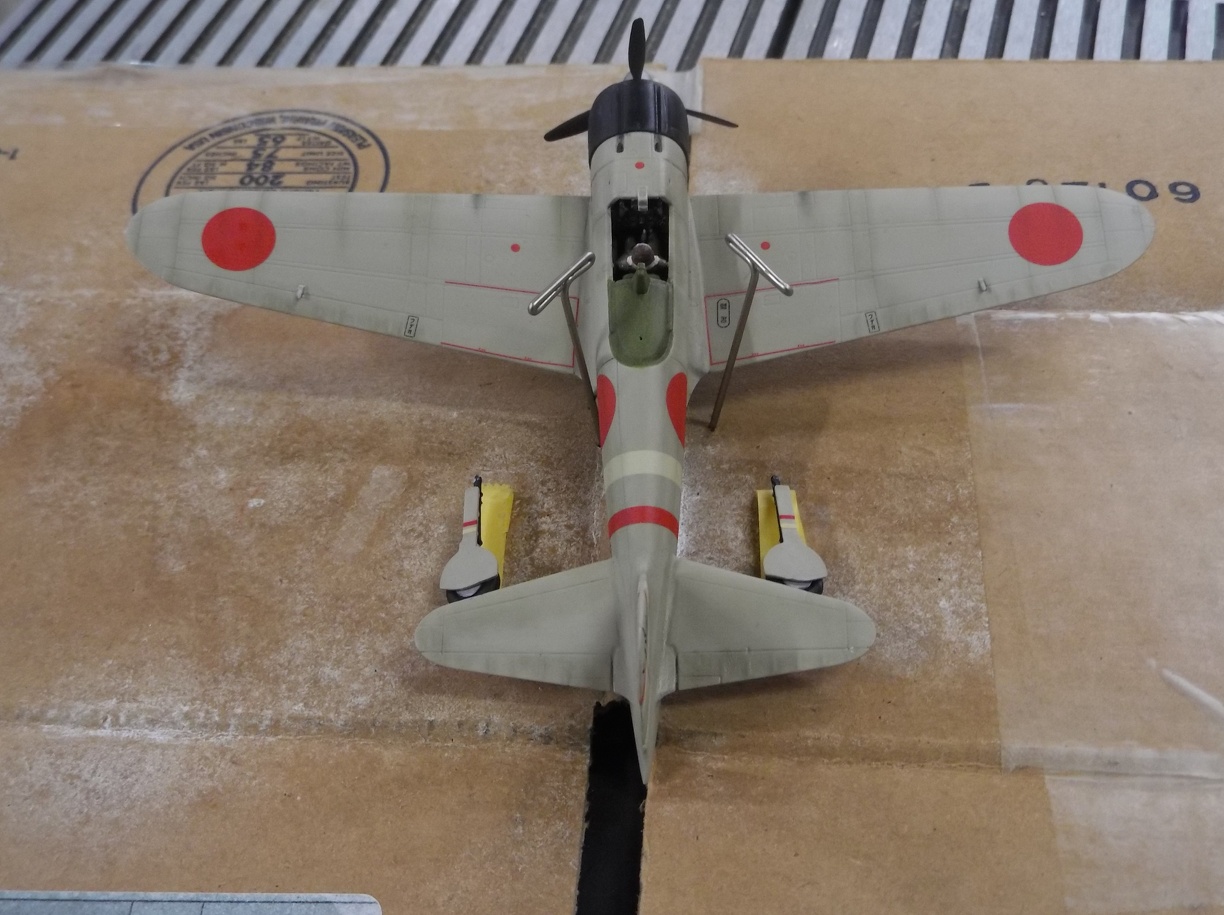
I apologize up front. Explaining things simply, is a challenge for me, and my inclination is towards painstaking detail. I blame my background in systems administration.
I use Vallejo Model color almost exclusively. Using it sometimes feels more like alchemy than chemistry.
There are a few things I have learned when working with acrylics.
- Proper thinning is a must
- How to thin the paint varies according to not only manufacturer but sometimes the color being used as well!
- how the brush is cared for while painting is as important as how the paint applied
- Paint once and then move on.
As I've mentioned in other posts, I don't prep MC with airbrush thinner or flow improver. It tends to lift the earlier layers of paint. On occasion I will add a very small amount of retarder to the paint on my palette. This is mostly to slow down the drying out of paint on the palette as I don't yet own a wet palette. It's rare for me to add retarder as it tends to act as a thickener as well.
1-2) Thinning the Paint:
This describes small batch prep as that is my most often use it but the process scales up well to larger batches.
Regardless how small the piece being painted is, starting with two to three drops of paint works great. It is less likely to be over thinned, easier to mix, and takes longer to dry out on the palette. Whenever I start with less, the inevitable result is I have to add at least that much more to correct things.
When thinning MC, I start with a single drop of Vallejo's Thinner Medium. This is not airbrush thinner but part of the Vallejo line of paint mediums. It helps reduce the viscosity of the paint while maintaining paint adhesion. You can substitute straight water for the Thinner Medium and that is how I started. However, I did discover mixing some of this in creates a more easily reproduced experience with the paint.
If the consistency is still too thick, I'll dip a 2/0 brush in distilled water and without blotting, mix it into the paint. I'll repeat that process till the desired paint consistency is achieved. Usually about the point when only a small round of paint will easily form on the tip of a moistened brush. Word of caution, I did discover that thinning with mostly water requires MC be stirred more frequently to keep it mixed.
3) Prepping the Brush:
Wet it with distilled water and then wipe it off on a paper towel till it is essentially dry. My assumption is this leaves enough water in the bristles to act like a lubricant both for picking up paint as well as applying it.
If the paint was thinned well, when dipping the brush into the paint, the paint shouldn't climb much higher than the depth the brush was inserted. If it wicks up much higher, than either the paint is too thin or the brush too wet. If the brush is to wet, simply rinse it out, blot it dry and try again. If the paint is to thin, I'll sometimes use a toothpick to slowly add a little more paint.
Now the brush has paint in it, but before brushing gently wipe one side of the brush onto a paper towel. This should leave one side with some paint and fairly flat and the other with a bit of rounded paint on it. Apply the flat side sans paint to the part and start the stroke.
Wiping off that bit of paint does two things. One, it helps prevent leaving a blob of paint at the start of the brush stroke and two, the remaining blob of paint at the top continuously feeds paint to the brush during the stroke. I use it as visual indicator for when I need to load up my brush again. That wipe is done every time the brush is reloaded with paint.
Regularly rinse out the brush and blot it dry as described above. The thinners and mediums evaporate relatively quickly and leave deposits of pigment in the brush which can create an uneven application of paint as well as depositing unexpected lumps. The smaller the brush the more frequently it needs to be rinsed.
4) Paint Once and Then Move On:
First coats are rarely even. Just like Patrick206 said, resist the urge to go back over an area just painted. It only makes things worst. My experience is it takes two to three coats of brush painting before an even color is achieved.
Start at one point, work your way across, and only after reaching the end consider starting again from the beginning point. Restraint is key. If needs be, set it down and walk away. Give it the few minutes to dry. Then, beginning again from the same starting point, work your way across once more.
This is the same Zero after it's second coat of paint. You can still see the plastic color coming through in some of the panel lines.
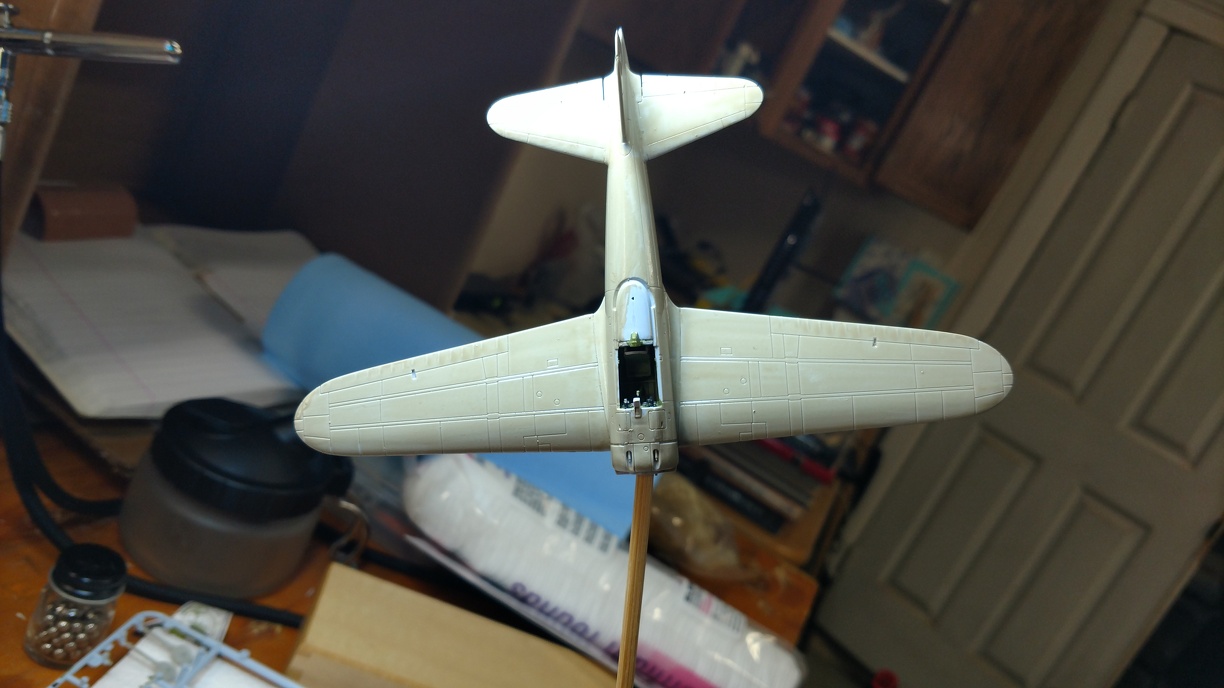
It took a total of three passes across three days to get the above effect. And it took three days because I had to walk away. Otherwise, I would try to put on another coat of paint too soon. I'd stripped it back to plastic twice because I tried to rush it.
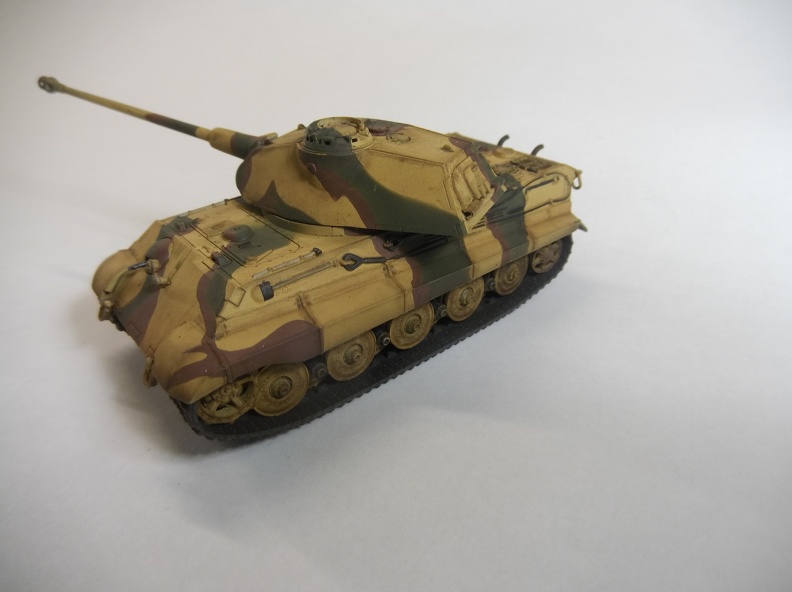
The brown camouflage stripe on this King Tiger was applied freehand with a brush. Took two passes on each stripe to create a solid enough color. Everything else was airbrushed.
This is the pilot tub from the Ma.K. I currently working on. Used the exact method above to paint it. This is after applying brown/black washes for wear.
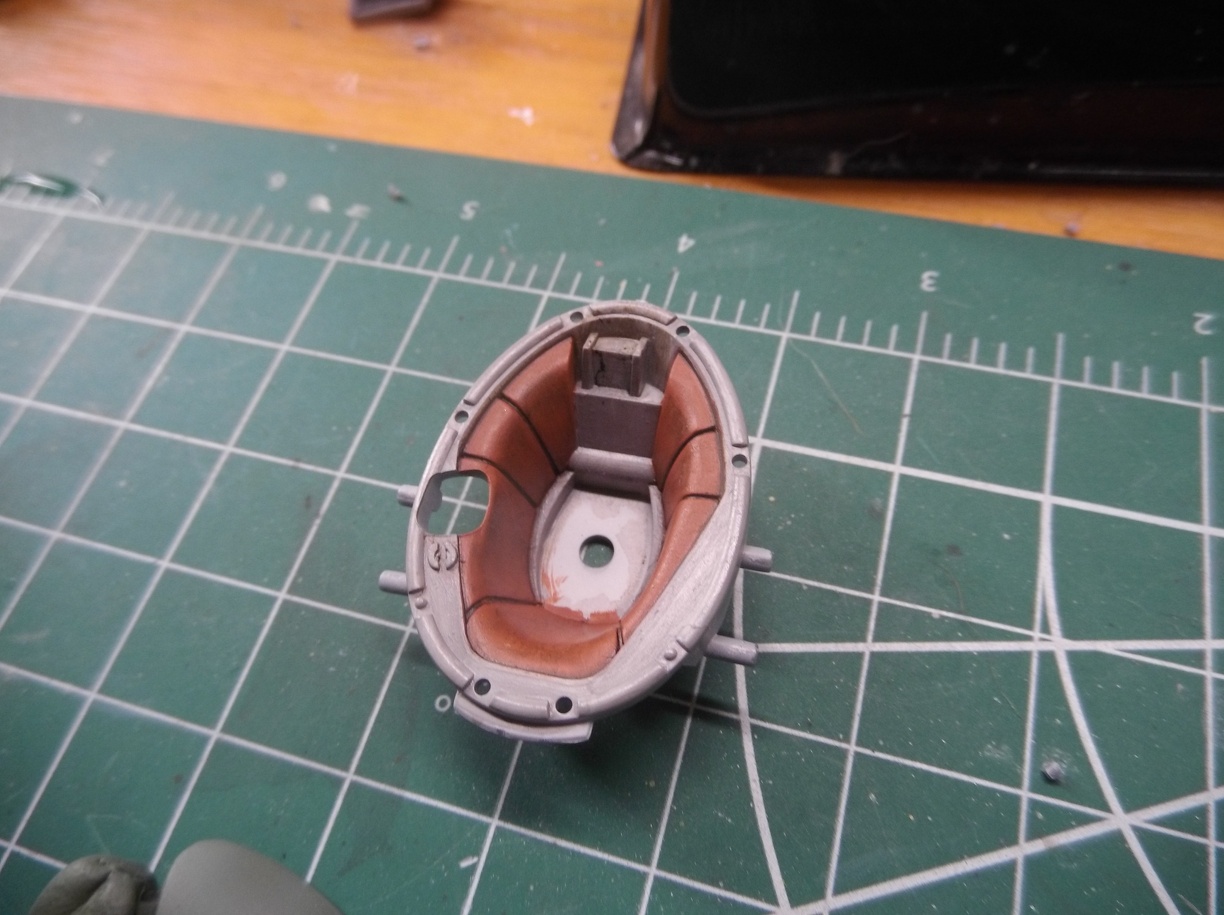
I started by applying a single coat of paint on the panel to the right and worked my way around clockwise till I arrived at the beginning. It took long enough to finish the single round that the first panel was dry enough to go around a second time. Letting it completely dry revealed some inconsistencies. Went around it one final time, achieving the final look above.
Final Thoughts:
My experience has been that whenever I don't follow this process the paint becomes lumpy, captures brush strokes, or worst of all. Creates what I call a pudding coat. A pudding coat is where the paint suddenly builds up and starts obliterating all detail fine or otherwise and the only remedy is to strip it back to plastic. It got the name pudding coat because the first time it happened to me it was with a semi-gloss paint making it look like the model had been dipped in pudding. It was horrible. 
Apologies again for the really long post. Hopefully some part of it may prove useful to you or others.