SEARCH FINESCALE.COM

Enter keywords or a search phrase below:

Rick's Huey uh-1b work in progress ( FINISHED)

51465 views
320 replies
1 rating 2 rating 3 rating 4 rating 5 rating
  • Member since
    October 2013
Posted by infofrog on Wednesday, October 30, 2013 6:59 AM

. I pick up a package of 5 brushes from walmart .I try a  fine detail brush last night . Not happy

OMG not good . I guess , I will look for a better brush for detail or tape up and air brush .

I did get the dash clear coated last night . Ready for decal work

  • Member since
    December 2002
  • From: Valrico, FL
Posted by HeavyArty on Wednesday, October 30, 2013 5:37 AM

Thanks.

Gino P. Quintiliani - Field Artillery - The KING of BATTLE!!!

Check out my Gallery: https://app.photobucket.com/u/HeavyArty

"People sleep peaceably in their beds at night only because rough men stand ready to do violence on their behalf." -- George Orwell

  • Member since
    October 2013
Posted by infofrog on Tuesday, October 29, 2013 9:12 PM

They are so awesome

  • Member since
    December 2002
  • From: Valrico, FL
Posted by HeavyArty on Tuesday, October 29, 2013 9:04 PM

Yup, guilty as charged.  They are 2 of the 5 1/35 H-60 versions I have built.

Gino P. Quintiliani - Field Artillery - The KING of BATTLE!!!

Check out my Gallery: https://app.photobucket.com/u/HeavyArty

"People sleep peaceably in their beds at night only because rough men stand ready to do violence on their behalf." -- George Orwell

  • Member since
    October 2013
Posted by infofrog on Tuesday, October 29, 2013 6:00 PM

did you build these ?

  • Member since
    October 2013
Posted by infofrog on Tuesday, October 29, 2013 5:24 PM
I got some tamiya x22 clear . I will be clear coat the dash in a bit now .
Thanks
Rick G

  • Member since
    December 2002
  • From: Valrico, FL
Posted by HeavyArty on Tuesday, October 29, 2013 10:27 AM

Yes, always gloss coat before decaling.  Apply and let the decals dry.  Spray on another coat of gloss to level off the decal and blend it in.  Lastly, spray dull coat to flatten it all out.  You can then pick out the individual dial faces with a drop of gloss to replicate the glass.

Gino P. Quintiliani - Field Artillery - The KING of BATTLE!!!

Check out my Gallery: https://app.photobucket.com/u/HeavyArty

"People sleep peaceably in their beds at night only because rough men stand ready to do violence on their behalf." -- George Orwell

  • Member since
    October 2013
Posted by infofrog on Tuesday, October 29, 2013 10:04 AM
I read somewhere here about applying decals . Does it need to be clear coat first ?
I'm ready to apply my first decal on the dash . It's painted with satin black only .
Thanks
Rick G

  • Member since
    January 2007
  • From: Auburn, Alabama
Posted by rotorwash on Monday, October 28, 2013 8:18 PM

One quick point is that while the Rucker UH-1B represents a very early configuration otherwise, it has the particle separator (piece with horizontal slats just above the open cabin door) instead of the old style bell mouth intake.  No worries though as the bell mouth style is what is already on your kit.

  Ray

  • Member since
    October 2013
Posted by infofrog on Monday, October 28, 2013 8:09 PM

 here what I'm trying  to achieve

  • Member since
    January 2007
  • From: Auburn, Alabama
Posted by rotorwash on Monday, October 28, 2013 8:06 PM

Glad I could help.  Looks like the build is coming along nicely.

  Ray

  • Member since
    October 2013
Posted by infofrog on Monday, October 28, 2013 8:05 PM

  • Member since
    October 2013
Posted by infofrog on Monday, October 28, 2013 8:04 PM

Hey Ray thanks  again for the post

  • Member since
    October 2013
Posted by infofrog on Monday, October 28, 2013 6:57 PM

Updated the front seats to red .Look better

  • Member since
    October 2013
Posted by infofrog on Monday, October 28, 2013 6:56 PM

thank you Ray

Rick G

  • Member since
    January 2007
  • From: Auburn, Alabama
Posted by rotorwash on Monday, October 28, 2013 5:30 PM

seat belts can vary a lot in color, but i believe most of those early seatbelts would have looked like the one below, which I would cal a really light gray.  

  Ray

Go HERE for my complete walkaround of a very early UH-1B on display at Ft. Rucker.  Should be very close to the bird you are building.

  • Member since
    October 2013
Posted by infofrog on Monday, October 28, 2013 1:13 PM

The seat belts are listed as satin white . Is this correct ?

I also reprinted the front seats this morning ( Red) will post picture tonight

Thank you

Rick G

  • Member since
    October 2013
Posted by infofrog on Monday, October 28, 2013 12:44 PM

That's is so cool . Thanks

  • Member since
    January 2007
  • From: Auburn, Alabama
Posted by rotorwash on Monday, October 28, 2013 7:23 AM

I like to use pastels to weather the cockpit.  In my case I use browns, grays, a little yellow or orange, and occasionally black.  I shave off a mixture of these into a plastic cup and mix them up till I get a color that looks like dirt.  Then I take an old brush and use it to put the pastel mix in areas that got dirty.  The effect is pretty convincing, but if you plan to seal the cockpit with a clear matte coat, you will want to over do the effect initially as sealing it dulls it down quite a bit.  Sometimes I just seal the paint underneath and leave the pastels on top unsealed.  HTH

Ray

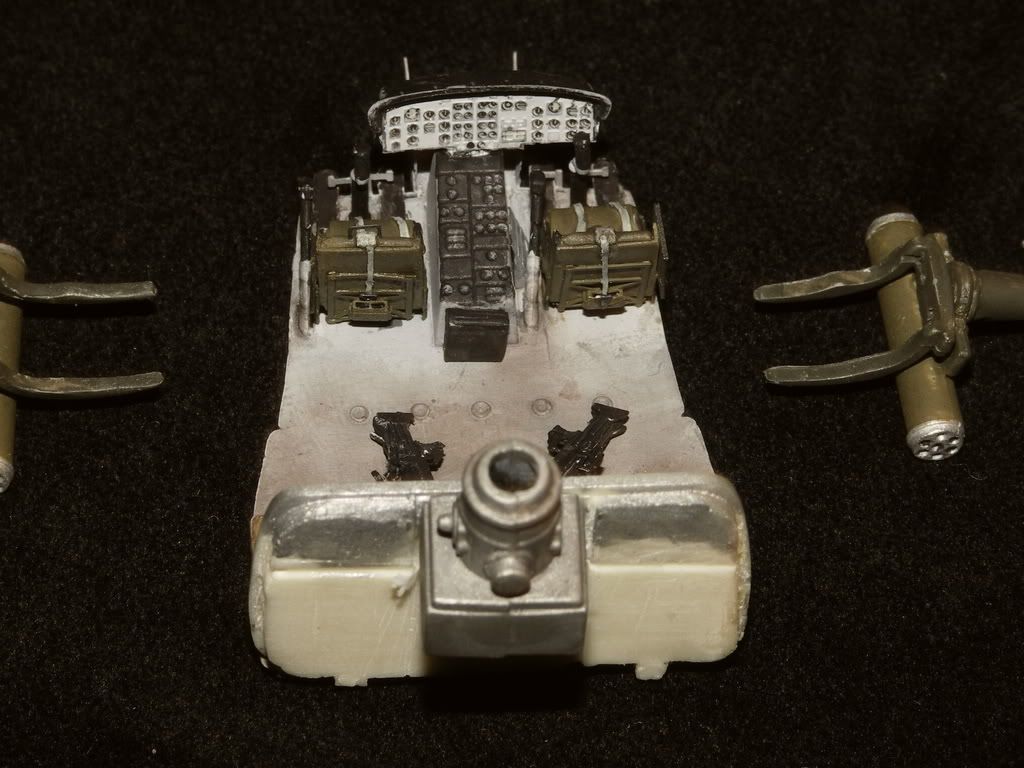
Here you can see the effect on a 1/72 UH-1B I built a long time ago.  In this first shot you can see the effect is pretty subtle, but hopefully you can tell the area directly behind the pilot/copilot seats is much lett weathered than the area where the crew would walk most of the time.
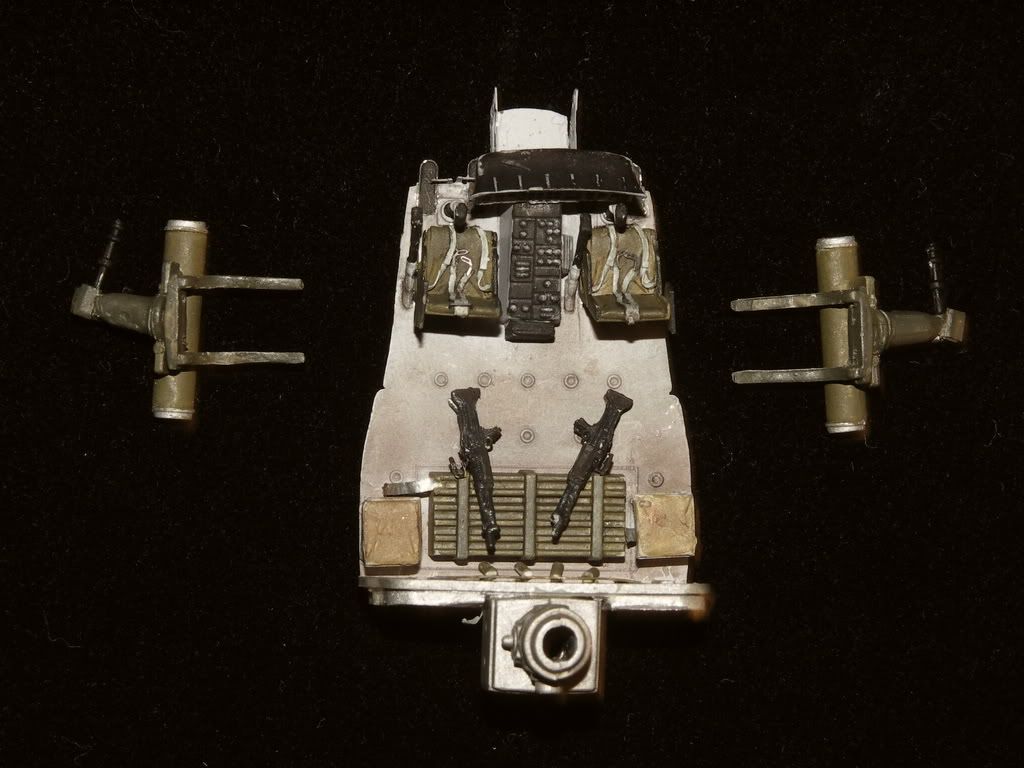
Another shot from above that shows hopefully how I was trying to weather some spots more than others.
http://i176.photobucket.com/albums/w177/ultrasauros/Gladiator%20build/PICT2941.jpg

  • Member since
    November 2005
Posted by Anonymous on Sunday, October 27, 2013 9:00 PM

in my reality series uh-1n,  i all ways had problems keeping the floor painted.  especially under the anti torque pedals

  • Member since
    October 2013
Posted by infofrog on Sunday, October 27, 2013 8:43 PM

Thank you . That's what I need is input . I will change color of those front seats this to red. .

Rick G

  • Member since
    October 2013
Posted by infofrog on Sunday, October 27, 2013 7:42 PM

How do I make the cockpit look old ?

I was going to order Promodeller light wash  over the paint .

I Also  read some where I can get Tamiya smoke paint . highly mix with alcohol and brush this on

Rick G

  • Member since
    December 2002
  • From: Valrico, FL
Posted by HeavyArty on Sunday, October 27, 2013 7:40 PM

I would go with both the pilots seats and the rear seat the same color, either read or green, but both the same.  Red adds some color to the old bird, that is what I would go with.

Gino P. Quintiliani - Field Artillery - The KING of BATTLE!!!

Check out my Gallery: https://app.photobucket.com/u/HeavyArty

"People sleep peaceably in their beds at night only because rough men stand ready to do violence on their behalf." -- George Orwell

  • Member since
    October 2013
Posted by infofrog on Sunday, October 27, 2013 7:36 PM

thanks for the pictures

  • Member since
    January 2007
  • From: Auburn, Alabama
Posted by rotorwash on Sunday, October 27, 2013 6:10 PM

Rick,

  Good to see the old 1/24 B model being built.  Good luck on it.

Mel,

 I think the red would be OK for a early model B like the Monogram kit represents.  I have seen pics of red seats at least into 66.  Something like this bird from the 2\20th ARA in 65.   The seats in the kit, however, aren't quite right for the early unarmored versions.

  Ray

This first bird even has the red seat back like the kit.  The seat back was removed an almost all Vietnam Hueys I have seen.

Her is another showing the red cockpit cushions:

Here's a 118th UH-1B also from 65 and you can see red cusg=hions here as well.  This bird also had the M-16 quad M60 setup like the kit.

  • Member since
    March 2003
  • From: Lafayette, LA
Posted by Melgyver on Sunday, October 27, 2013 5:41 PM
Only very early B's had the red seat covers. They were quickly replaced when they were deployed to Vietnam. The mesh seat covers were replaced yearly. A real pain to get tight!

Clear Left!

Mel

  • Member since
    July 2004
  • From: Sonora Desert
Posted by stikpusher on Sunday, October 27, 2013 4:02 PM

coming along there nicely frog.


F is for FIRE, That burns down the whole town!

U is for URANIUM... BOMBS!

N is for NO SURVIVORS...

       - Plankton

LSM


  • Member since
    October 2013
Posted by infofrog on Sunday, October 27, 2013 3:47 PM

I need advise . These models have some really small parts . I need a head magnifier visor.

I would be very grateful for any recommendation . i also shop at amazon.Never mind found a thread here with all the answers. I will be ordering one  this week

Thank you

Rick G

  • Member since
    October 2013
Posted by infofrog on Sunday, October 27, 2013 3:42 PM

The rear seat ,I add the red portion. I think it came out good

  • Member since
    October 2013
Posted by infofrog on Sunday, October 27, 2013 3:41 PM

.

JOIN OUR COMMUNITY!

Our community is FREE to join. To participate you must either login or register for an account.

SEARCH FORUMS
FREE NEWSLETTER
By signing up you may also receive reader surveys and occasional special offers. We do not sell, rent or trade our email lists. View our Privacy Policy.