Hello!
Long time ago I have built the Italeri 1:72 OH-6A. It was the model that started my interest in the Vietnam War. Back then I have built it quick and easy and made a few mistakes, many of them already built-in in the kit itself. I've been thinking about improving on that, and so here we go - another try. And one more :-) You see I had two kits in my stash - the Italeri kit and another, from a company called AZ Model. It's actually a modified copy of the Italeri offering. In all the photos below if you see olive drab plastic it's from the Italeri kit, gray plastic is the AZ Model parts and white plastic is my scratchbuilding.
We're talking about those two kits:
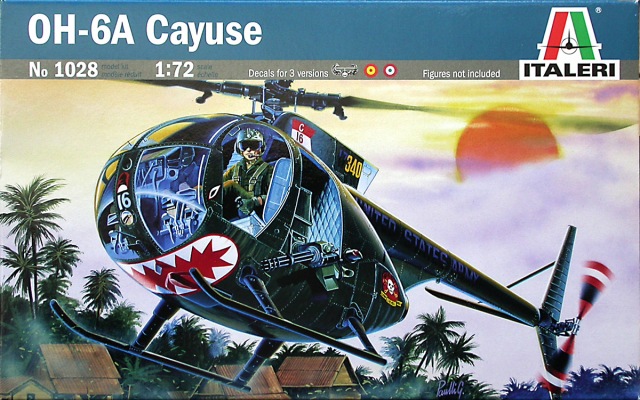

OK, so here's what we get in the boxes:
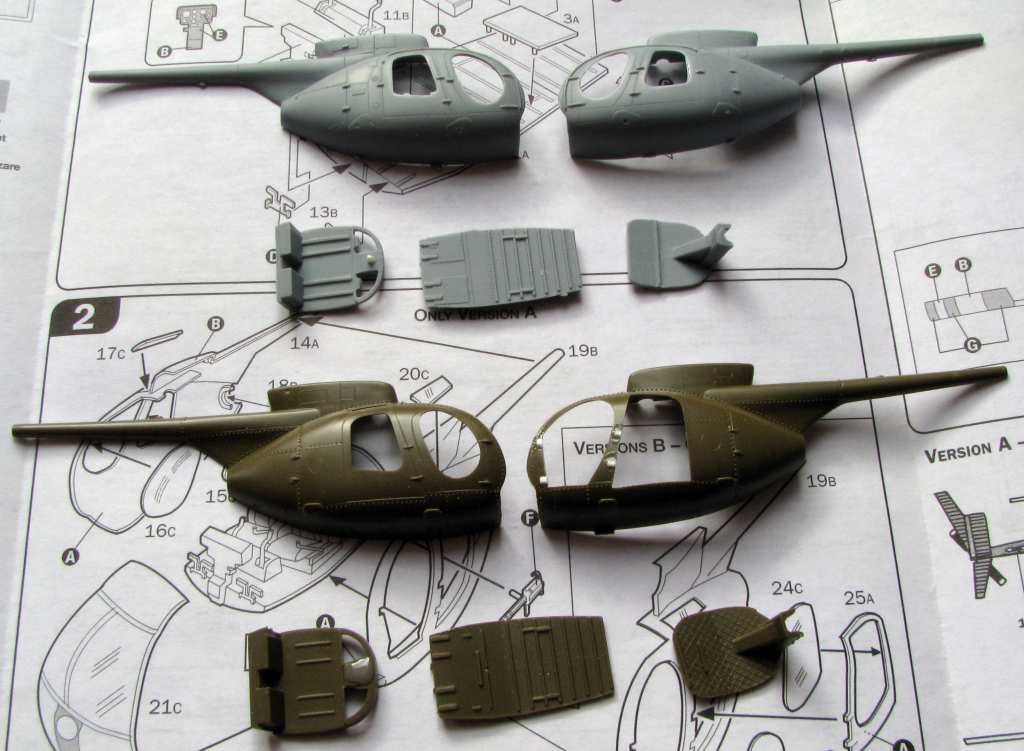
As you can see the AZ Model fuselage has all the doors on - they have to go for a Vietnam chopper. The Italeri also has the doors on the right fuselage half - the one that least needs it. The left Italeri fuselage half has nasty notches in places where the door hinges would be - and those notches shouldn't be there. But the biggest problem with BOTH of the kits is that they actually show later civilian Hughes 500 fuselages instead of the Hughes 369 / OH-6A that flew in Vietnam. The most noticeable difference is seen in the rear window and the shape of the rear door. On the OH-6A the rear door was significanly lower than the front door which allowed for a big rear window. On the Hughes 500 the rear door had a height equal to the front door, and so the rear window was smaller - and this is how it looks like in both kits. The AZ Model also has a drip rail above the door - many newer Variants of the Hughes 500 have that, but the OH-6As didn't.
I'm trying to model one "Egg" with the "music box" - minigun in the rear and the rear windows patched over with sheet metal. The other "Egg" will have the rear windows and no "music box".
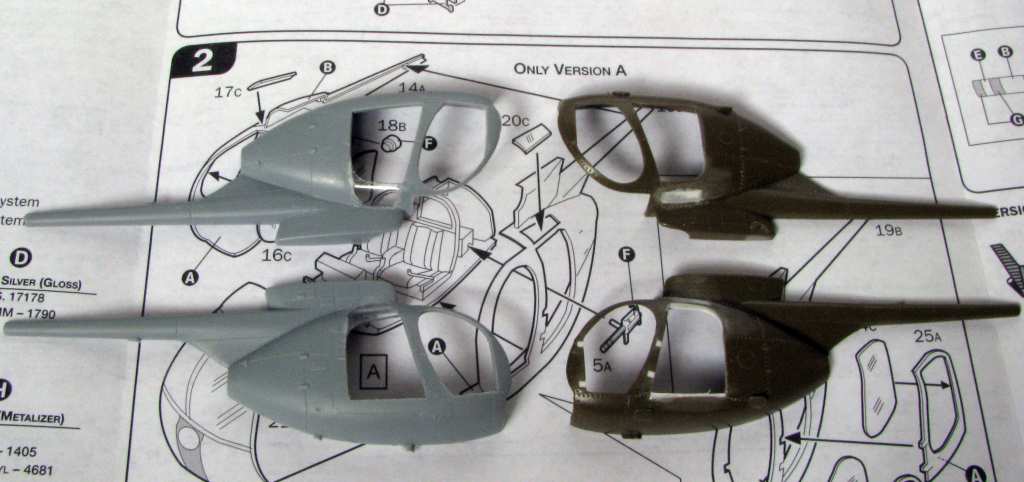
I started cutting out the unnecessary doors from the fuselage halves. It was the time to think about the corrections for the problem mentioned above:
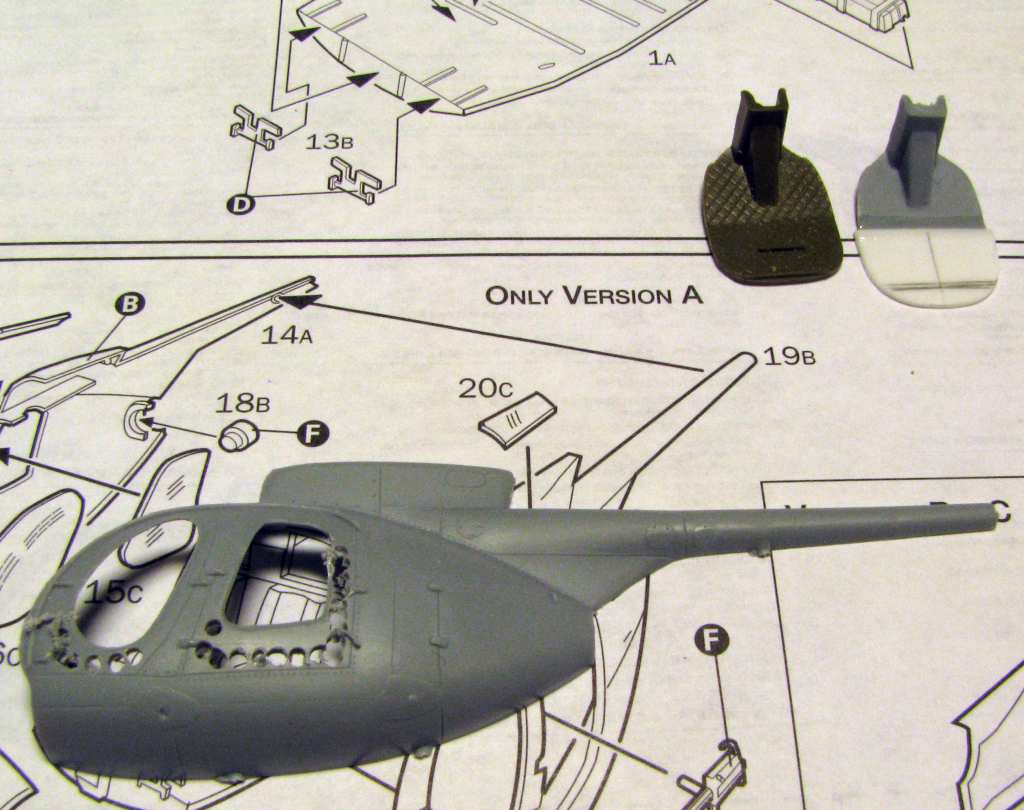
In the above photo you see the holes I drilled to remove the extra styrene. I also started to enlarge the rear bulkhead, that is way too small for the fuselage. In the chopper with no rear windows I blanked them off with sheet styrene. In the other one I cut out a portion of the fuselage around the windows and replaced it with pieces of bent clear plate. That should give me nice, smooth seamless windows. I also lowered the upper edge of the rear doors:
I also started detailing the rear compartment. Both of the kits give you a civilian main transmission cover - and in Vietnam the airmen flying the chopper tried to get rid of extra weight - so they removed most if not all of the interior lining, and so the main transmission was exposed - I tried to show that. But first I had o enlarge the bulkhead to make it fit the fuselage and put the floor at the right level, flush with the door threshold:
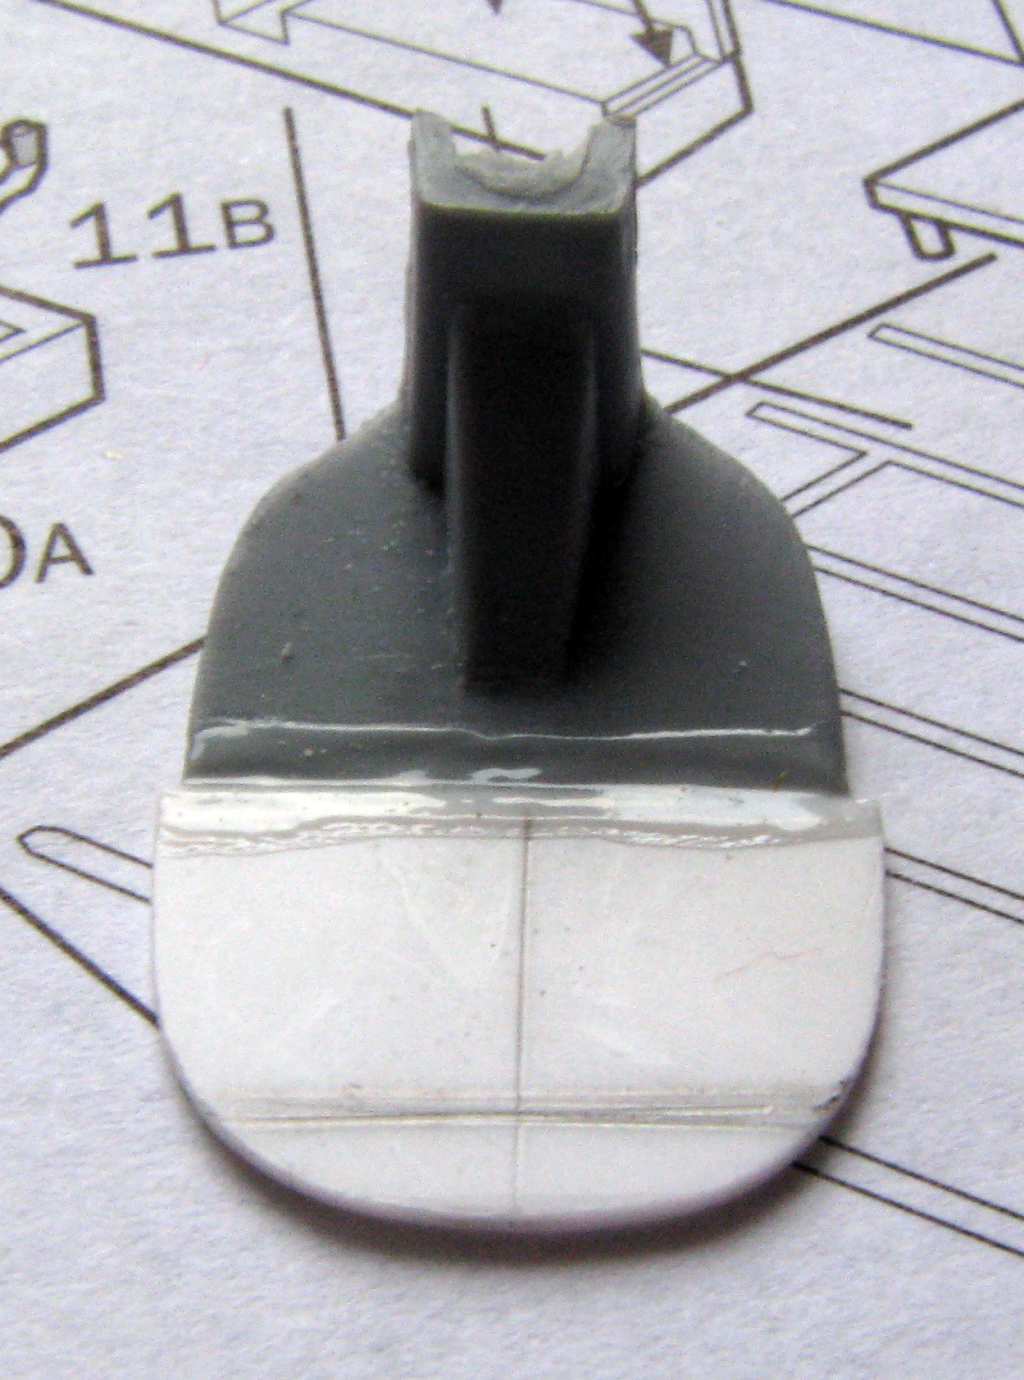
In the photo below you can see my reworked main bulkhead with the unnecessary void spaces filled, notches that should be there cut and the slot for the external electrical connection added. The rear bulkhead has the engine shaft cover and the main transmission added:
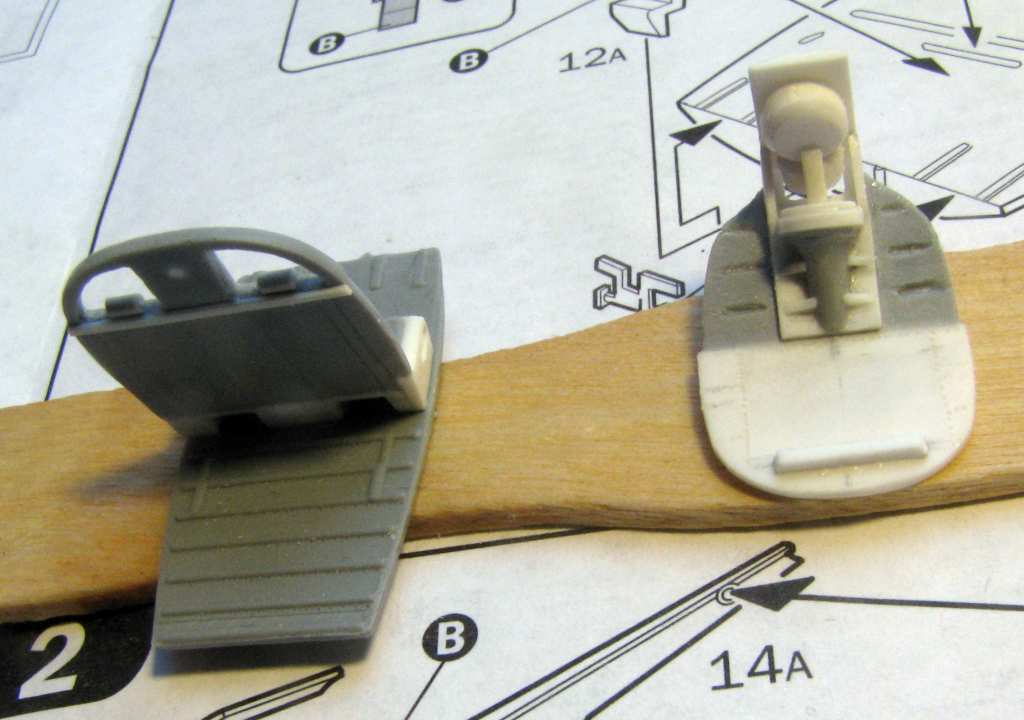
Now I had to do it one more time, this time for the Italeri model. I also added one more detail to the bulkheads - looks like some kind of heating duct. The "trannies" are not fixed yet - to make painting easier. The interior is gray and the "trannies" should be black:
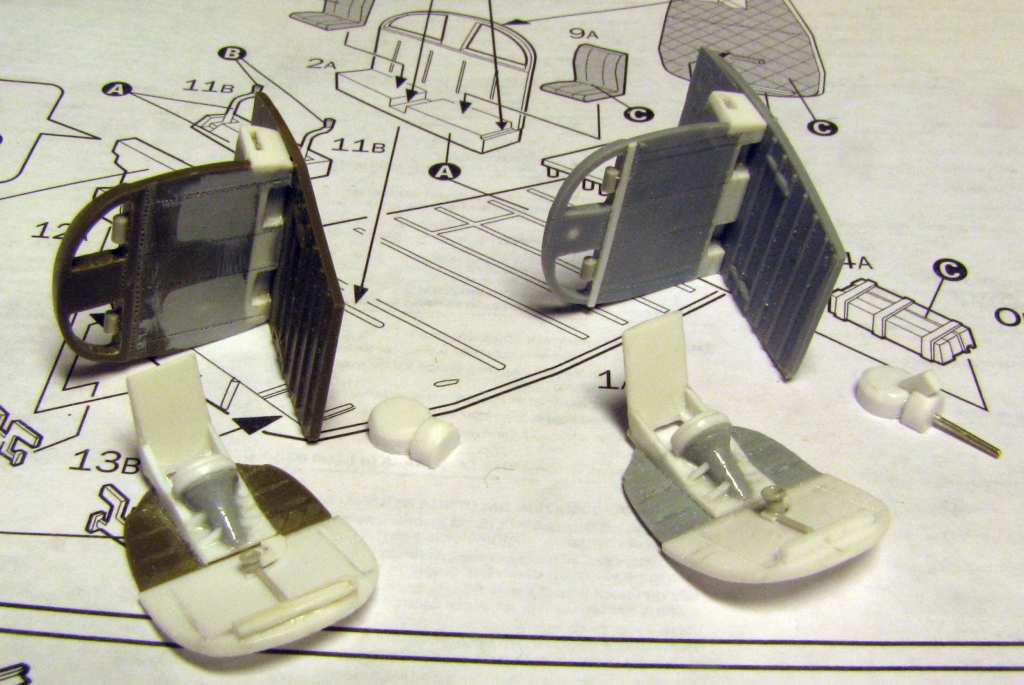
And that would be all for now - now I'm working on the front of the interior. Thanks for looking and have a nice day
Paweł