Glad you like it, but there were things I didn't like (and still some more). First of all, here's a shot of the instructions showing some of the challenges.
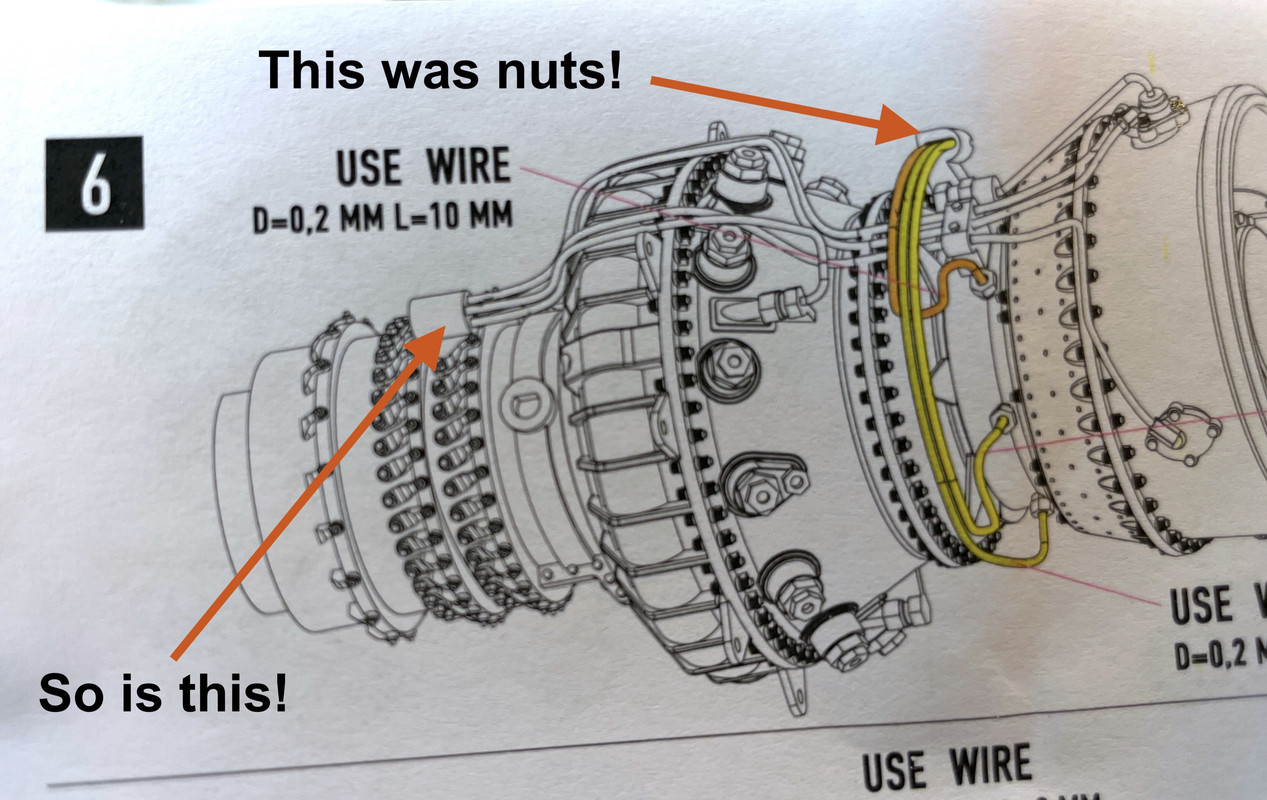
With the gauge wire I'm using there was no way to stuff three or four pipes into the tiny resin aspects that they're telling you to do. After my futile attempts to grind them and smash the wiring into them with Bondic resin, I decided to eliminate them and redo them, albeit larger.
The cylinder on the left was a molded part, and the bracket on the right was actually an added part. There were no holes or slots in either and putting them in was nearly impossible.
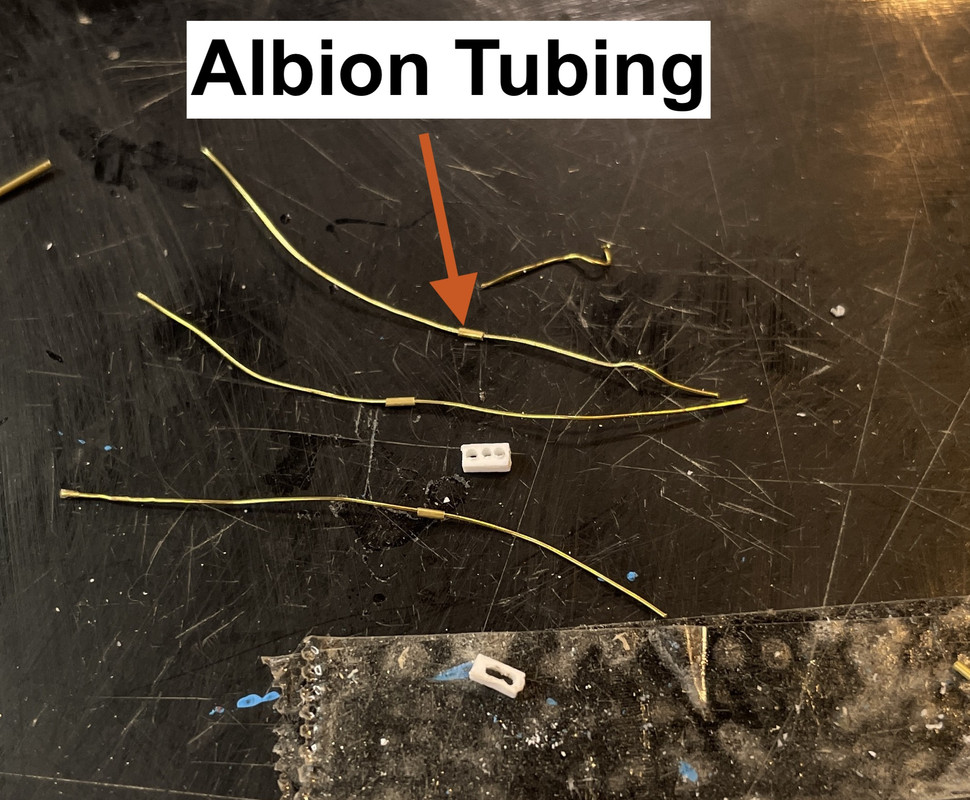
To facilitate threading the piping through the new blocks I used some Albion micro-brass tubing. Here's the tubing slide onto the brass wire. BTW: the source of the brass wire was a woven nest around the bottle of some Italian or Spanish wine. Wine bottles are a great source of modeling supplies including the foils that wrap their tops. And they have the added benefit of providing pleasure. It's a win-win!
This image also shows the three holes drilled to accept the tubing. I made a silly mistake. I thought I was drilling them with the correct 0.020" carbide drill, but had a 0.032" drill, so the holes were oversize. Later I realized my mistake and used the correct size. In the foreground is a reject block where the holes joined together.
Here's the information on the Albion Tubing. Chuck Wallace uses this in his super-detailing work and I really like it. I cut it with a new single-edged razor with the tubing thread over a piece of High-E guitar string. This captivates the little buggers which are prone to go into the ether with the slightest provocation. Use a hard wire to hold the cut pieces. If you use brass, the wire will cut along with the tubing and create a problem you don't need. You don't have to press too hard. Look at the reflection of the tubing in the razor as you roll it back and forth. Keep the reflection pointing straight back as if it were the same piece to ensure your cutting squarely and not cutting a spiral.
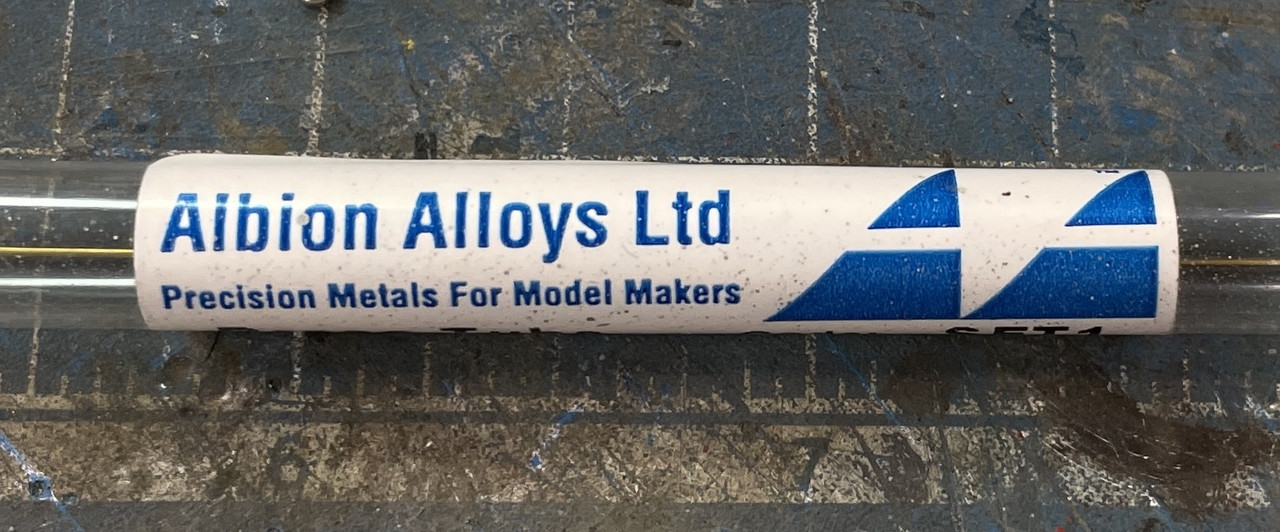
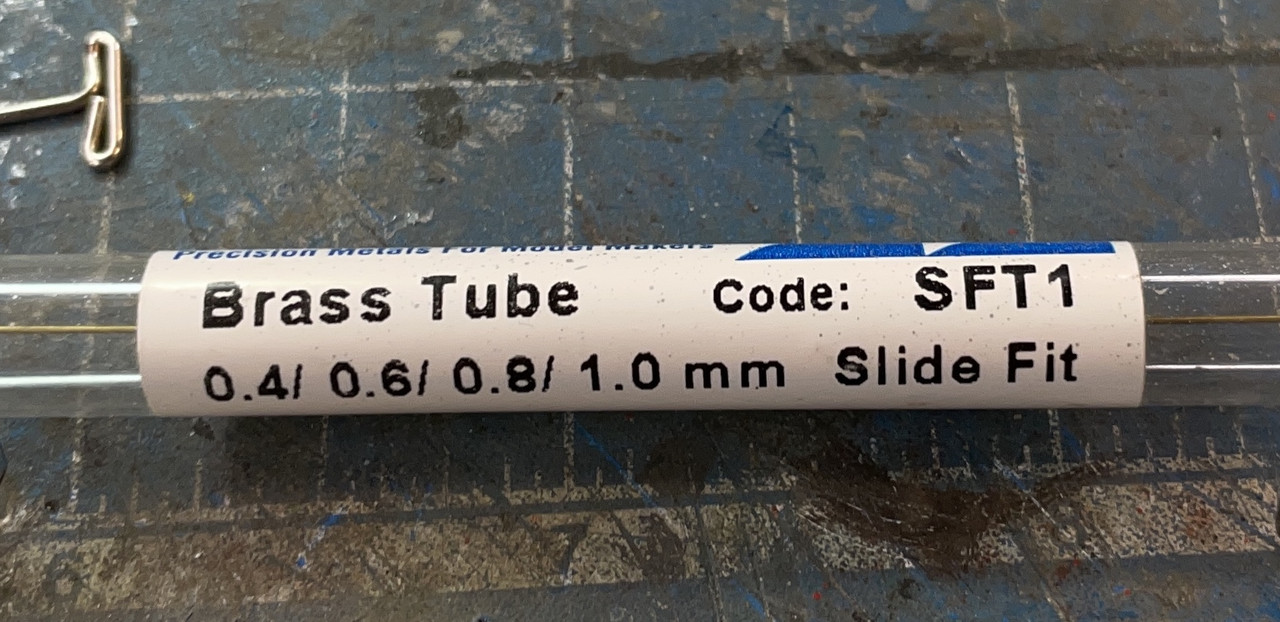
I believe for this application I'm using the .6mm tubing.
For the rear teminus, I drilled a piece of 3/64 Evergreen styrene. Four pipes go into this. I don't know how ResKit expects the builder to terminate the wire without holes to go into. I am sensitive that these blocks are about 2X oversize, but I really couldn't deal with them any smaller.
I really didn't like how the piano wire was laying. The loops were too large AND I couldn't bend them much tighter. That stuff is really tough.
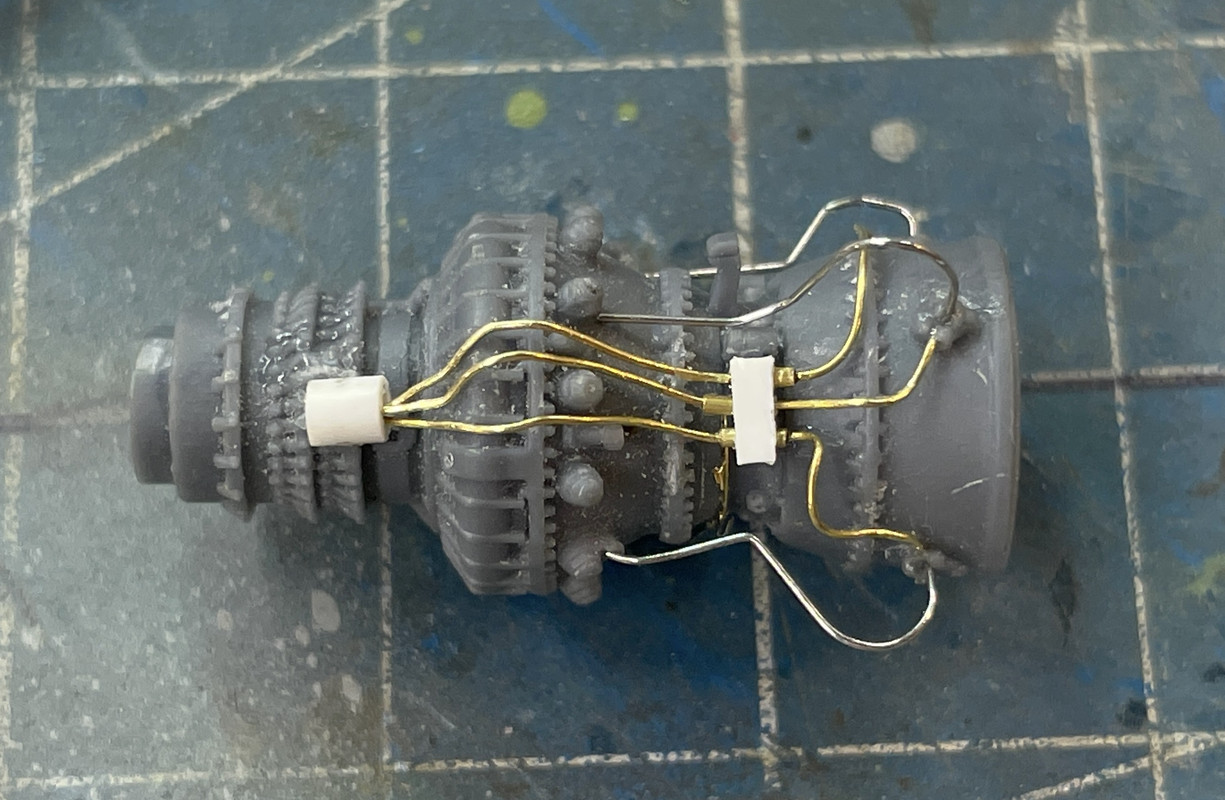
The fact that they're already nice and shiny didn't matter since the entire engine's going to be painted including the piping.
So I pulled them all out and substitiuted them with the brass of the same gauge.
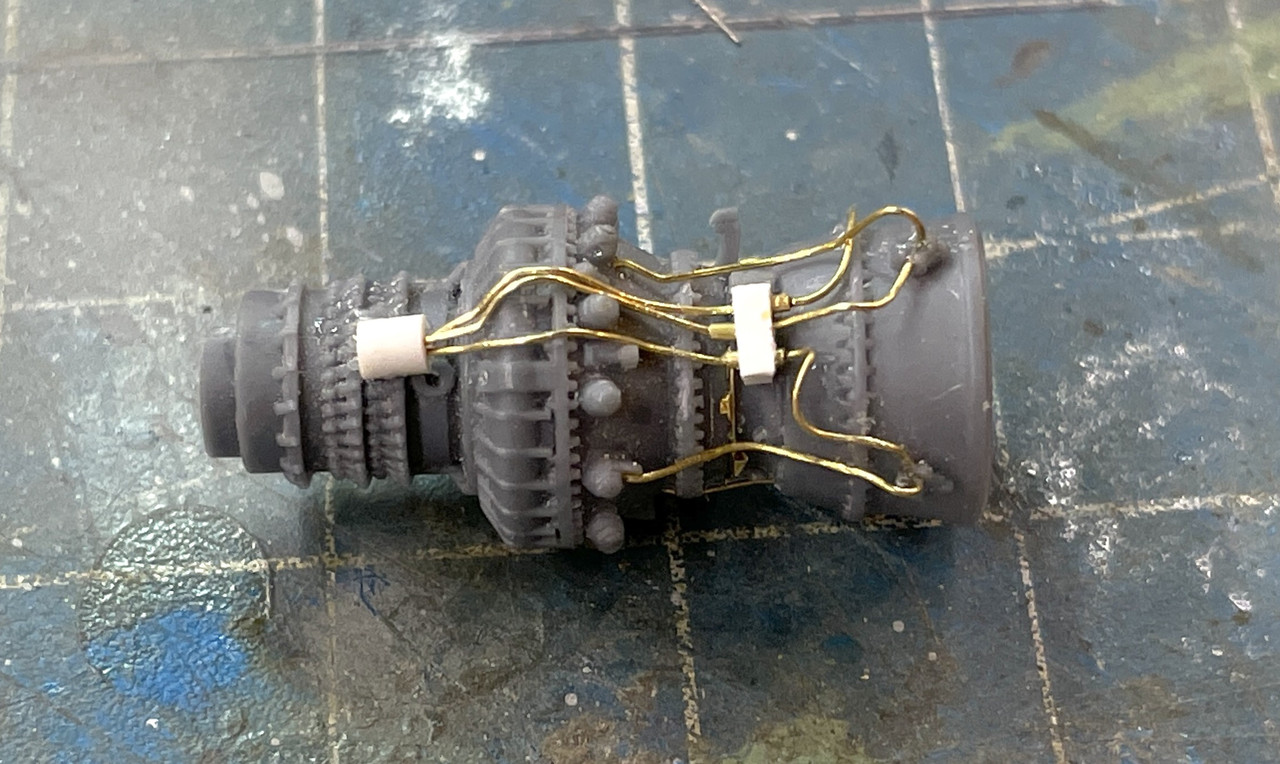
And the reverse view. You see another small block that substituted for a tiny bump through which that pipe was supposed to pass. Really?!
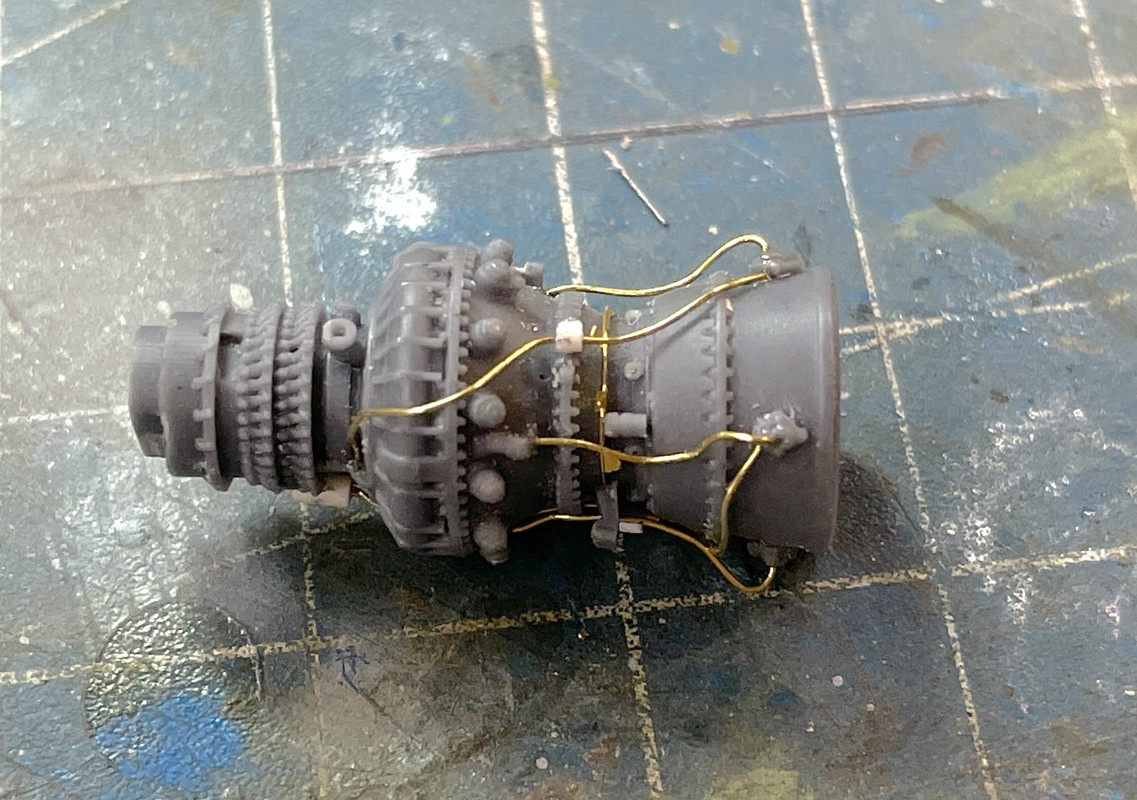
More crazy PE had to go on. I lost a few of these. What made it worse, when removed from the fret, they were to wide at the base so I have to clip their corners with a #11 blade, and that was particularly not fun!
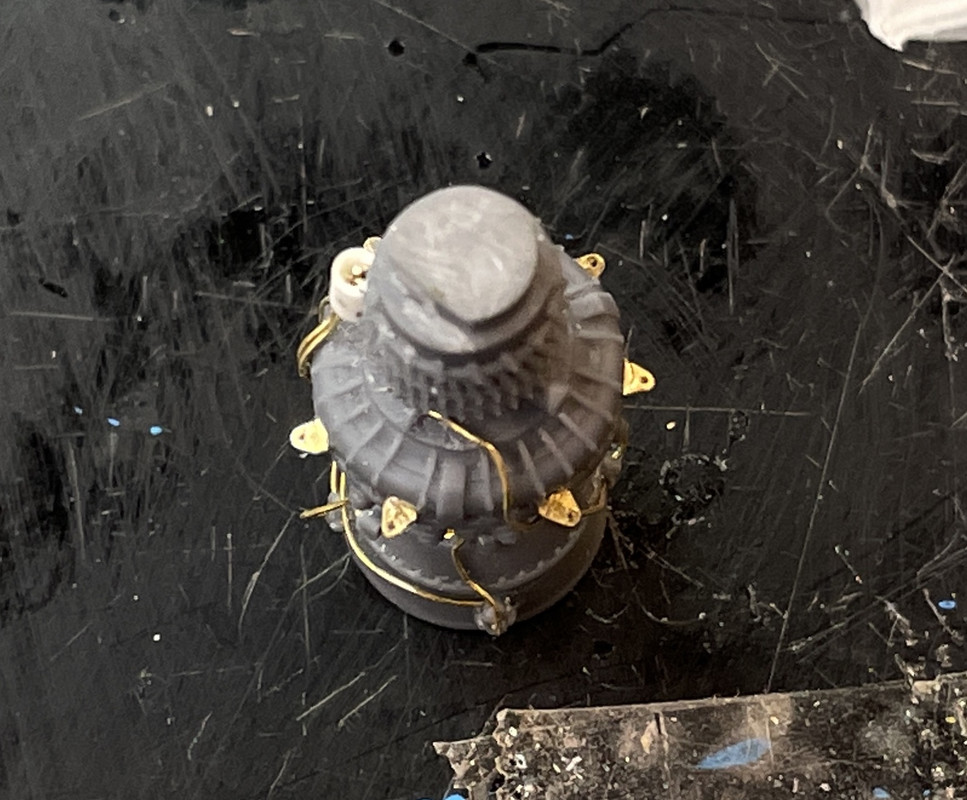
Some of this detail is nonesense at this scale. I would like it better if it were 1/32 or even better at 1/24. It is astonishing to me that a turbine can produce 1,900 hp and weigh less than 500 pounds. They're really quite small.
Another set of pipes goes around the perimeter from points in the circumference and then through that bracket. I removed the kit part and substituted another drilled block supported on a piece of Phos-bronze wire. The kit calls out .2mm wire for this run and I'm using the equivalent of .3mm. I think I have some magnet wire that has a smaller diameter and could replace this too. The piping is not too hard to rip out and fix.
Getting that brass to lay nicely is like herding cats!
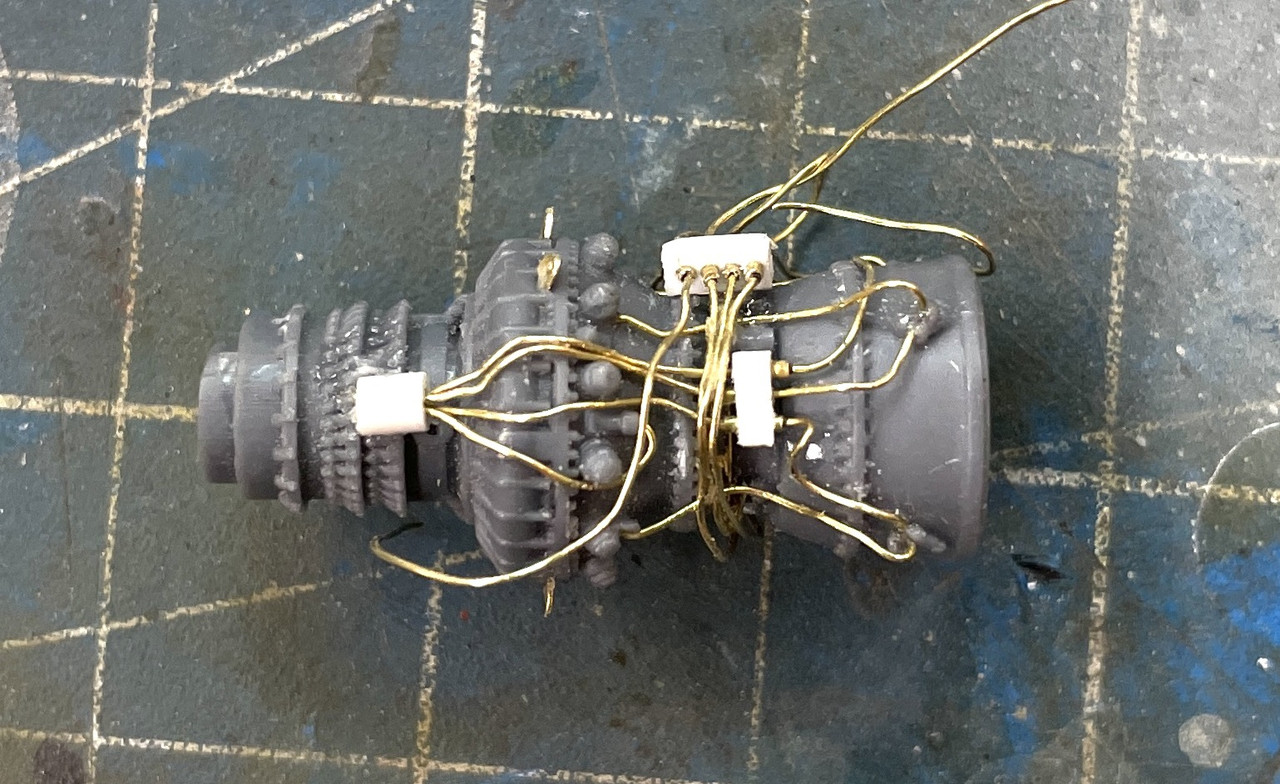
That's brings us up to date. See y'all on Monday!