SEARCH FINESCALE.COM

Enter keywords or a search phrase below:

1/32 EA-18G growler (trumpeter)

24968 views
49 replies
1 rating 2 rating 3 rating 4 rating 5 rating
  • Member since
    October 2012
1/32 EA-18G growler (trumpeter)
Posted by bimski on Thursday, February 13, 2014 11:13 AM

Time to start this year with another build......the kit was a late B-day/X-mas gift to myself and will be adding only 2 after market parts for this build

the inside.......

and after polishing the canopy........

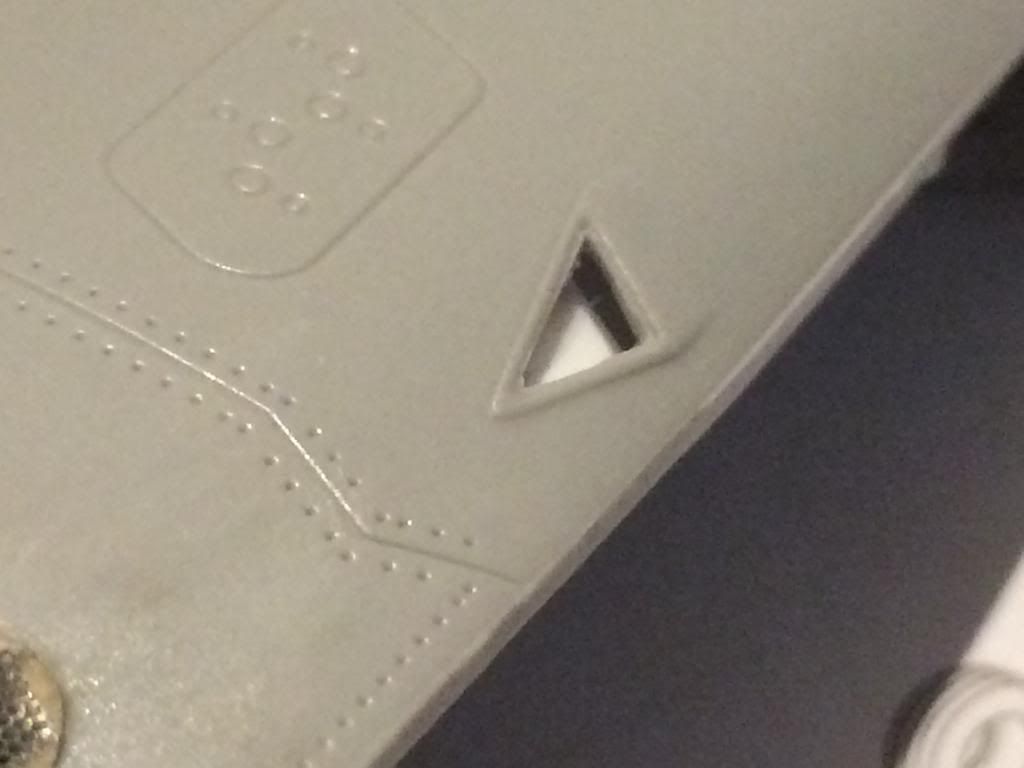
also added some detail on the fuselage

the only PE parts that came with the kit

  • Member since
    September 2013
Posted by Dean30 on Thursday, February 13, 2014 2:58 PM

I will look forward to seeing how this builds, I am a fan of 32nd scale jets, good to see this!

  • Member since
    December 2006
  • From: N. Georgia
Posted by Jester75 on Thursday, February 13, 2014 3:03 PM

Got my attention...

Eric


  • Member since
    March 2010
  • From: MN
Posted by Nathan T on Thursday, February 13, 2014 5:19 PM

Wow. Nice start. I don't know much of 1/32 jets, but I'll be watching this.


  • Member since
    October 2012
Posted by bimski on Friday, February 14, 2014 11:20 AM

Thanks guys......will be posting lots of build photo Big Smile

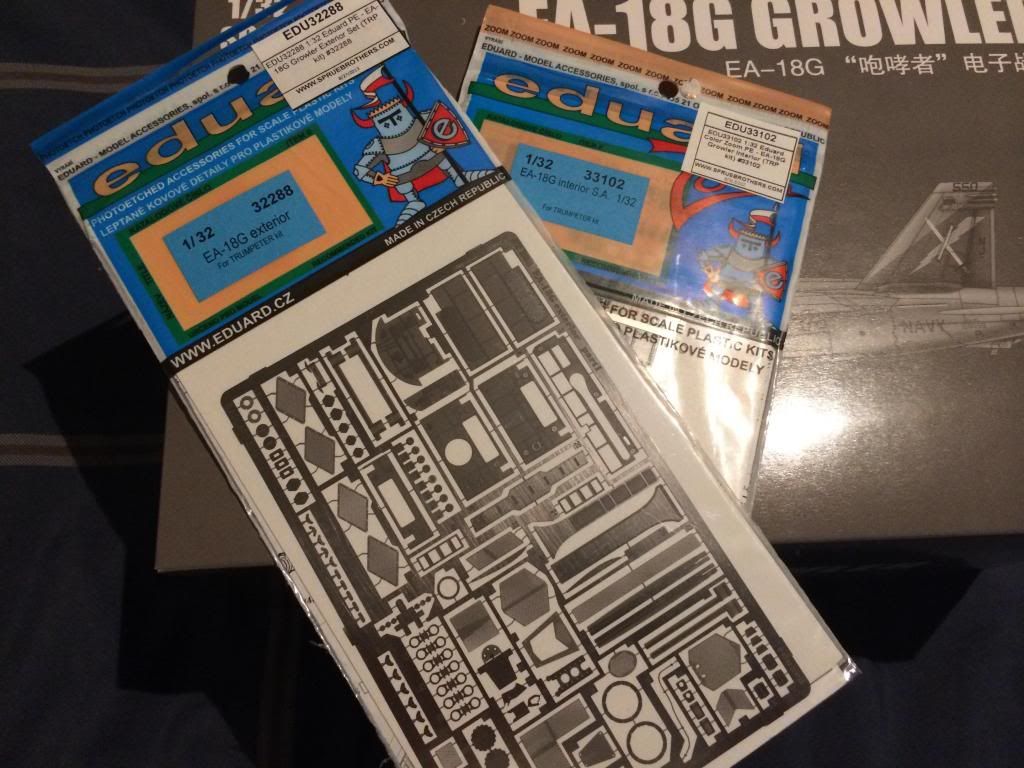
the PE parts from spruebrother came in......lots of drilling and cutting was done to improve the detail on the fuselage
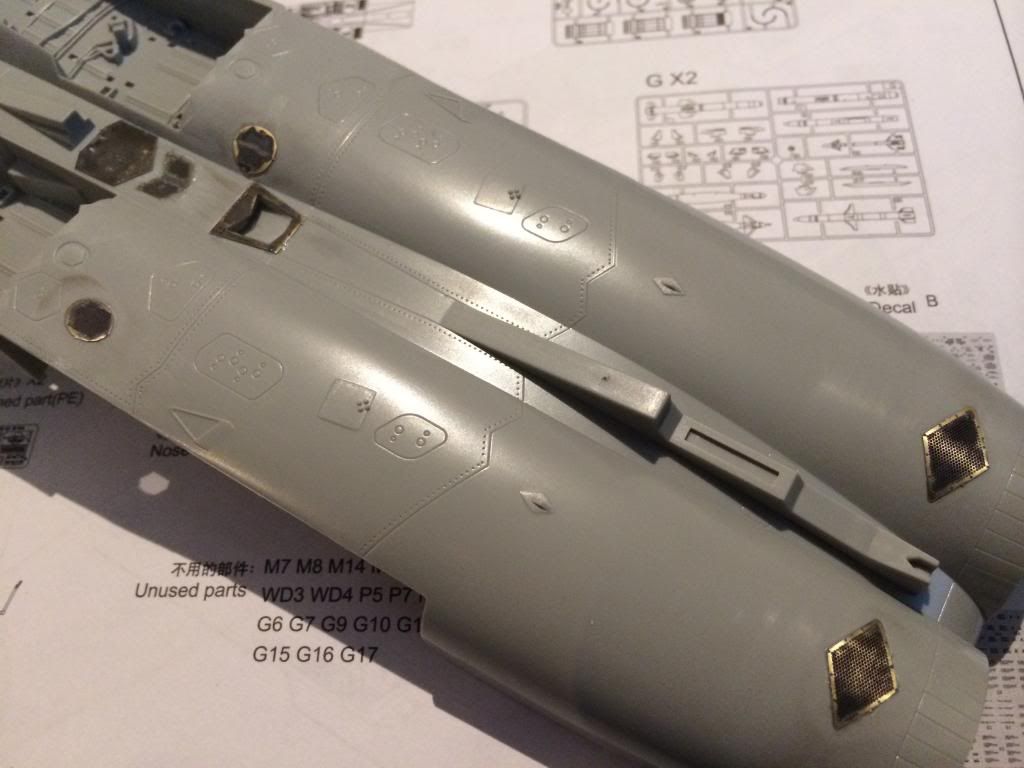
instead of replacing the entire vent simply cut inlet section and added styrene
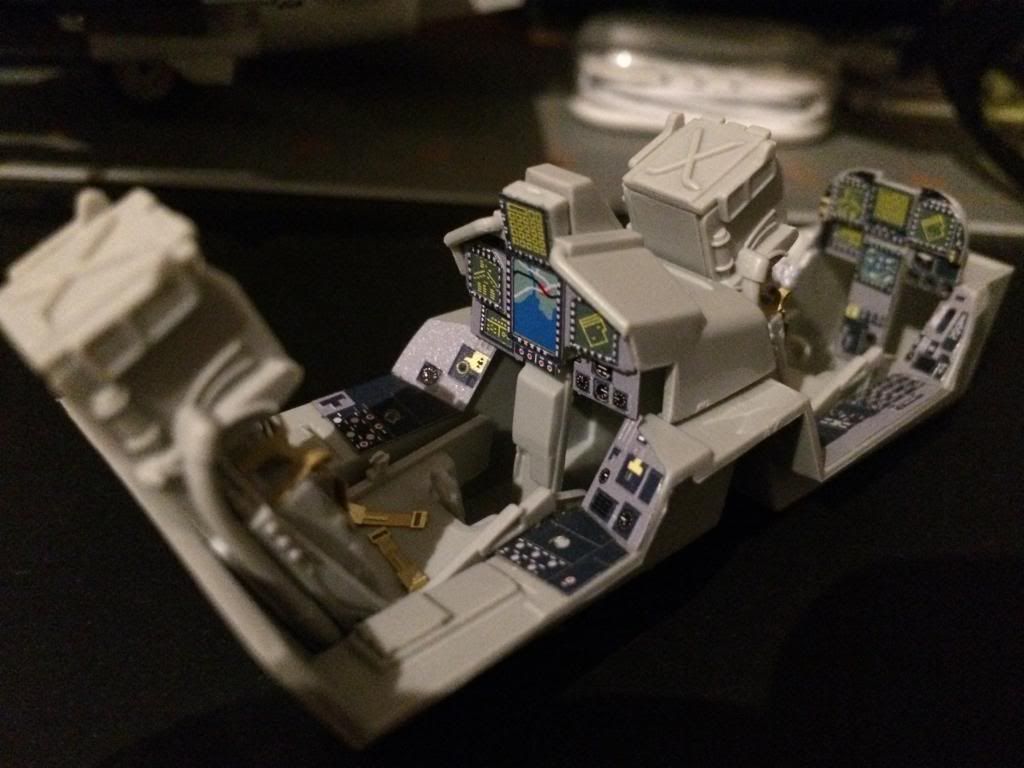
first time to use a self adhesive PE(painted).... details are great but for the small parts the adhesive are not enough you still need to add CA glue to secure them in place

  • Member since
    September 2013
Posted by Dean30 on Friday, February 14, 2014 2:24 PM

That cockpit looks absolutely fantastic, just a tip, if you ever have a trumpeter kit and they supply decals for the instruments and consoles, you will want to use them as their decals are simply nothing short of excellent.

  • Member since
    December 2002
  • From: Northern California
Posted by jeaton01 on Friday, February 14, 2014 8:48 PM

What bay is that on the back seat guy's center panel?

John

To see build logs for my models:  http://goldeneramodel.com/mymodels/mymodels.html


  • Member since
    November 2006
Posted by Bearcat57 on Saturday, February 15, 2014 11:16 AM
oh, this is going to be good! :)
  • Member since
    October 2012
Posted by bimski on Saturday, February 15, 2014 10:06 PM

@jeaton01.......good eyes.....I'm thinking of covering it with a coat of tamiya clear coat Wink

  • Member since
    January 2003
Posted by Darren Roberts on Monday, February 17, 2014 11:42 AM

It sounds like you want to keep aftermarket to a minimum, but if you're going to build a Growler, the Steel Beach set can help with all the antennas that are missing from the kit. Now, if you want to build an F, you are good to go.

  • Member since
    October 2012
Posted by bimski on Monday, February 17, 2014 2:46 PM

thanks for the tip Darren .....looks like trumpeter kit needs a lot work not only missing some spine radar  the ECS pipes needs some correction as well (recycled 18F mold) guess this will be the challenge on this kit to scratch build all the missing detail of the 18G Hmm

  • Member since
    October 2012
Posted by bimski on Tuesday, February 18, 2014 6:48 PM

update...........

  • Member since
    September 2013
Posted by Dean30 on Wednesday, February 19, 2014 5:35 PM

Wow those pre painted etched sets look absolutely fantastic. This is looking like a great start!

  • Member since
    June 2013
Posted by RobGroot4 on Wednesday, February 19, 2014 6:50 PM

Bimski,

 I've looked hard at this model.  What are the issues with the ECS pipes, I'd like to try to gauge if it's beyond my ability.  Thanks!

Groot

"Firing flares while dumping fuel may ruin your day" SH-60B NATOPS

  • Member since
    October 2012
Posted by bimski on Thursday, February 20, 2014 10:50 AM

@RobGroot4 .......been looking at the actual picture of the ECS pipes (shape,location on the real 18G) a vent/hole is actually located very close to the ECS pipes......going to work on correcting and replace the whole ECS pipe with aftermarket by Quickboost

detail shape/opening of the ECS pipes from MidwaySailor.com

  • Member since
    June 2013
Posted by RobGroot4 on Thursday, February 20, 2014 7:24 PM

Thanks!

Groot

"Firing flares while dumping fuel may ruin your day" SH-60B NATOPS

  • Member since
    October 2012
Posted by bimski on Friday, February 21, 2014 10:17 PM

progress report..........

intake dip on a can of latex paint (seamless finish)

added some styrene for the missing spine radar

ECS pipes will be replaced by this AM parts from quickboost

  • Member since
    February 2014
Posted by USMC6094 on Saturday, February 22, 2014 9:27 AM

man those intake trunks look great, I'll bet they were a pain to paint inside though

  • Member since
    October 2012
Posted by bimski on Saturday, February 22, 2014 4:23 PM

@USMC6094.......learned a technique from a modeler here in FSM(cant find the link on the old post) were he dunked the complete intake of an F16 on a can of house paint to hide/coat the inside joint-line .....did the same thing here ;)

  • Member since
    October 2012
Posted by bimski on Monday, February 24, 2014 11:00 AM

work on the upper fuselage is now complete

  • Member since
    March 2005
  • From: Lancaster, South Carolina
Posted by Devil Dawg on Monday, February 24, 2014 11:43 AM

Wow! Great job so far. I'm impressed.

Devil Dawg

On The Bench: Tamiya 1/32nd Mitsubishi A6M5 Model 52 Zeke For Japanese Group Build

Build one at a time? Hah! That'll be the day!!

  • Member since
    October 2012
Posted by bimski on Wednesday, February 26, 2014 10:59 AM

WIP..........

paintwork on the GE414 complete......not going to be seen after Tongue Tied

lower half complete

did some modification on the elevator (instead of just gluing it fixed)

  • Member since
    September 2013
Posted by Dean30 on Wednesday, February 26, 2014 5:22 PM

This is great looking, how is the fit so far?

Dre
  • Member since
    June 2007
  • From: here, not over there
Posted by Dre on Thursday, February 27, 2014 11:23 AM

Those GE414's look like something out of a steampunk series- do they burn coal?  

The AM stuff you're putting in really does look better than Trumpy's effort.

(not a slam on your work, but rather the odd shape of the parts)

  • Member since
    October 2012
Posted by bimski on Sunday, March 2, 2014 6:03 PM

Thank you gents, @DRE too small to burn coal.........more build

the 18G is one big beast and I'm running out of room for my 32nd........so making the wing fold is a plusStick out tongue

by drilling the middle and inserting a brass wire will turn this plastic into a working hinge

enjoy........

  • Member since
    October 2012
Posted by bimski on Sunday, March 2, 2014 6:23 PM

@Dean .......fit on the trumpy kit was a pain like always(recycled mold) not for beginners .....a lot of bondo was needed to keep the gap to a minimum Wink

  • Member since
    March 2005
  • From: Lancaster, South Carolina
Posted by Devil Dawg on Sunday, March 2, 2014 9:02 PM

Looking very nice! I might just have to get this kit for myself.

Devil Dawg

On The Bench: Tamiya 1/32nd Mitsubishi A6M5 Model 52 Zeke For Japanese Group Build

Build one at a time? Hah! That'll be the day!!

  • Member since
    September 2013
Posted by Dean30 on Monday, March 3, 2014 4:51 AM

Ah thanks, this is one aircraft I really like a lot, any time I see someone start to drill parts for modifications it's usually a tip off that the builder is great and the model will turn out seriously well, I have not looked forward to seeing a completed build this much in a while. I'm staying tuned!

  • Member since
    June 2013
Posted by RobGroot4 on Monday, March 3, 2014 9:06 AM

Bimski, that intake dipping tip, do you try to fill the seam at all, or does the dipping do it for you?  Sounds absolutely brilliant!  Thanks and this is a gorgeous build!

Groot

"Firing flares while dumping fuel may ruin your day" SH-60B NATOPS

  • Member since
    October 2012
Posted by bimski on Monday, March 3, 2014 2:53 PM

@Robgroot4 .....the latex paint does all the filling(make sure to clean/wash the intake free from dust/oil)....both side will be coated or you can wipe the outside prior to drying......its a messy procedure but works well

JOIN OUR COMMUNITY!

Our community is FREE to join. To participate you must either login or register for an account.

SEARCH FORUMS
FREE NEWSLETTER
By signing up you may also receive reader surveys and occasional special offers. We do not sell, rent or trade our email lists. View our Privacy Policy.