I've been wanting to build a North Dakota Happy Hooligans bird for quite awhile now as ND is my home state, and seeing many of their aircraft at airshows in Fargo growning up has really fueled my interest in the 119th figher wing's history. The phantom just looks perfect to me wearing the Hooligans logo in Hill Gray camo. Like here:
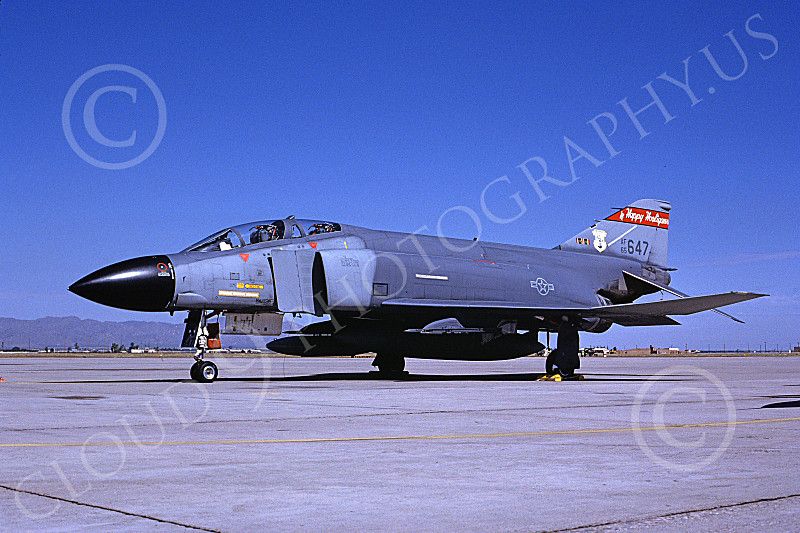
The problem is no decal manufacturer makes markings for a ND F-4 in Hill gray. After lots of scrounging and Help from a great FSM Forum Memeber- Thanks Oritz!, I've got the tail codes and markings I need.
Now for the kit- I looked at Academy's new F-4C as the parts for a D are in the box, but I couldnt' get the kit shipped to me for less than $70 and having built a few Hase phanotms I just didn't feel like giving the Academy kit and it's multi-colored plastic a try. The old Hase F-4D has raised panel lines, and I don't feel like rescribing a whole kit. So I got the F-4J kit as a base and I'll use a few parts from the raised lined D.
On to the pics:
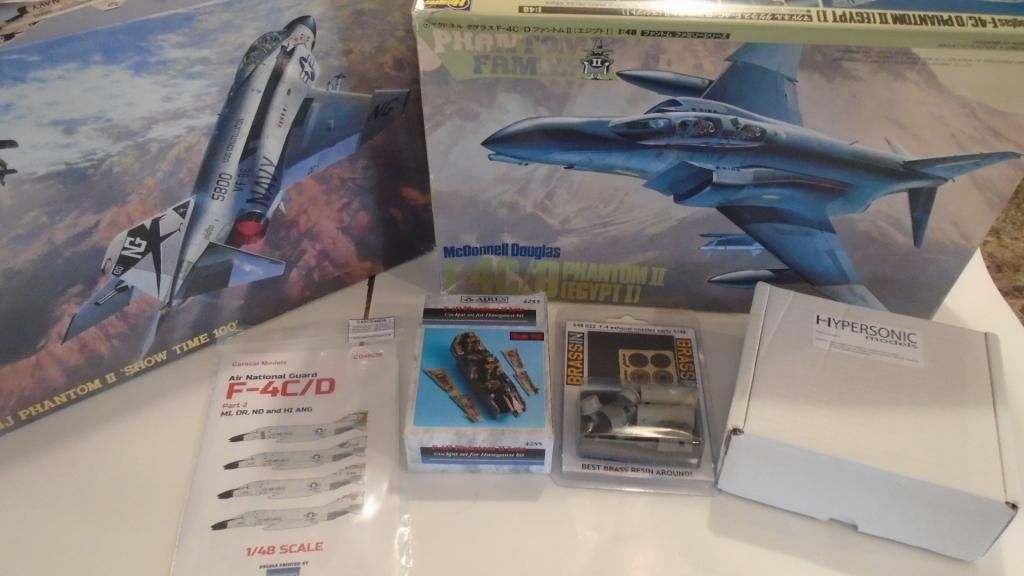
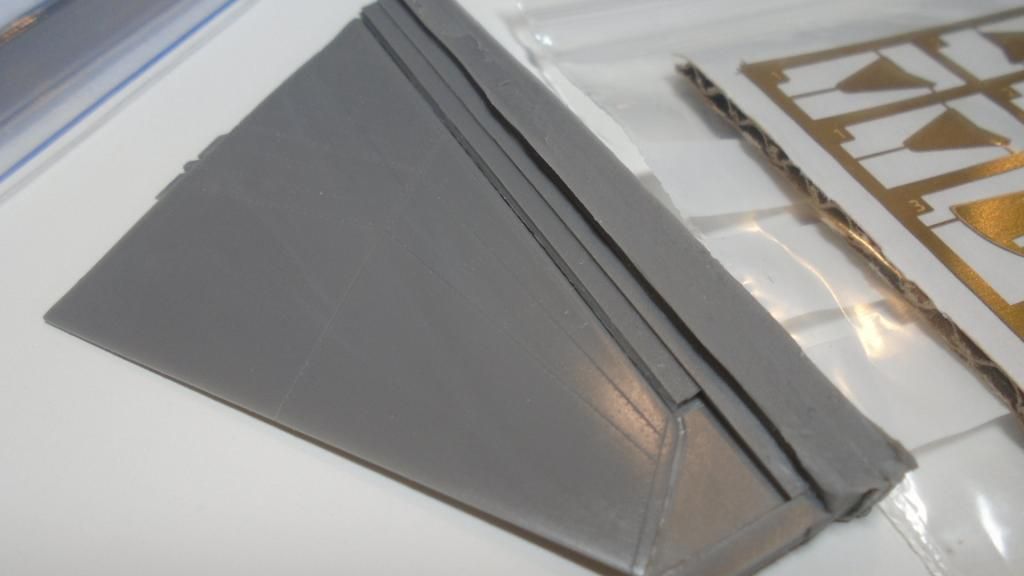
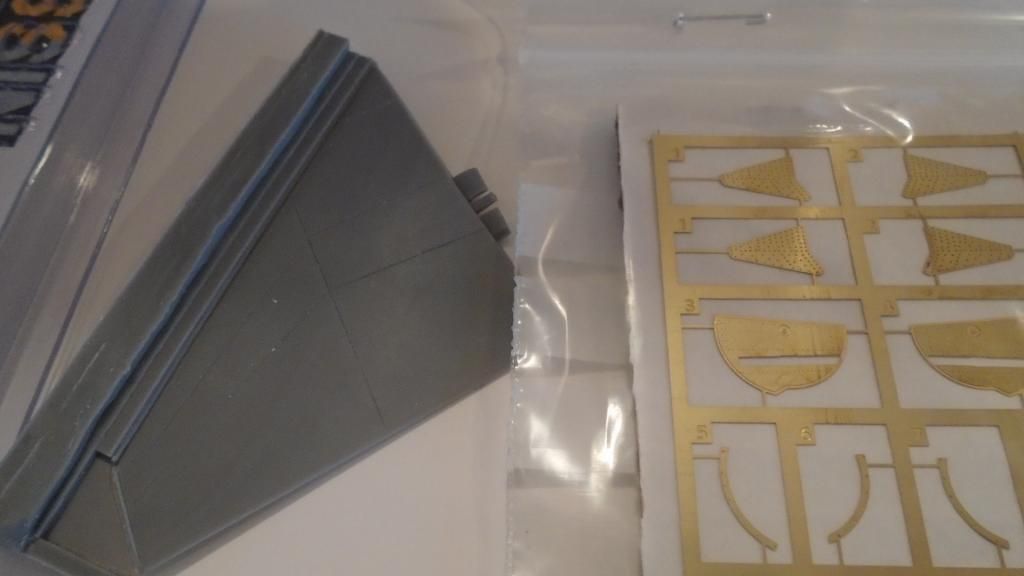
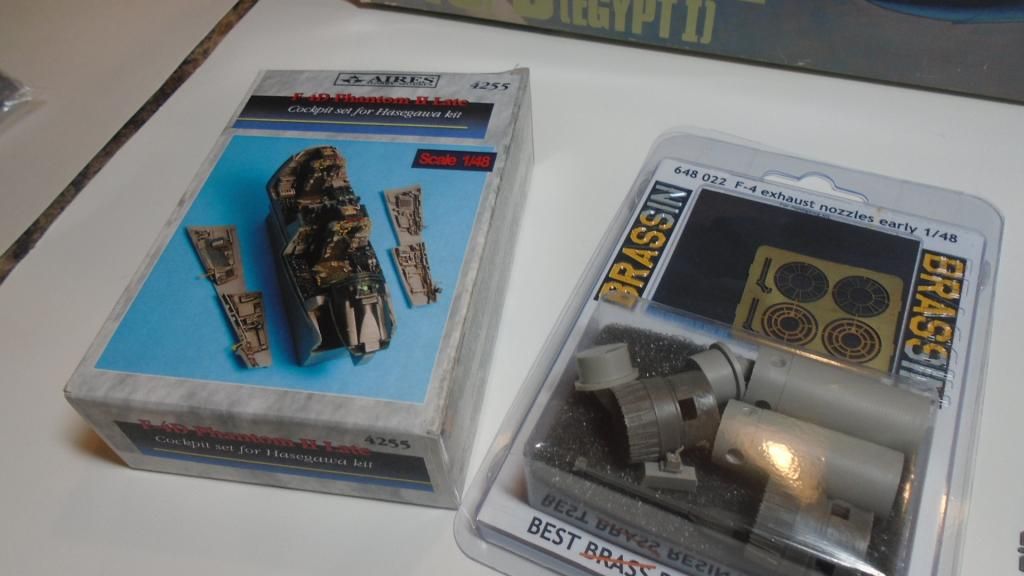
Lots of Aftermarket here, as I need a cockpit specific to the D,as well as the short exhausts, which will come from Eduard's excellent Brassin set. Stabilators of the unslotted type come from Hypersonic models. This is a great, comprehensive resin set that includes some pe as well for the boiler plates and pivot plate. The kit stabs in the old D kit are undersized, otherwise I would rescribe and use those. Here's a closer look at the set:
Here's a look at the decals: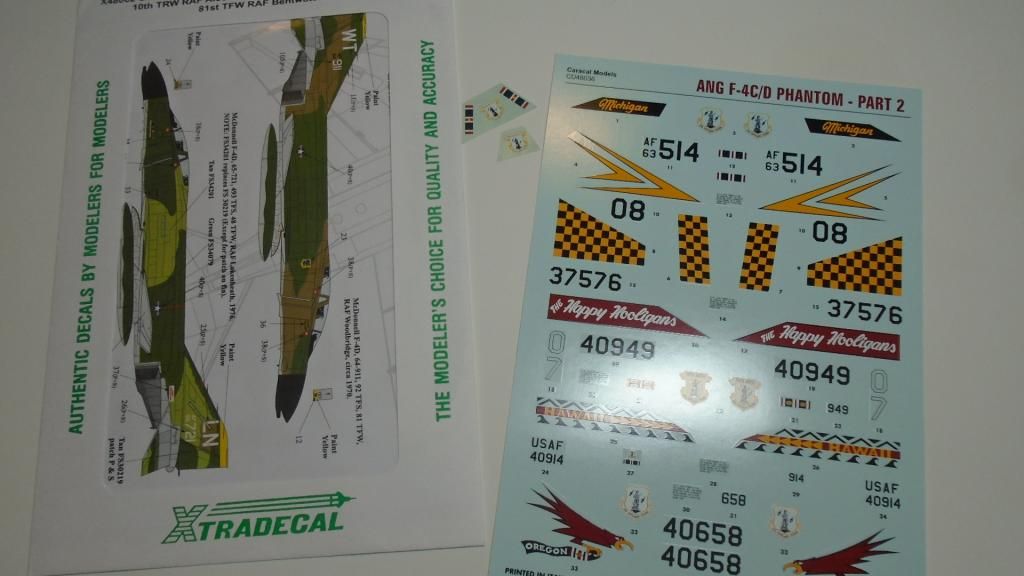
I have another set from Afterburner coming that has all the gray lettering for the tail codes as well as the nose wheel numbers. The Hooligans logo comes from the Caracal set. This set is actually for an earlier F-4D in ADC gray, so the insignias and stenciling/wing walk decals are wrong for a Hill gray A/C. Other stencis from the Xtradecal sheet will be used as necessary.
Oritz on the Forum here gave me some spare decals from an older Microscale sheet for a Hooligan phantom in SEA camo. It has the correct ND ANG badge for a hill gray phantom, as well as the correct style ribbon. Thanks O!! Here's the differences:
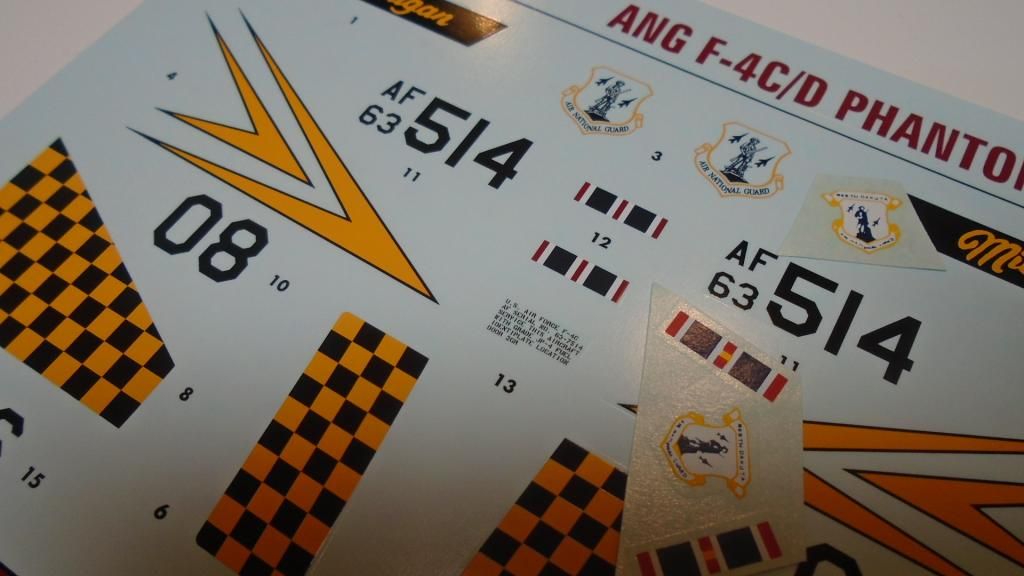
Here's a shot of the resin goodies:
I started with the wings. Assembled the halves together and started grinding off the wheel bumps on the top:
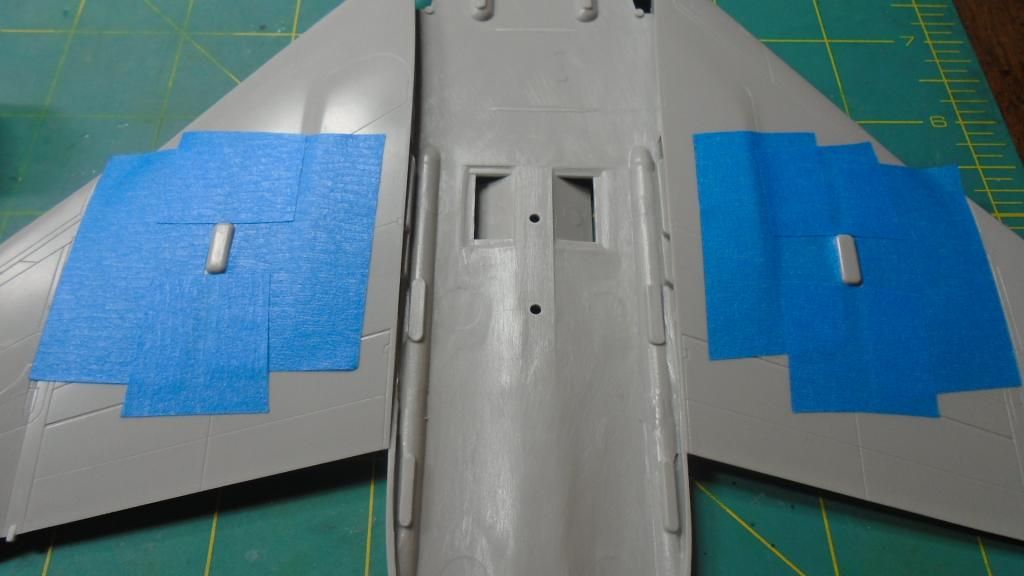
I used a dremel for the major work, then sanded it smooth. The panel lines then got a rescribing like so:
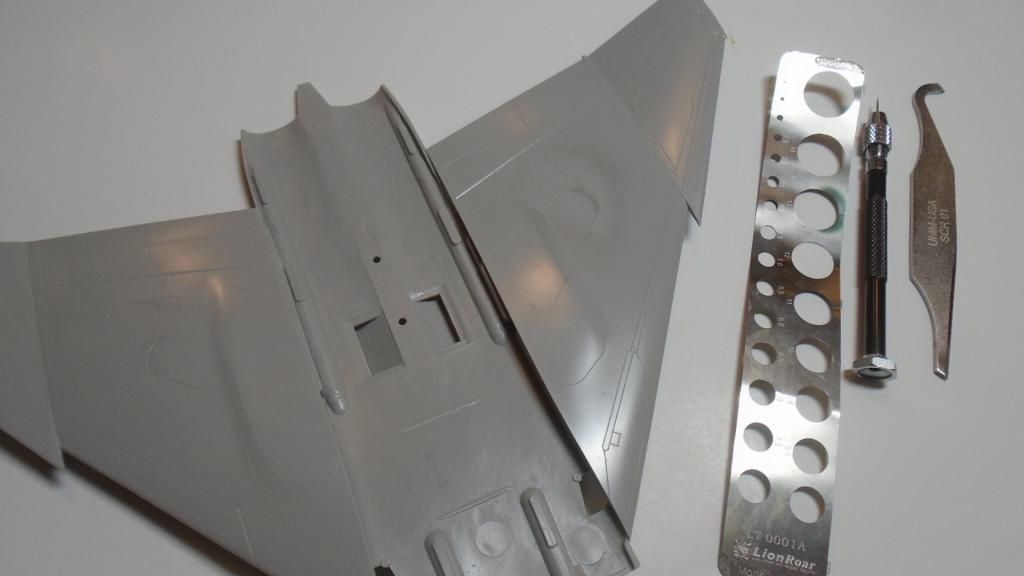
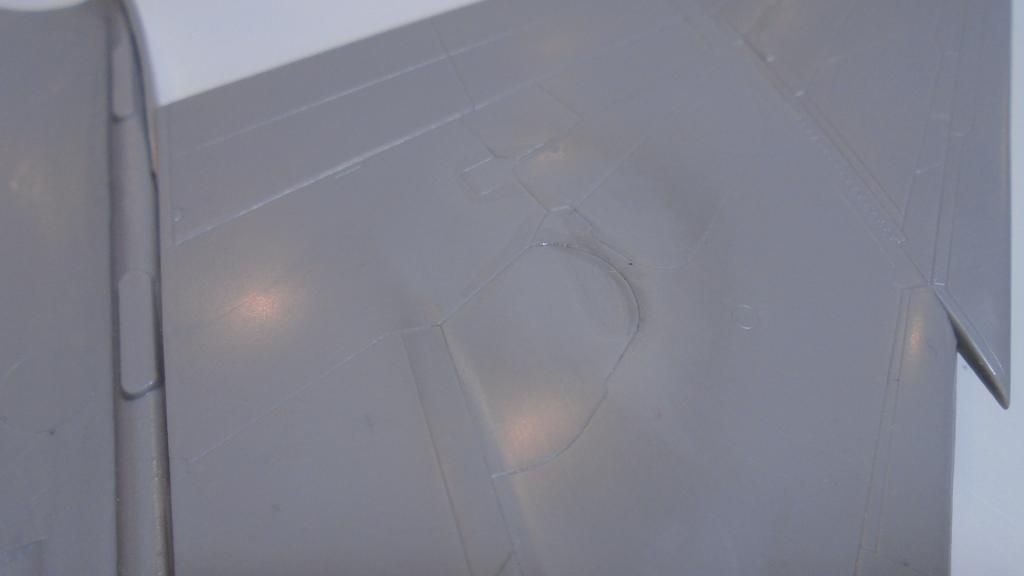
Now on to the cockpit:
Aires seats:
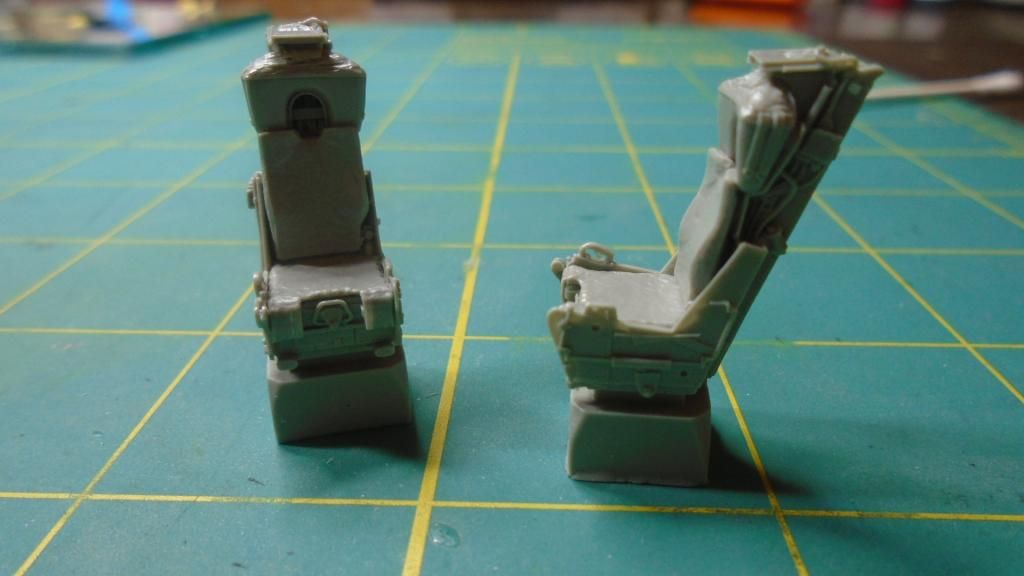
Kit sidewalls have been thinned, and the resin pit being dry fitted:
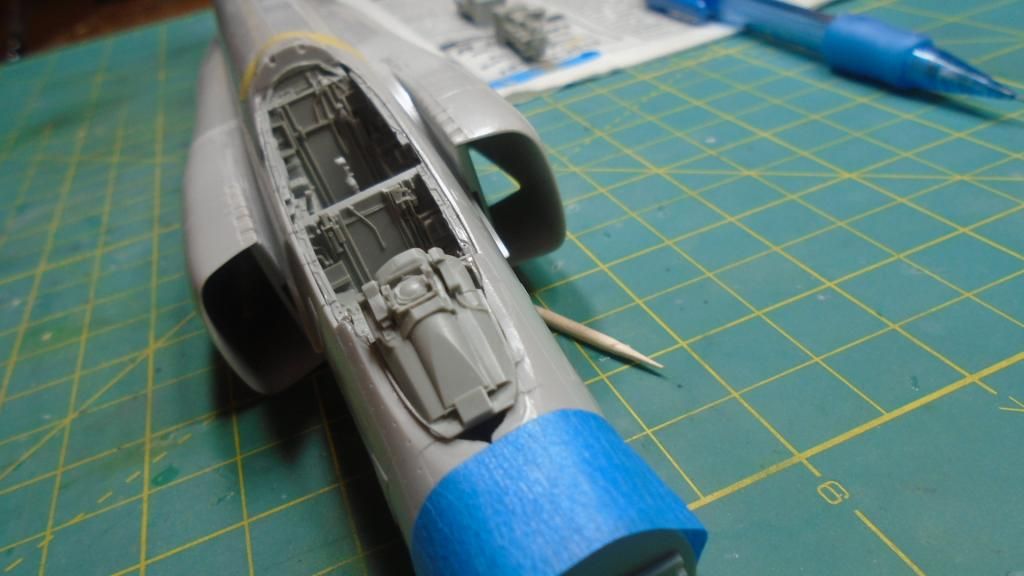
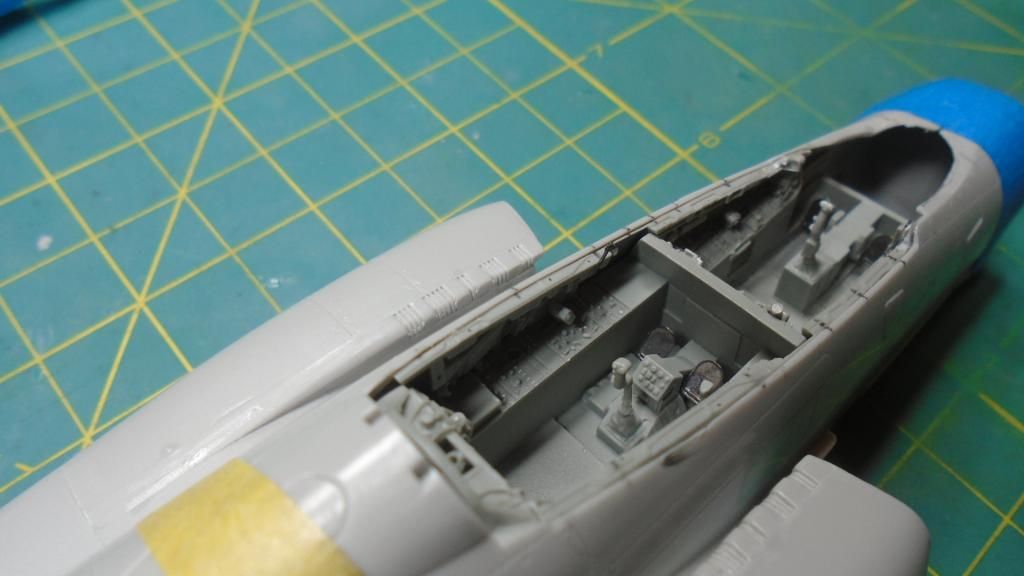
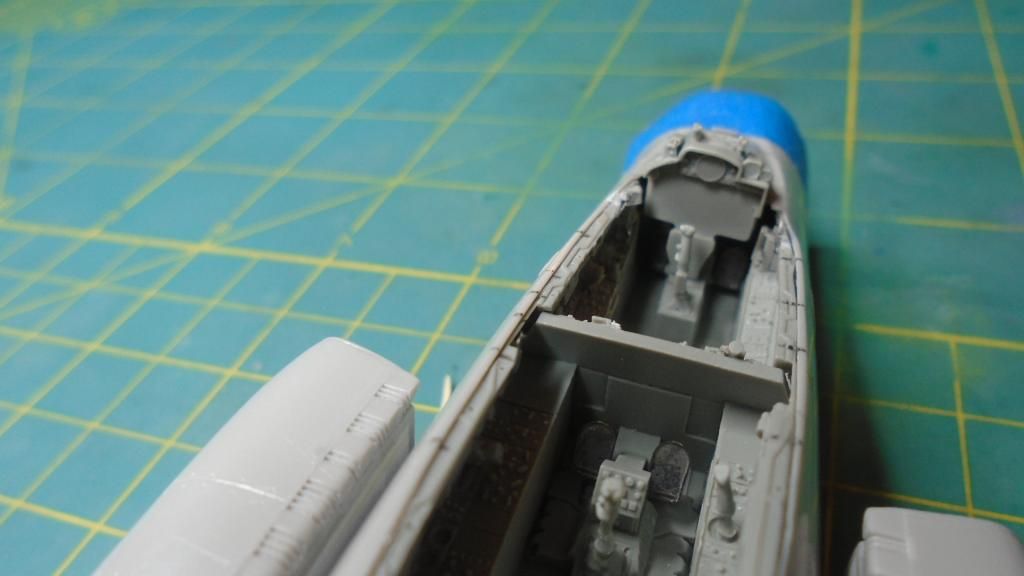
The pencil marks are to line up the sidewalls when I'm ready to glue. Time to make sure the windscreen fits over the resin:
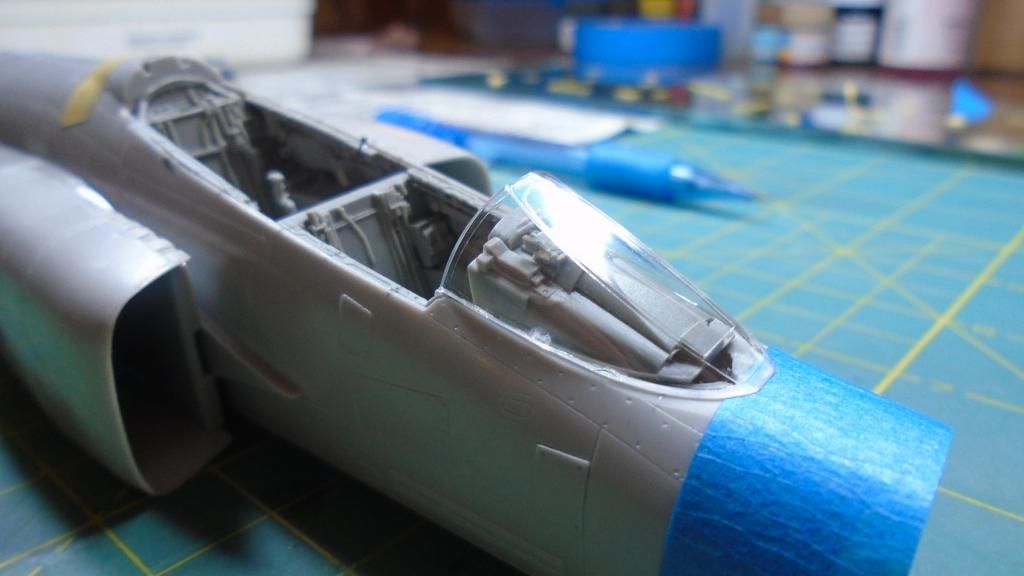
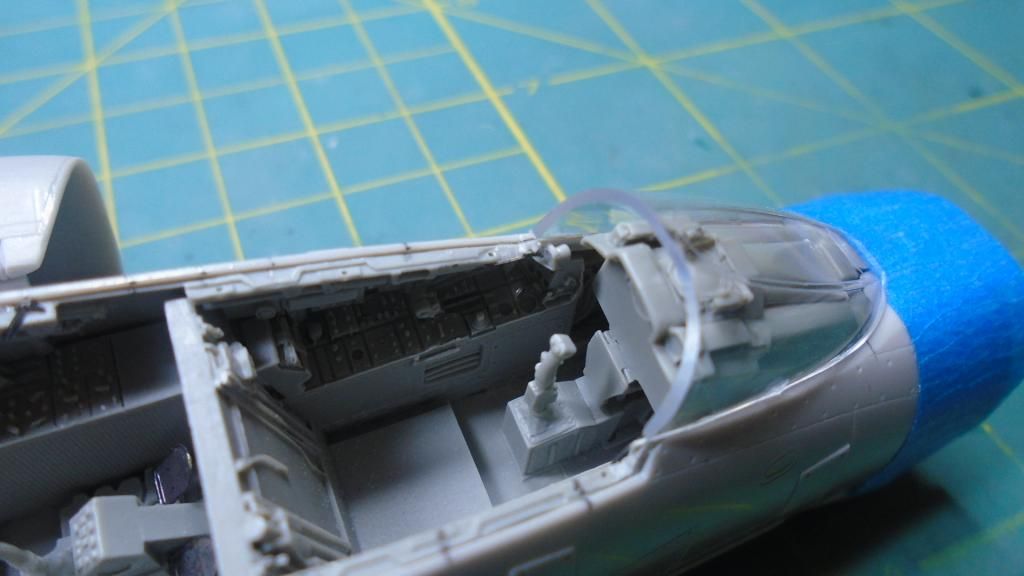
Got some MR. Surfacer black primer on and the cockpit sprayed in DDG:
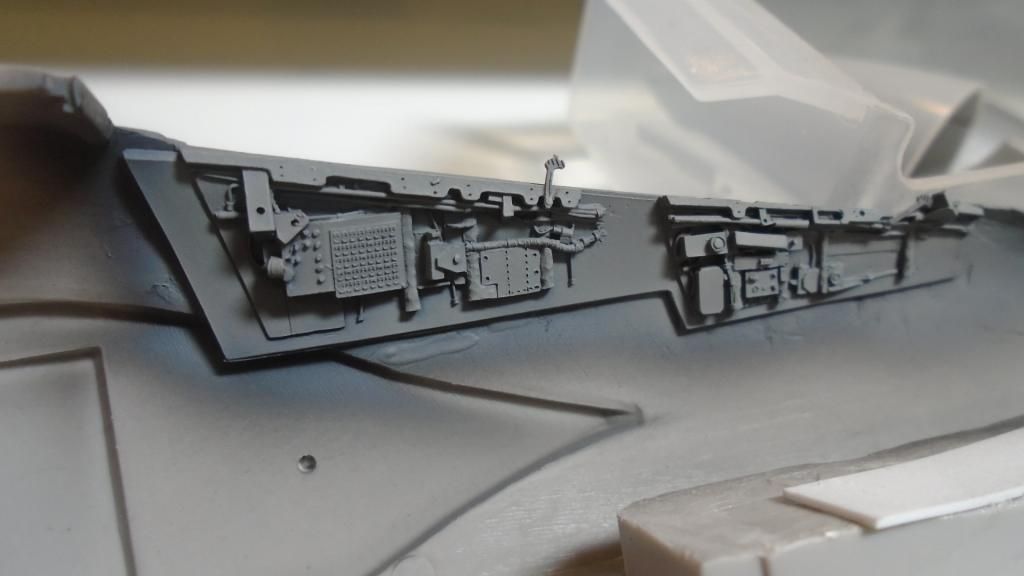
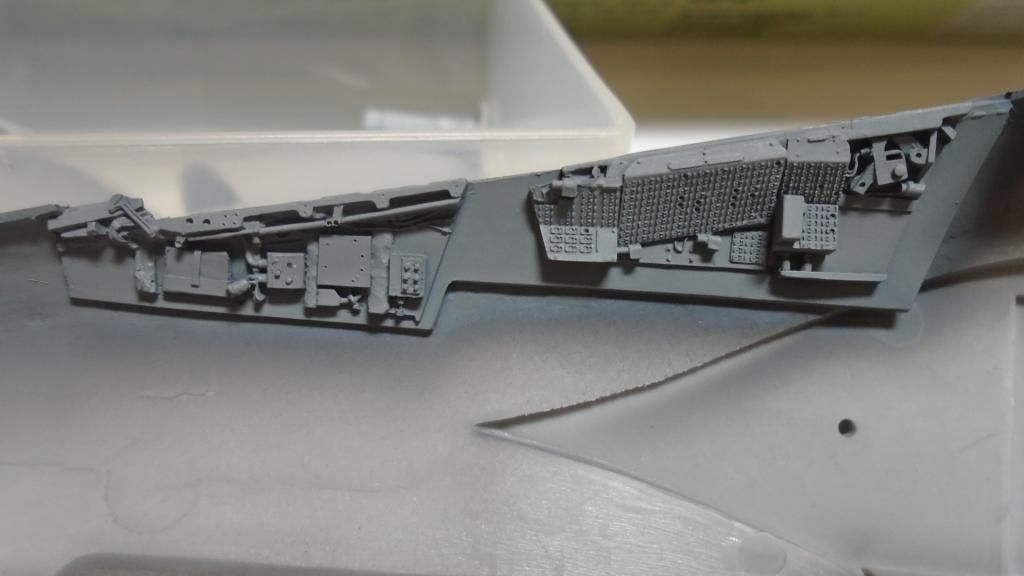
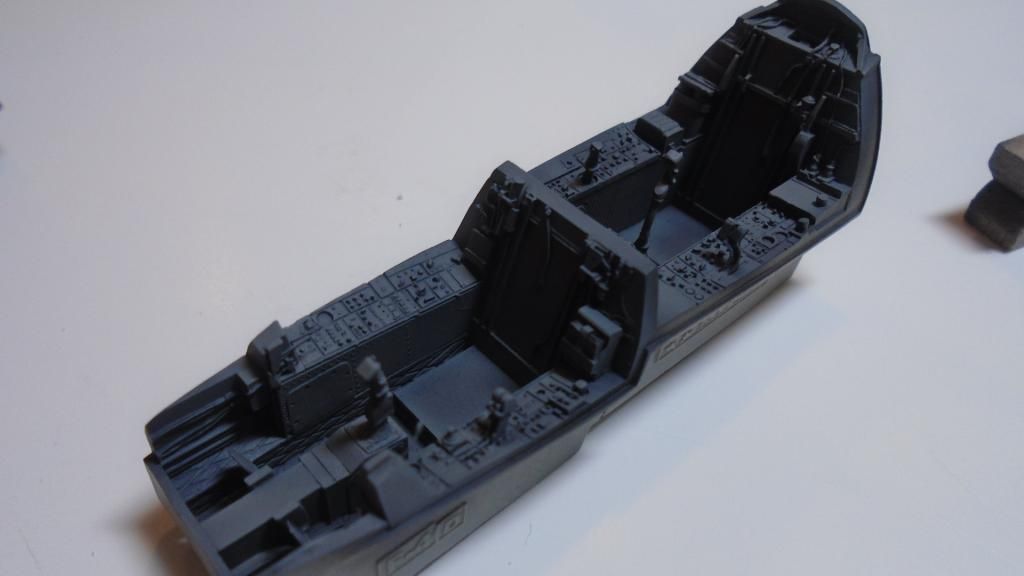
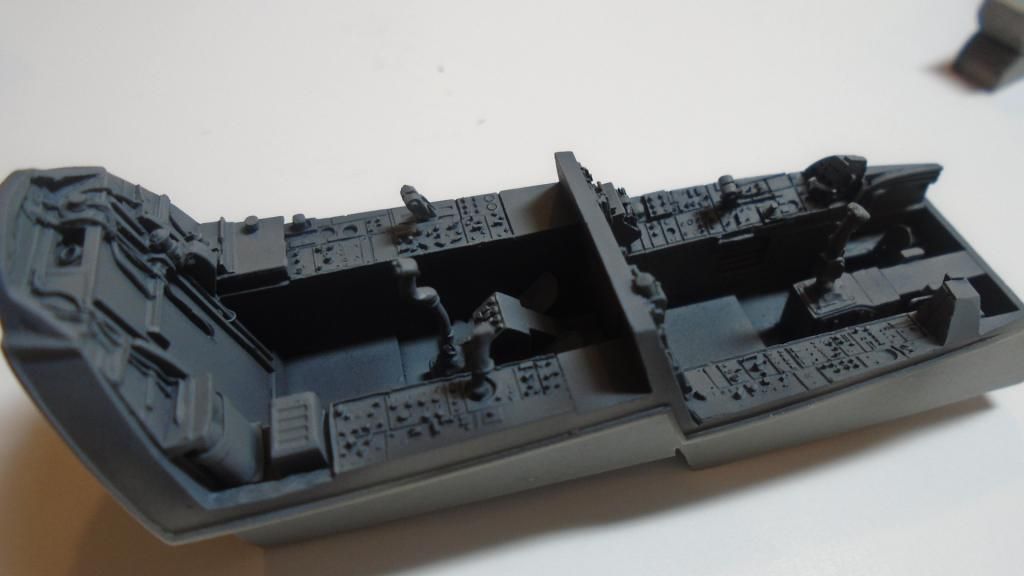
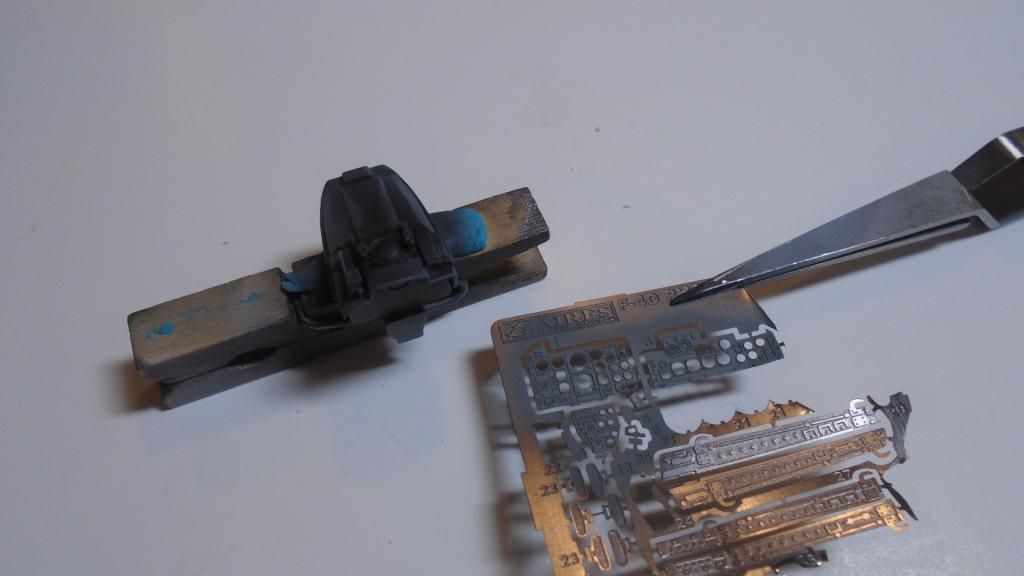
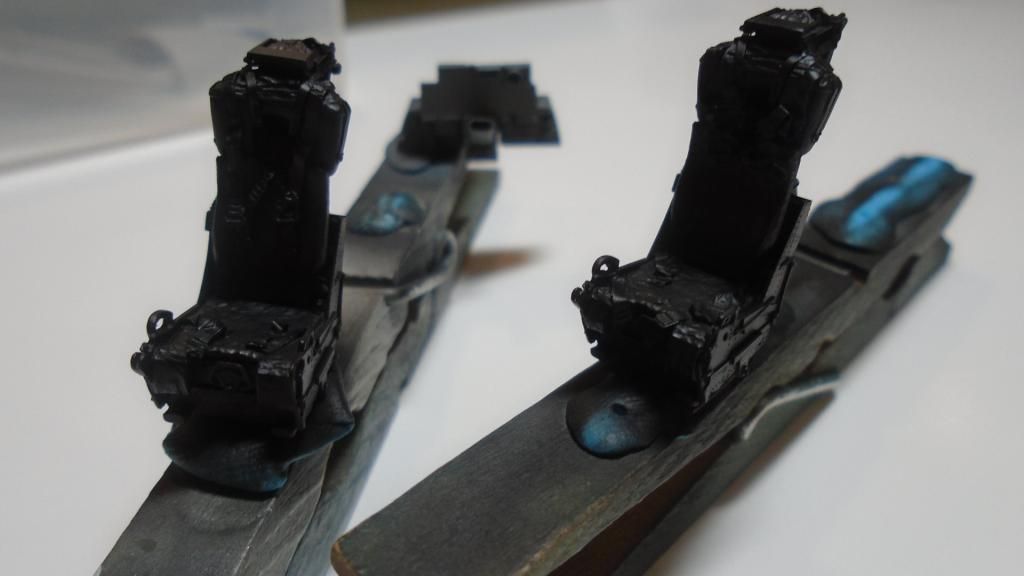
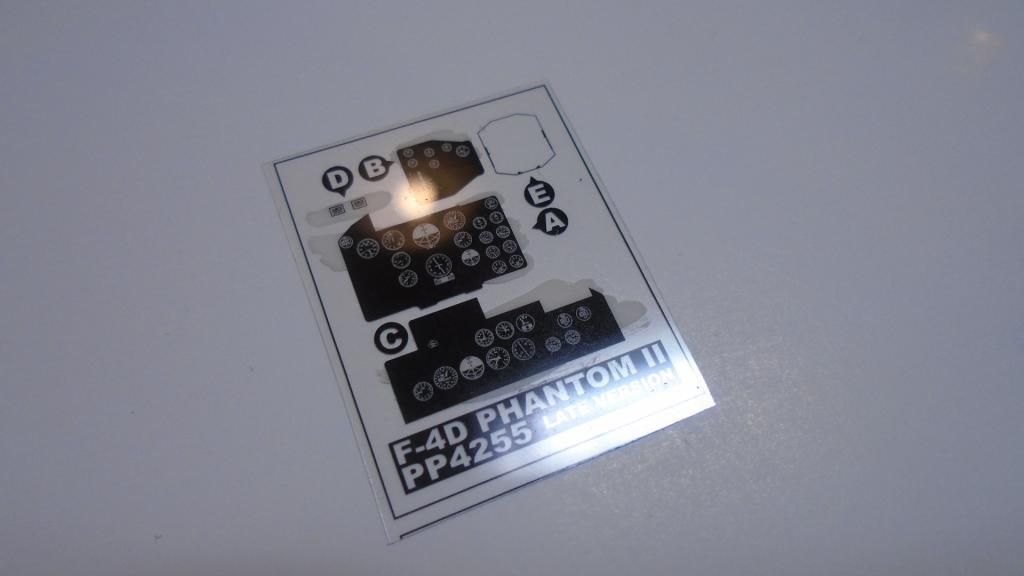
Painted the back side of the acetate instruments off white:
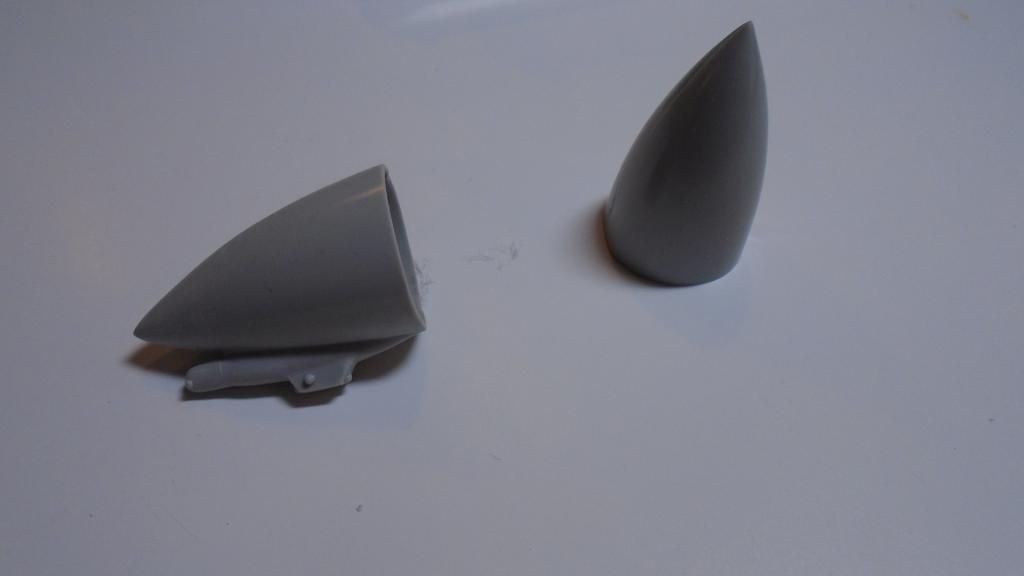
I was gonna use the nose from the D kit, but most of the ND birds had the Ds without the chin pod IR sensor. I figured I would just use the J nose and cut off the small antenna. I'll save the D nose for another build:
More to come!